
Managing Materials and Inventory in InventoryHQ
This document explains how to view, add, bulk upload, restock, and filter materials in InventoryHQ so you can maintain accurate stock levels across warehouses and service trucks.
Step by step
- 1
Review the Inventory Overview
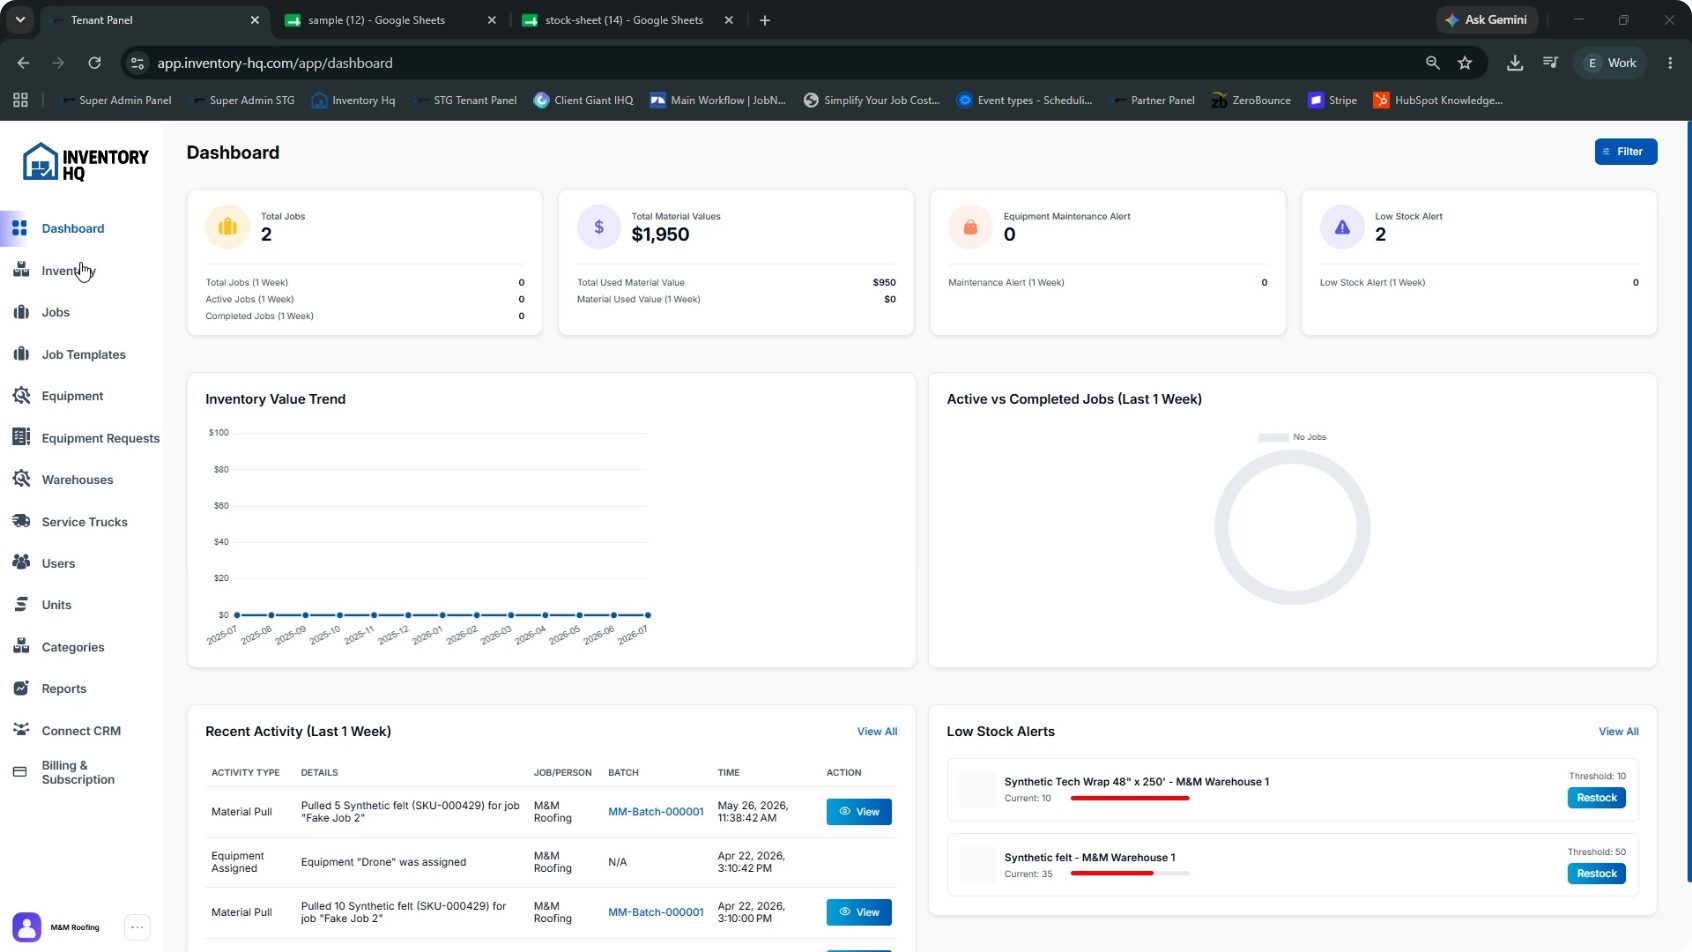
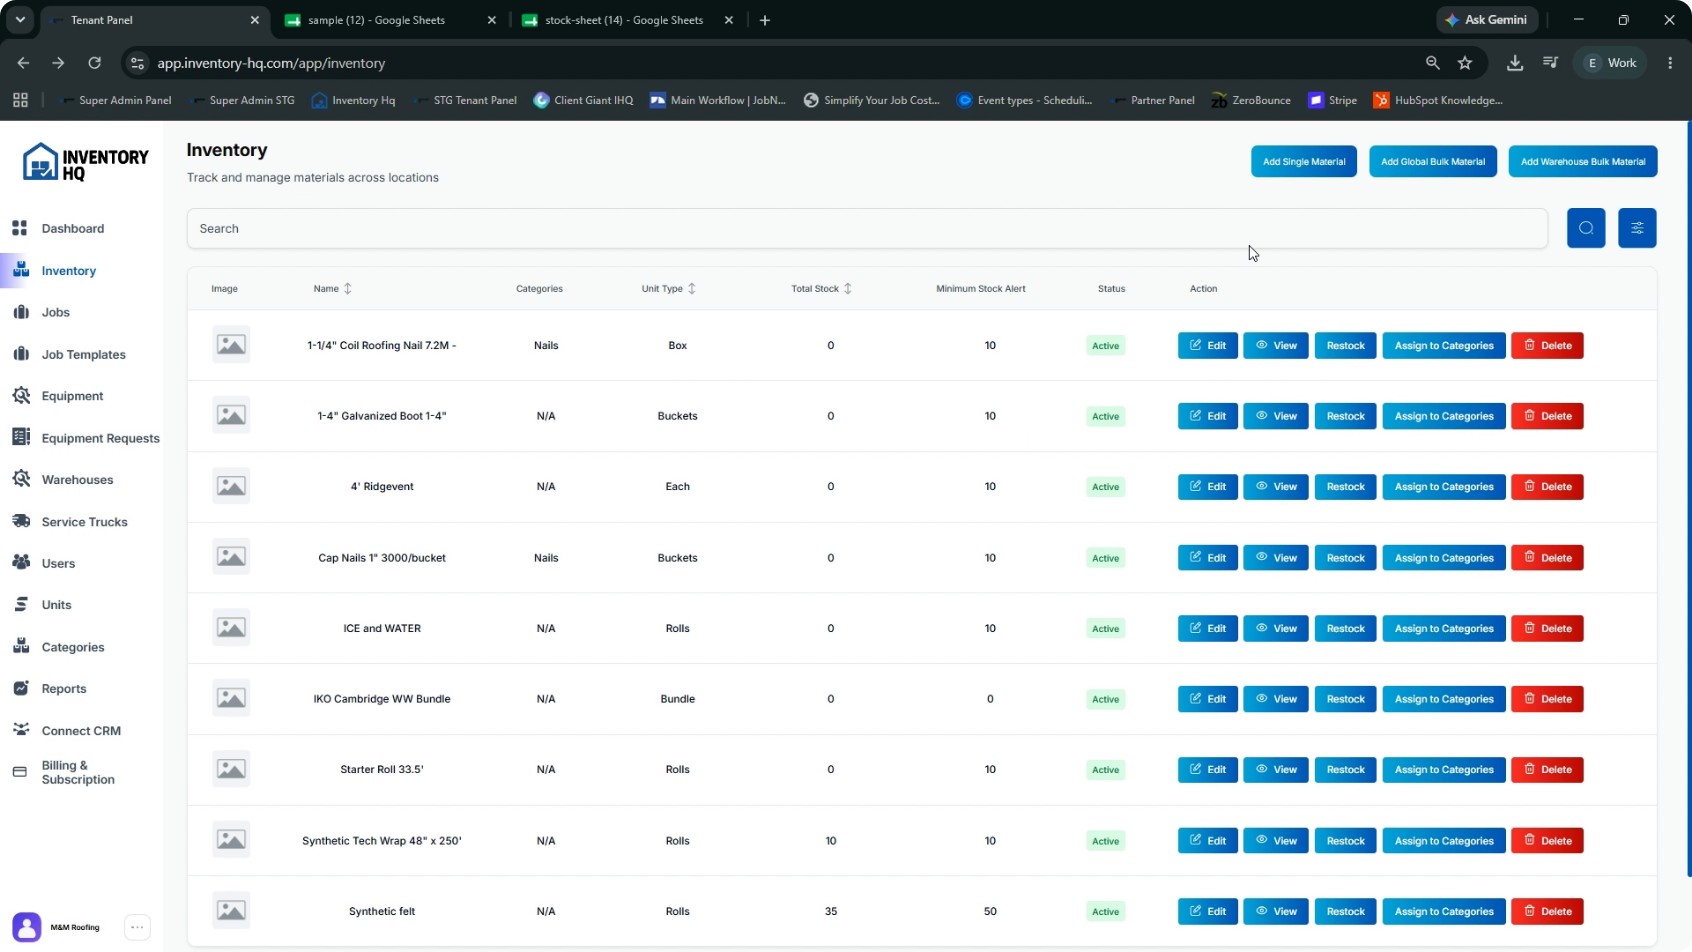
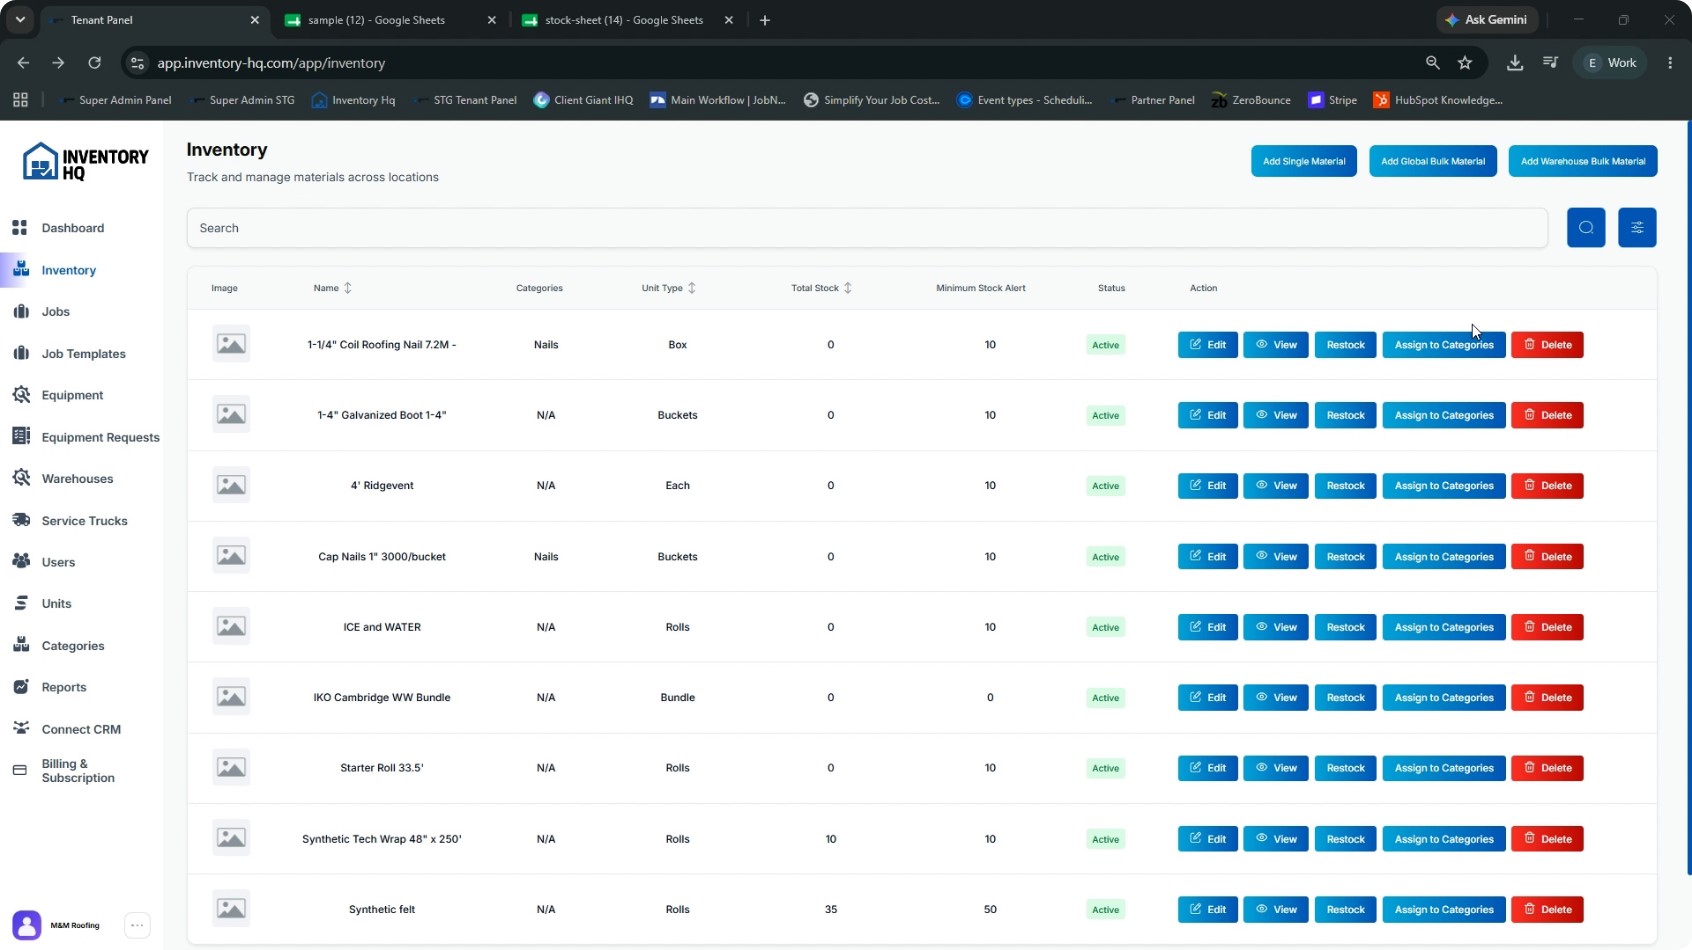
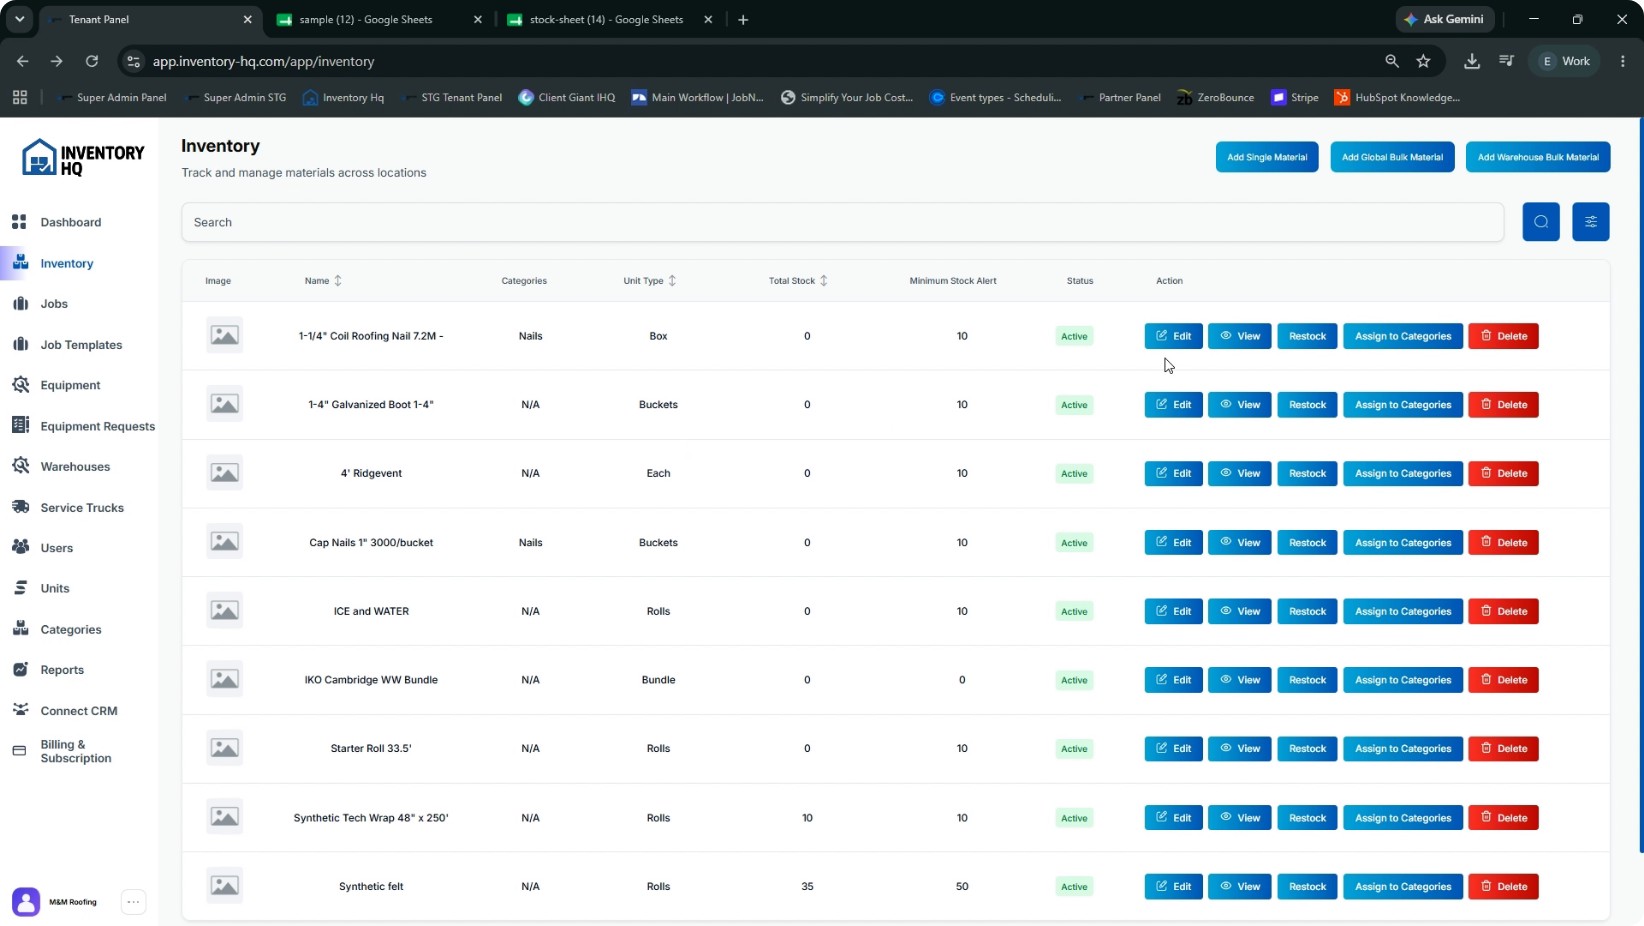
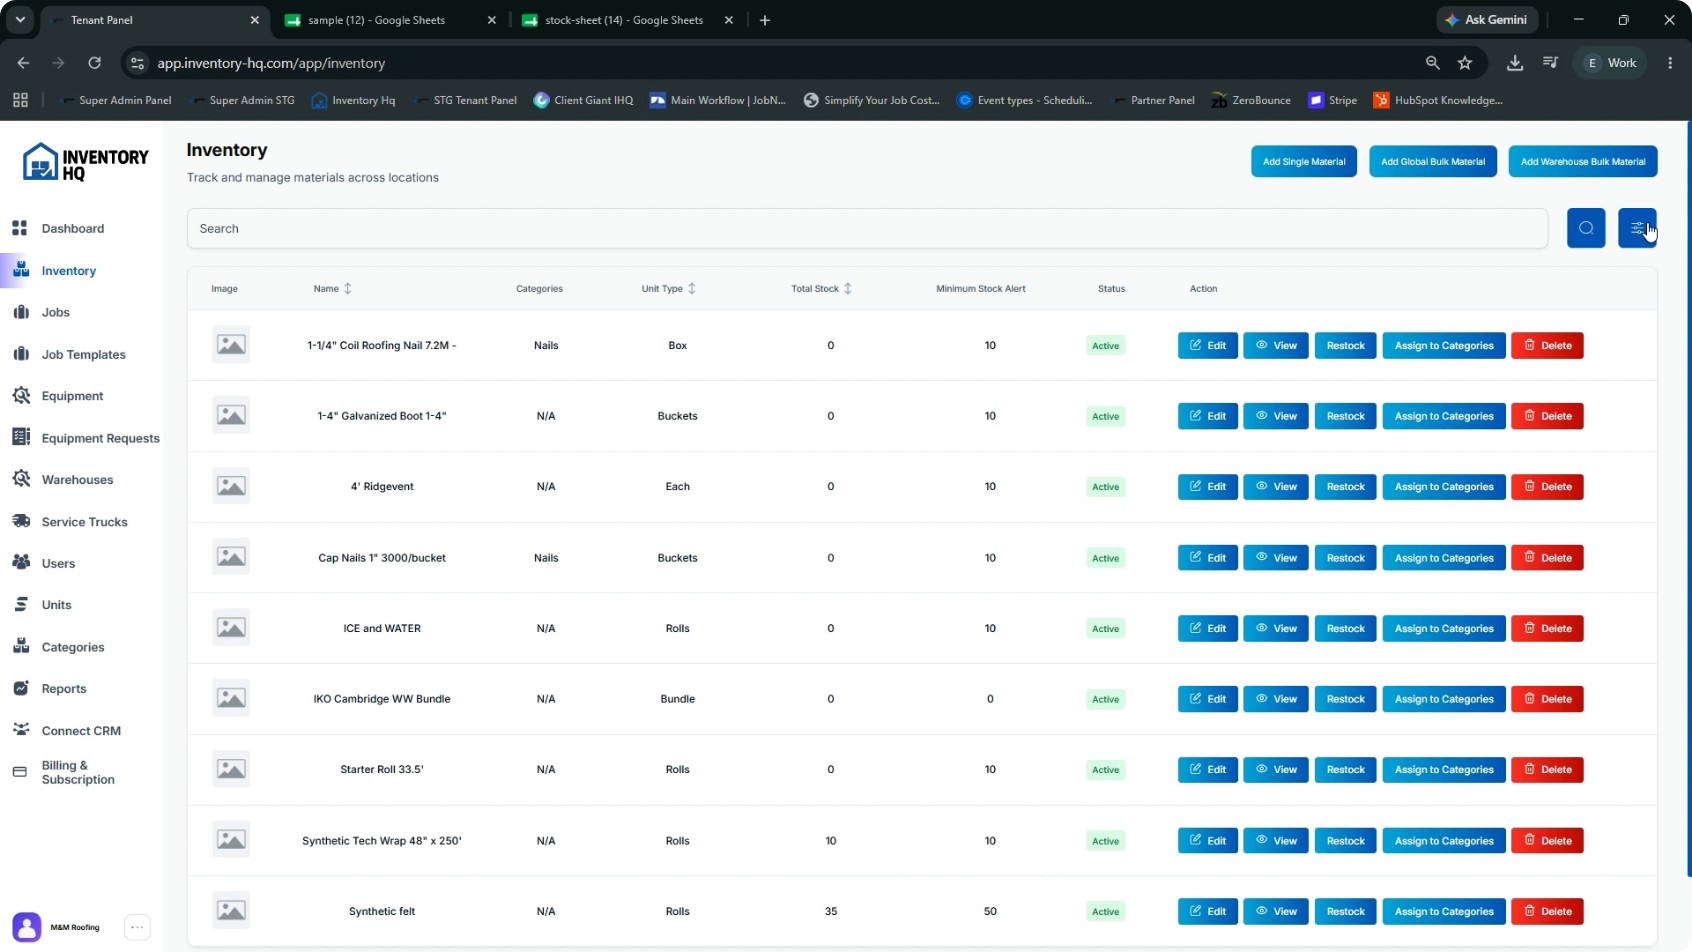
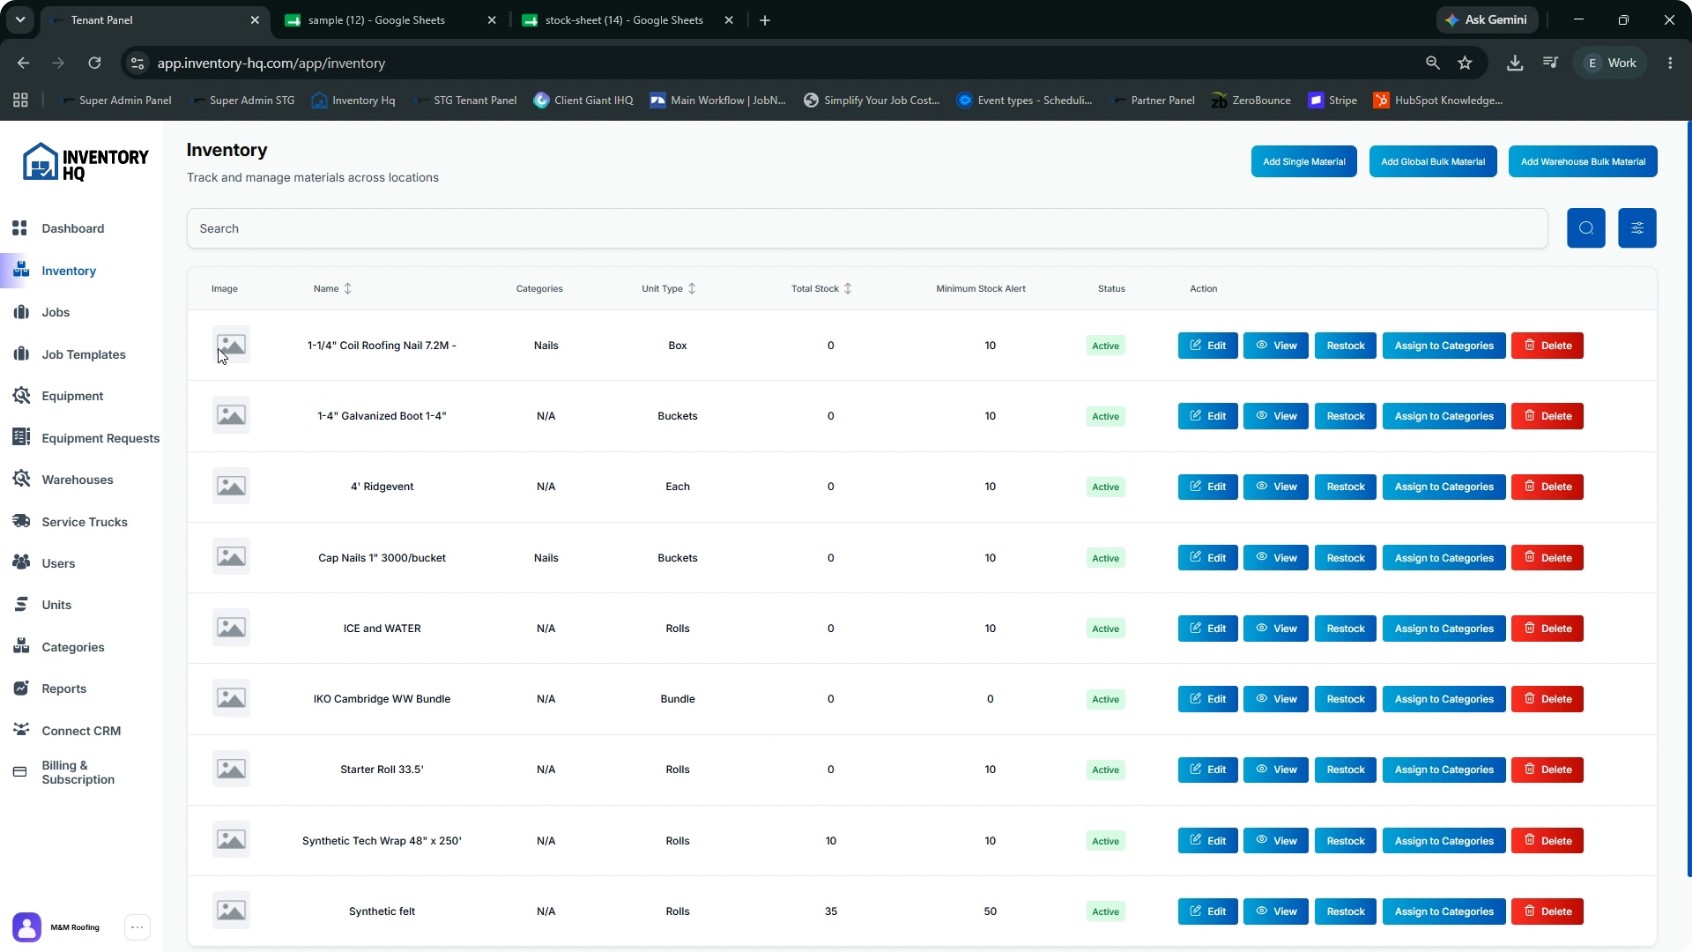
This is your Inventory page, which serves as the master material list. You can see every material, its unit, total stock across locations, minimum stock alert, and status all in a single table. Each row also provides options to edit, view, restock, assign to categories, or delete a material.
- 2
Open the Material Creation Options
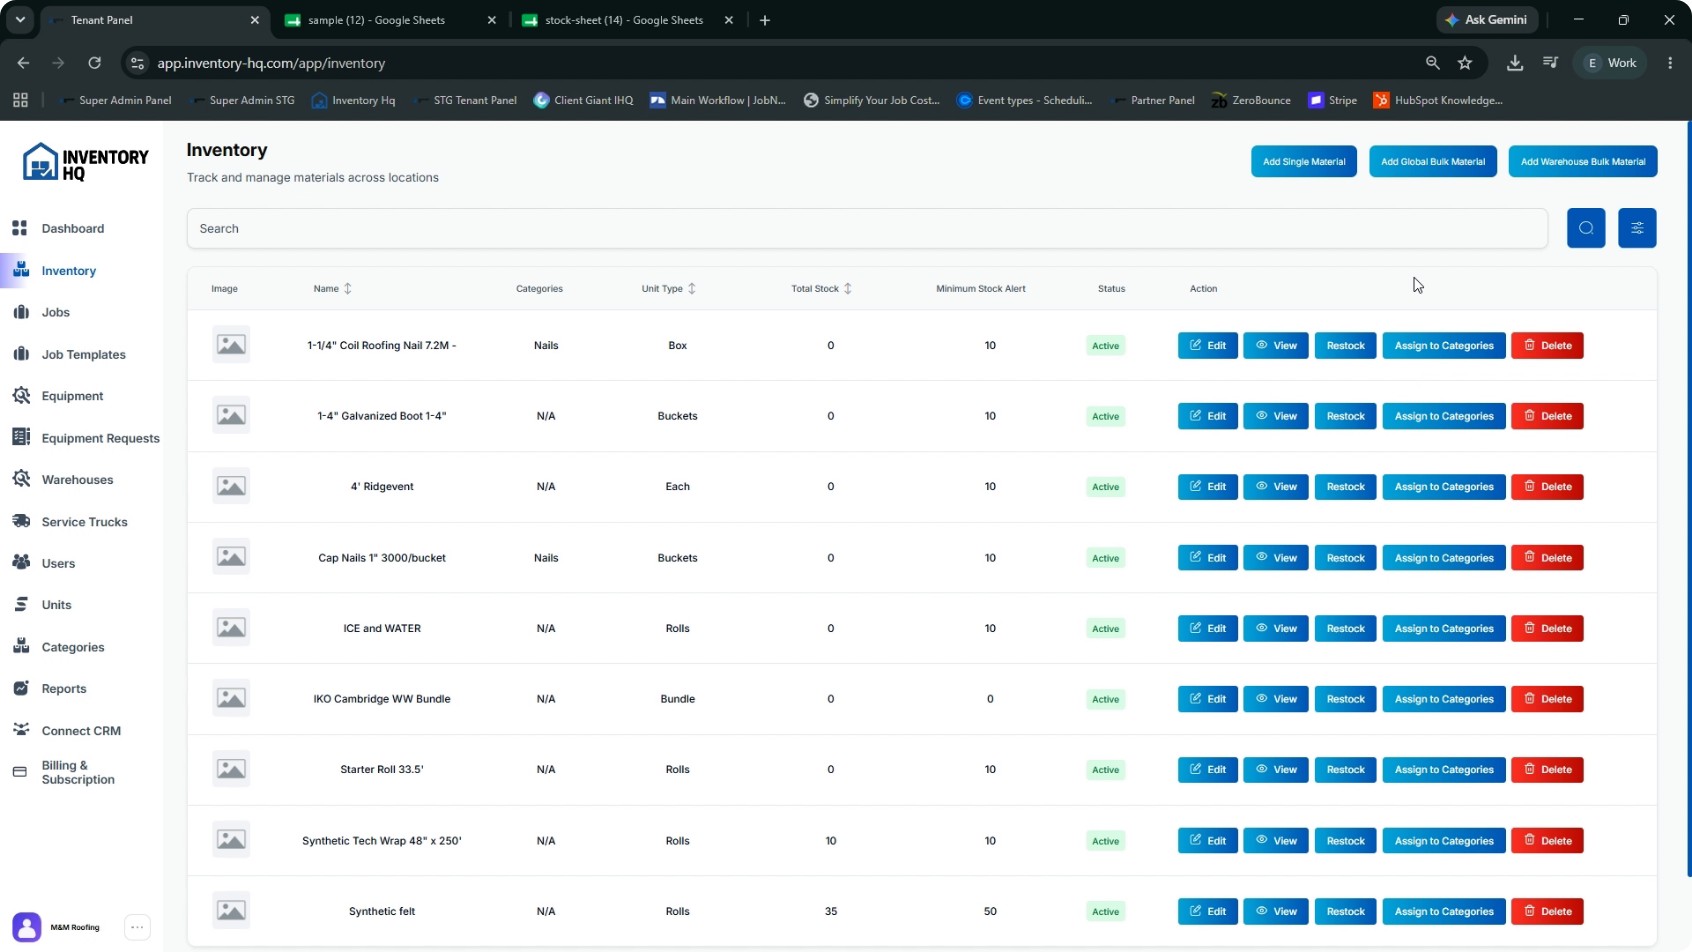
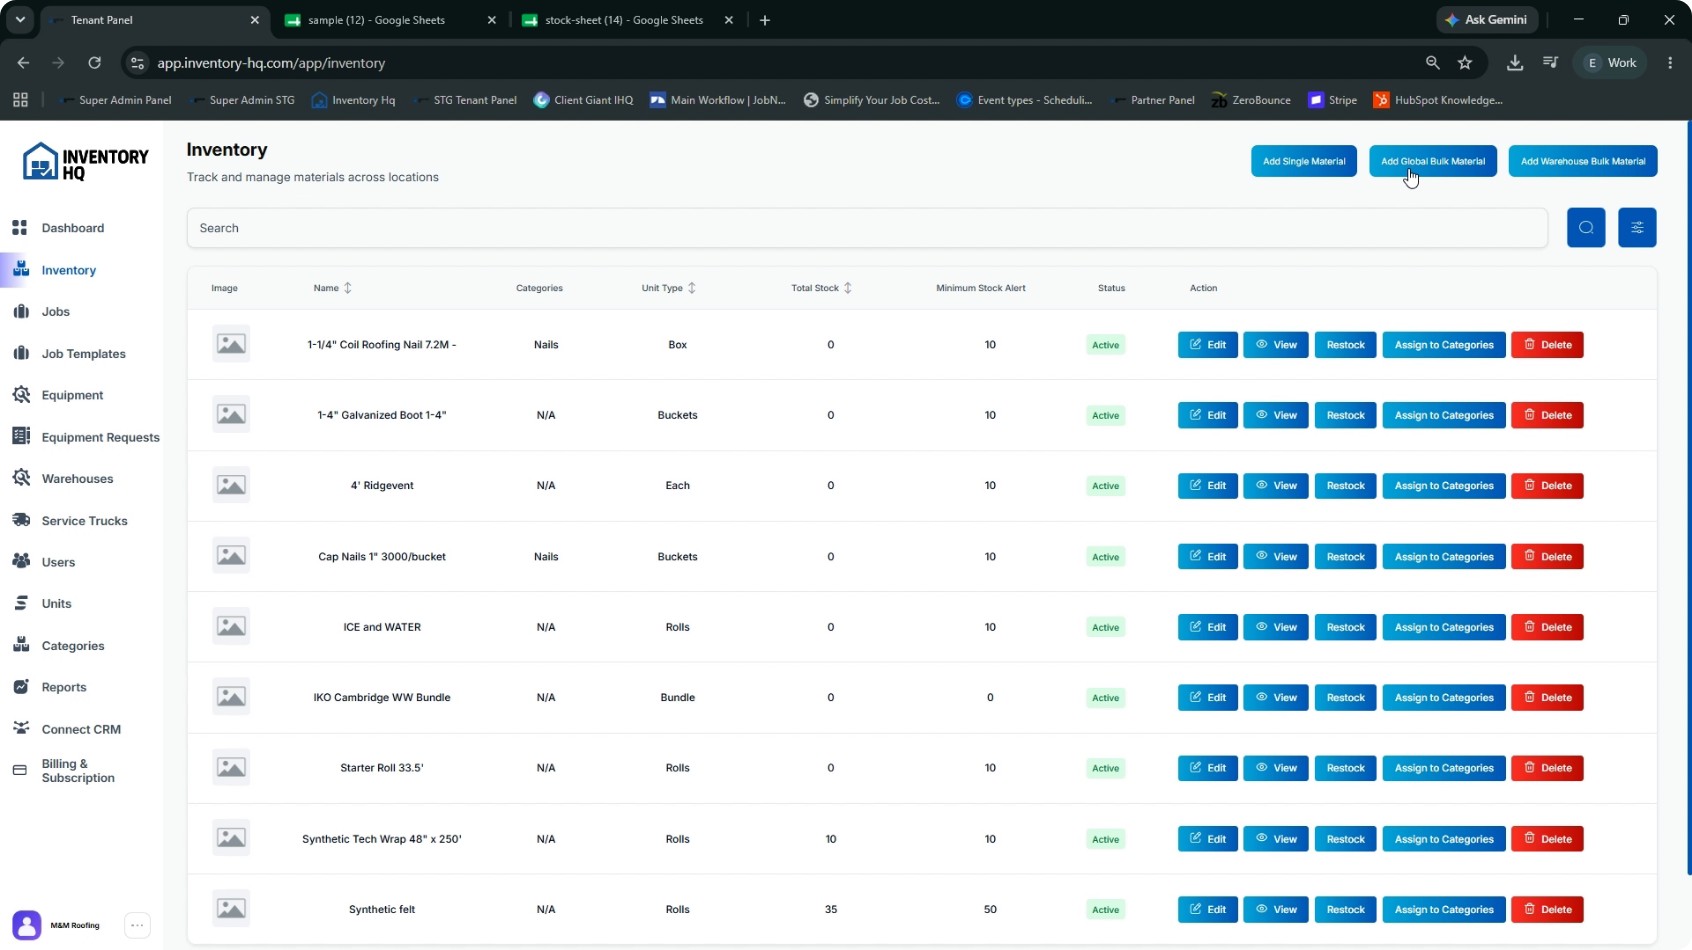
To upload or add materials, use the available material creation options on the Inventory page. You have three ways to add materials, clearly labeled by their purpose:
- Add Single Material
- Add Global Bulk Material
- Add Warehouse Bulk Material
- 3
Add a Single Material Manually
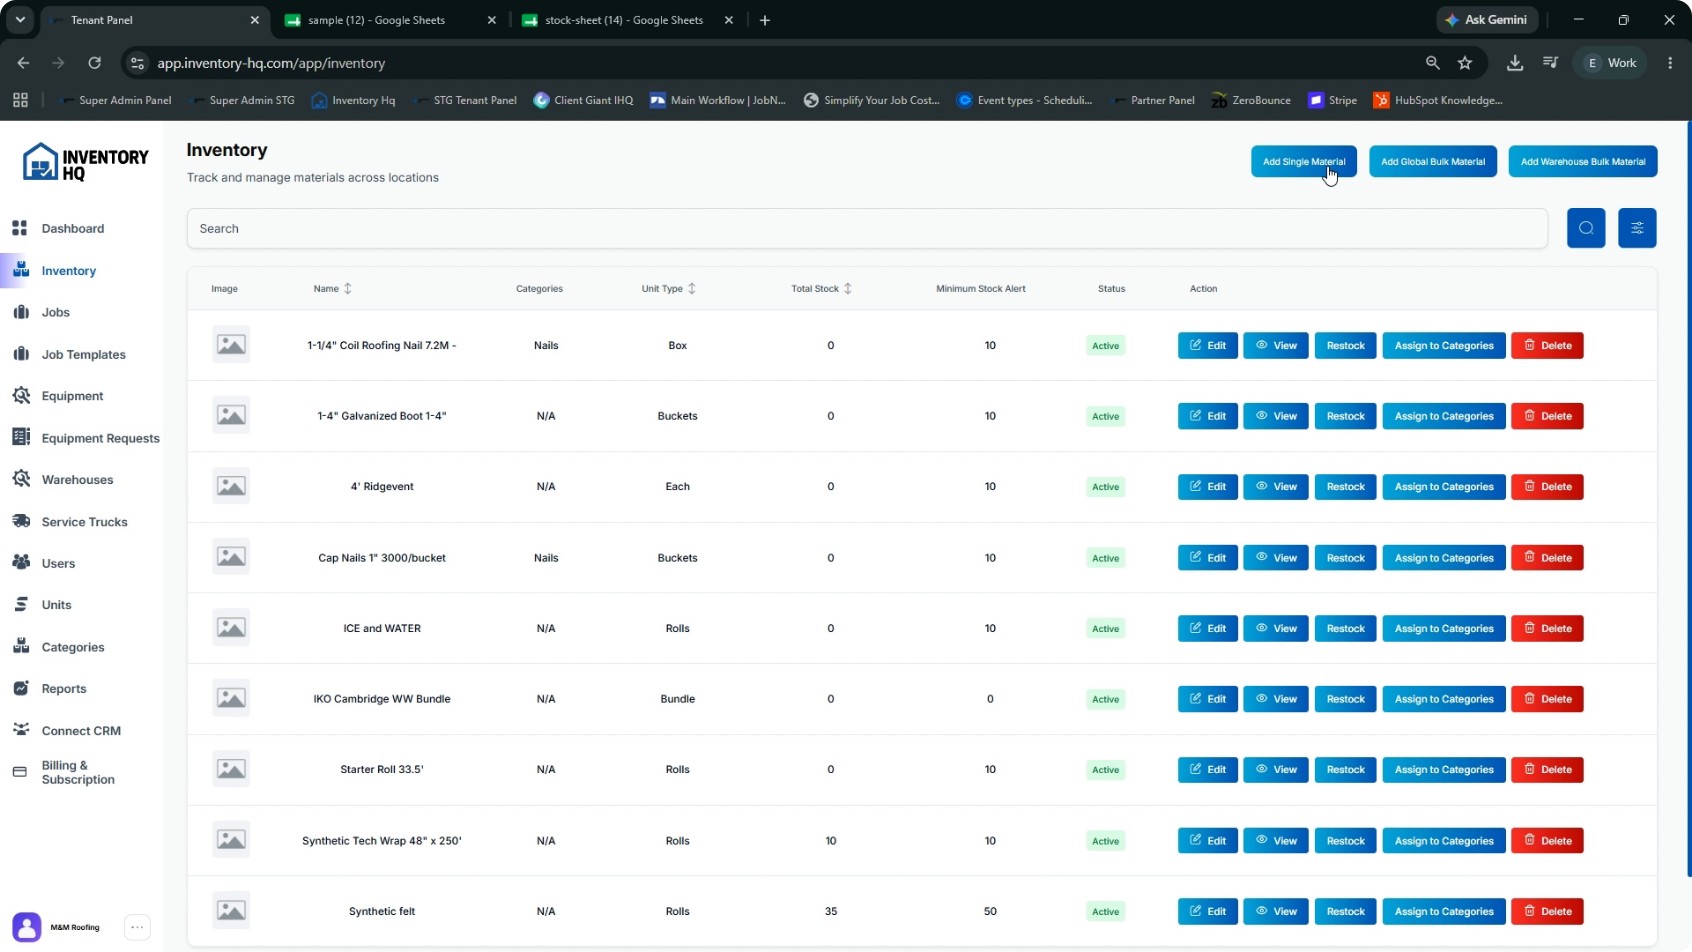
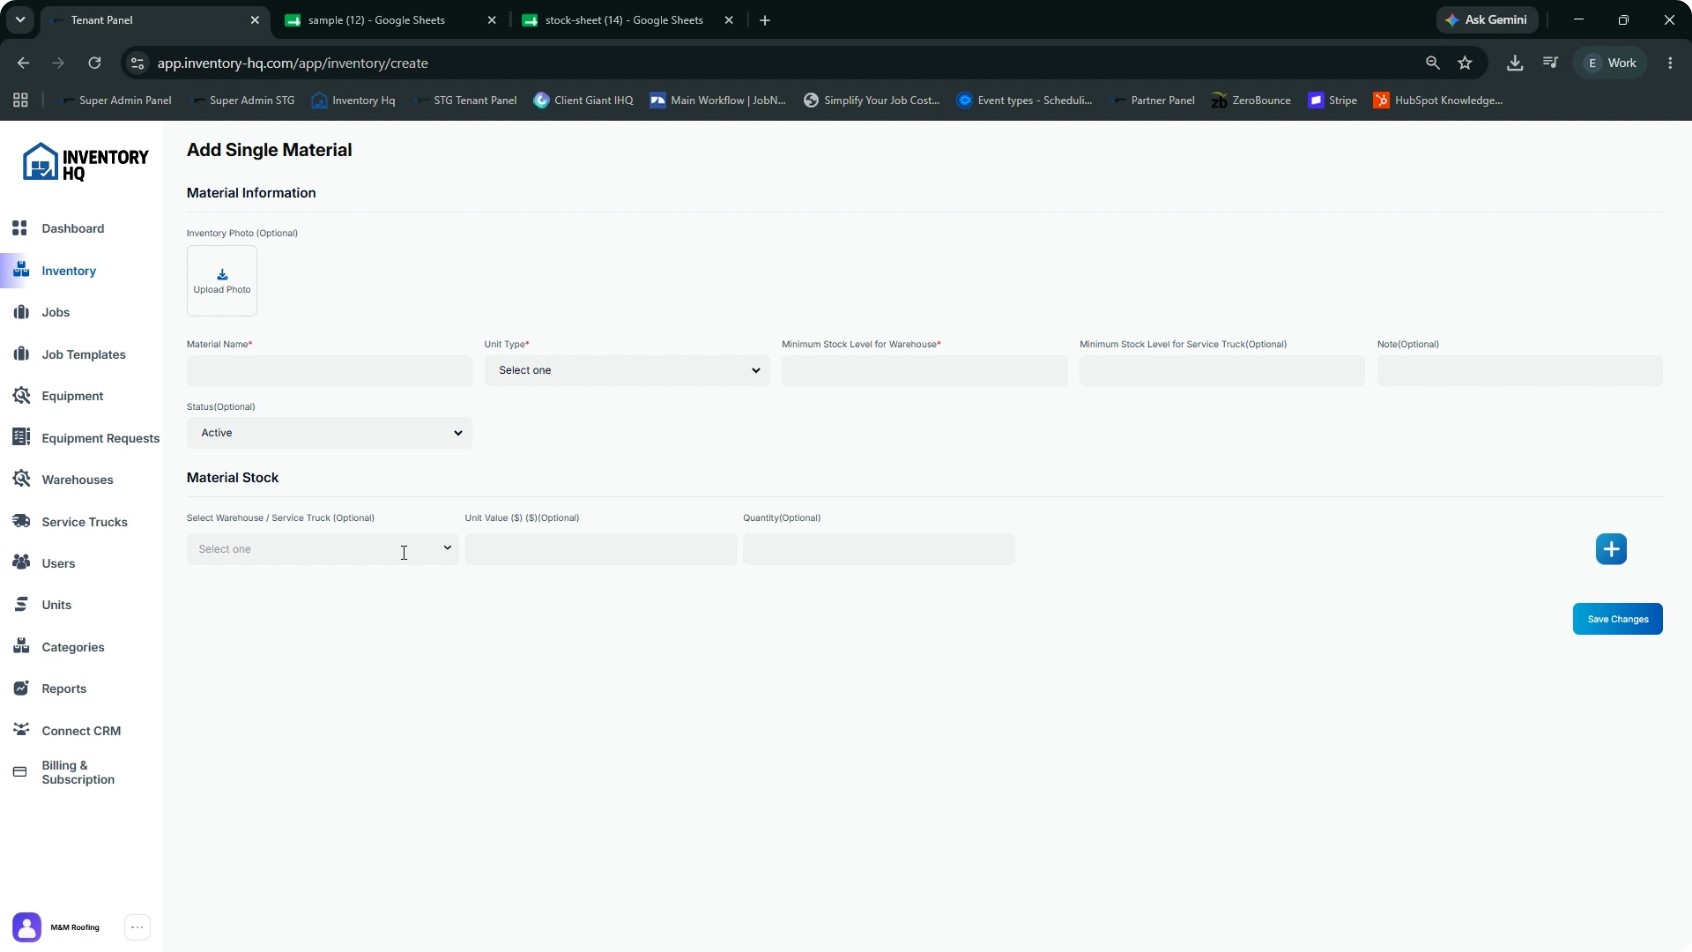
Select the option to add a single material. Use this method when you need to add one item manually at a time. On the single material form:
- Enter the material name.
- Choose the unit type.
- Set the minimum stock level for the warehouse.
- Set the minimum stock level for the service truck (if applicable).
- Add any additional notes.
- Set the status to Active or Inactive.
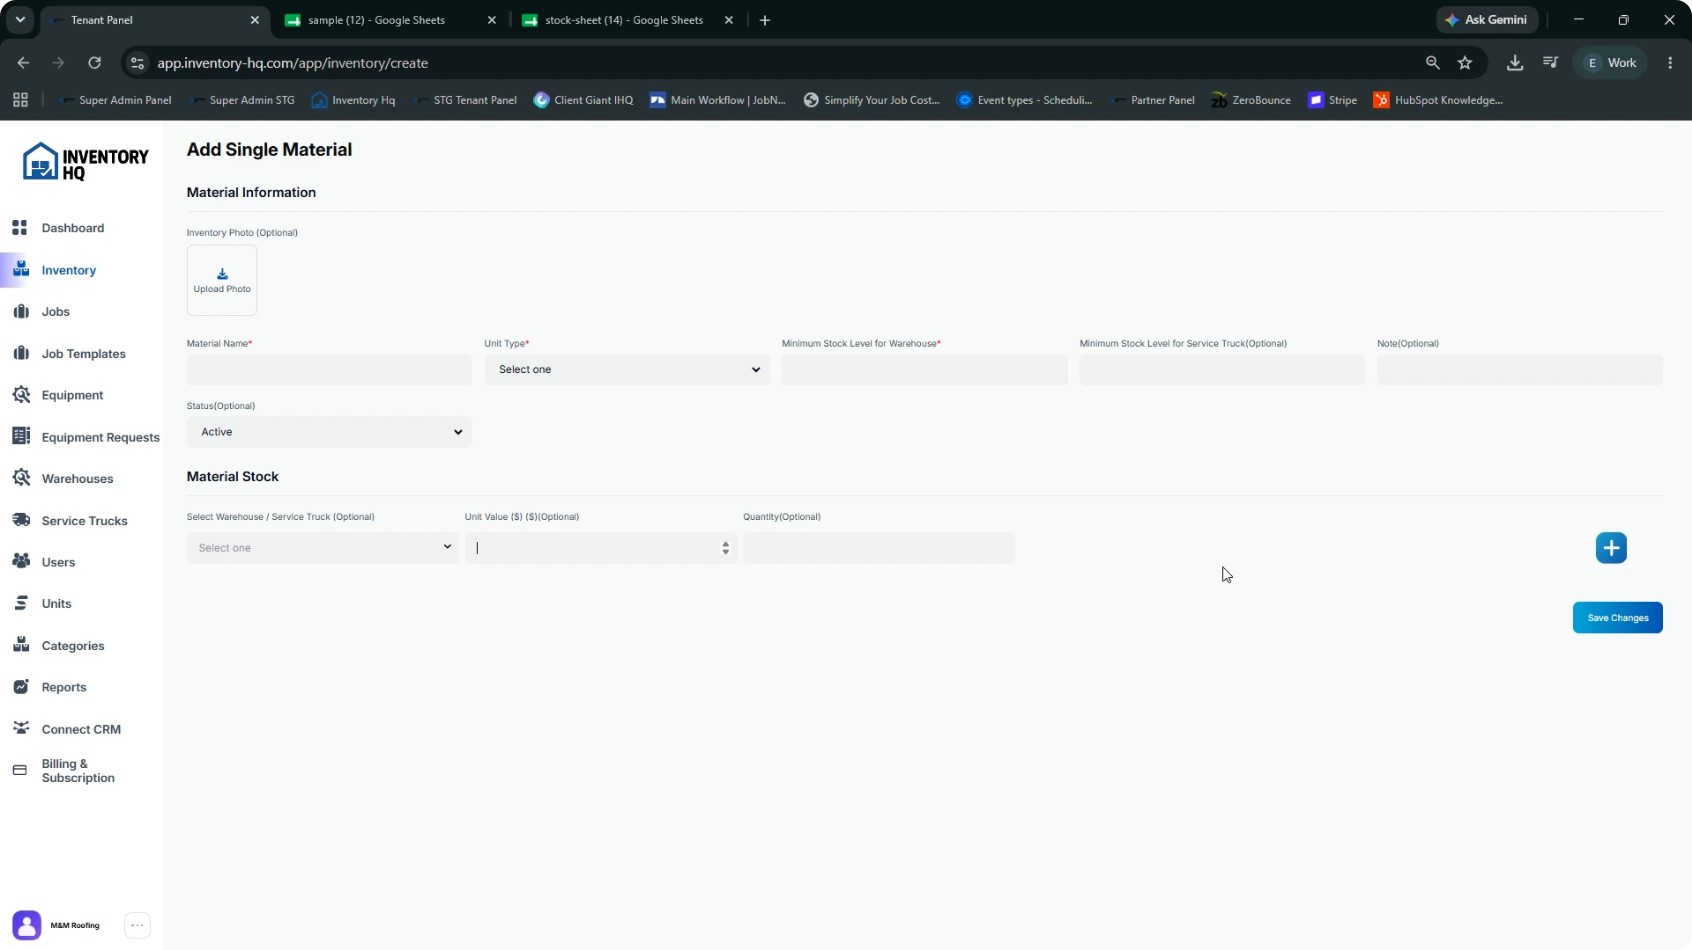
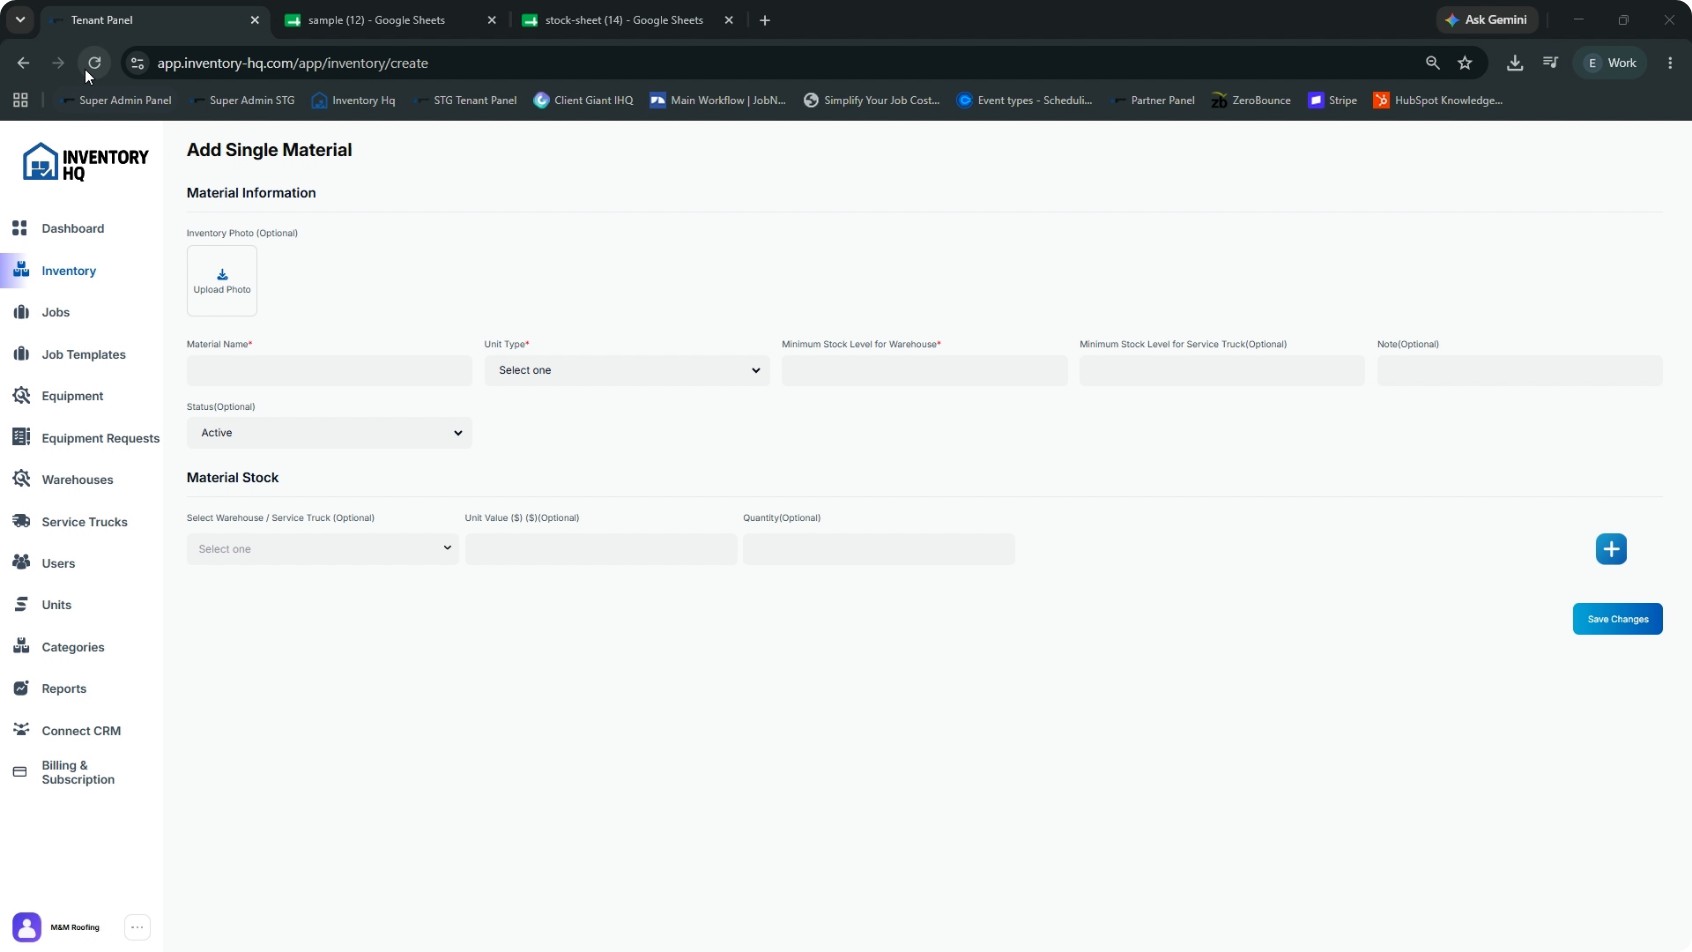
On this same page, you can also assign the material to a specific warehouse, enter the unit value for that material, and enter the initial quantity. When all details are filled in, click Save Changes to create the material.
- 4
Bulk Upload Global Materials (Catalog-Level)
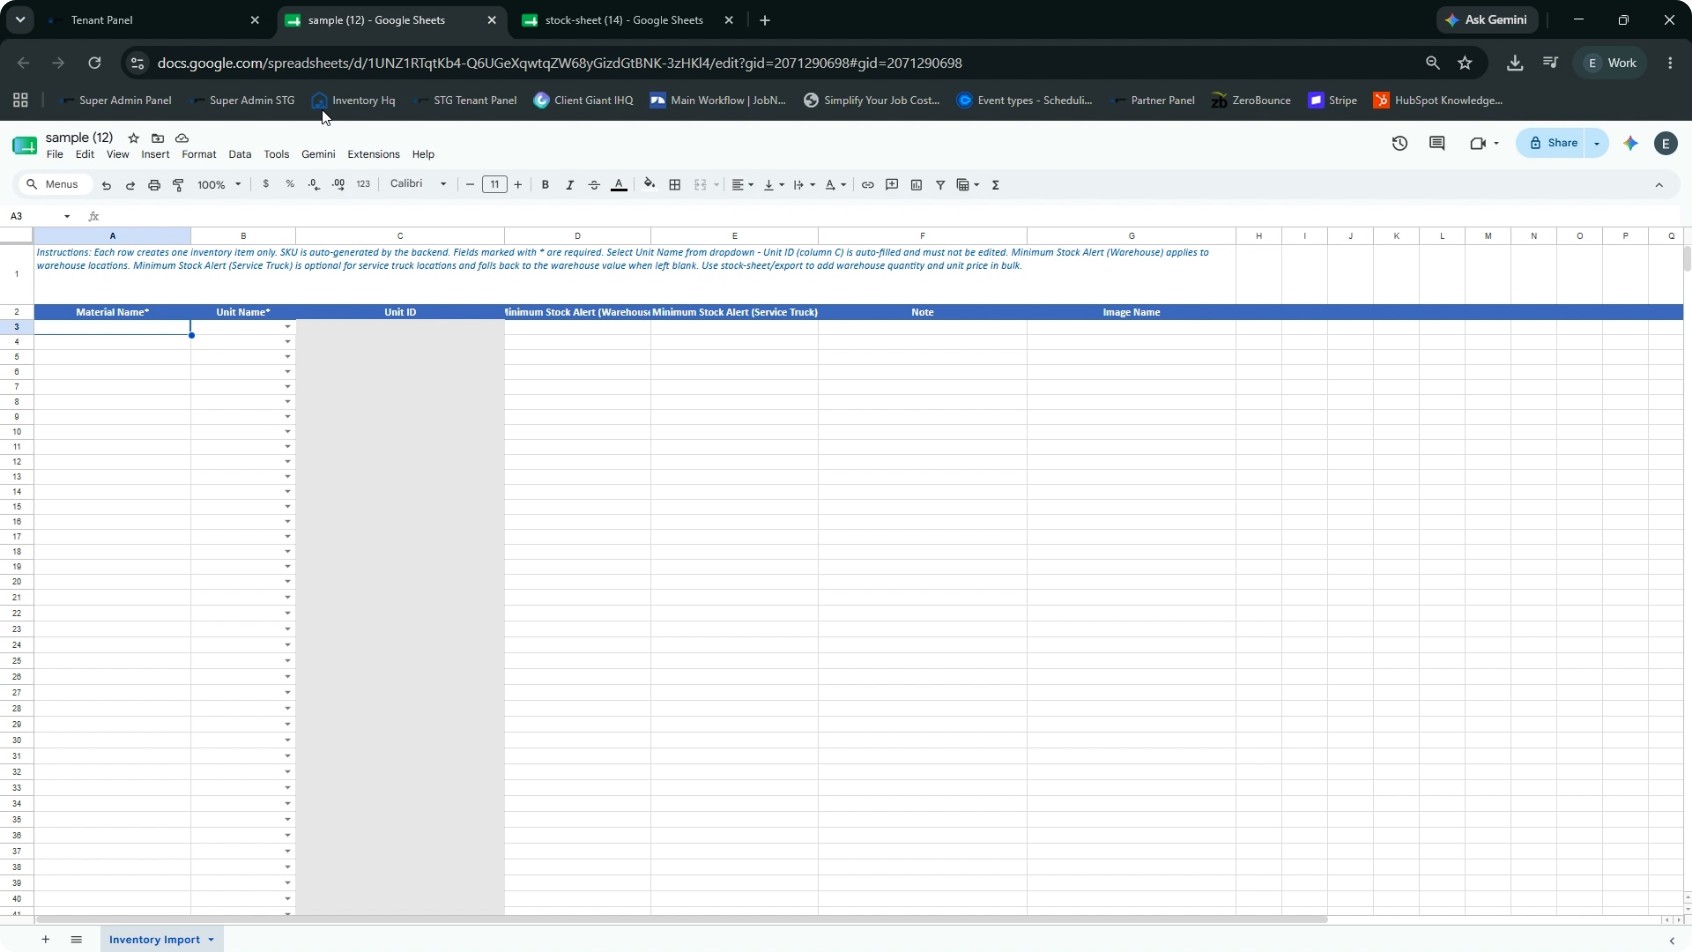
Return to the Inventory page and choose the Add Global Bulk Material option. Use this option to bulk upload many new materials into your company-wide catalog across all warehouses. This acts as a system-wide master upload. Key points for the global bulk upload:
- Download the Excel template provided for this method.
- This is a material master template and does not include quantity or unit price fields.
- The required fields are Material Name and Unit Name.
- The Unit Name dropdown in the template depends on the unit names you have already configured in your account.
- Fill in the material names and set the appropriate unit names for each row.
Once the template is filled out, upload the Excel file in the system and click Submit to process the bulk upload.
- 5
Bulk Upload or Restock by Warehouse
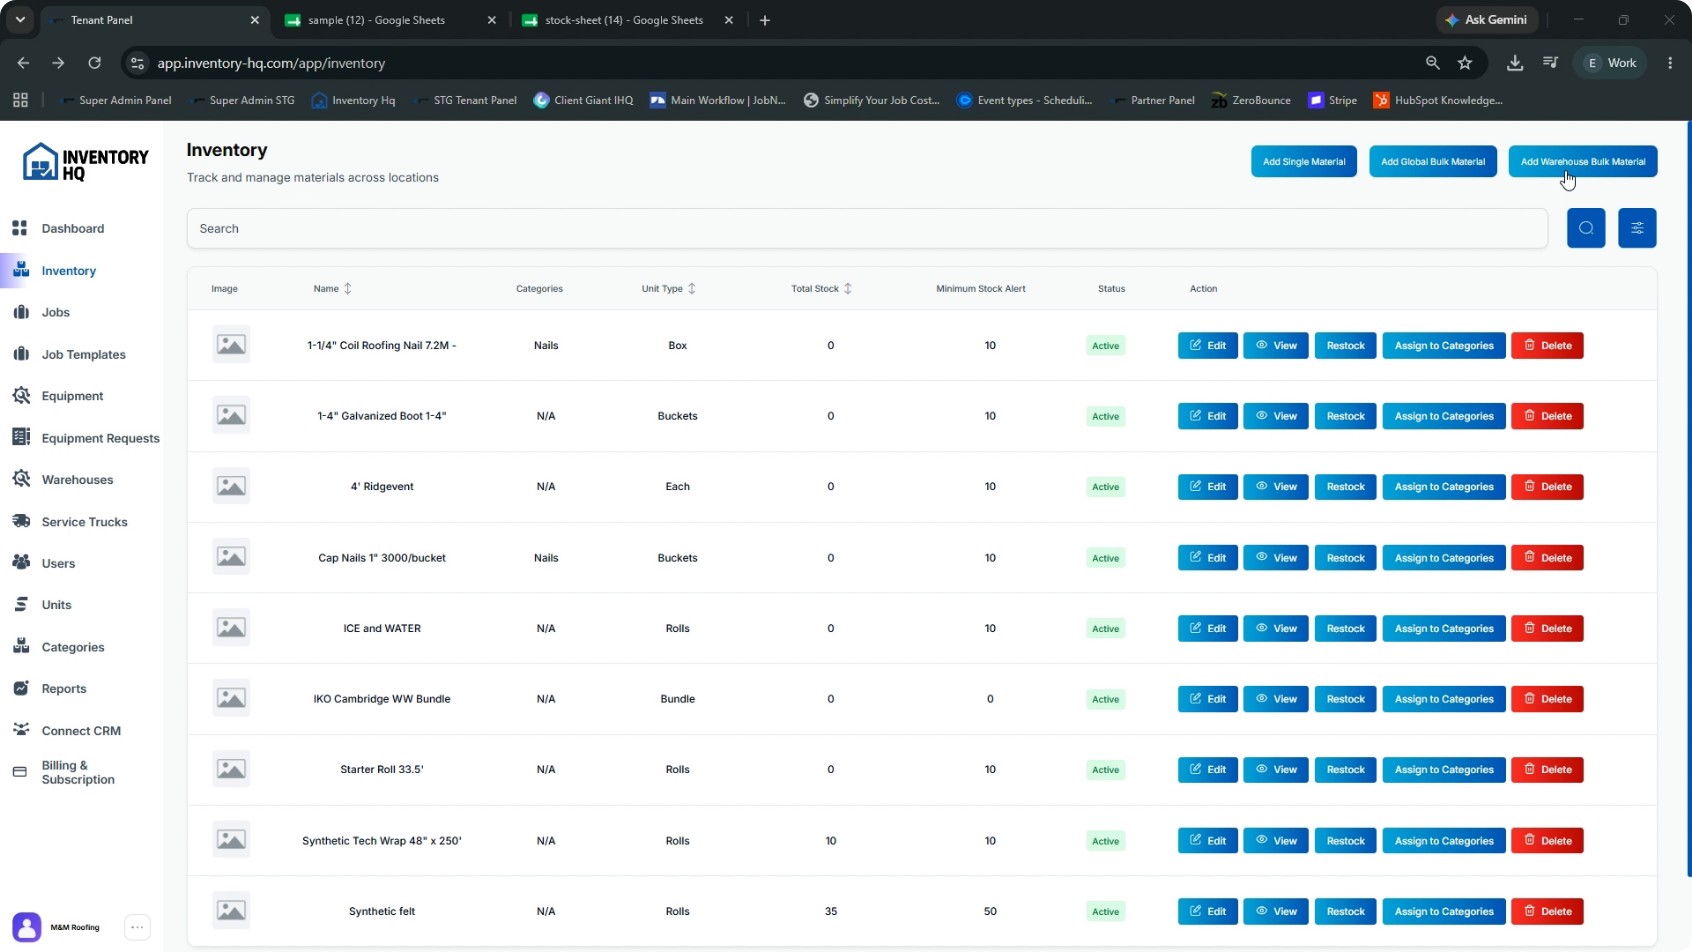
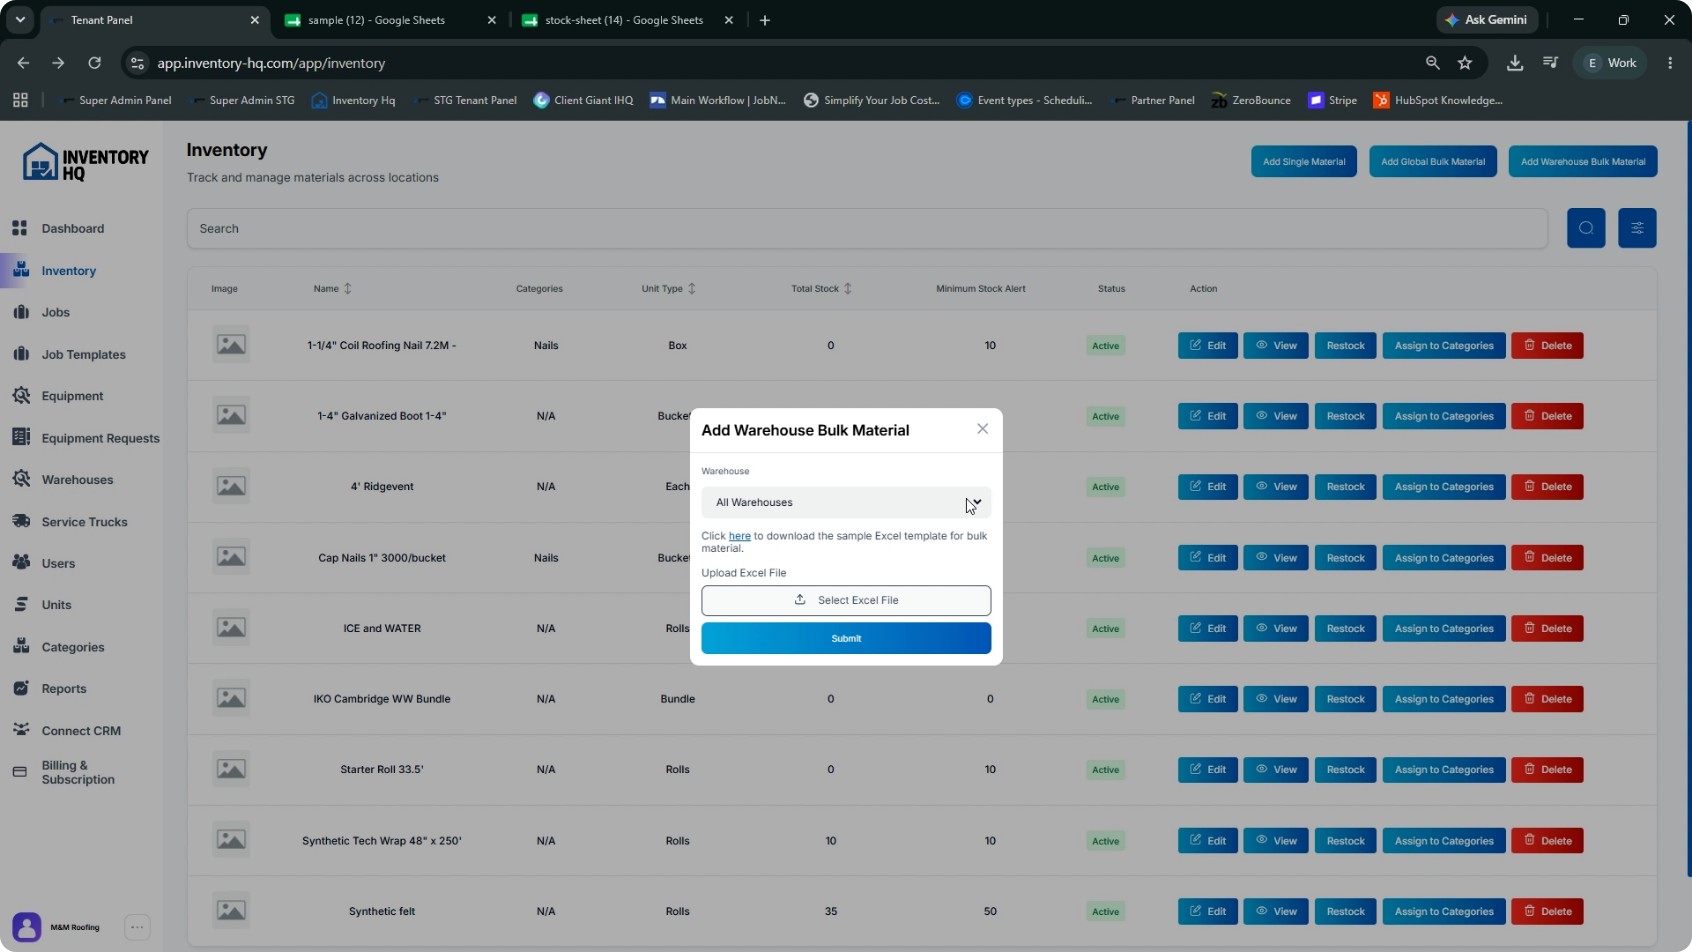
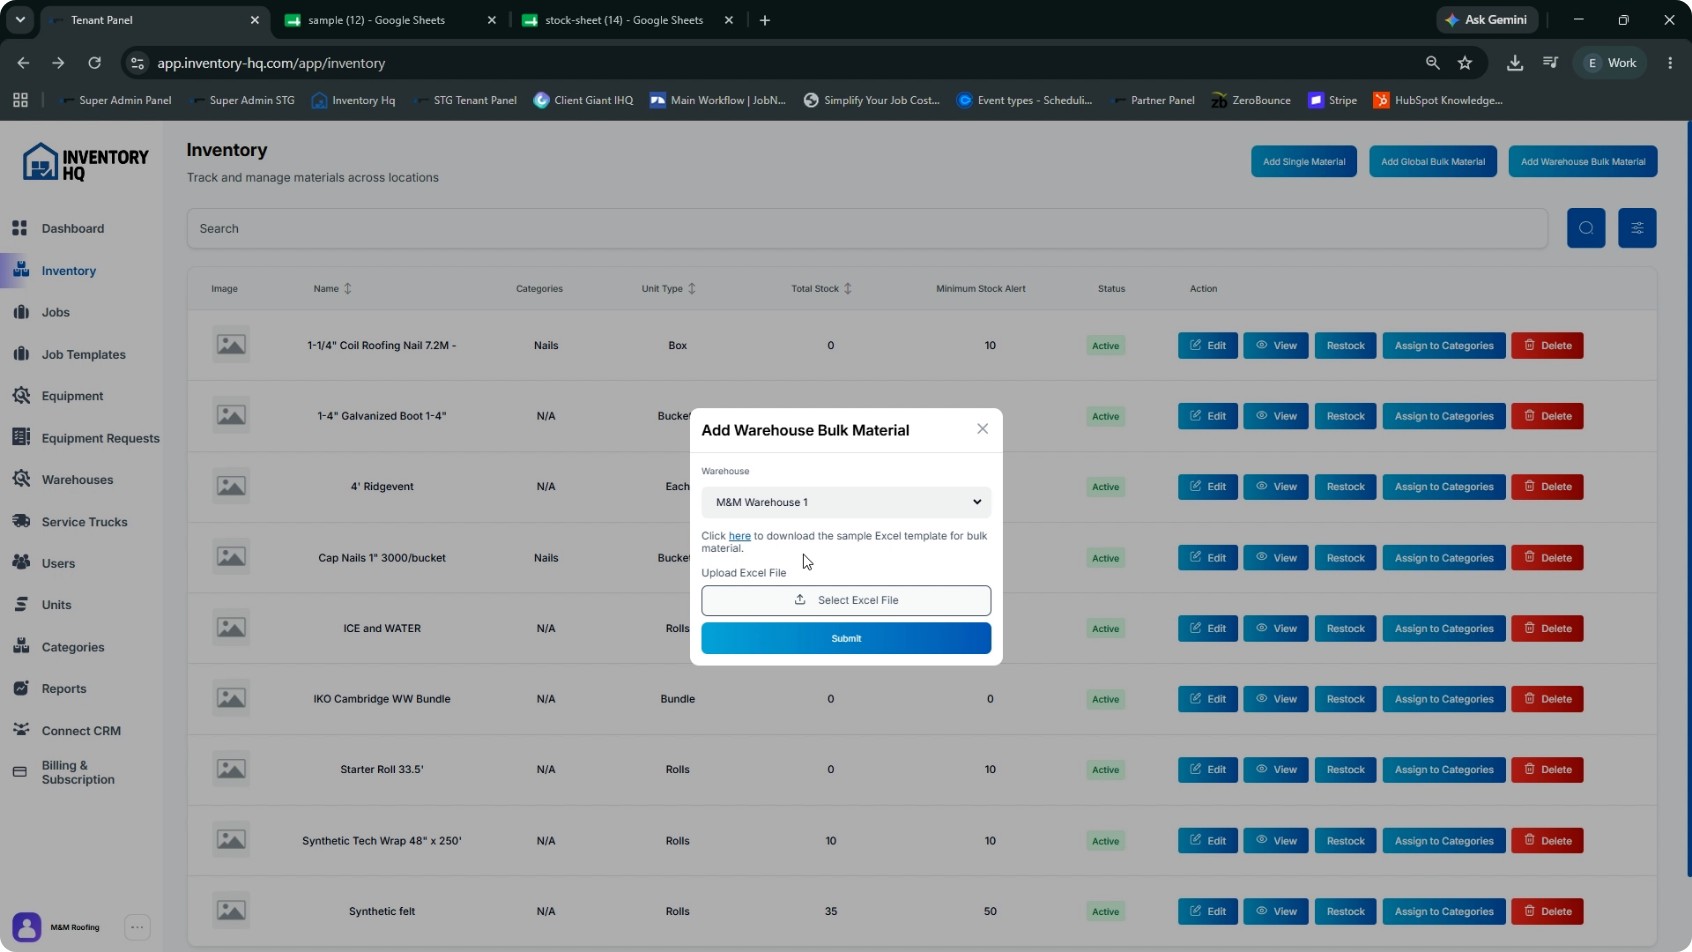
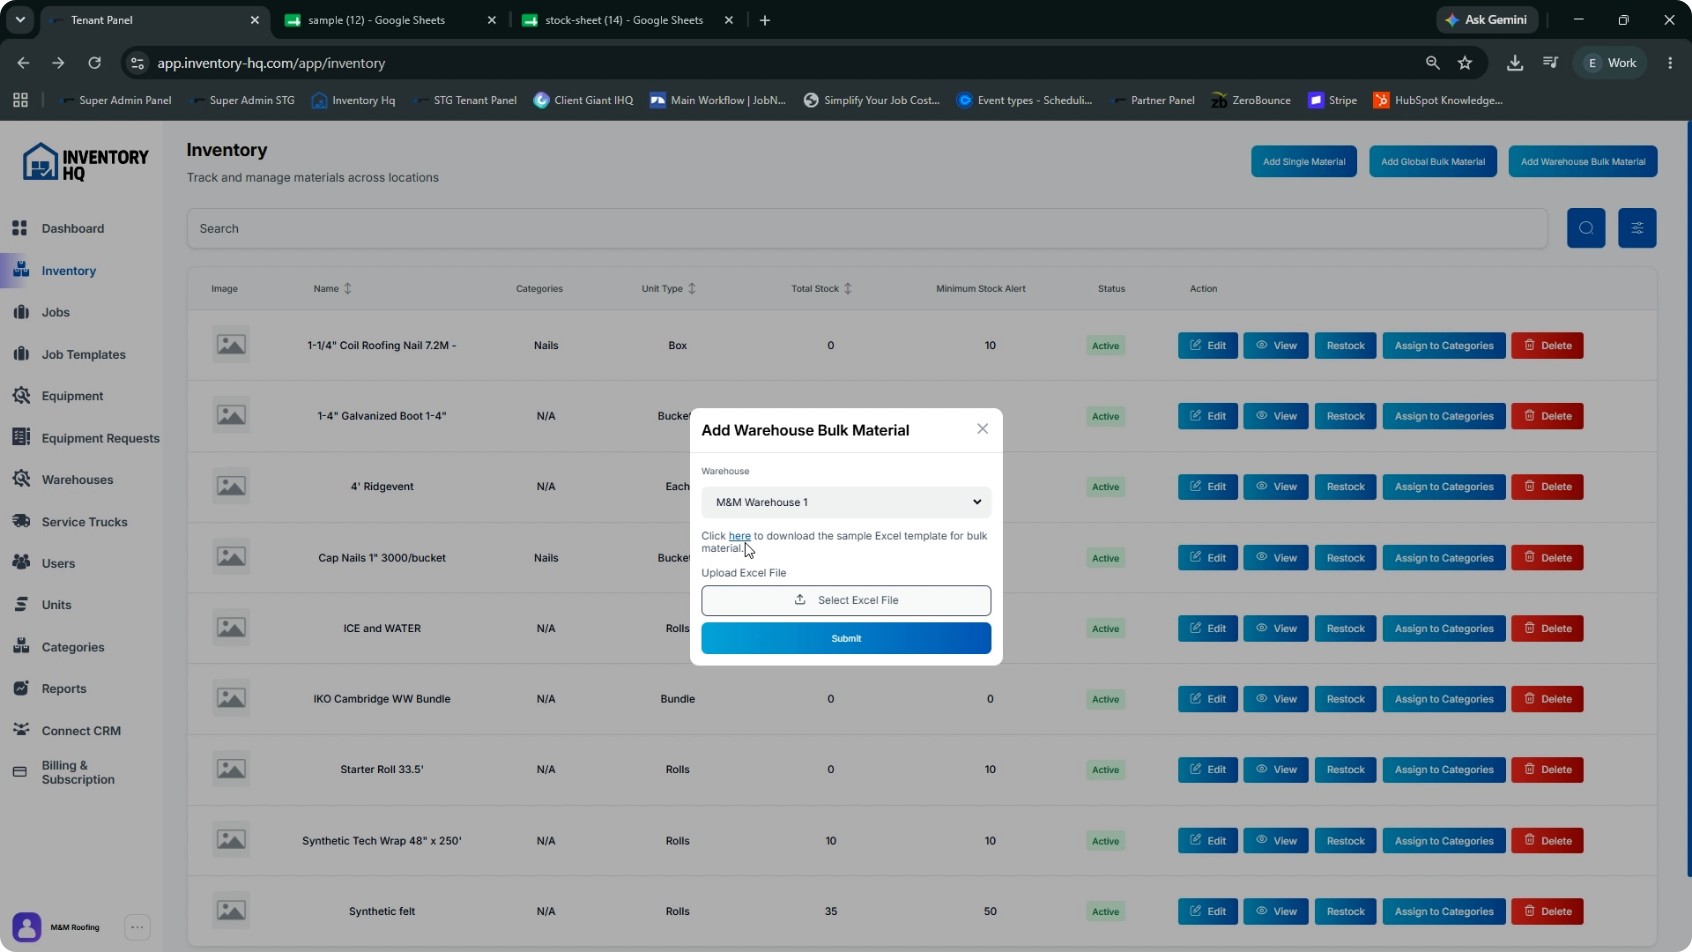
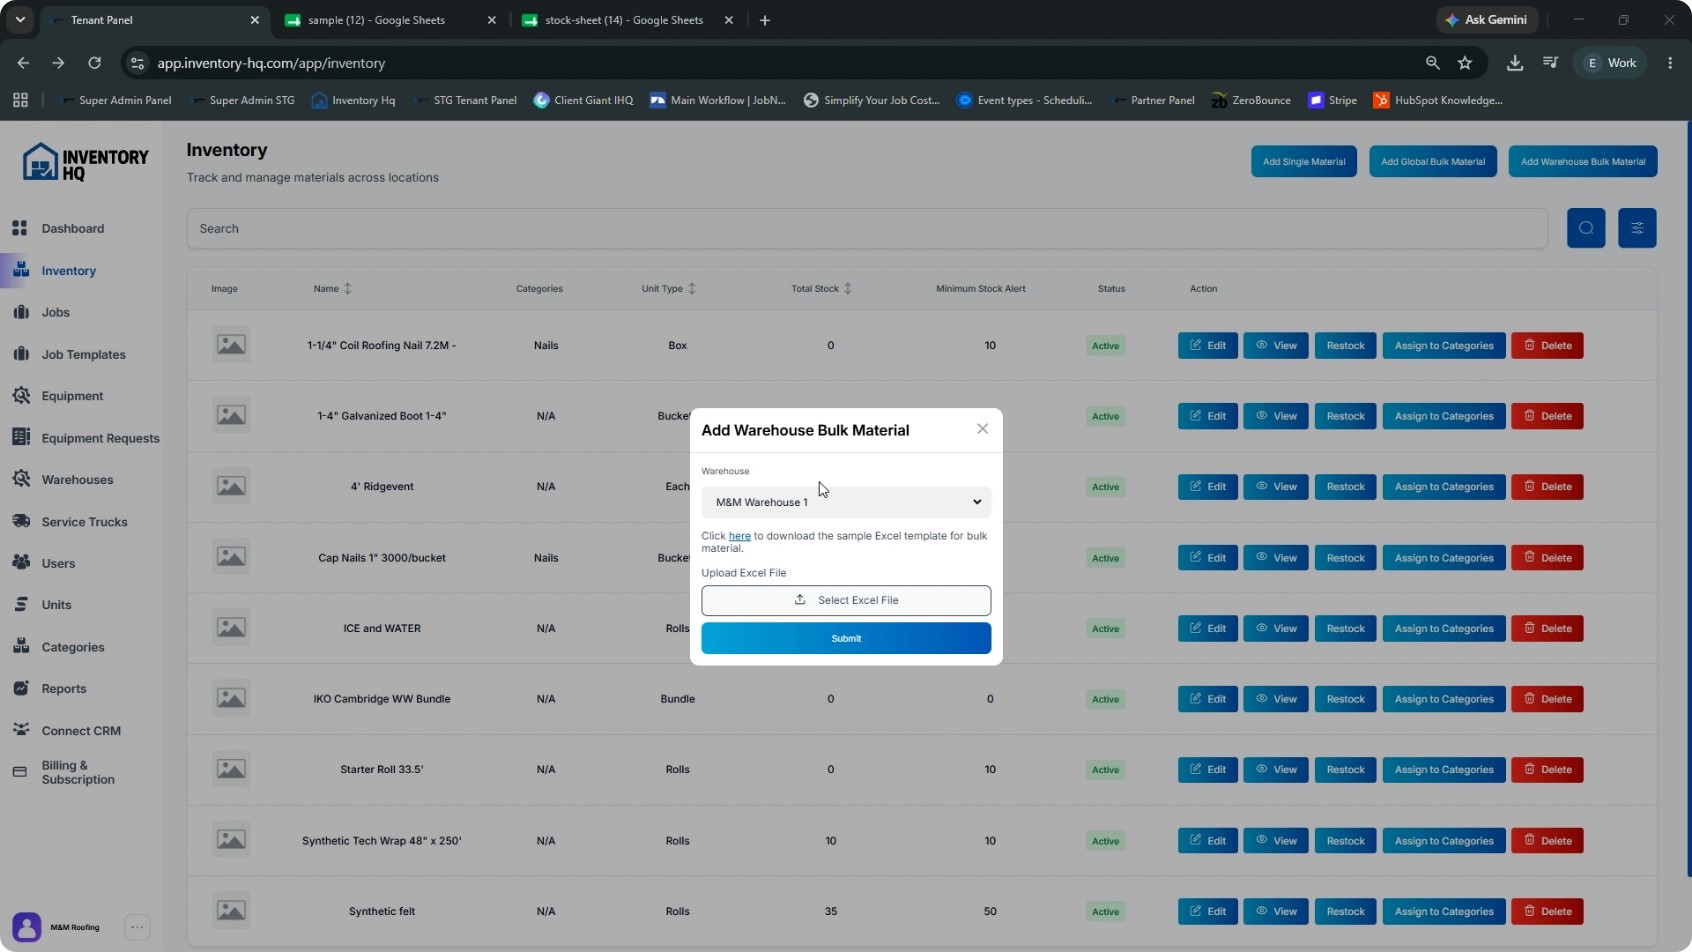
Next, open the Add Warehouse Bulk Material option. Use this method specifically for bulk uploading or restocking materials into one specific warehouse or across all warehouses. In this section:
- Use the dropdown to select the target warehouse (or all warehouses as supported).
- Click the button to download the sample Excel template for warehouse bulk upload.
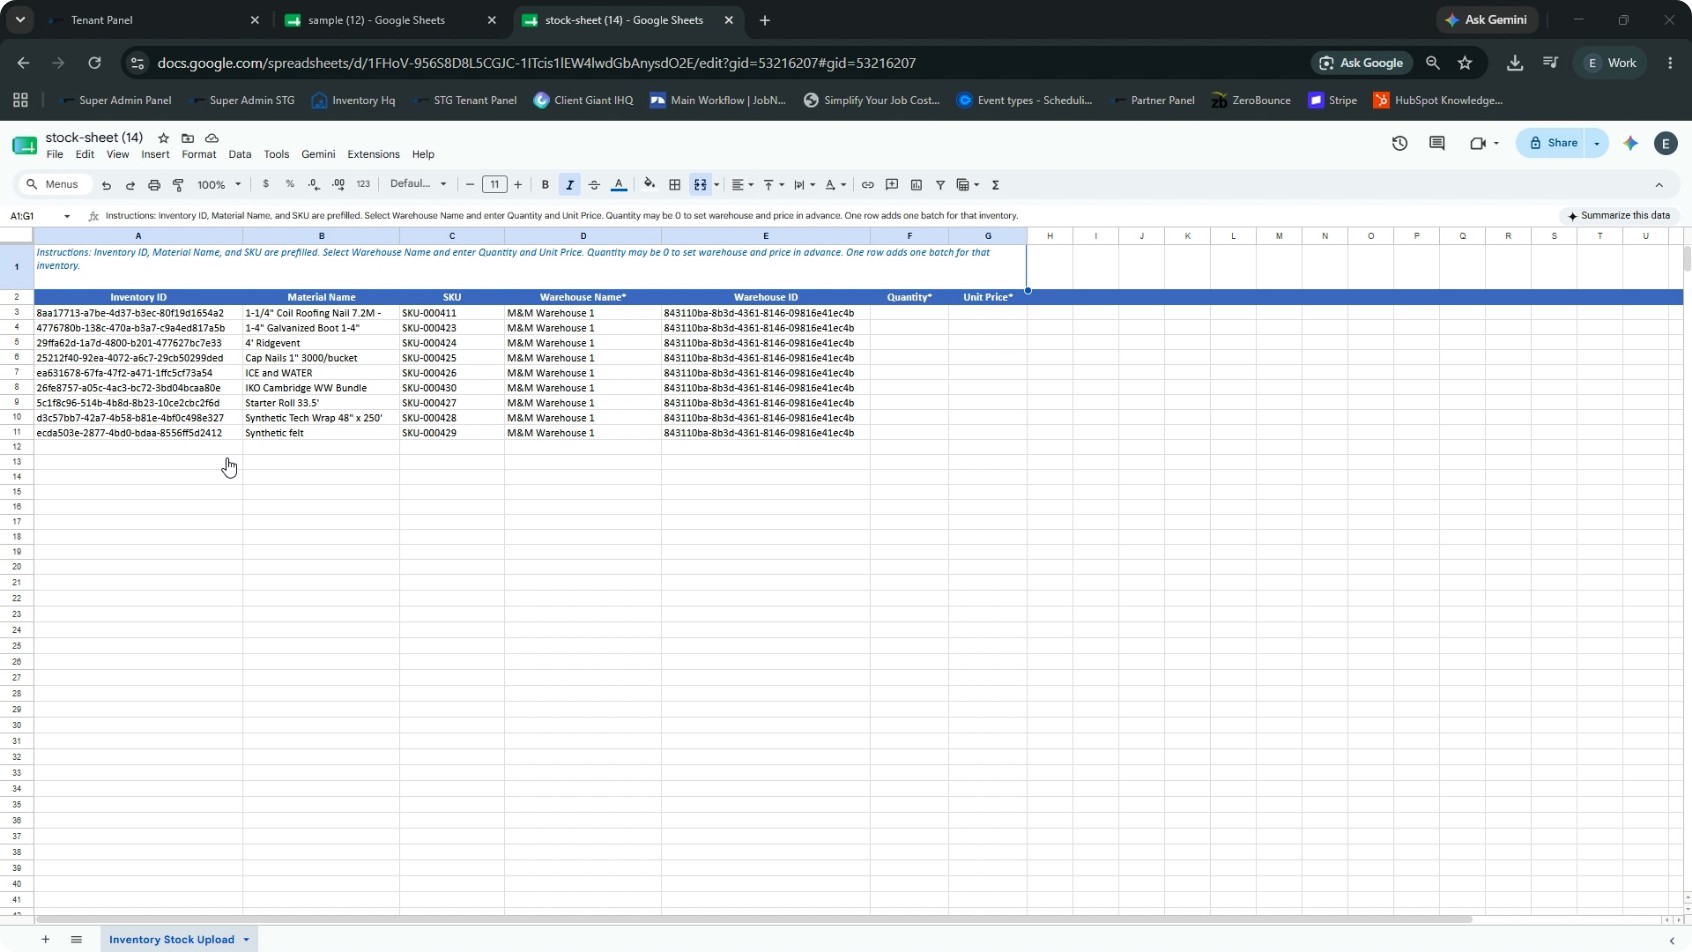
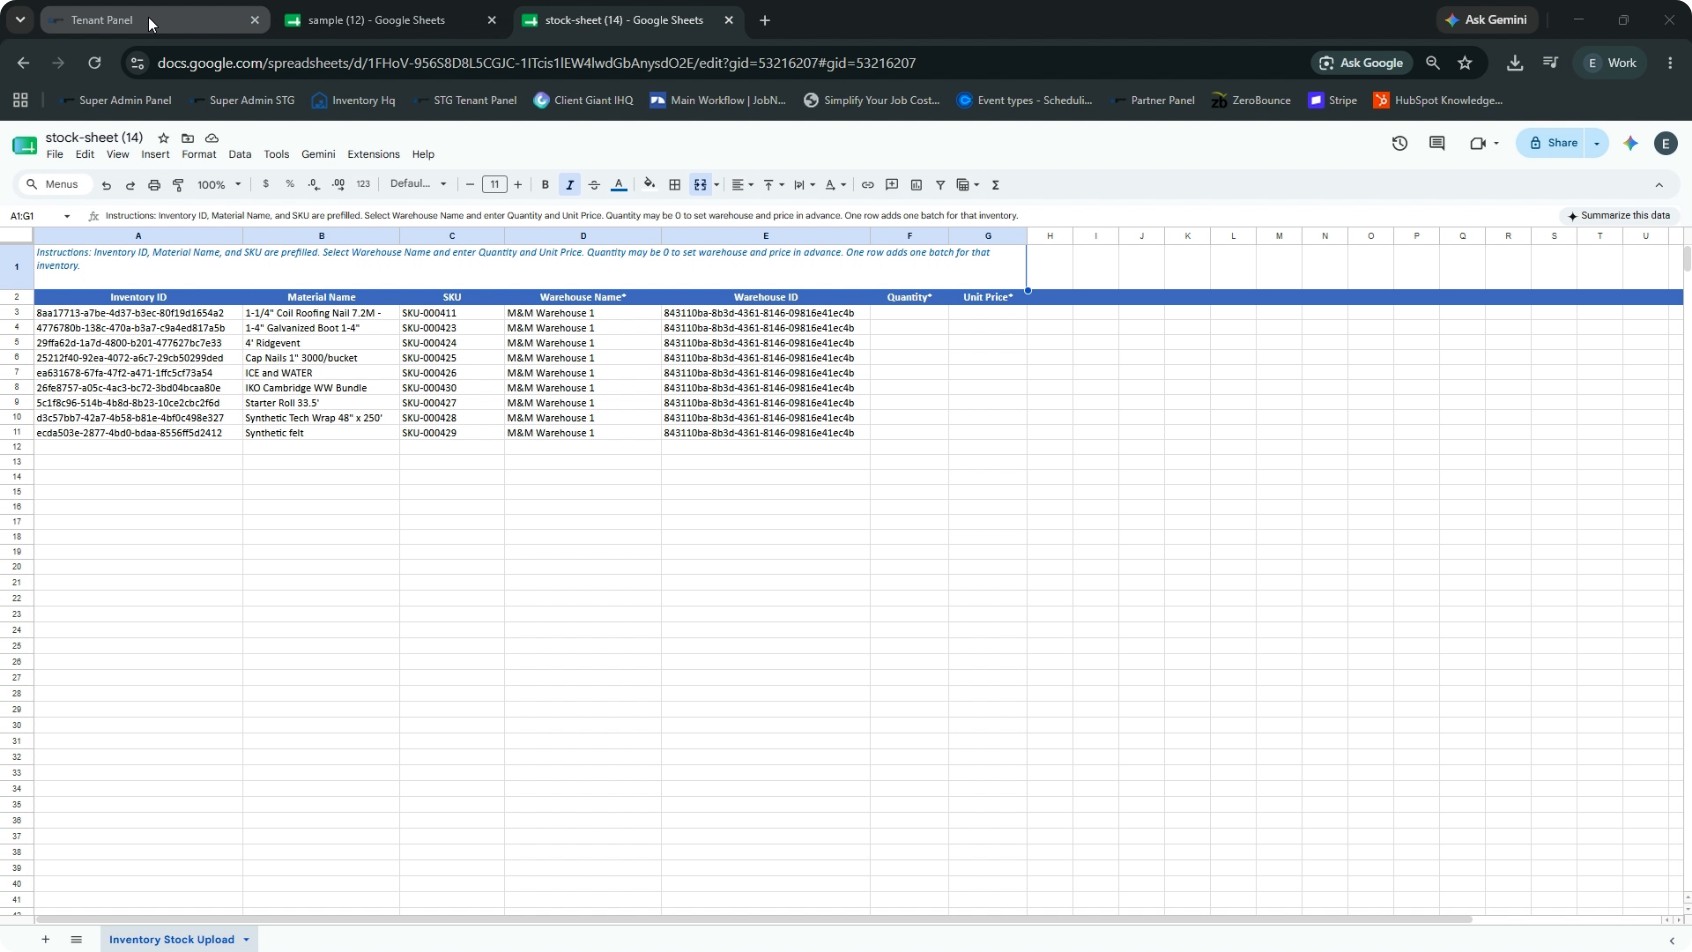
Differences from the global template: this Excel template includes Quantity and Unit Price fields. It is already prefilled with Material Name, SKU, Warehouse Name, Warehouse ID, and Inventory ID. This structure allows you to efficiently set specific stock counts and pricing for that exact warehouse location.
- 6
Follow Best Practices for Bulk Uploads
When working with bulk uploads:
- Always download a fresh template from inside your own account.
- Do not reuse an old file, as formats or IDs may change.
- Fill in the template and keep the same file format when you upload it back.
A critical point: SKUs must match exactly. A mistyped SKU will create a brand-new item instead of updating the intended existing one.
- 7
Restock Materials and Understand FIFO
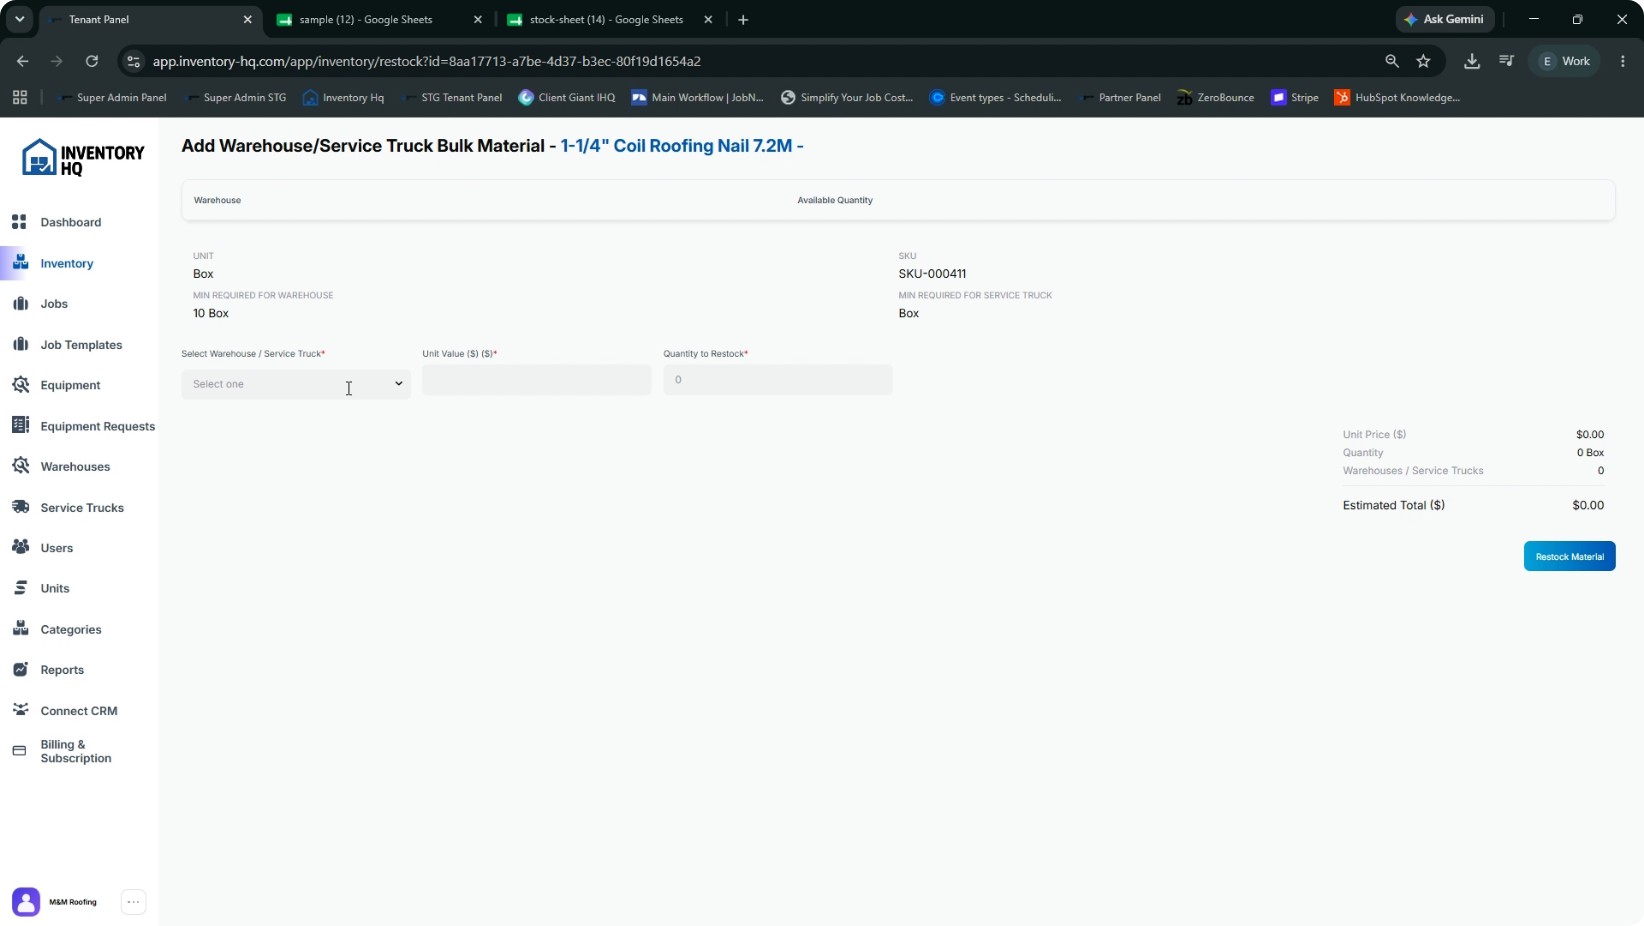
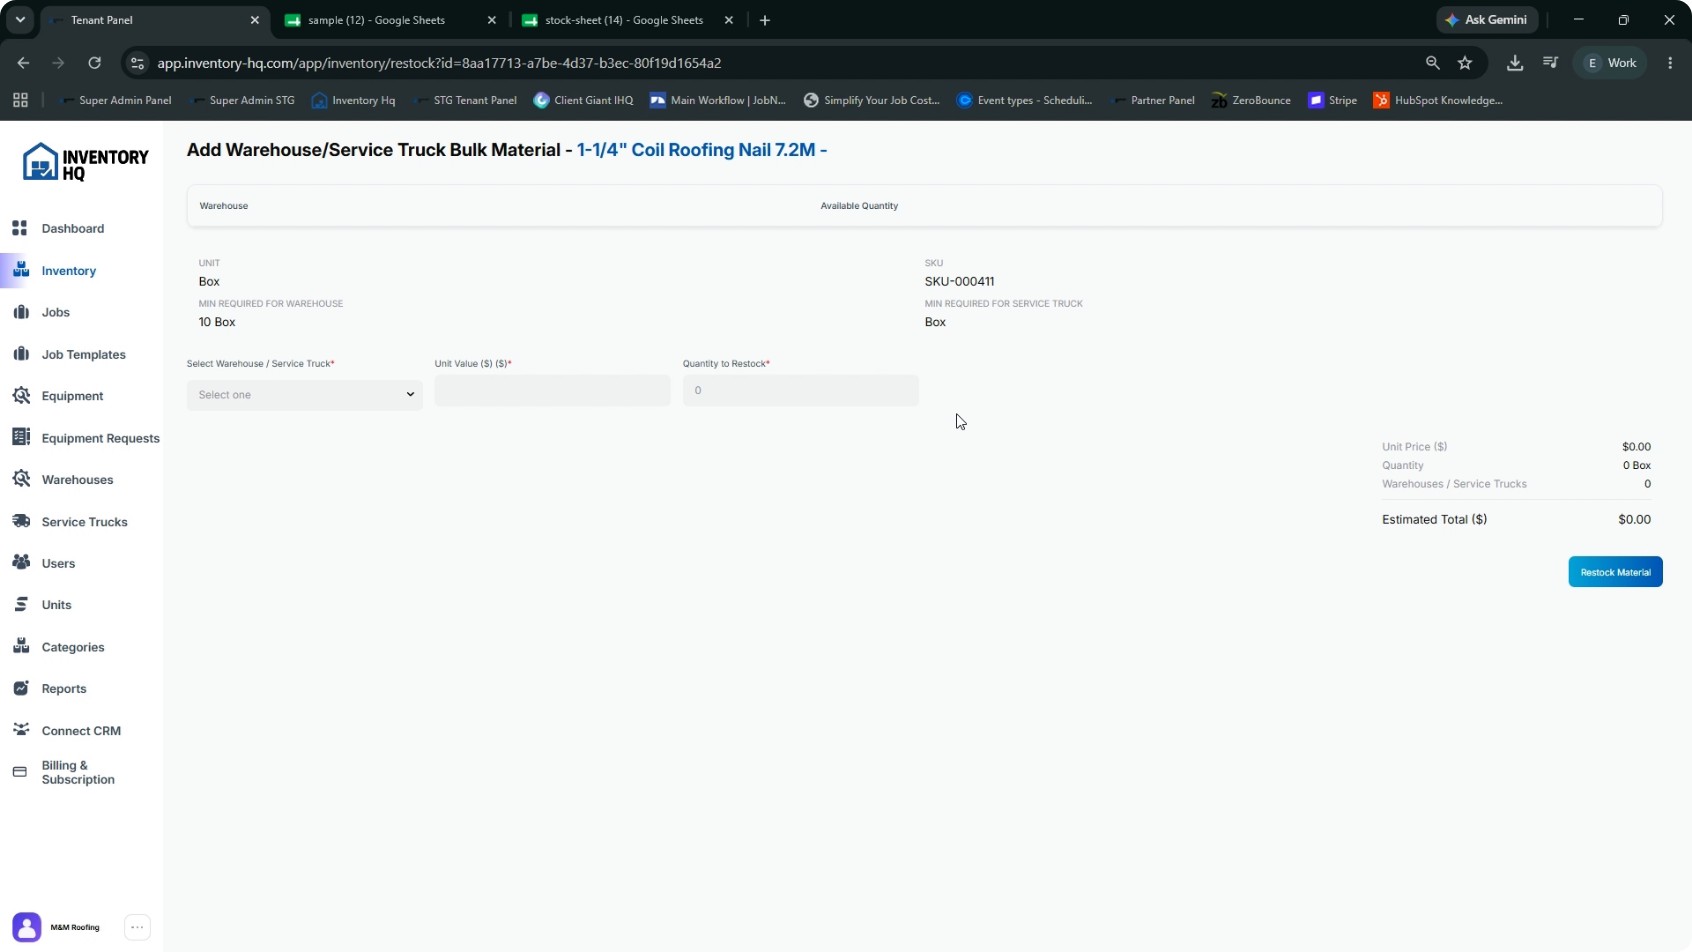
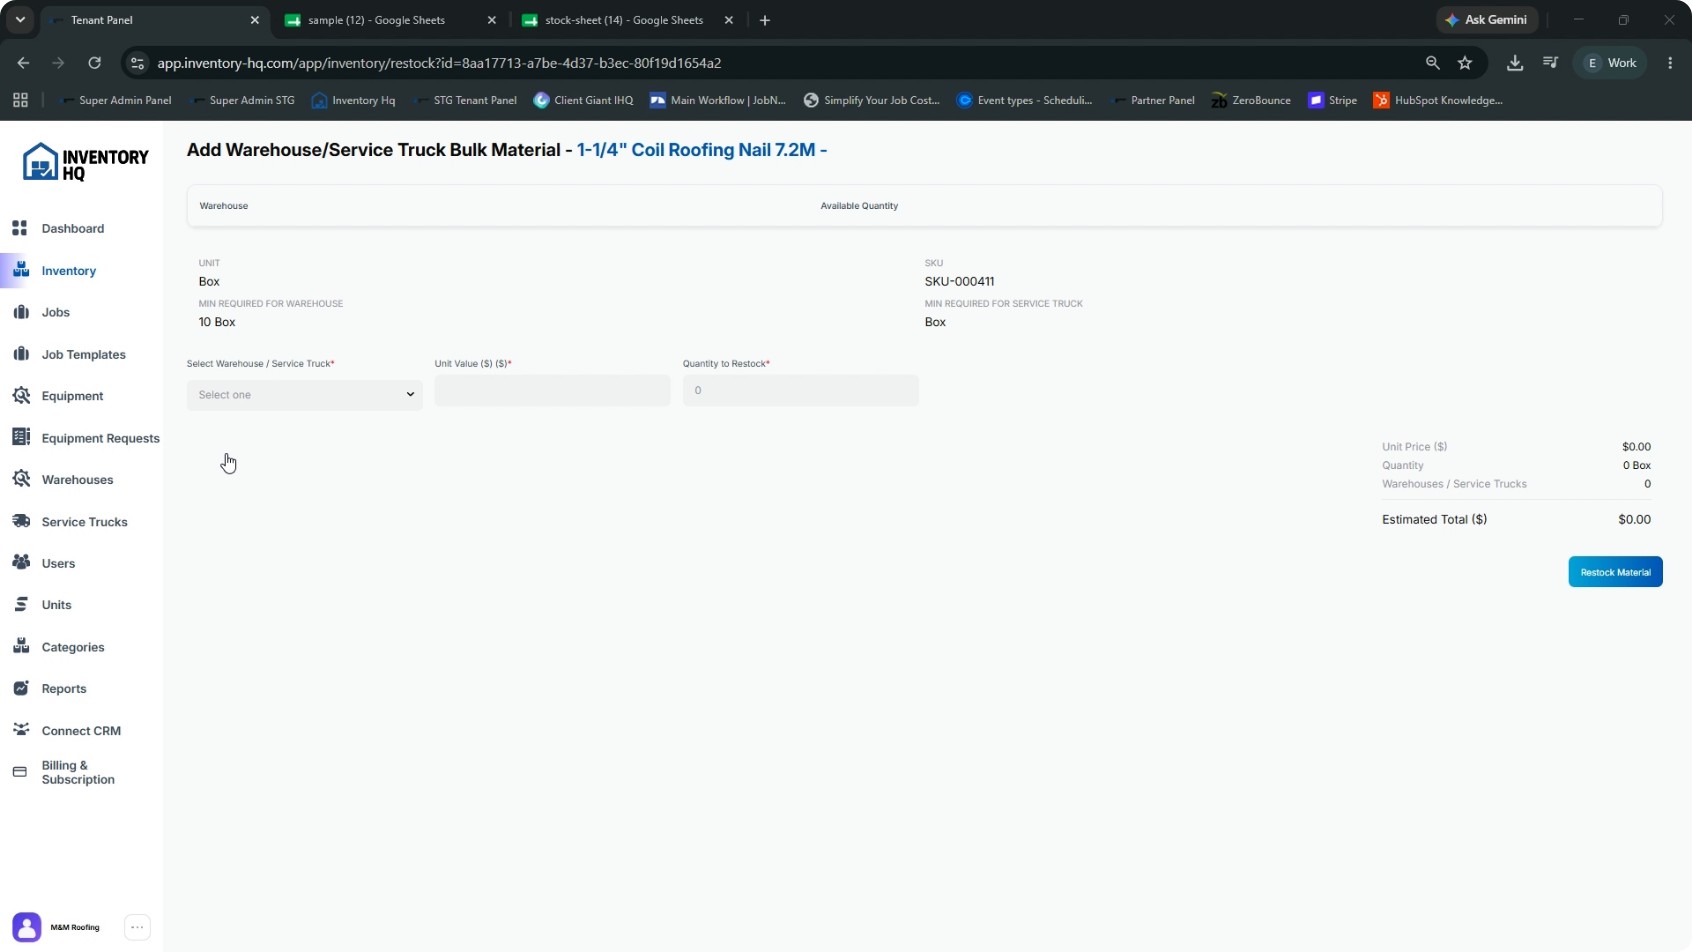
After your initial uploads, you will regularly restock materials. When new stock arrives:
- Click the Restock button for the relevant material.
- Choose the location (warehouse or service truck).
- Enter the unit value (what you paid per unit for this restock).
- Enter the quantity being added.
You must enter the actual unit cost each time because each restock is recorded as its own batch, and InventoryHQ uses FIFO (First In, First Out): if you bought a material at $48 per unit in May and $50 per unit in June, jobs will consume the $48 batch first, then the $50 batch. This ensures job costs reflect the real cost you paid, not an average. When finished, click Restock the material to apply the restock. The Restock function also serves as your count correction tool: a positive restock adjusts the count up, a negative restock adjusts the count down, and all adjustments are logged with a timestamp for traceability.
- 8
Use Filters and Search on the Inventory Page
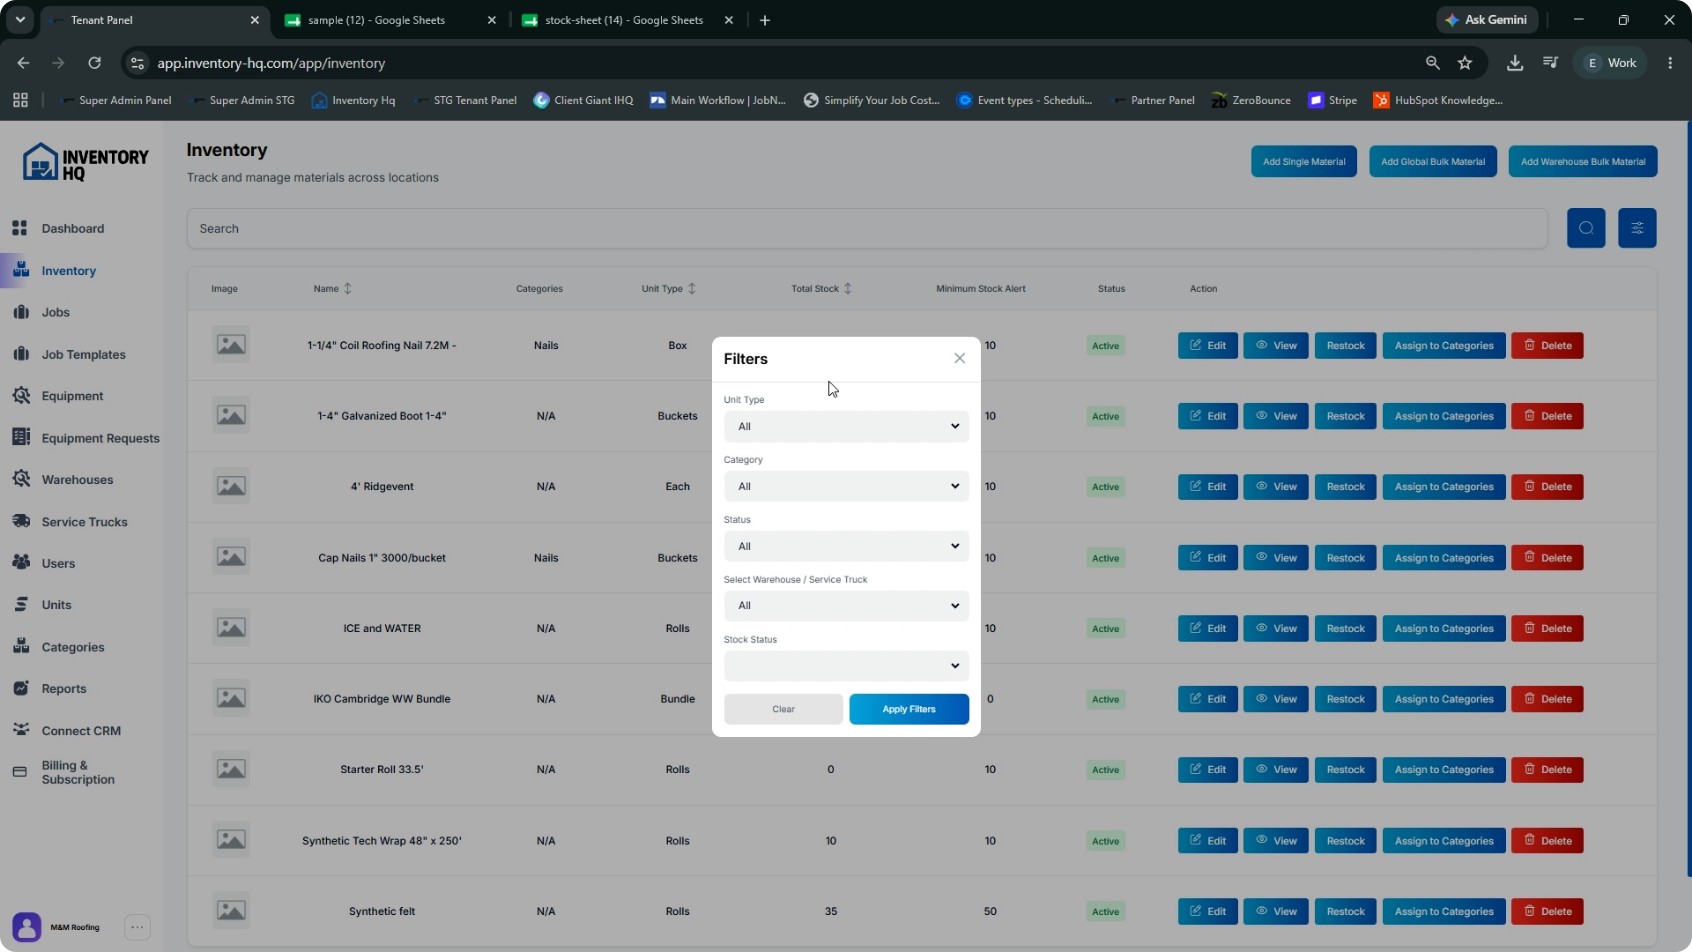
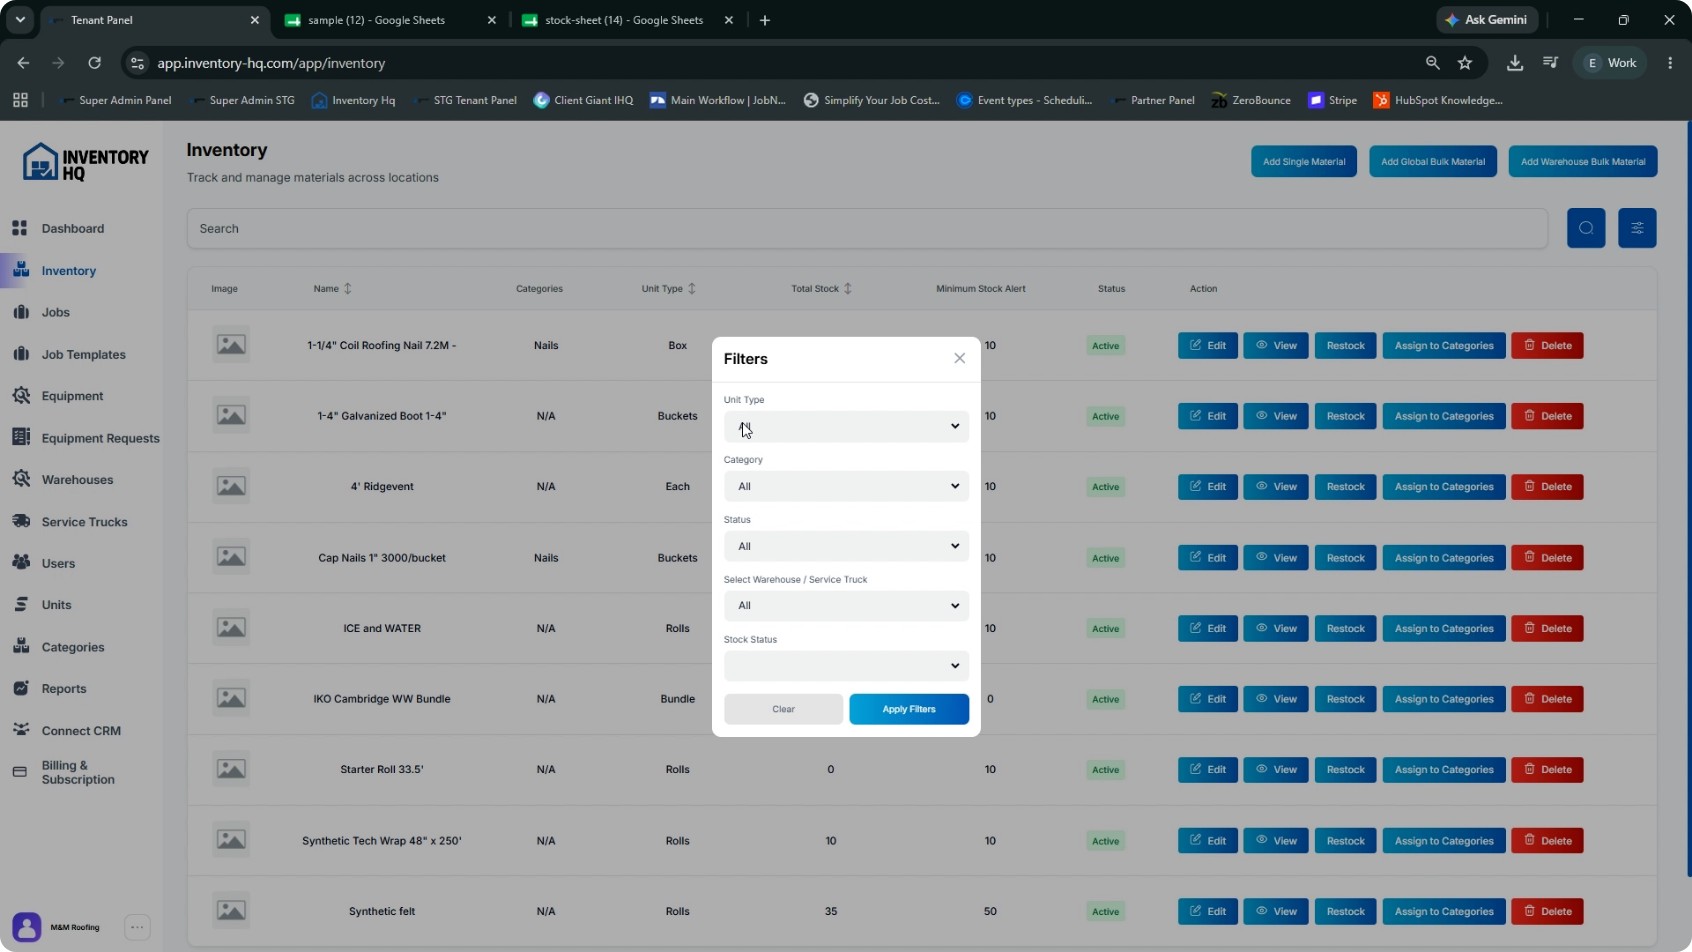
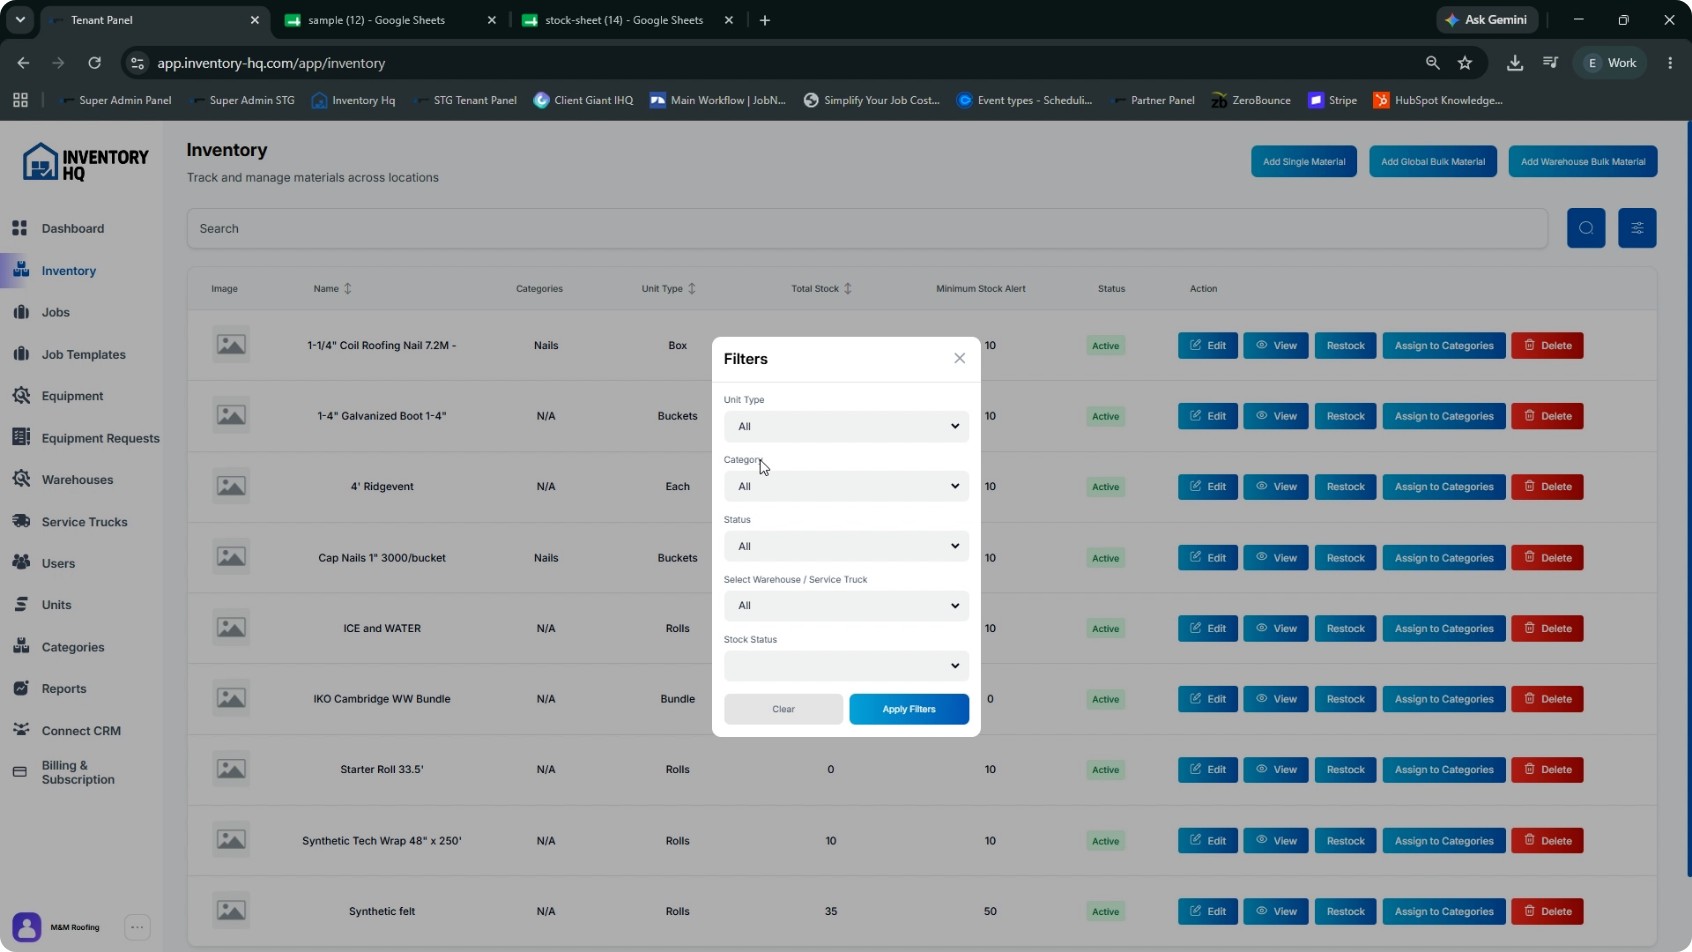
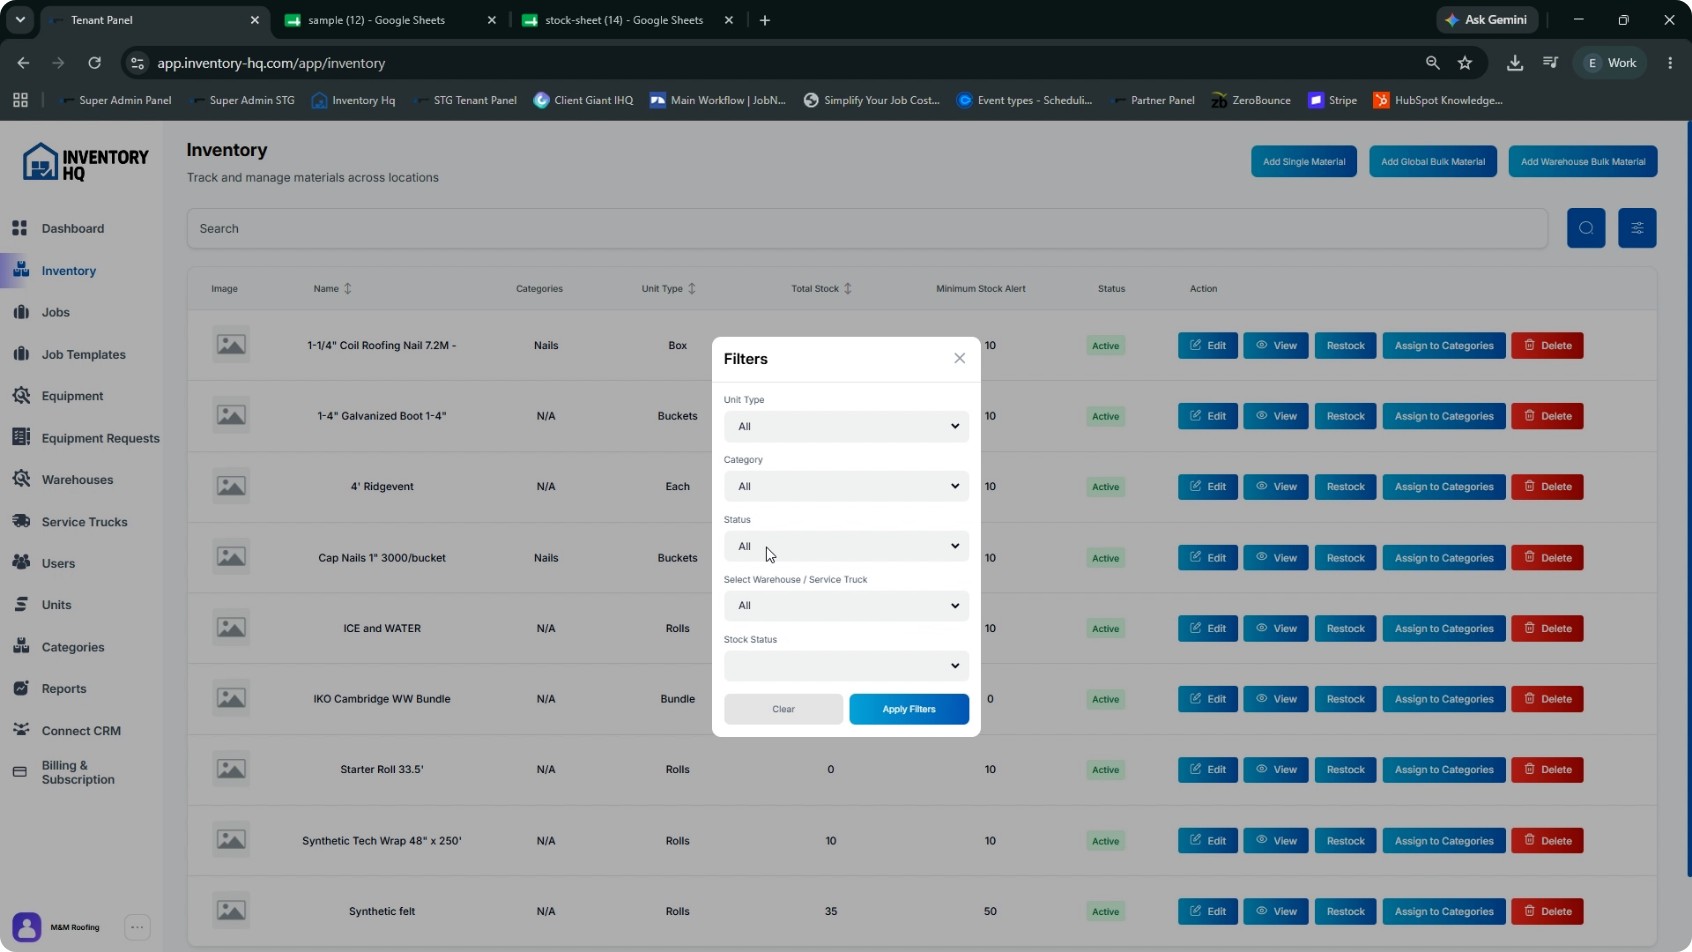
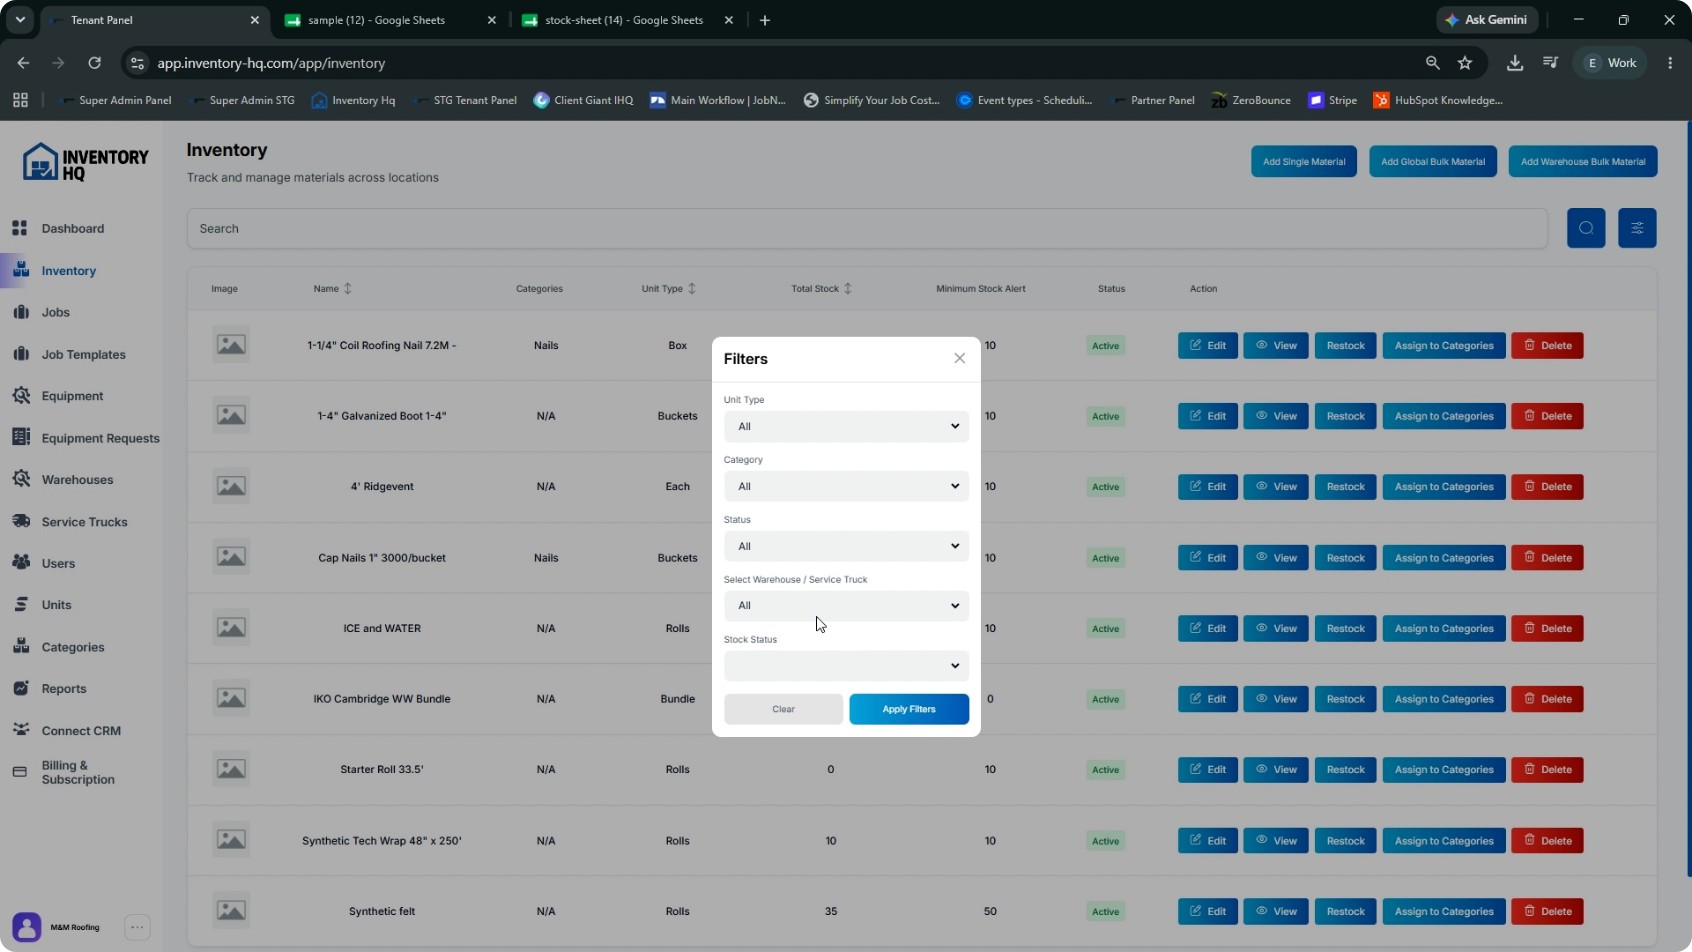
Return to the main Inventory page to analyze and manage your stock. At the top, you will find search and filter controls. You can filter materials by:
- Unit type
- Category
- Status (e.g., Active/Inactive)
- Warehouse or service truck (the key filter to answer “What’s in Warehouse 1?” or “What’s on that truck right now?”)
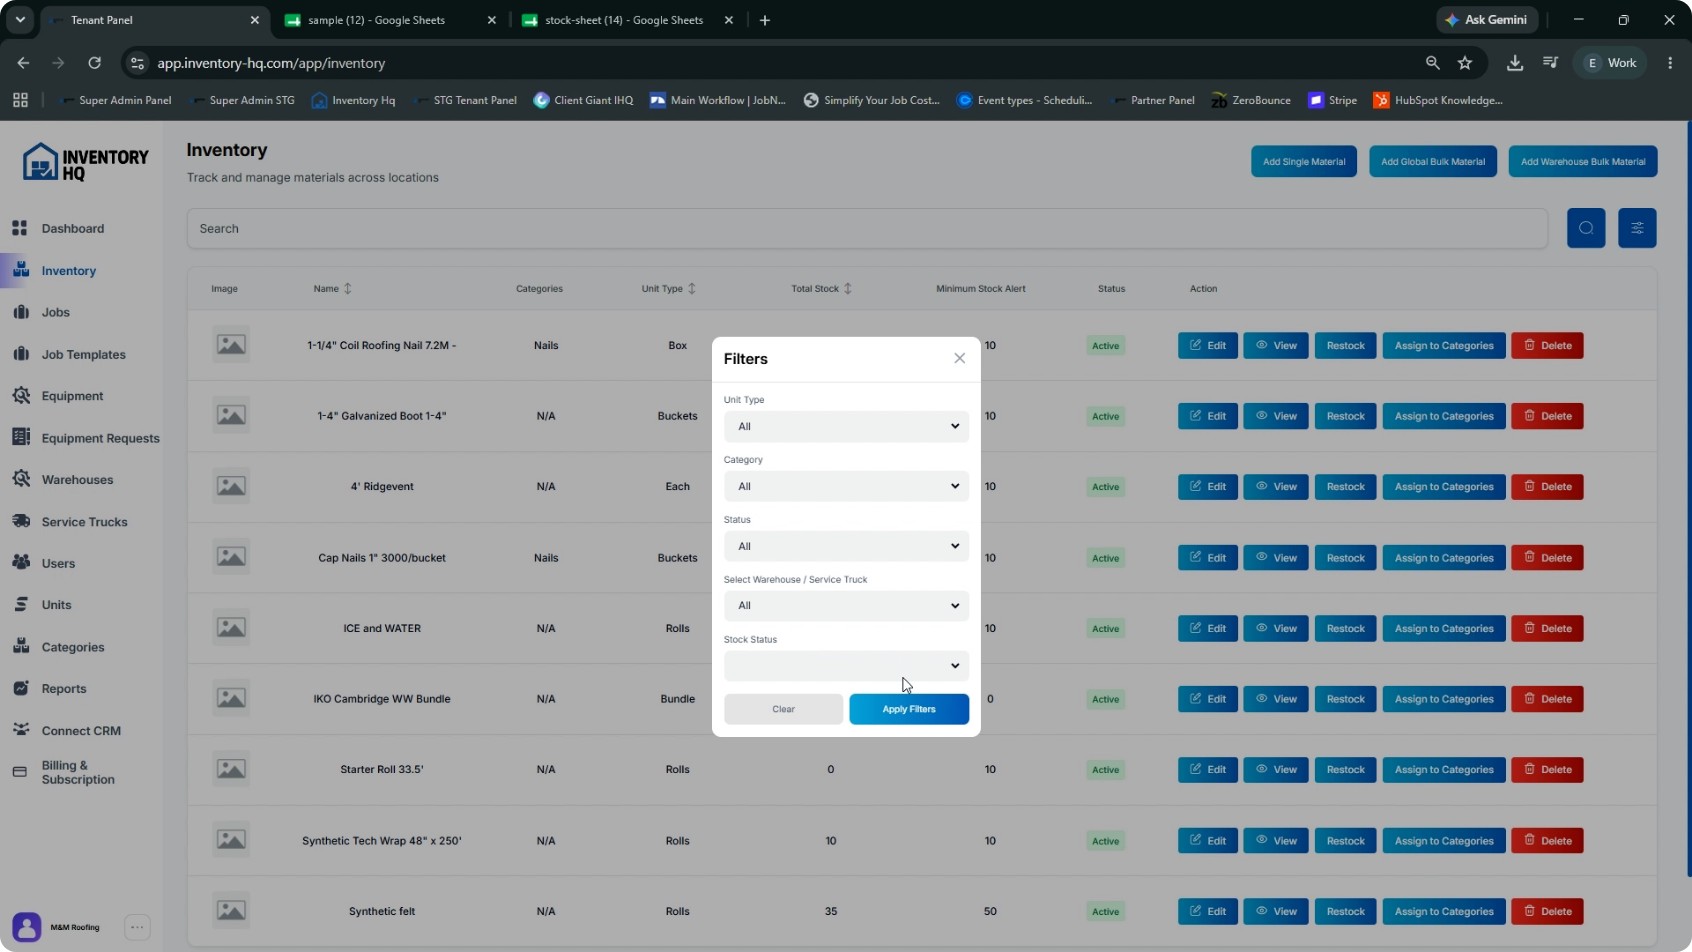
You can also filter by stock status to view low stock items, in-stock items, and out-of-stock items. After setting your filter criteria, click Apply Filters to see the refined list.
- 9
Configure and Use Minimum Stock Alerts
Set your minimum stock alerts at the level where you genuinely want to reorder, not at zero. This ensures the platform flags items before you run out. On the Inventory page, you will see minimum stock alert indicators for each material.
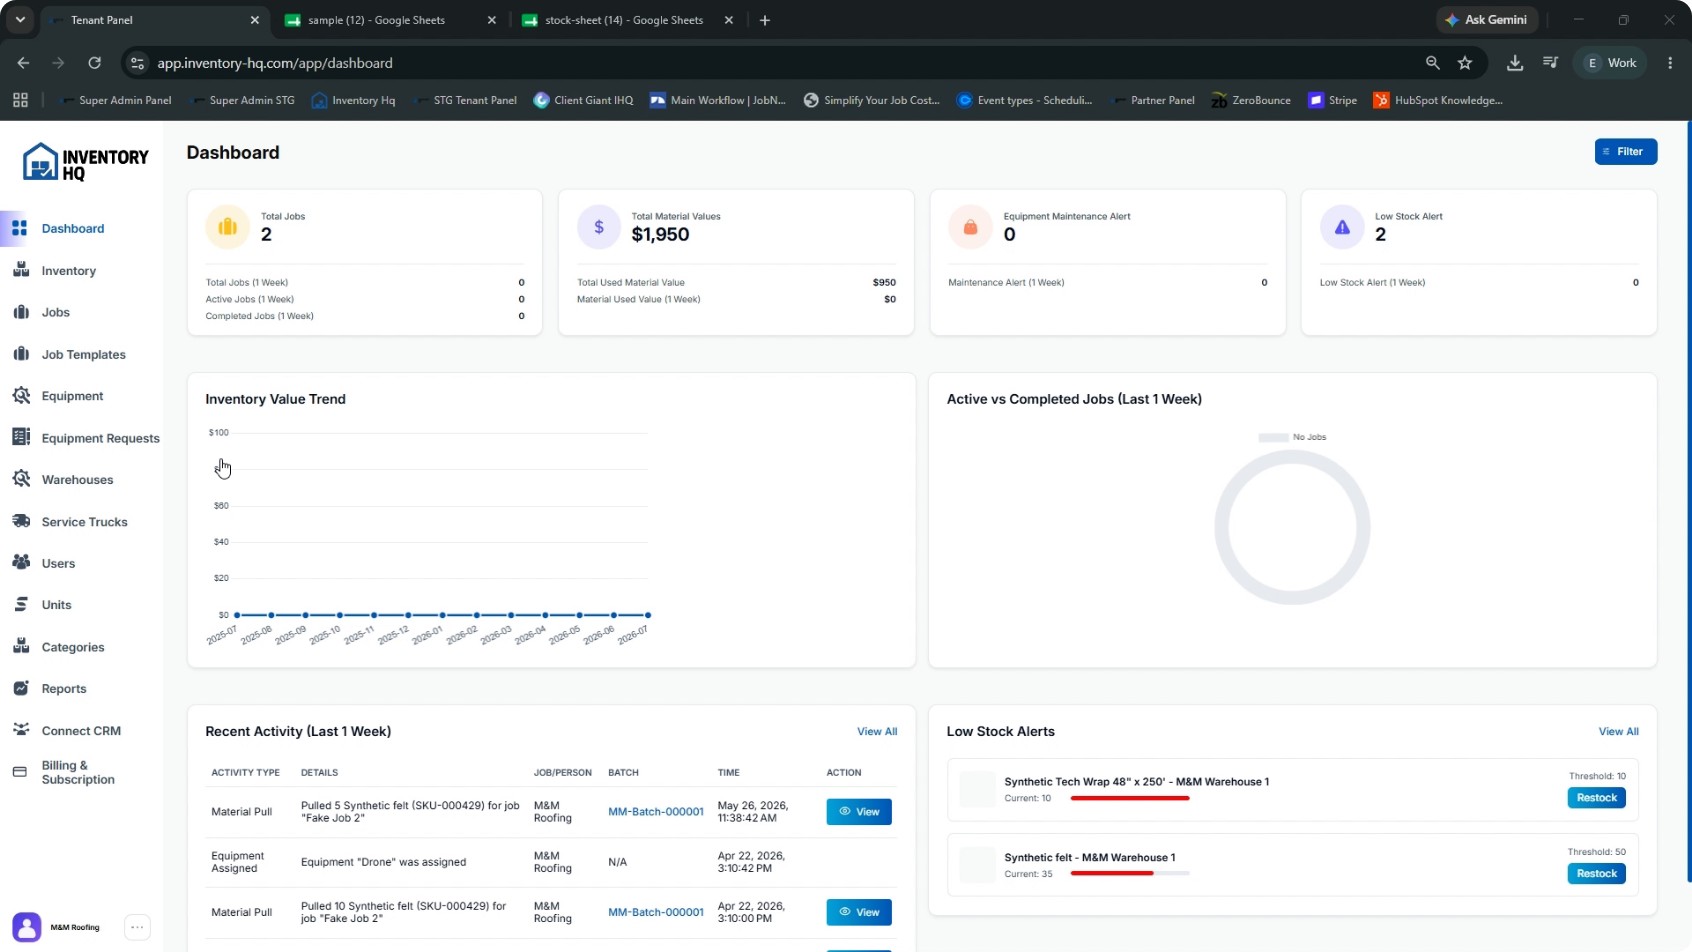
You will also receive low stock notifications via email, helping you stay ahead of shortages.
- 10
Proceed to Jobs After Inventory Setup
Once your materials and inventory are uploaded and configured, you are ready to start working with Jobs in the system. Navigate to the Jobs section to begin using your inventory in operational workflows.
NEXT TUTORIAL
Managing Service Trucks in Inventory HQ →