
Managing Service Trucks in Inventory HQ
Use service trucks in Inventory HQ as mobile warehouses. You can create trucks, manage their details, stock and transfer materials, pull materials directly to jobs, and filter truck inventory to see only active stock.
Step by step
- 1
Add a New Service Truck
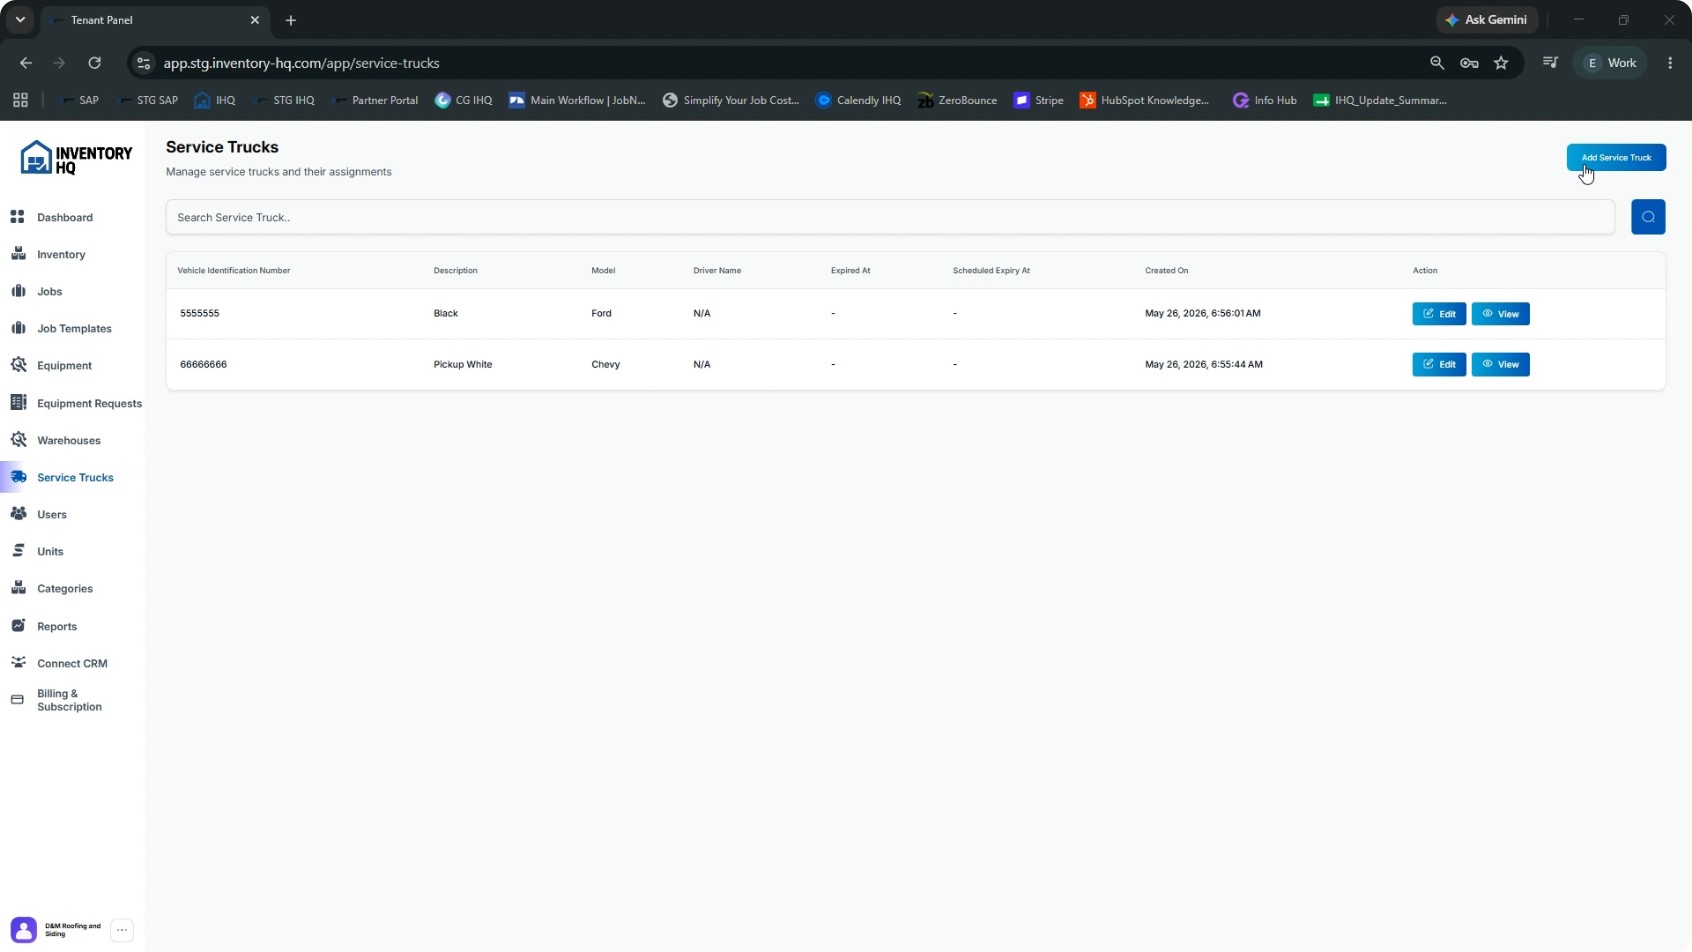
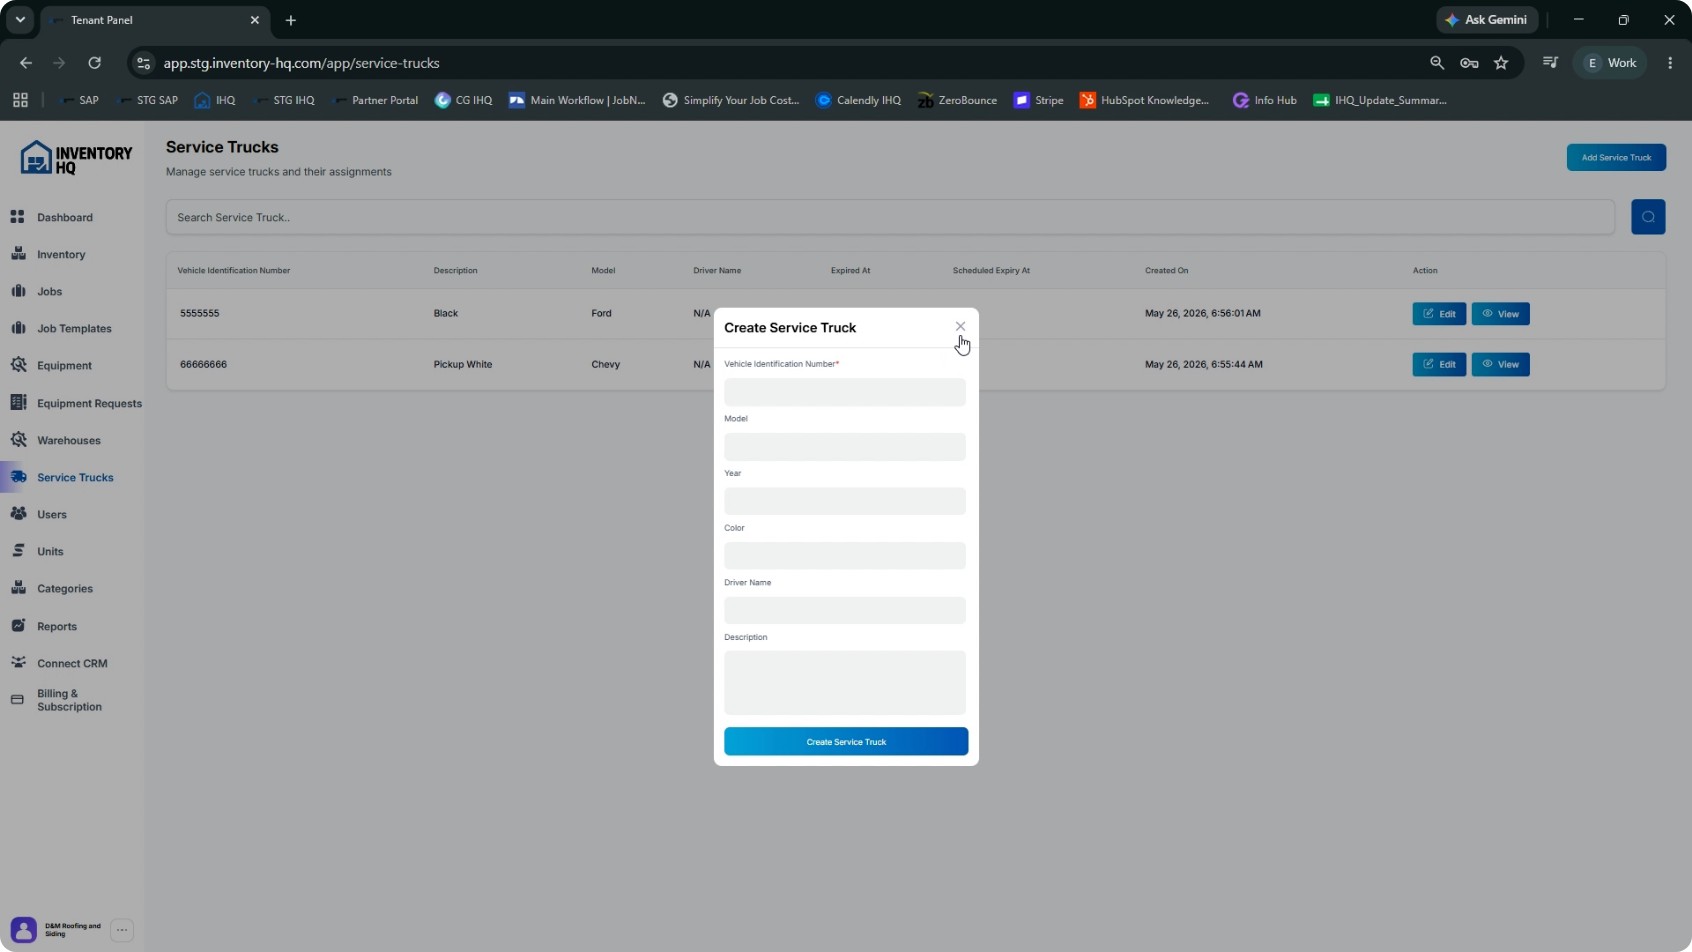
Go to the Service Trucks section in Inventory HQ. At the top right corner, click the Add Service Truck button. In the form that opens, enter the following details:
- Vehicle Identification Number (VIN)
- Model, year, and color
- Driver name (who is assigned to the vehicle)
- Short description (to help identify the truck)
When finished, click Create Service Truck.
- 2
View and Edit Service Truck Details
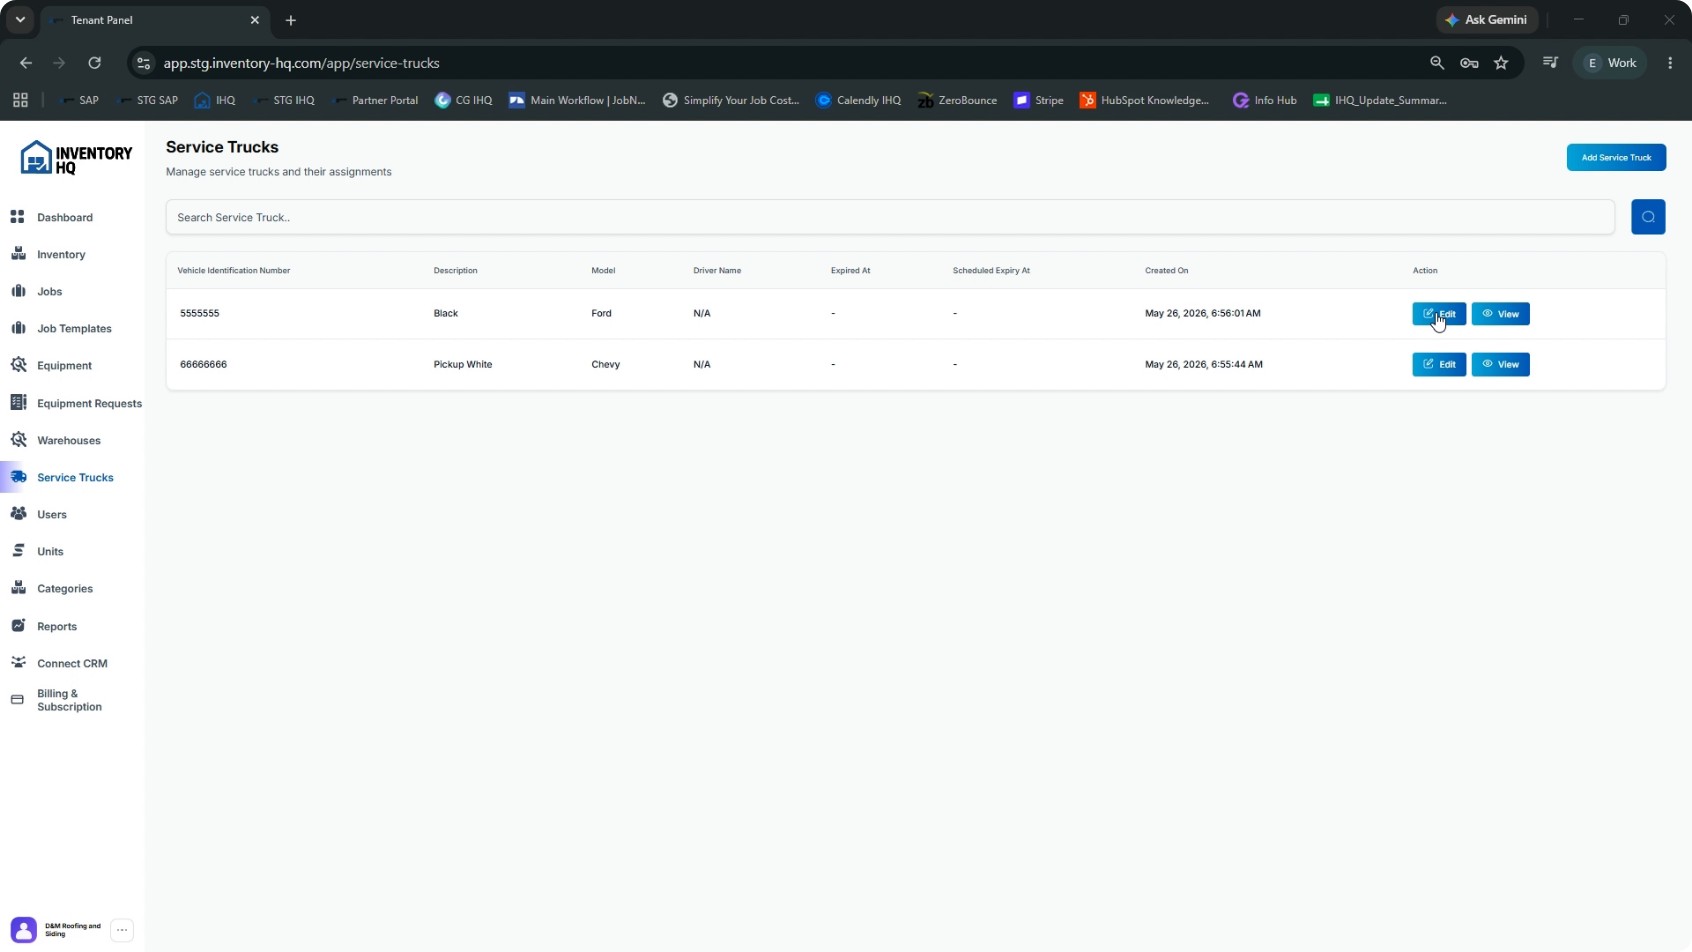
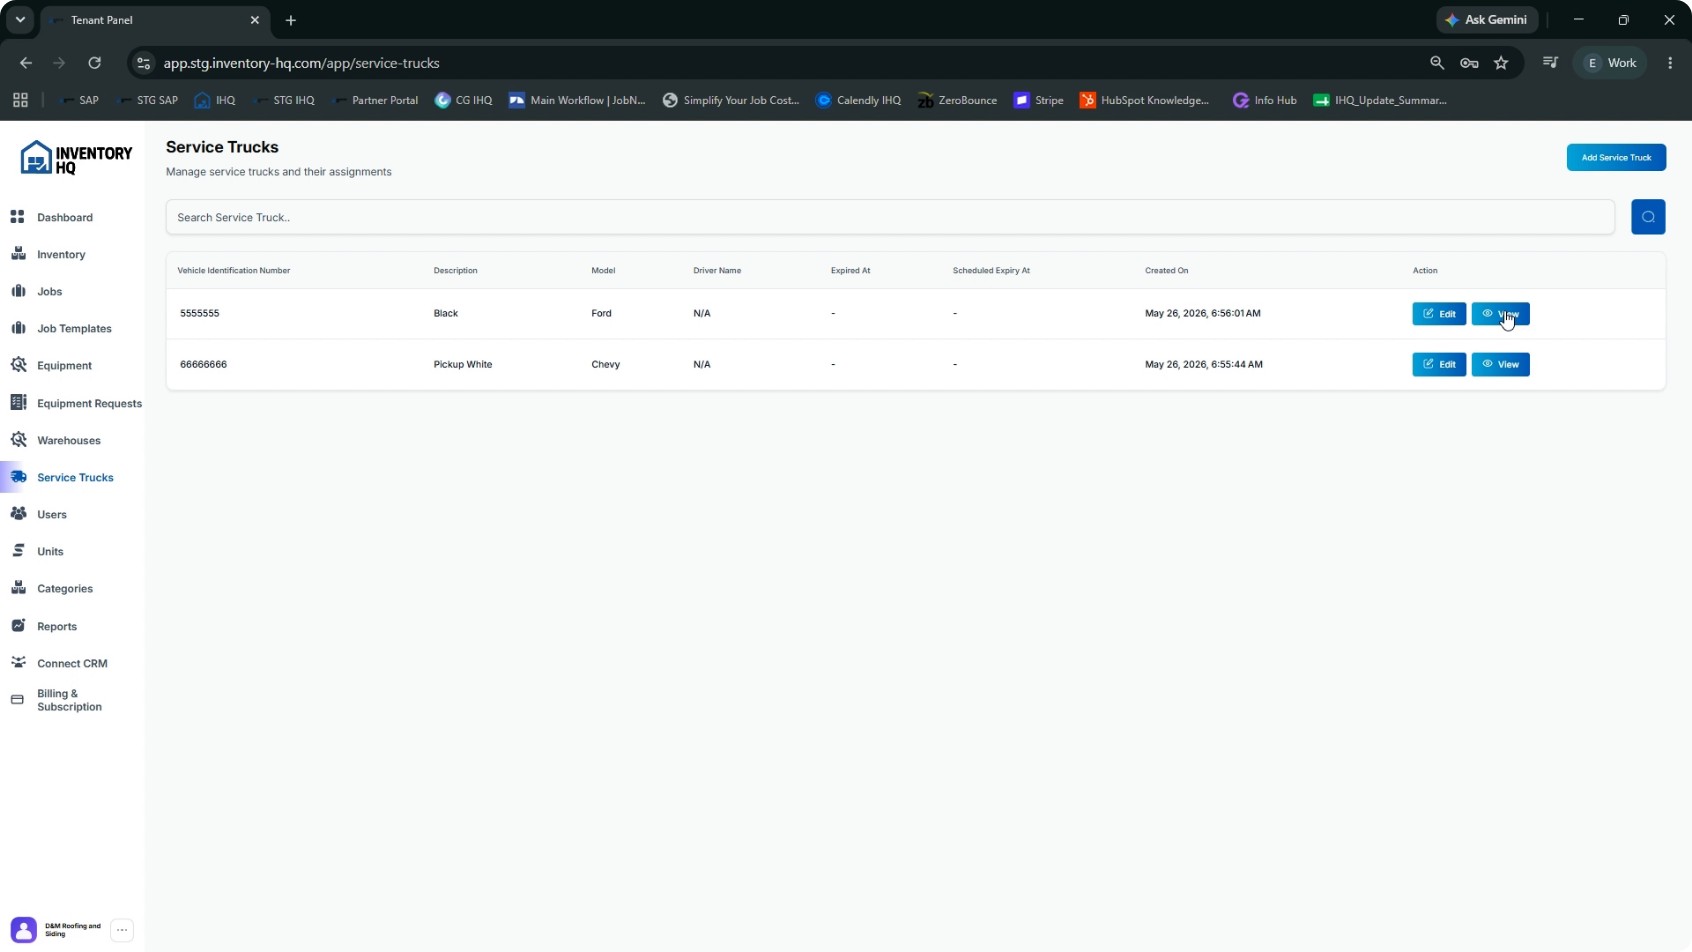
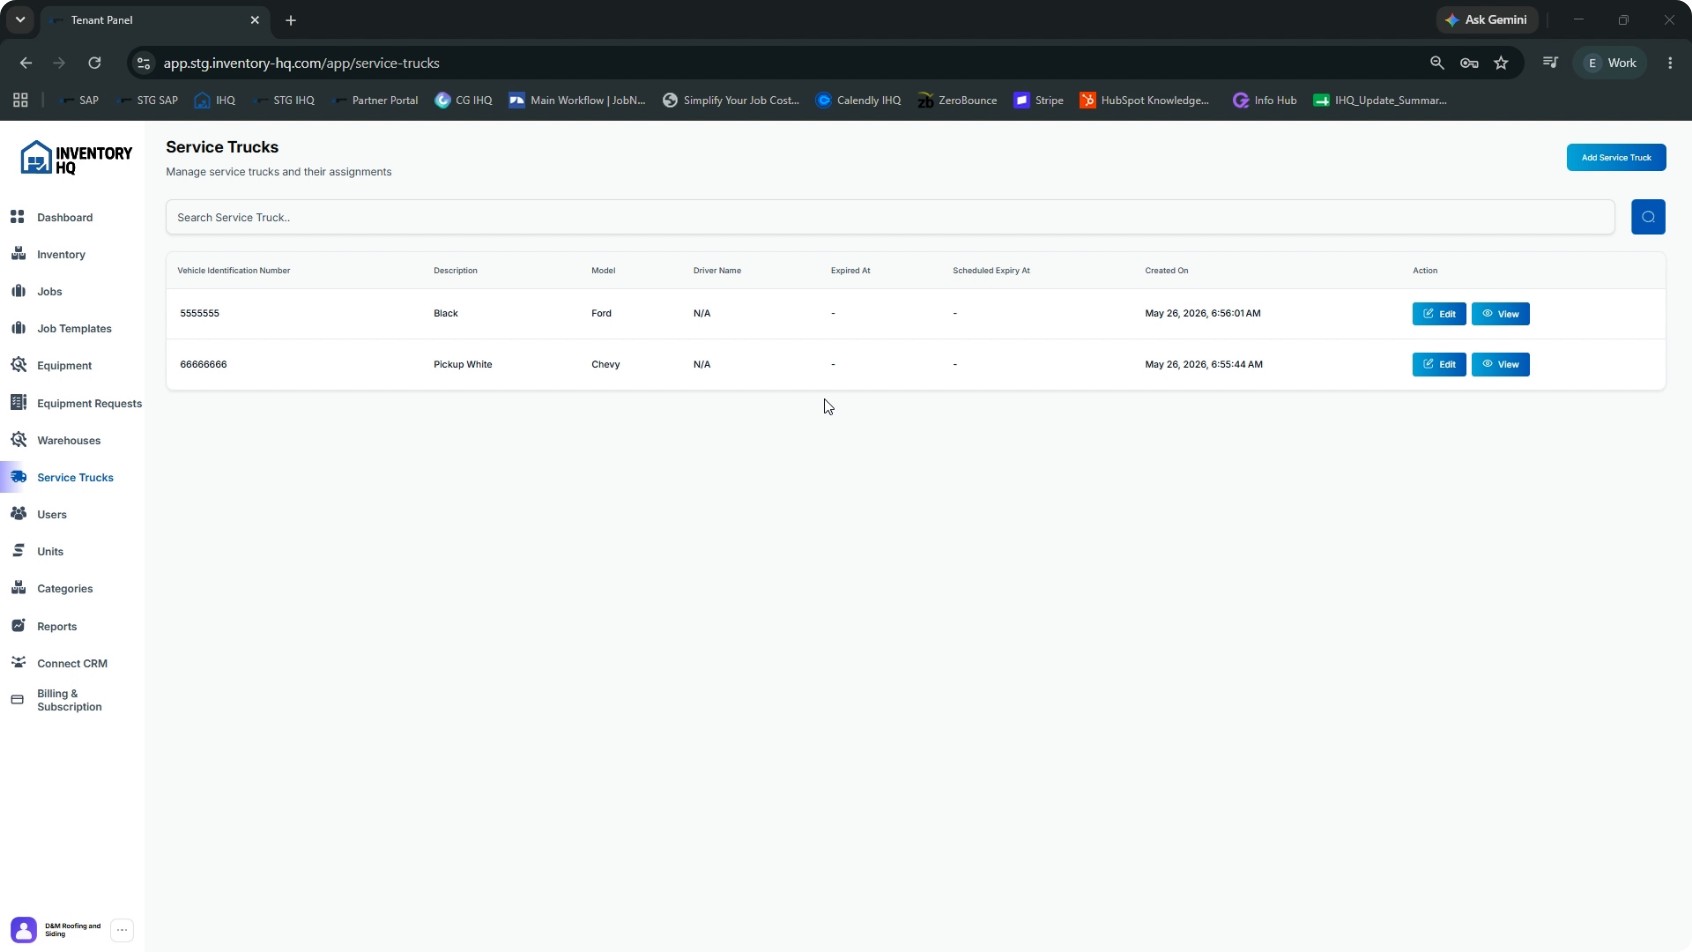
After creating service trucks, you will see them listed with two main actions available:
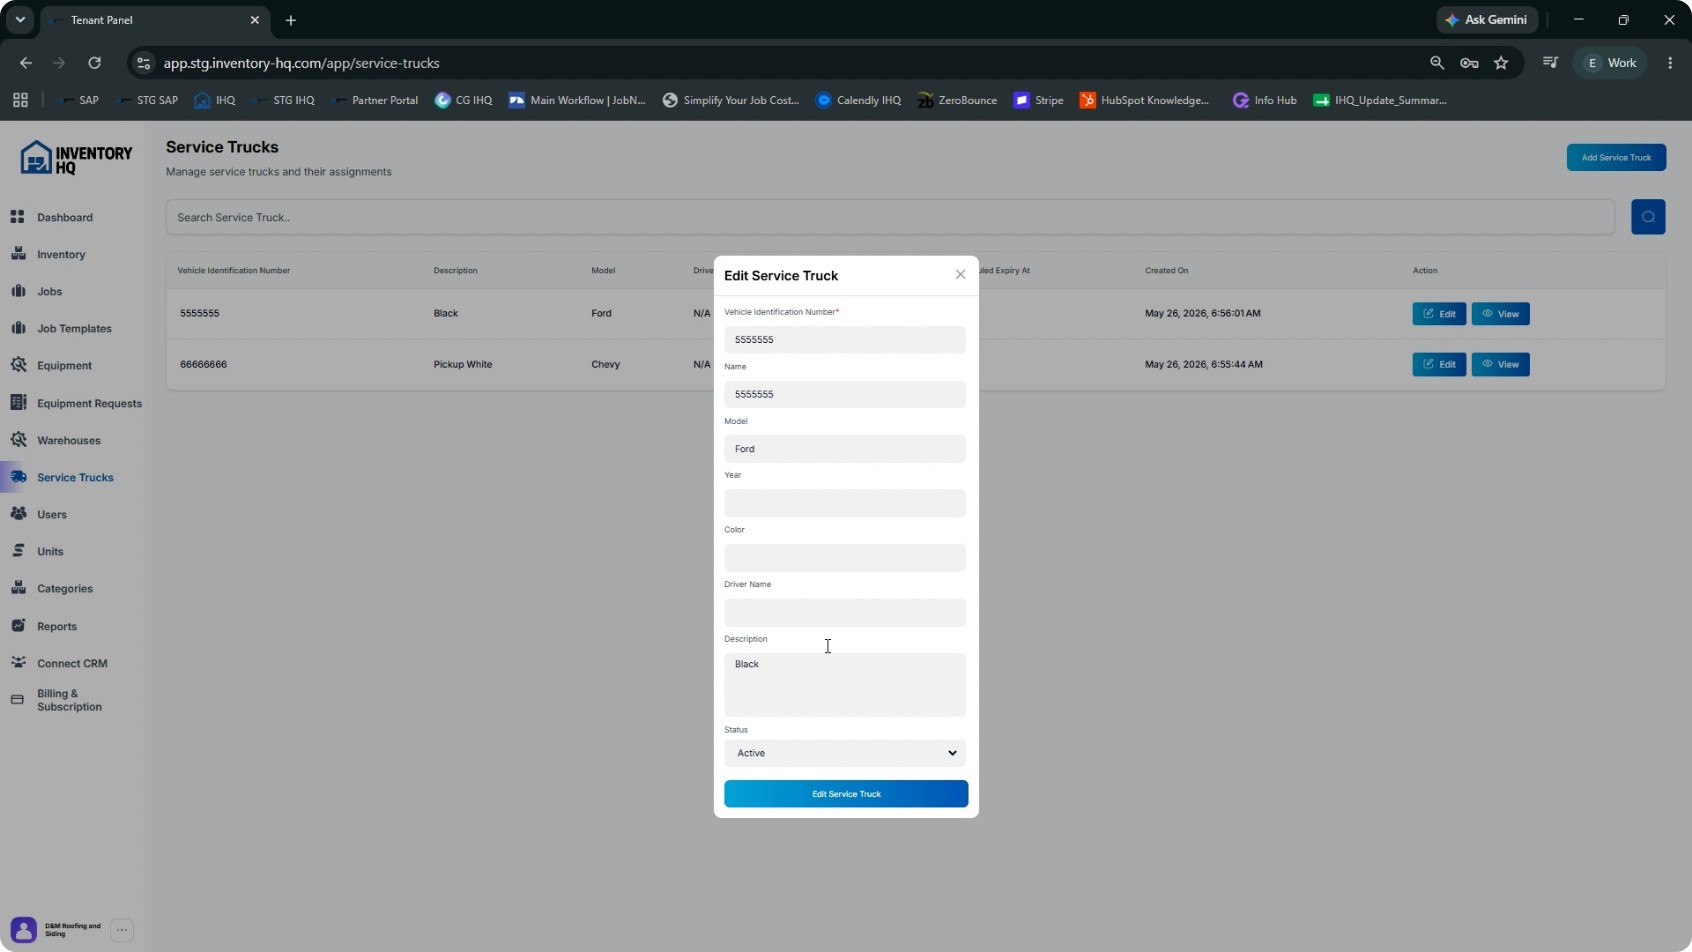
- Edit to update truck information such as identifiers, driver, or description
- View to open the truck’s detailed page
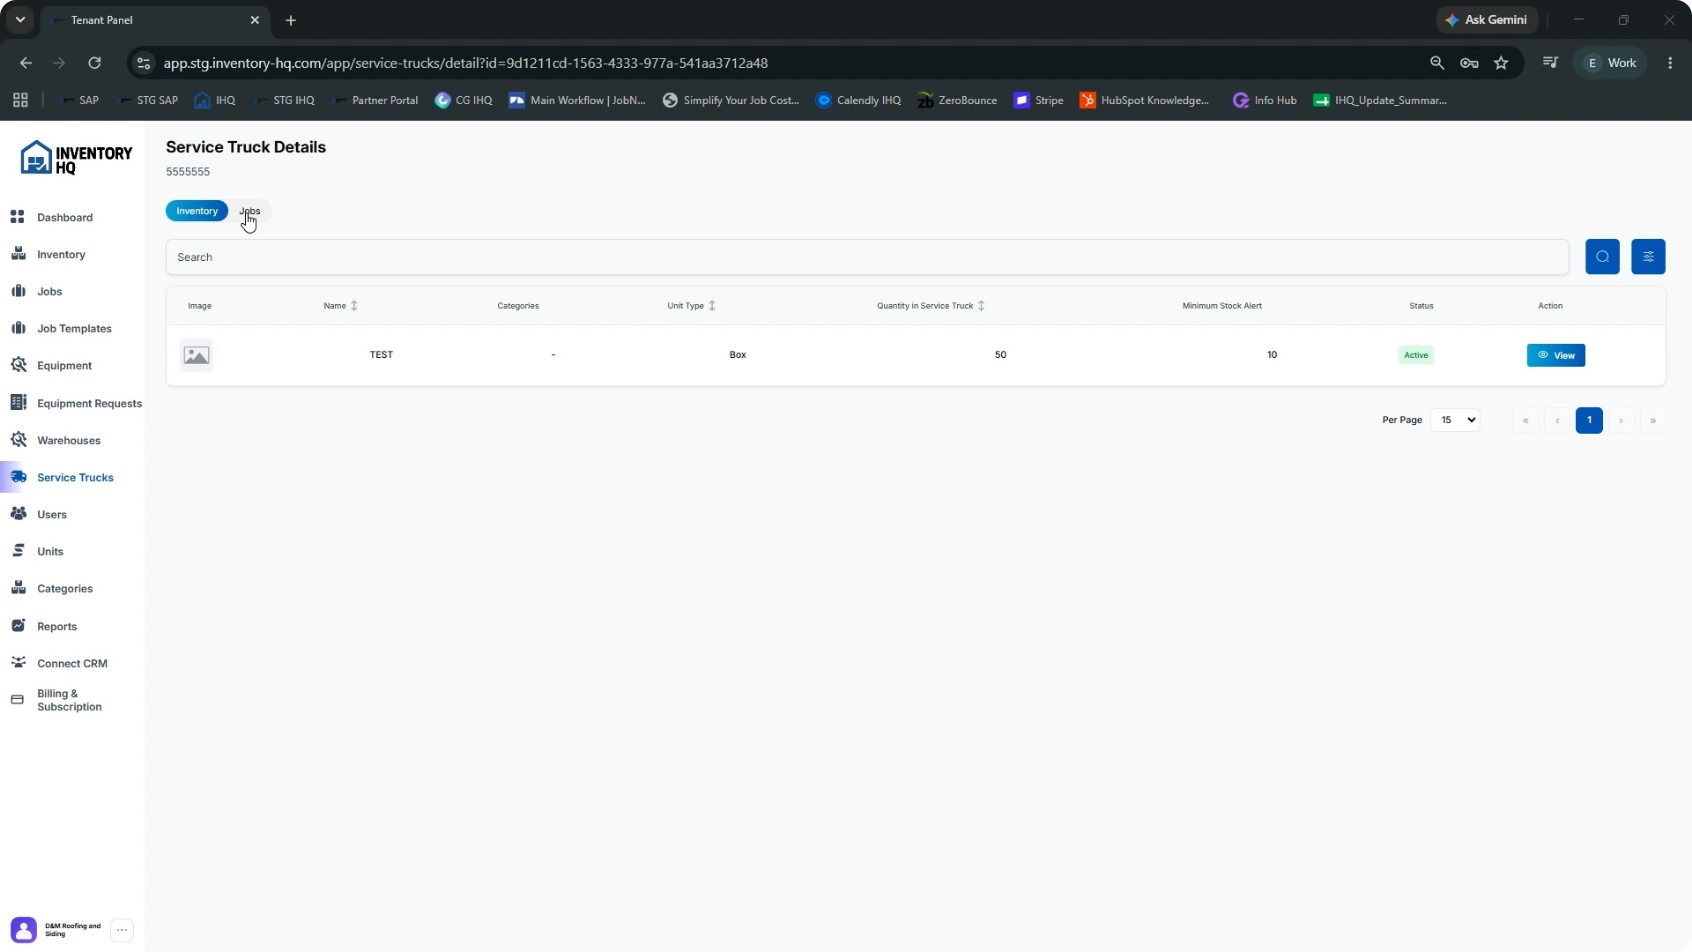
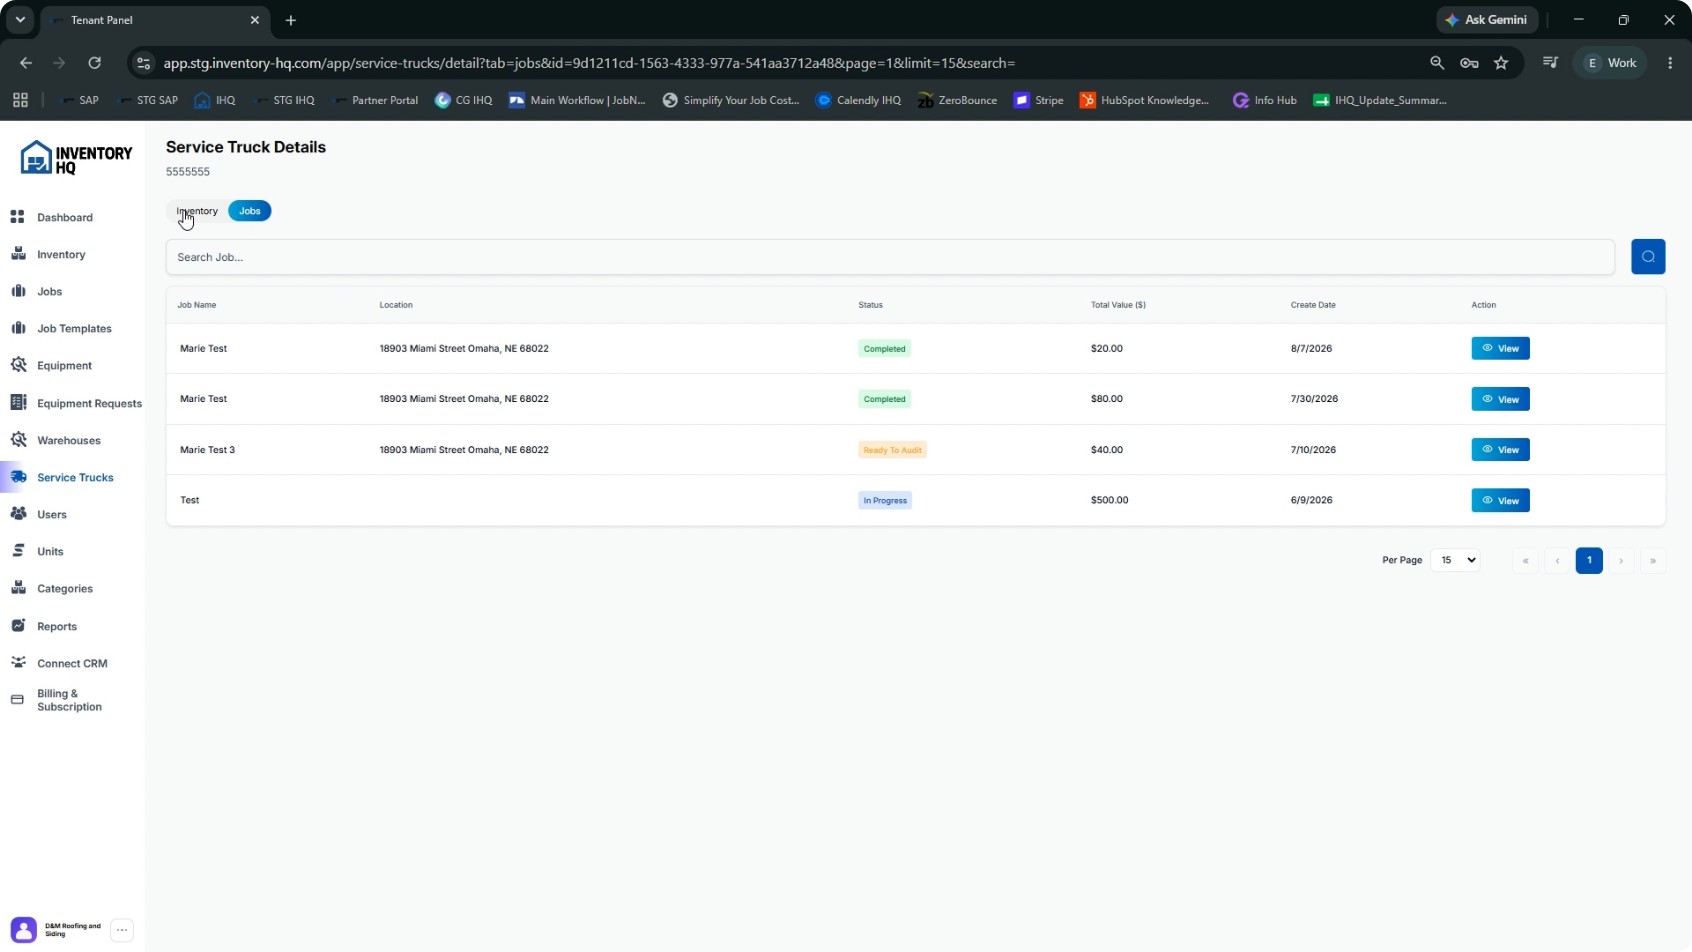
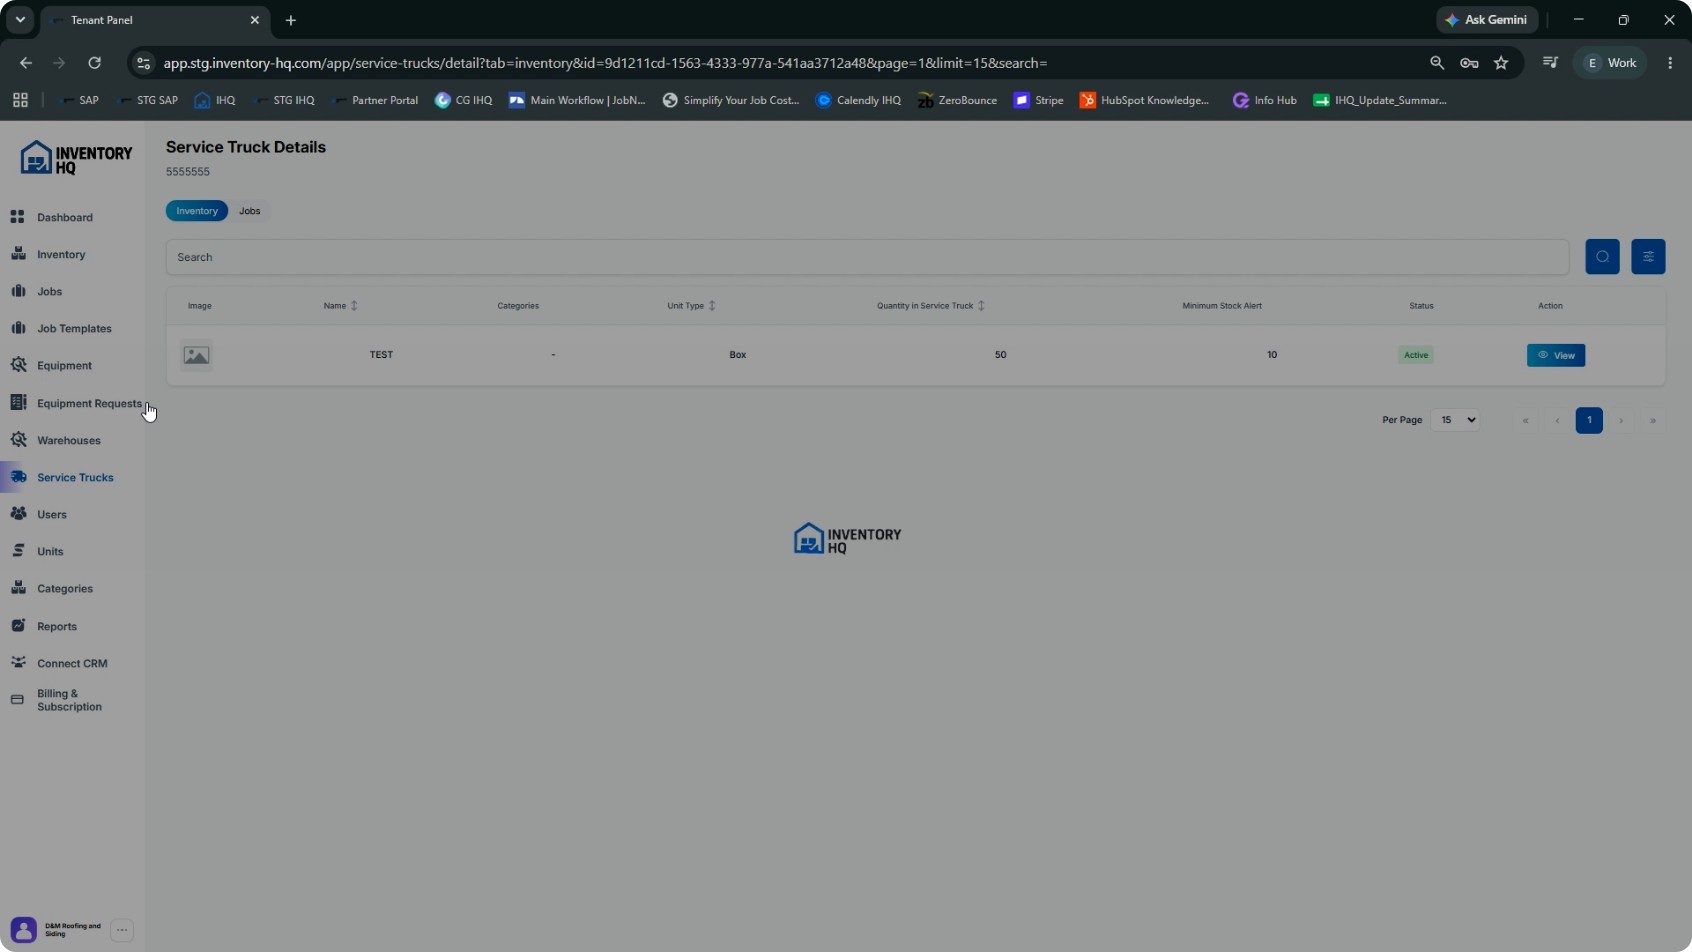
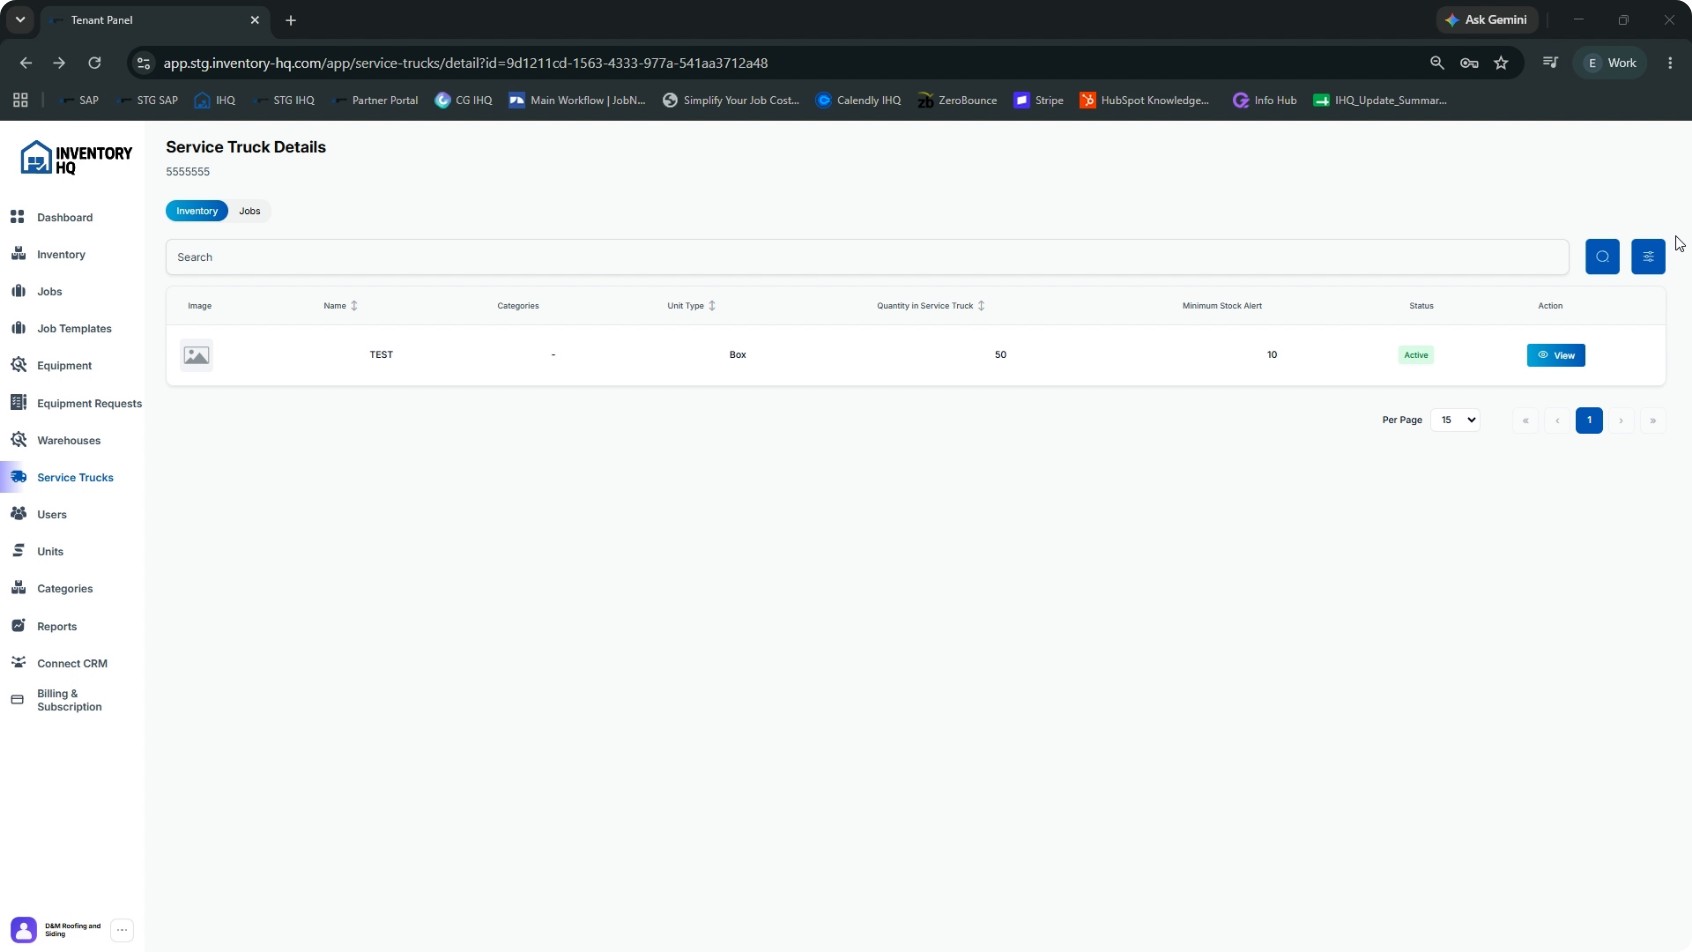
Click View on a specific truck to see its contents. On the truck detail page, you will see an Inventory tab showing materials stocked on the truck and a Jobs tab showing jobs assigned to that truck.
- 3
Restock Materials onto a Service Truck
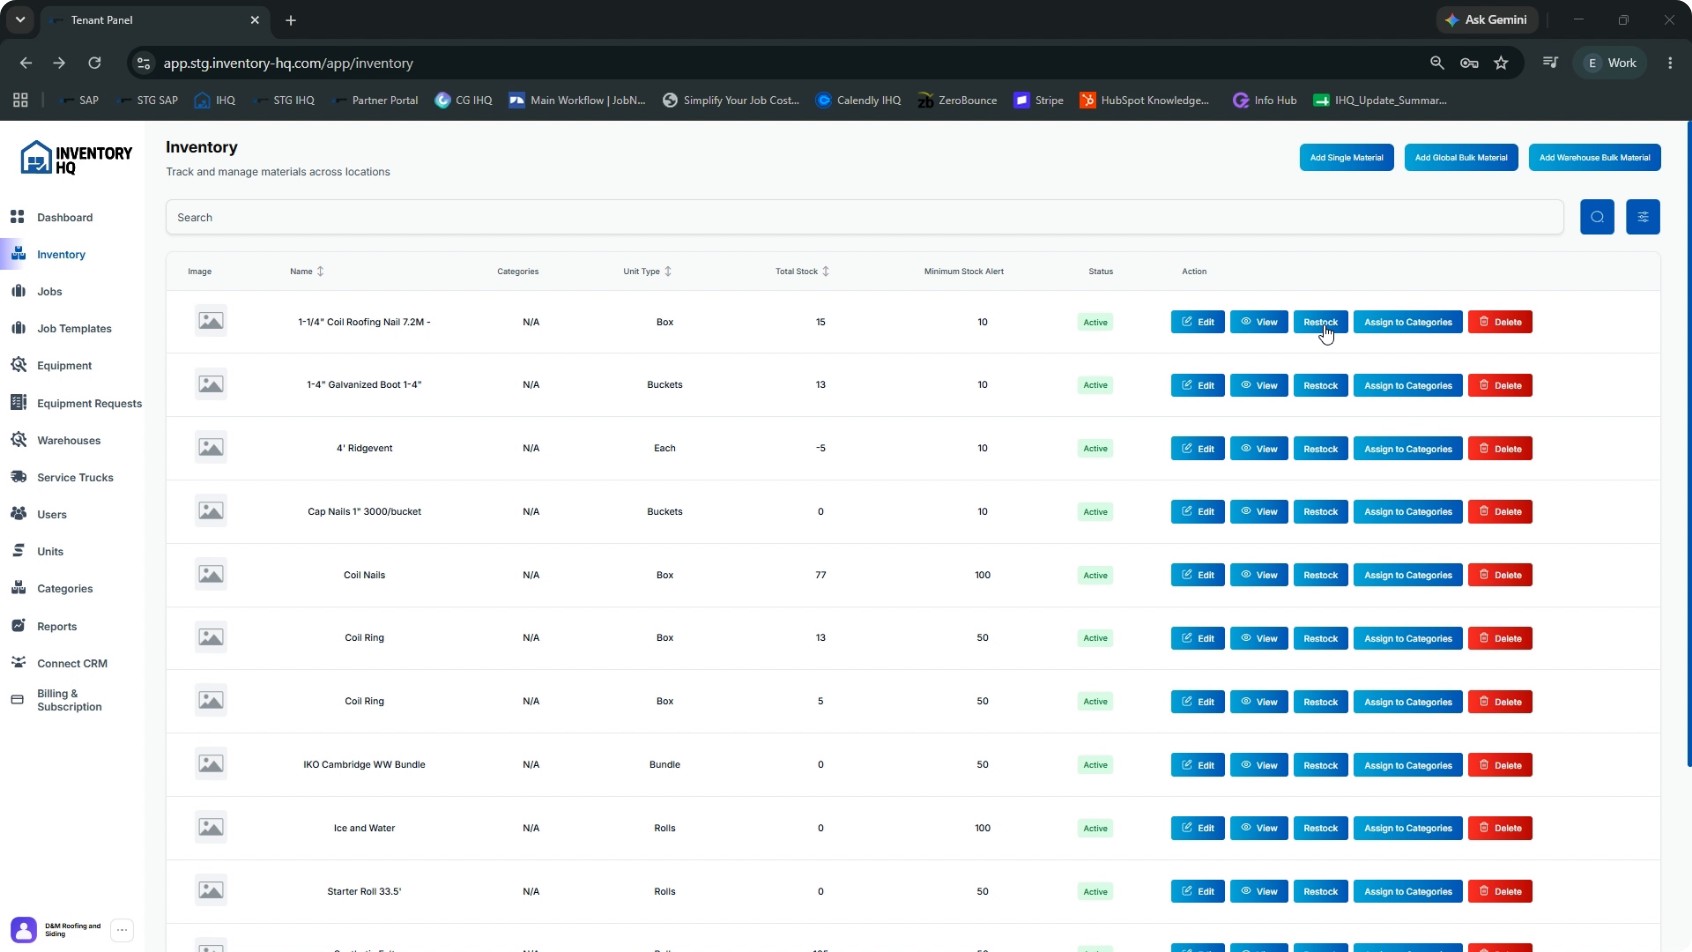
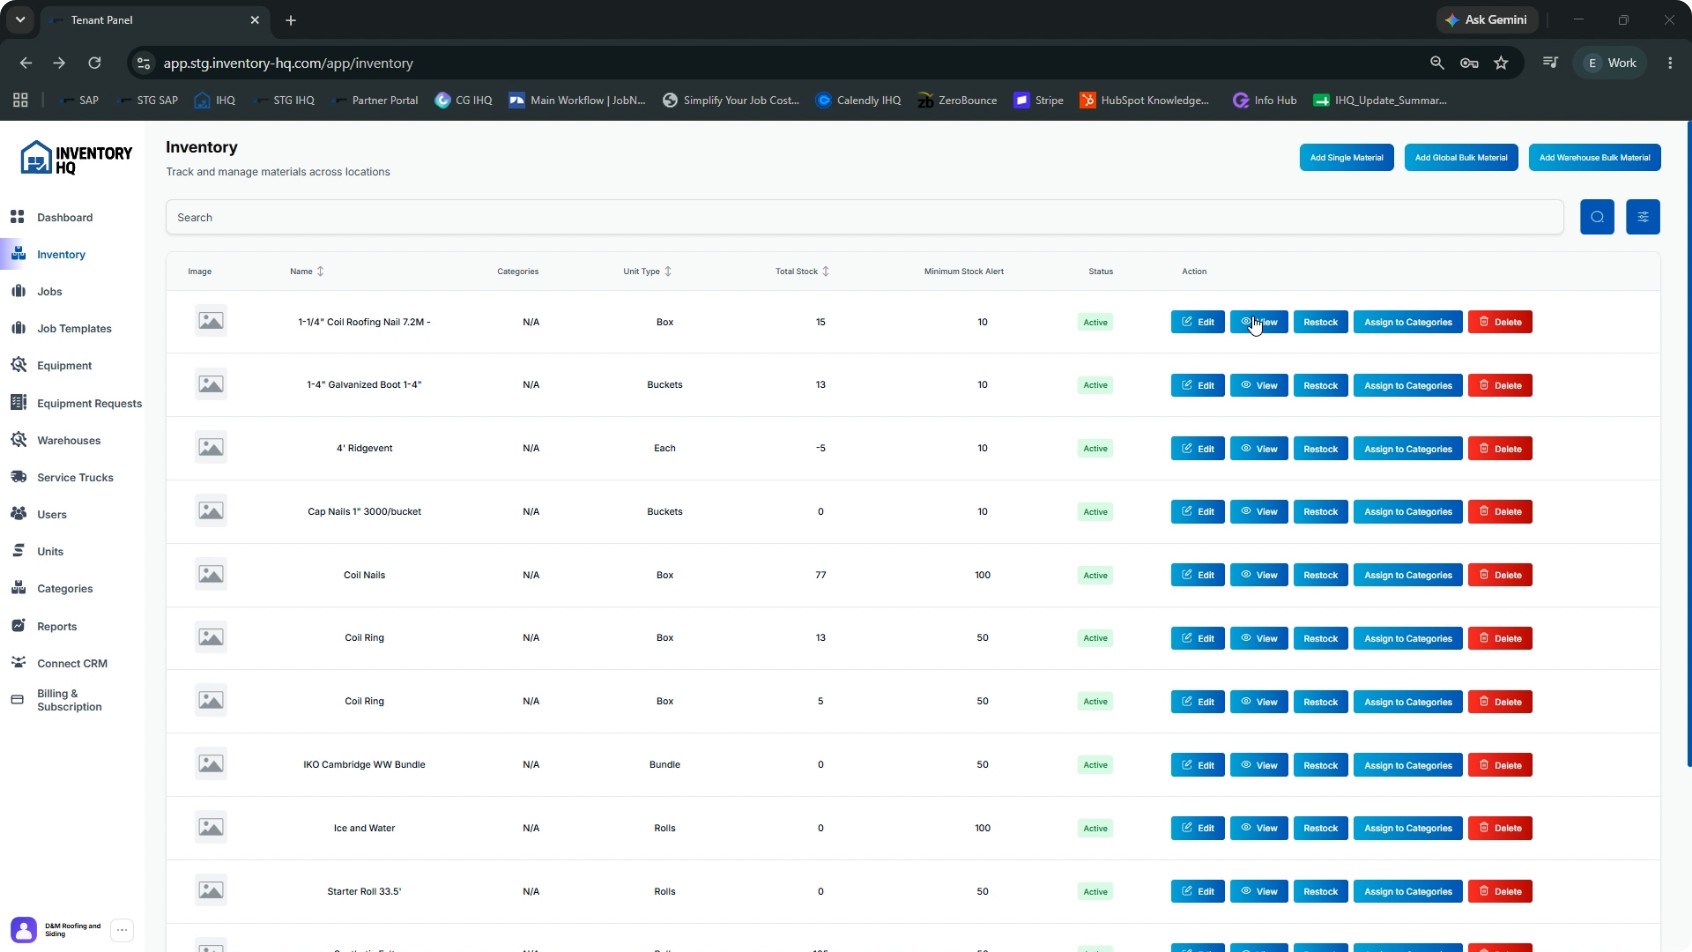
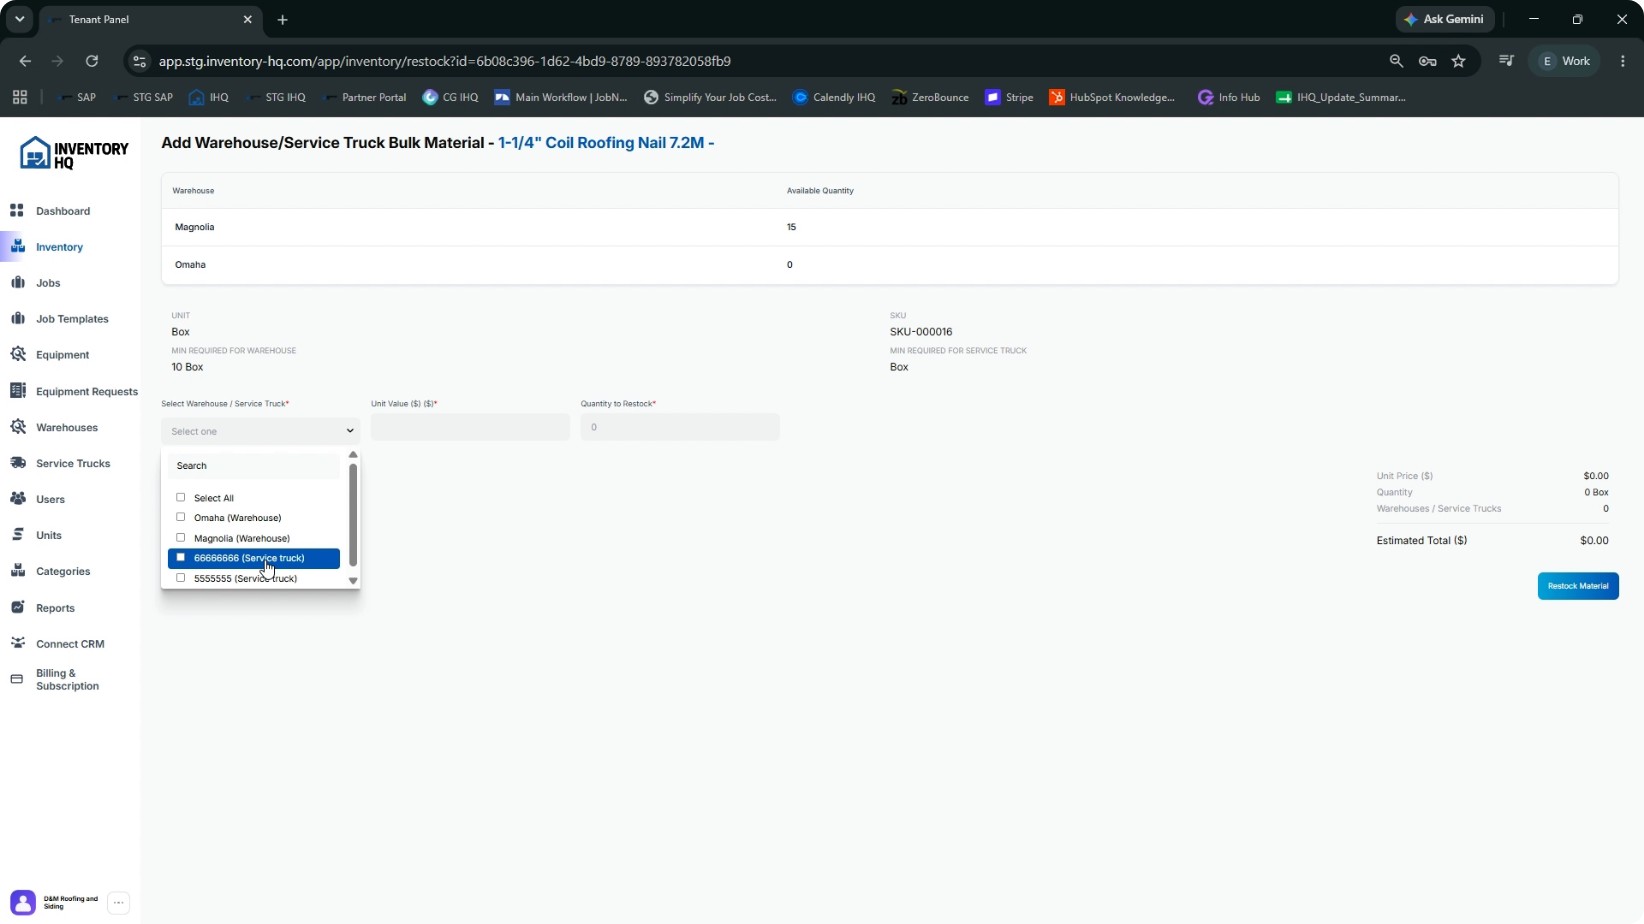
To load material onto a truck, go to the Inventory section. From the inventory list, you can either:
- Click Restock directly from the list view
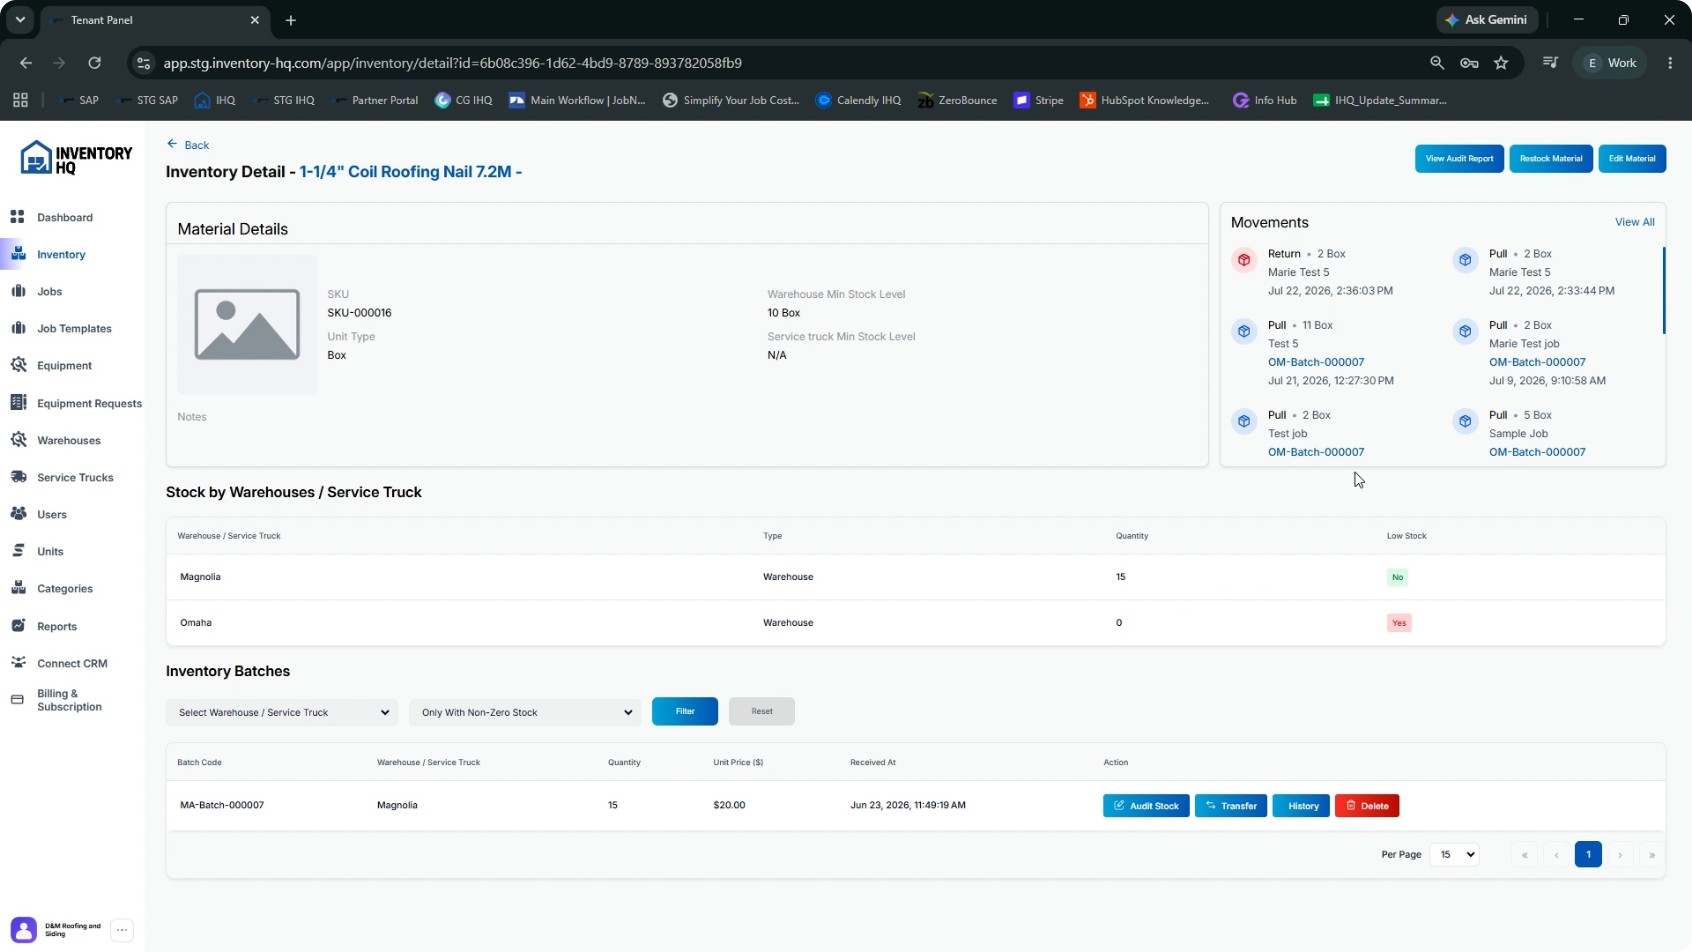
- Or open a specific material and then click Restock Material
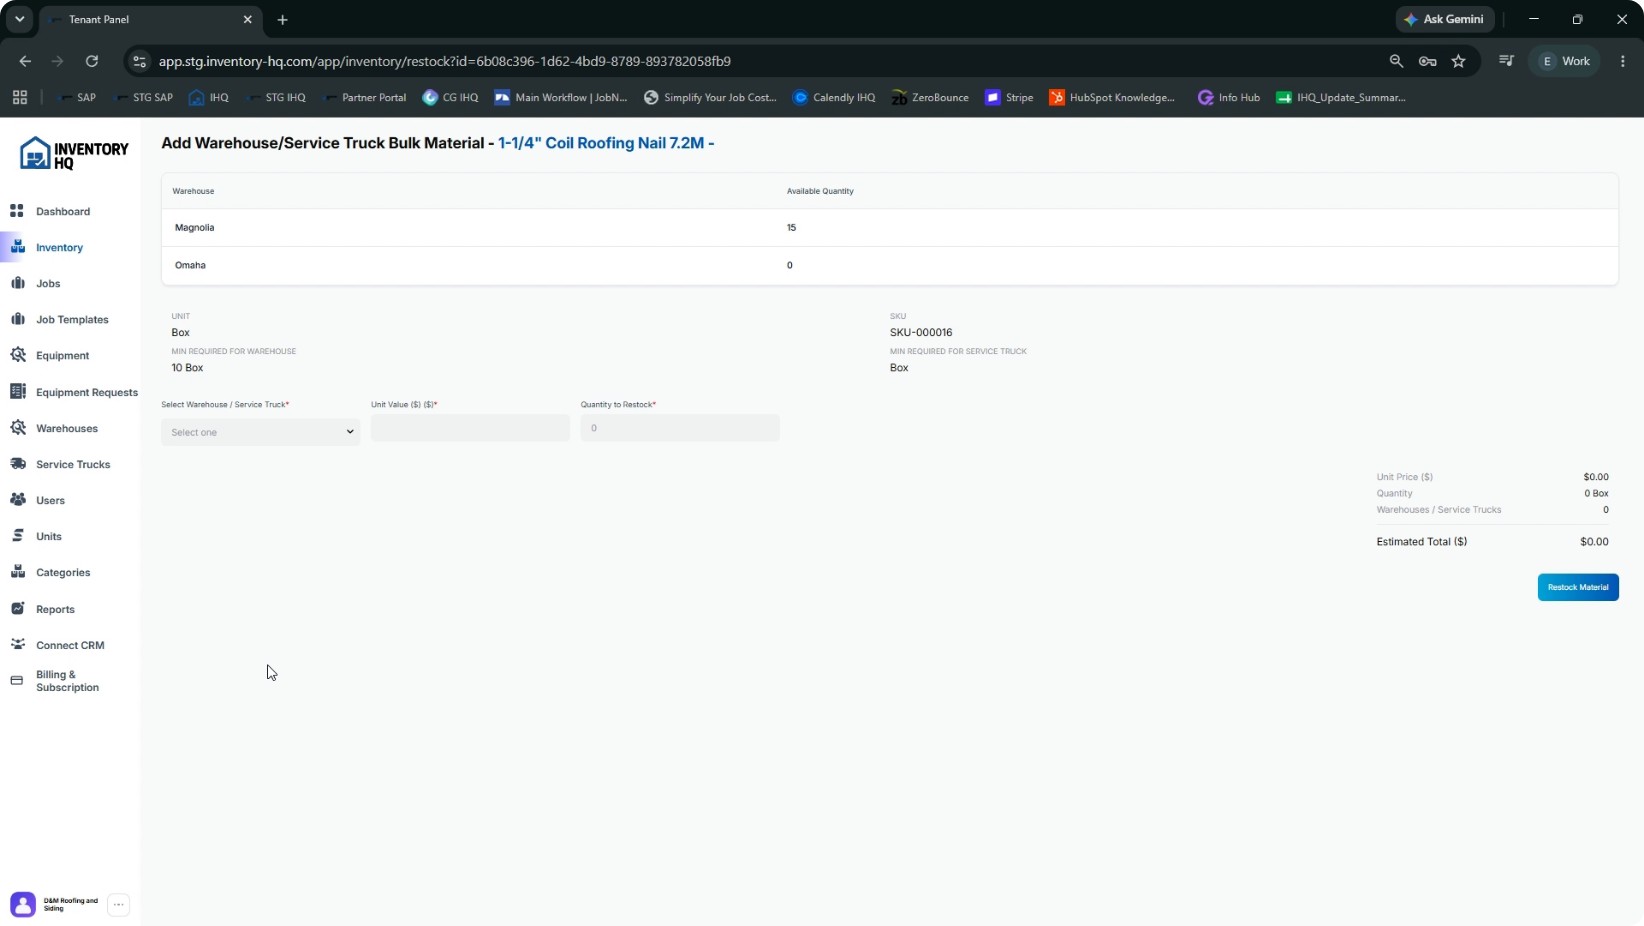
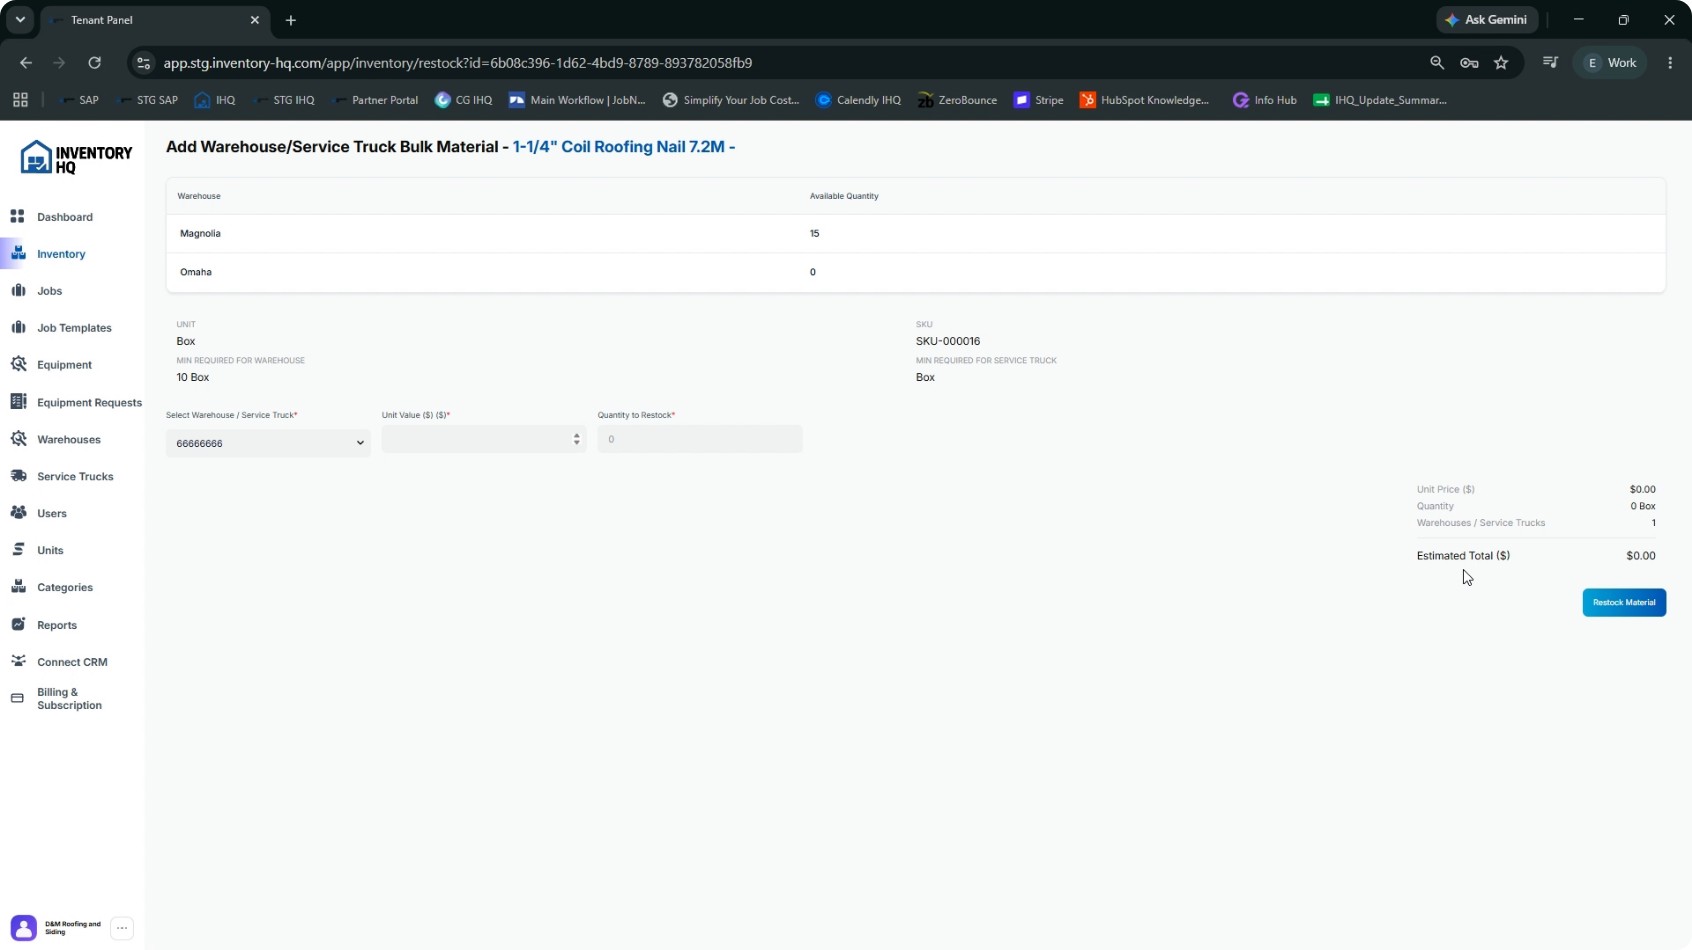
Inside the restock window, view the material details and then: 1. Assign it to a Service Truck from the destination options. 2. Enter the unit value and the quantity to restock. Click Restock Material to complete the process. A new inventory batch is created on that truck for the selected material.
- 4
Transfer Material Between Warehouses and Trucks
You can move material:
- From a warehouse to a truck
- From a truck to a warehouse
- Between two trucks
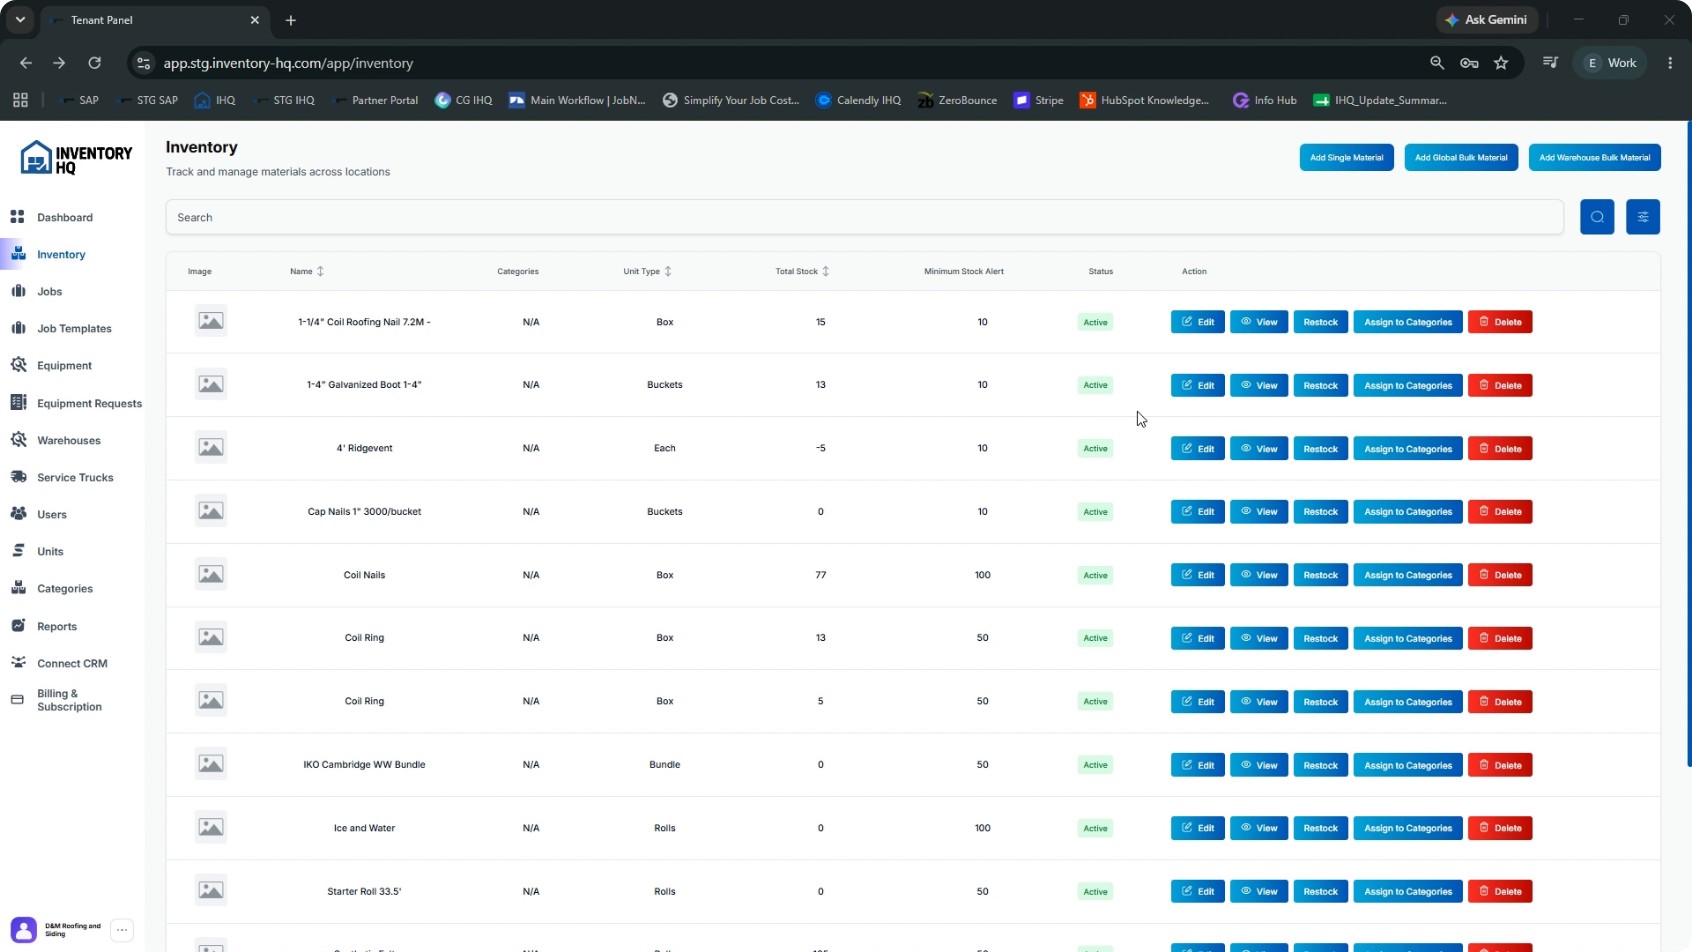
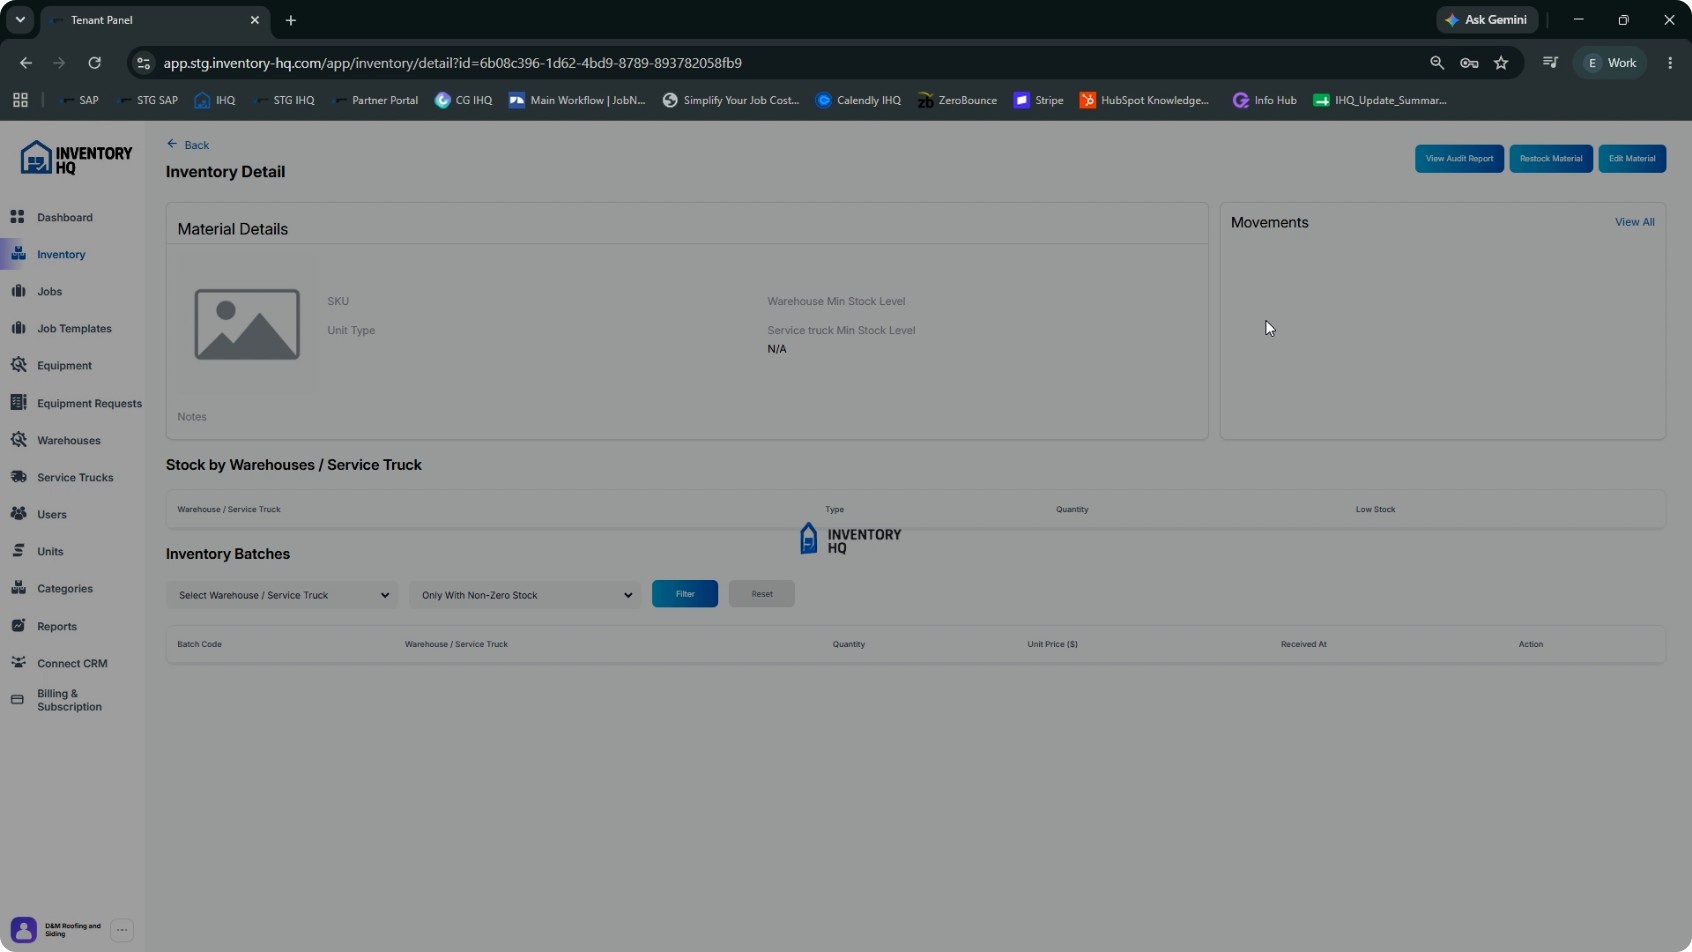
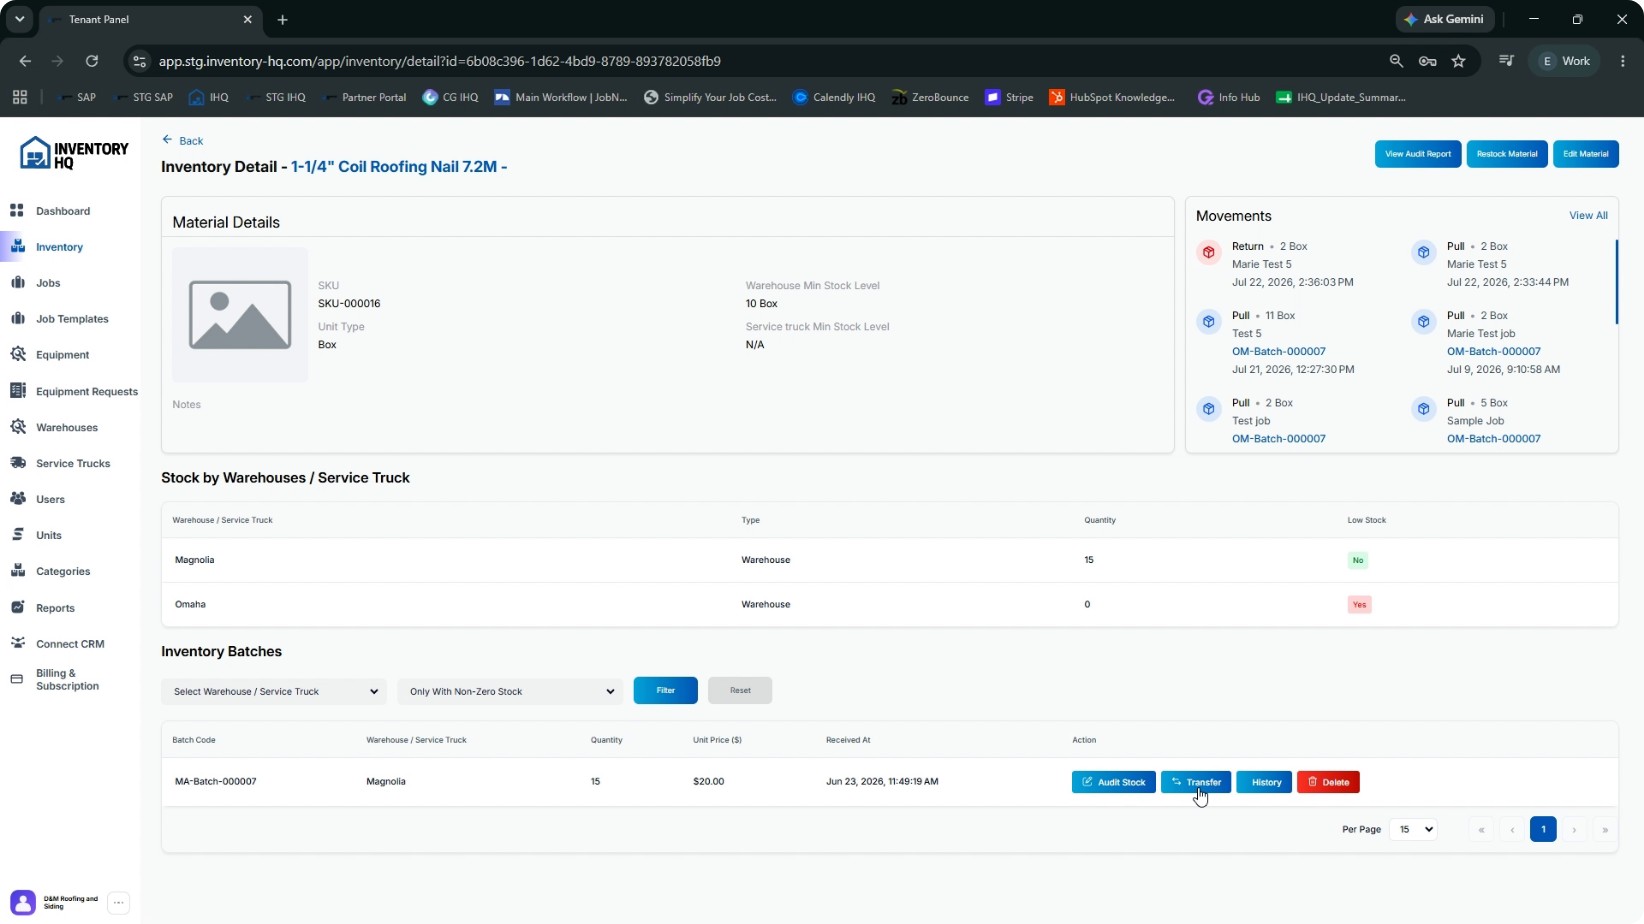
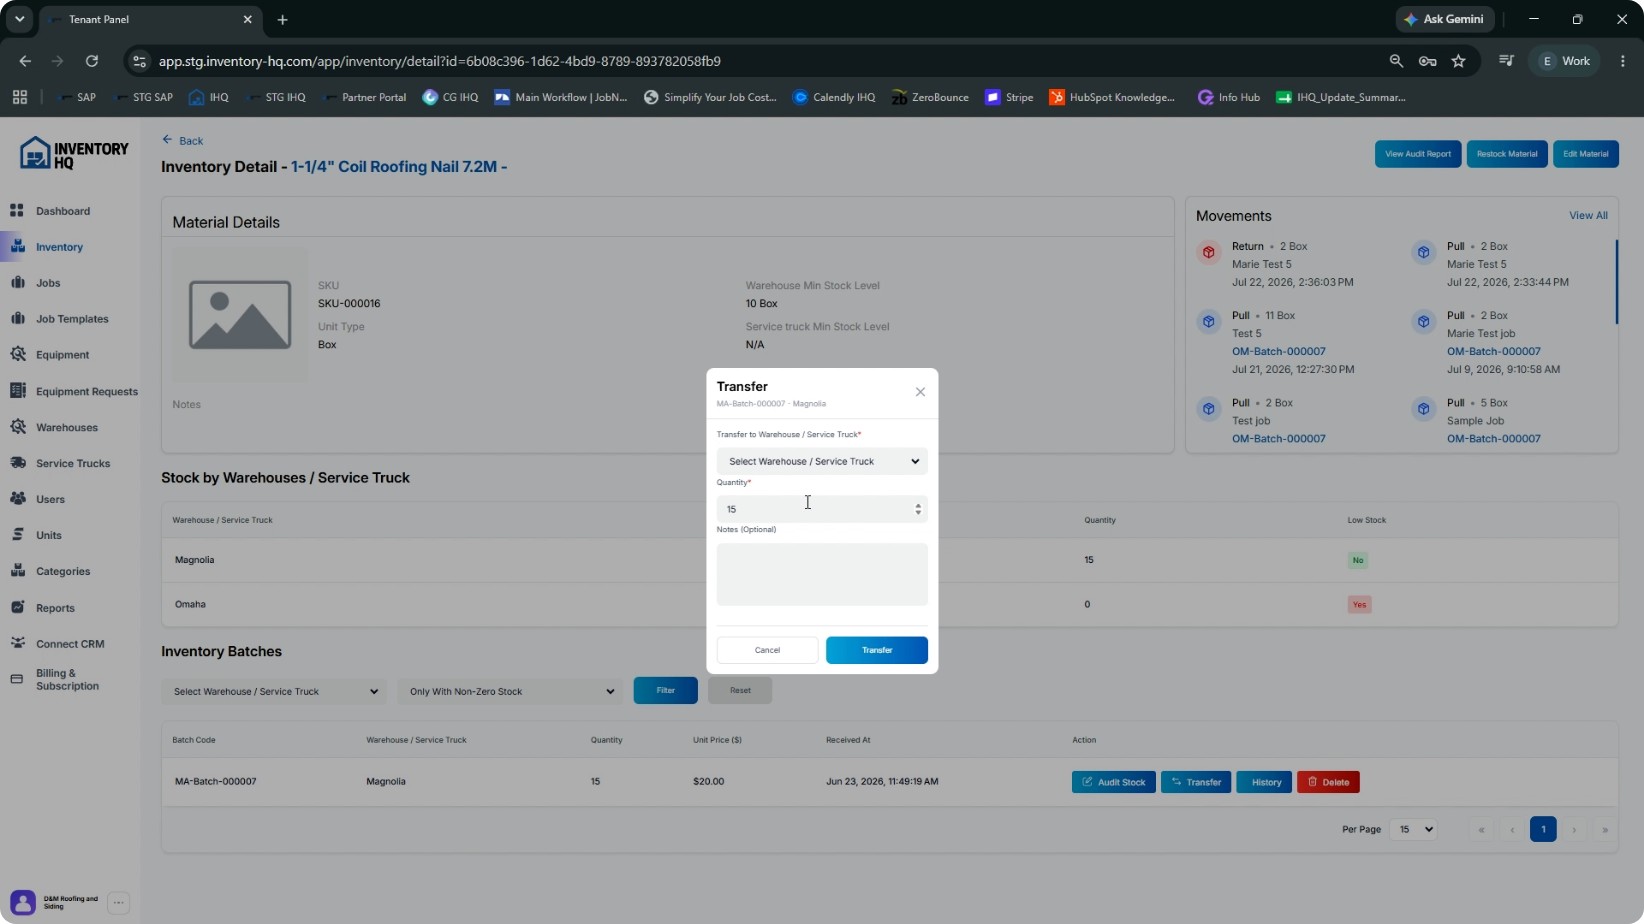
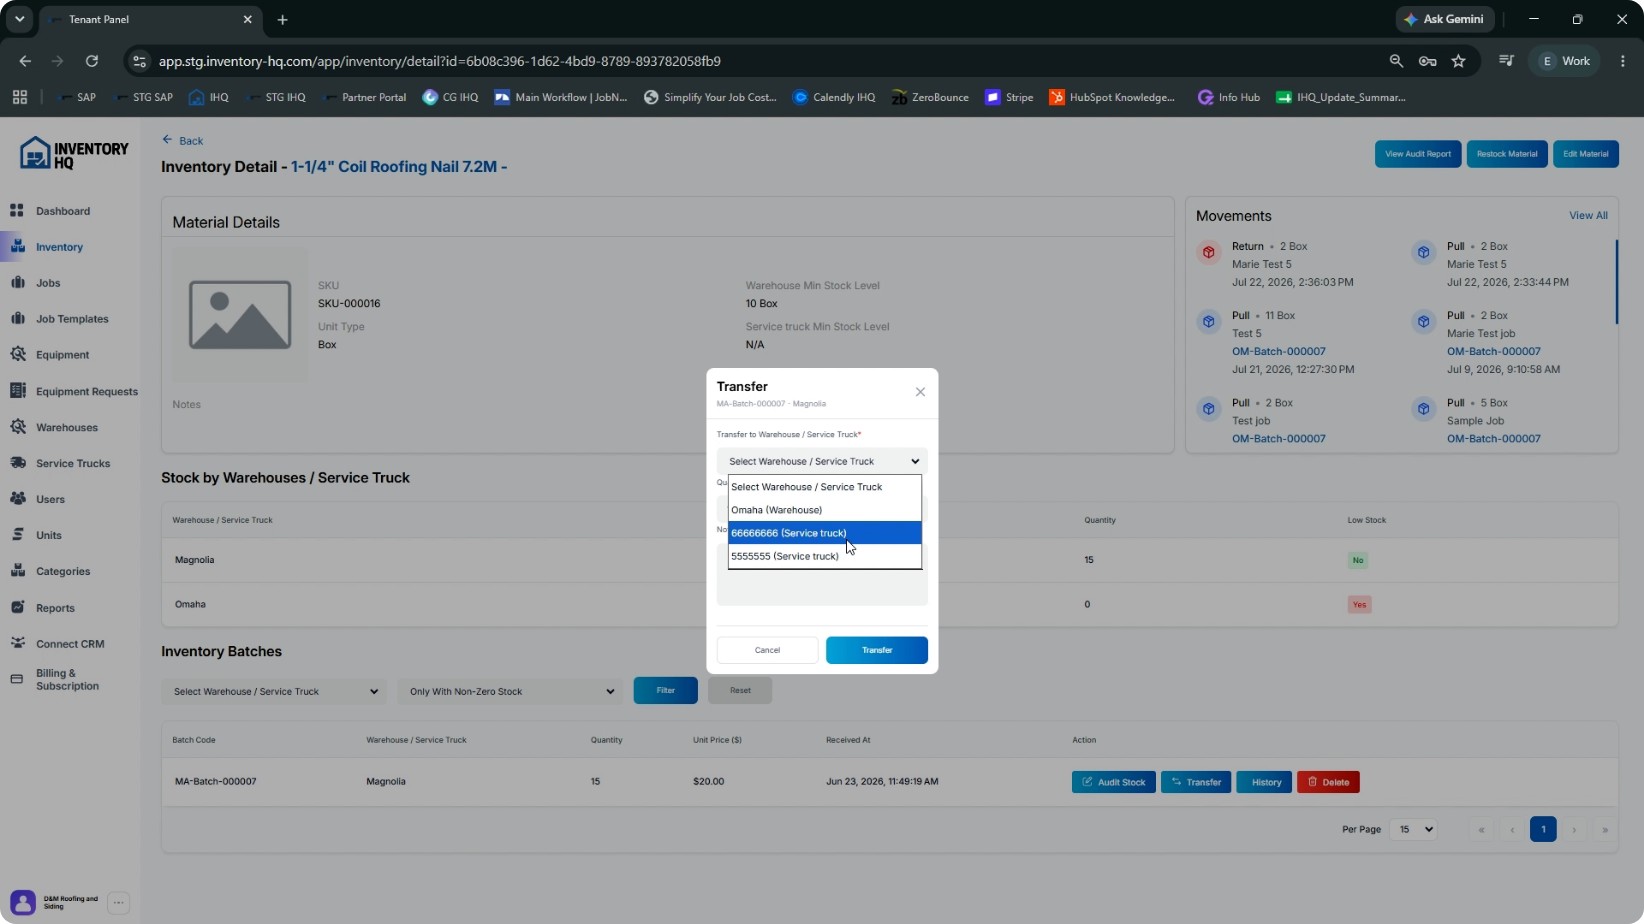
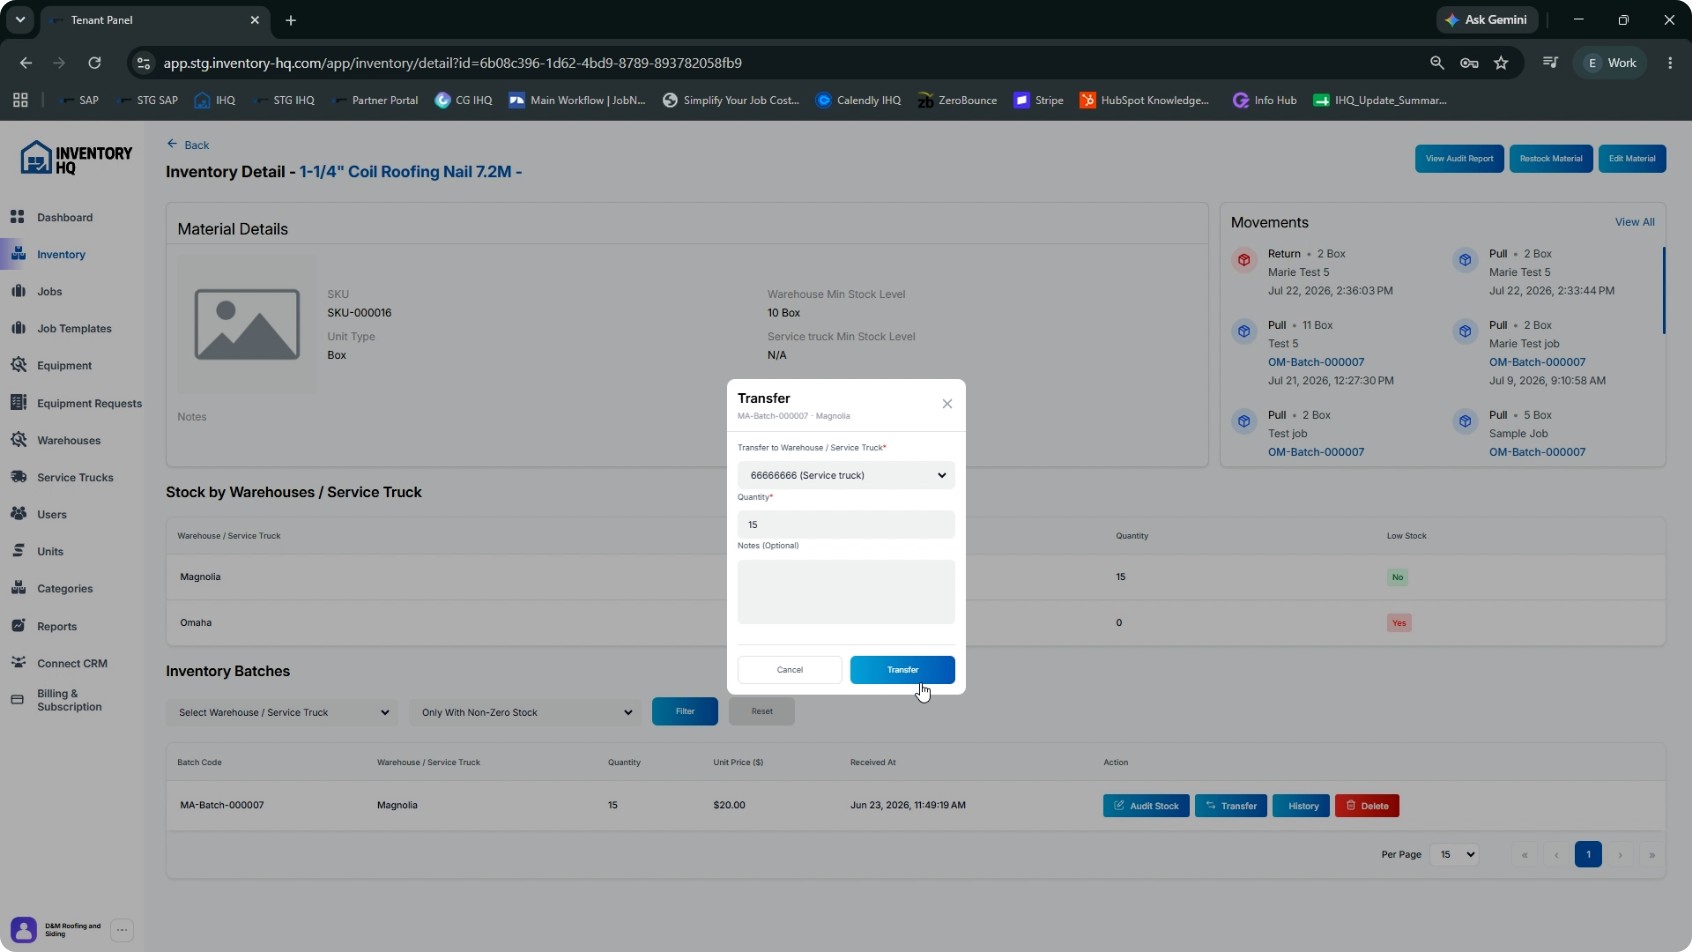
Open a specific material from the Inventory list. On the material detail page, review the Inventory Batches section, which shows the batch code (source batch), assigned warehouse or truck, quantity and unit price, and action buttons: Audit Stock, Transfer, History, Delete. To transfer stock to a truck: 1. Click Transfer on the relevant batch. 2. Select the destination location. 3. Choose the specific service truck as the destination. 4. Enter the quantity to transfer and add a note if needed. Click Transfer to finalize. Both source and destination locations (warehouse and service truck) update immediately.
- 5
Pull Material from a Service Truck to a Job
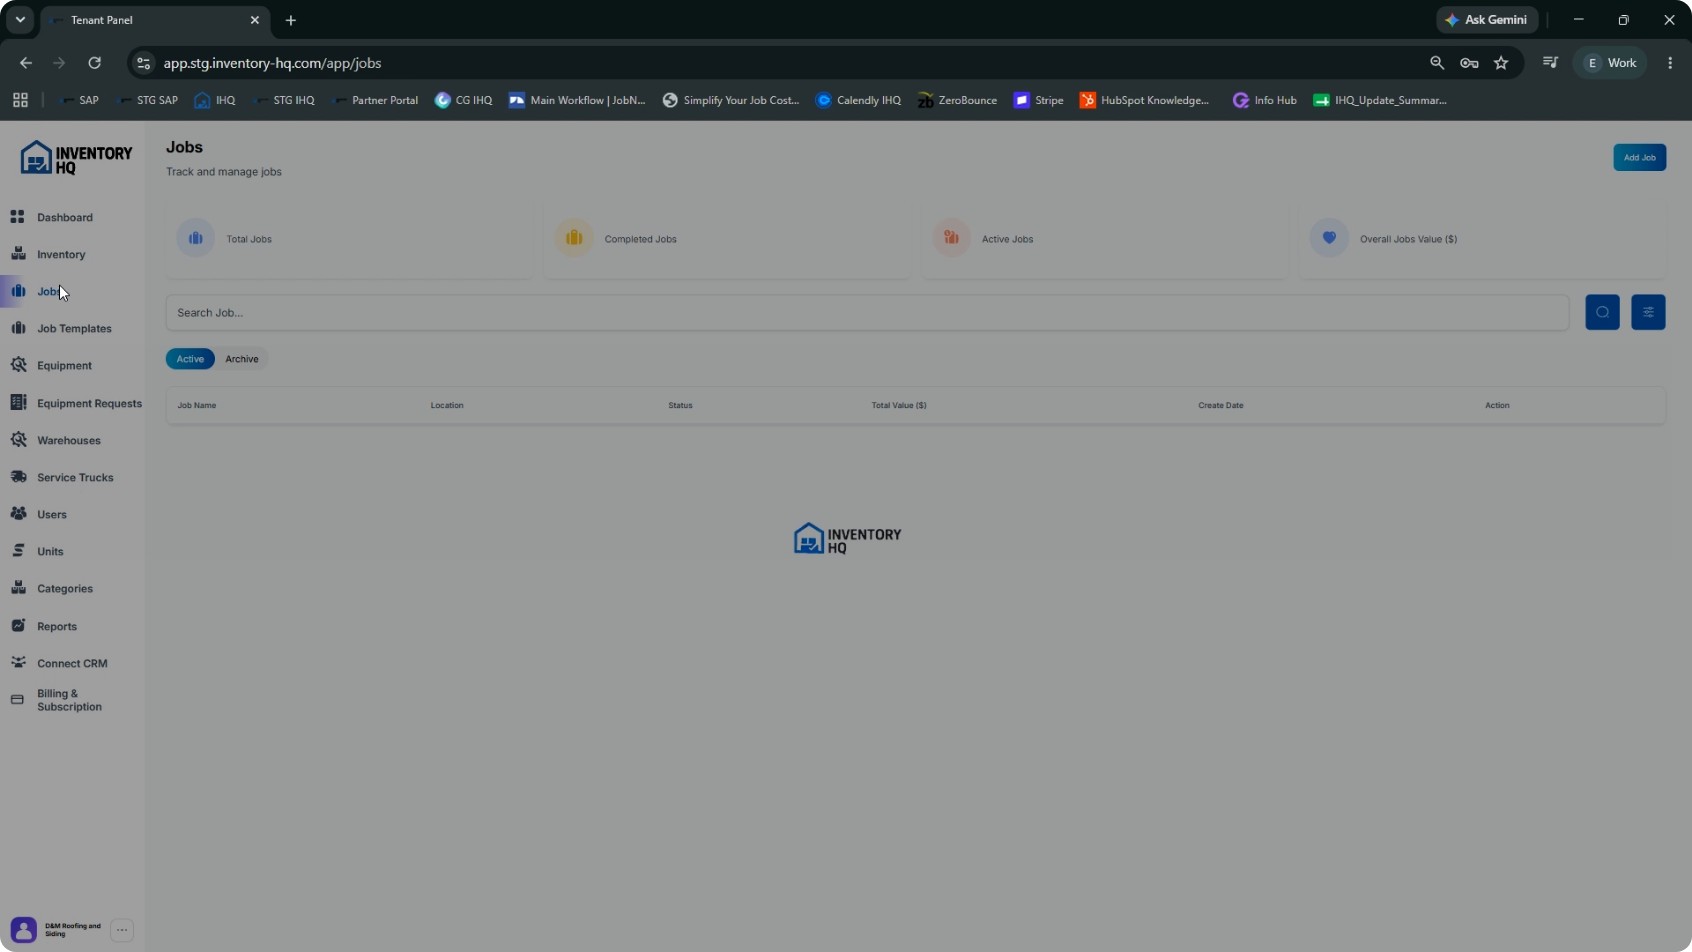
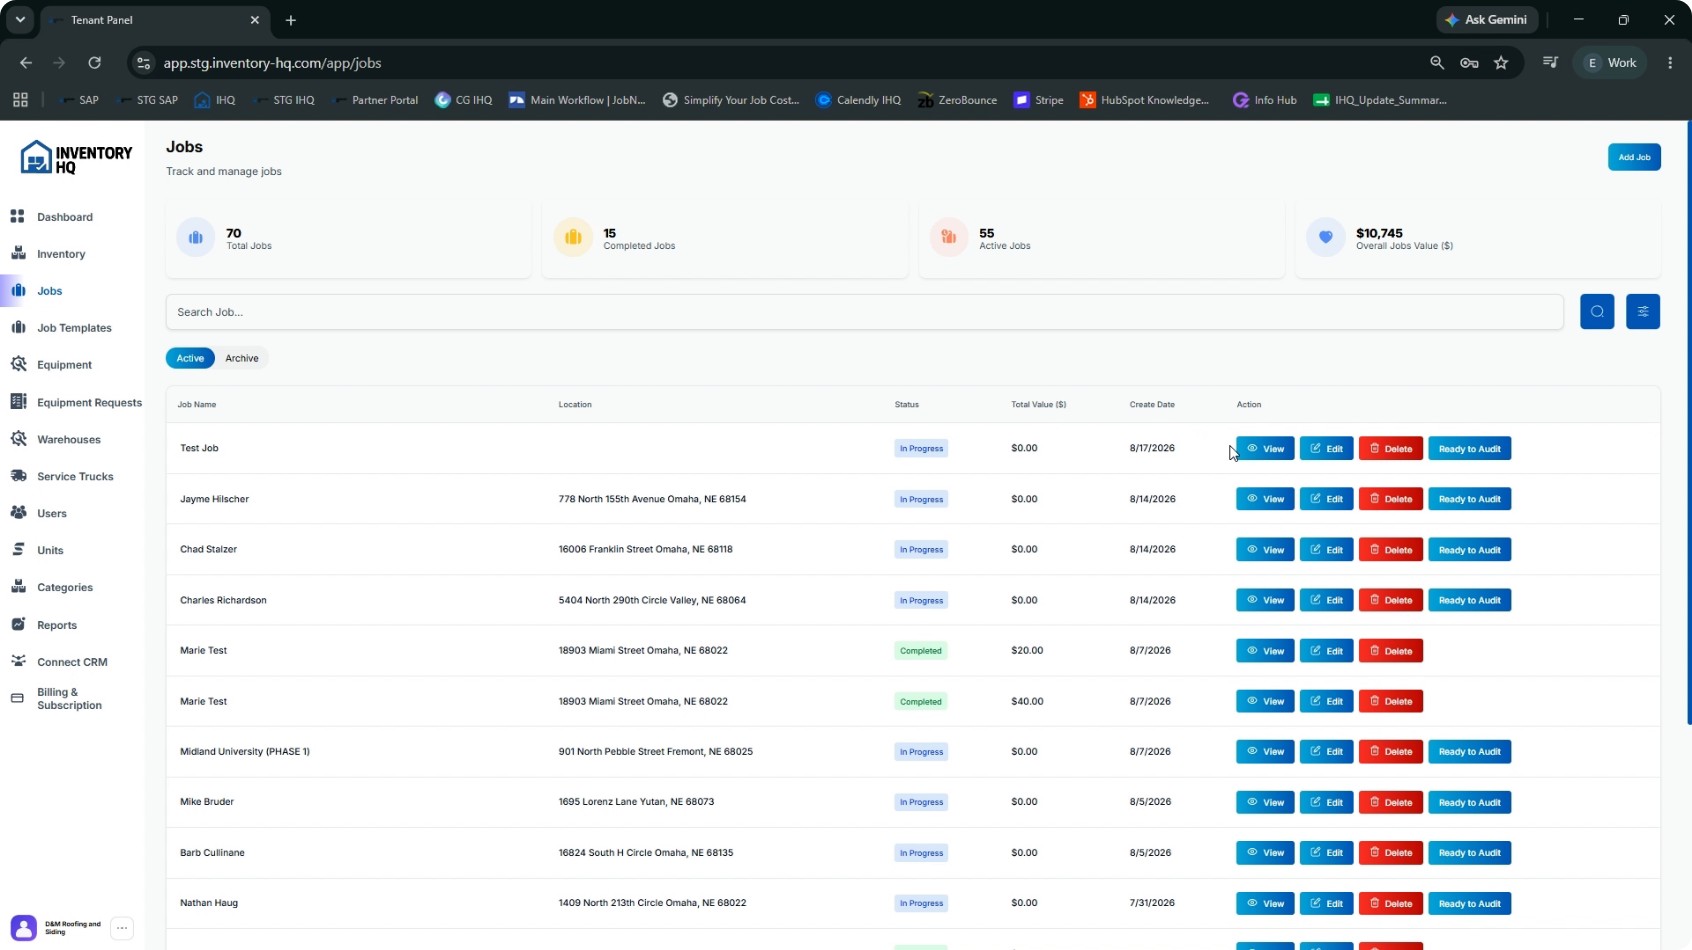
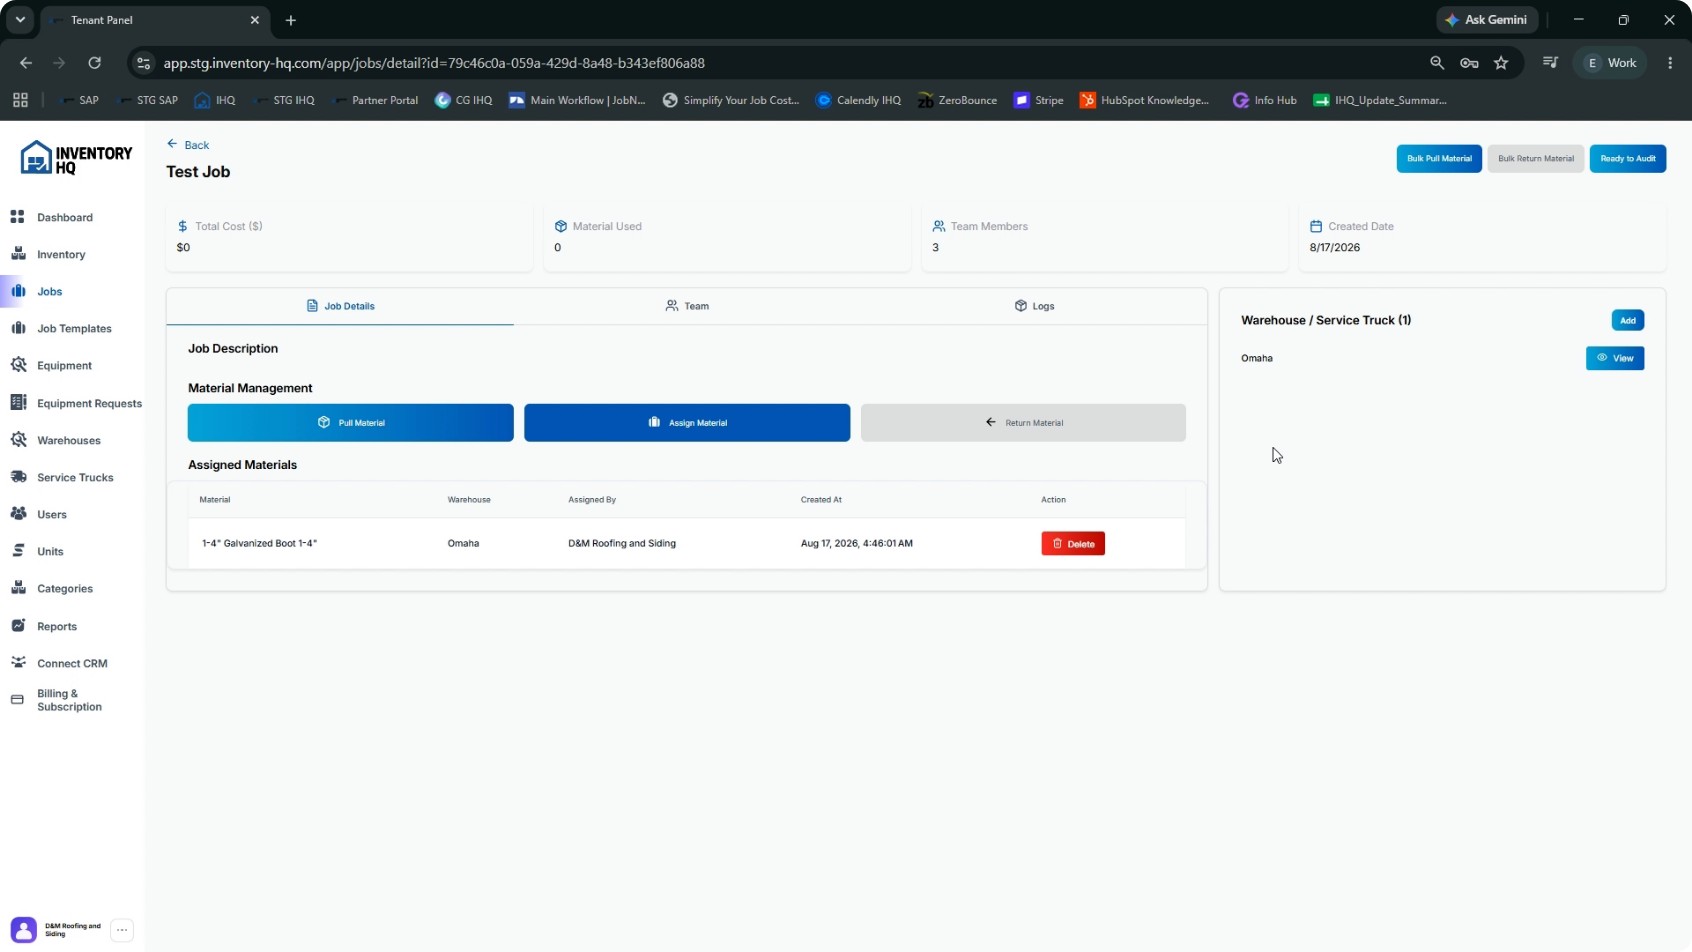
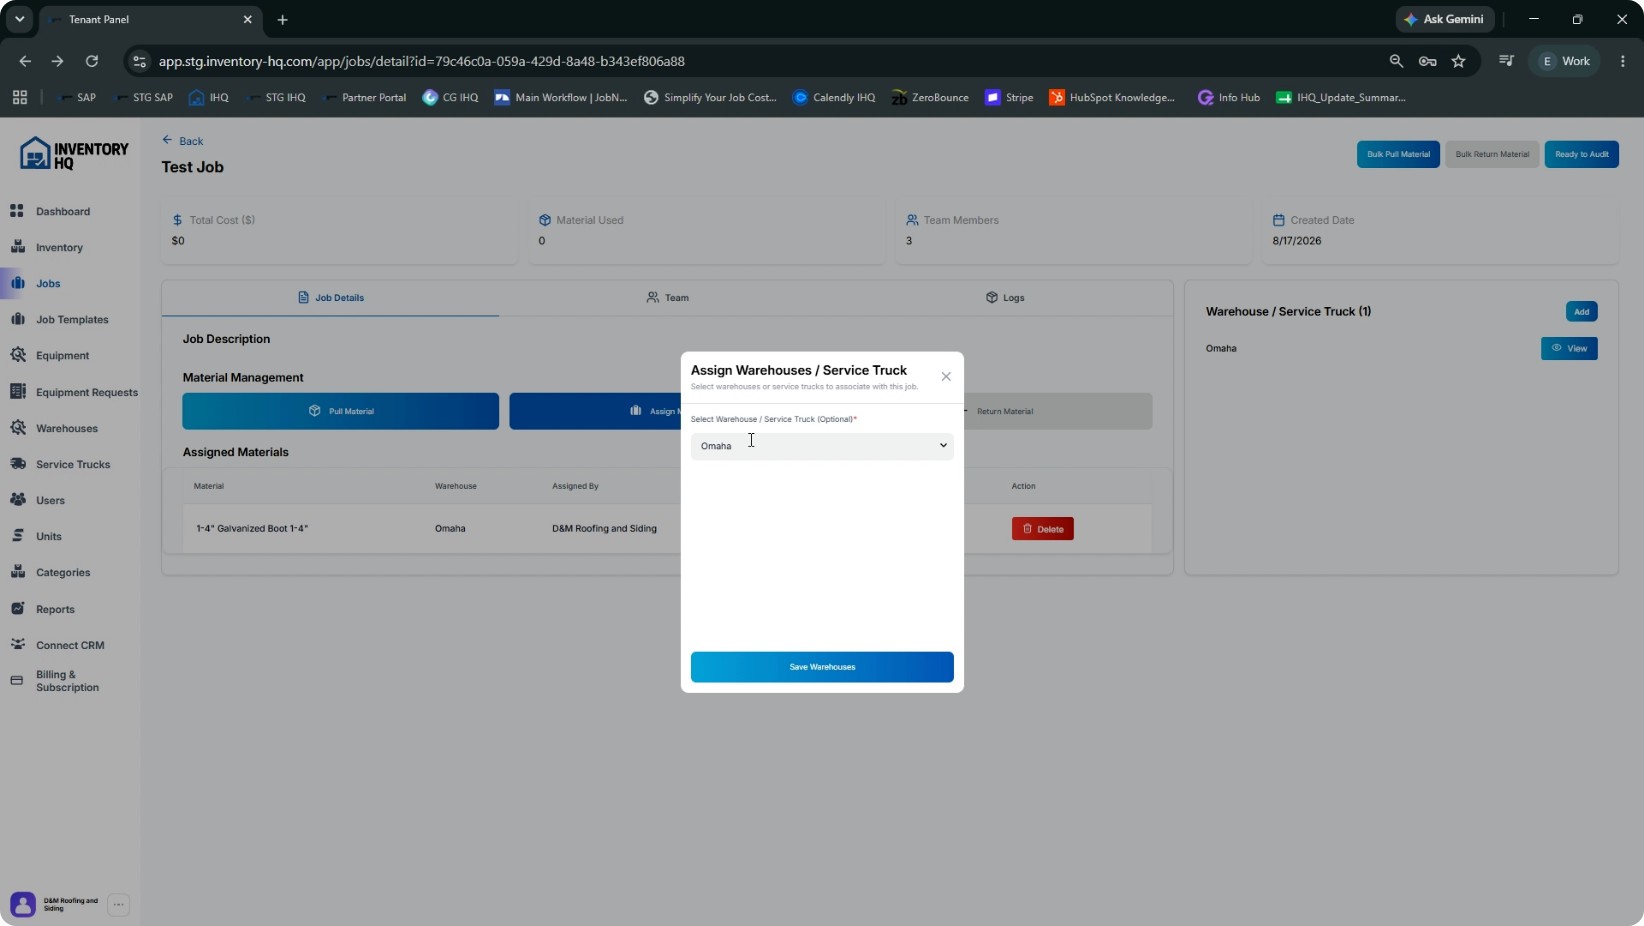
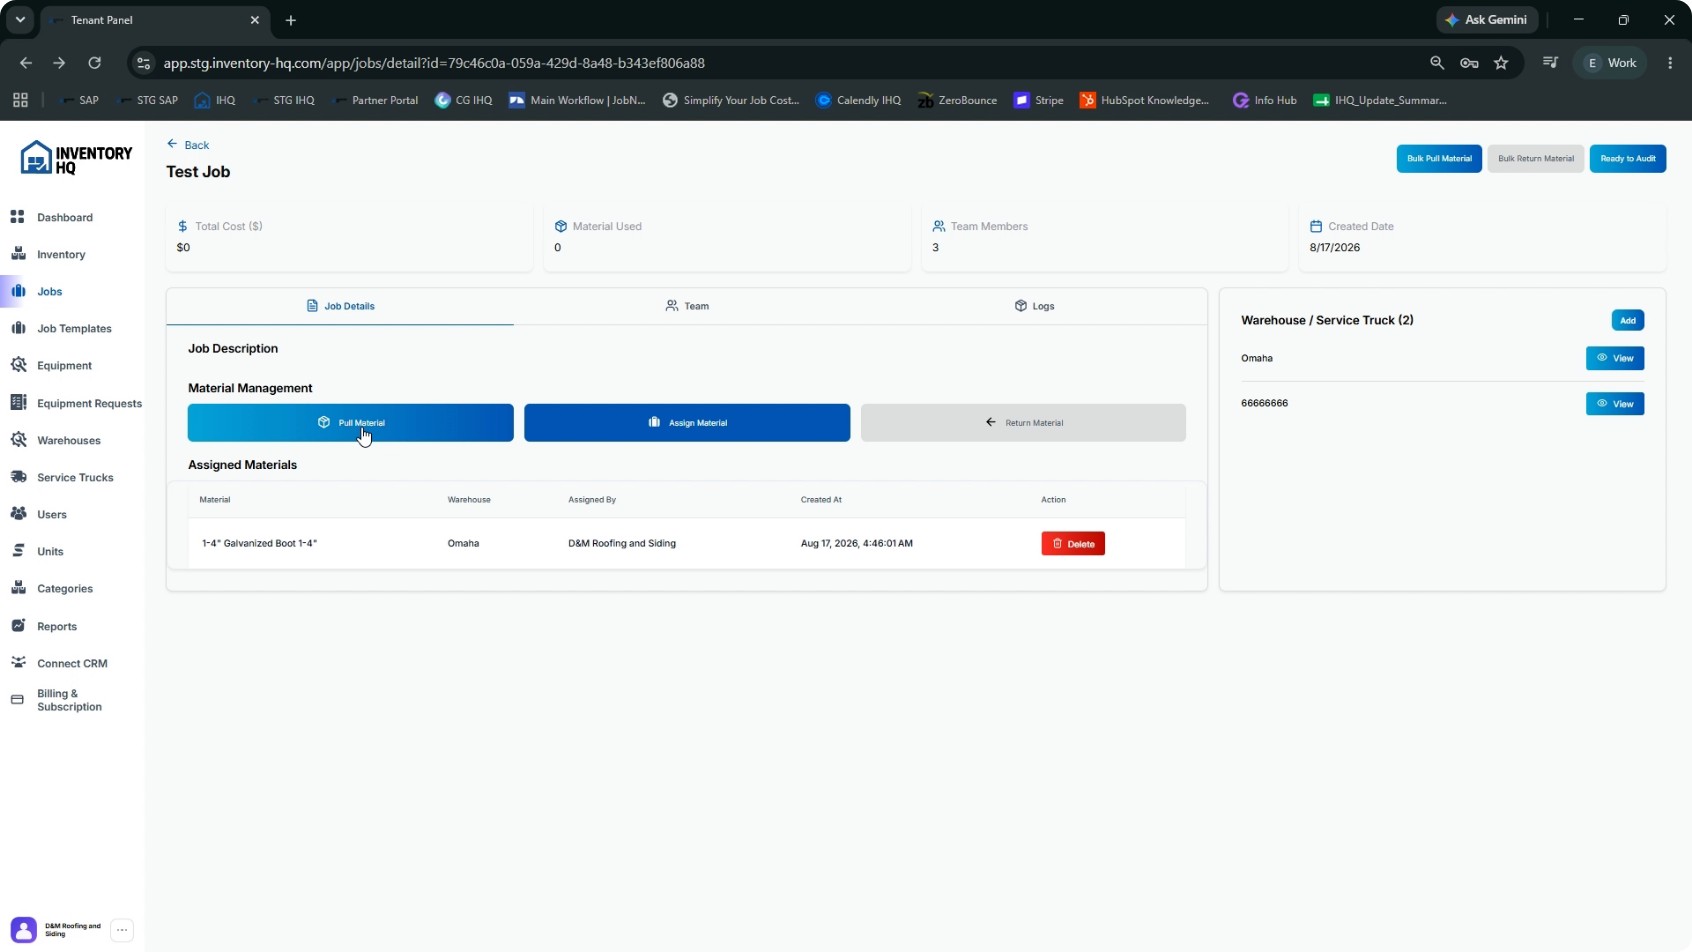
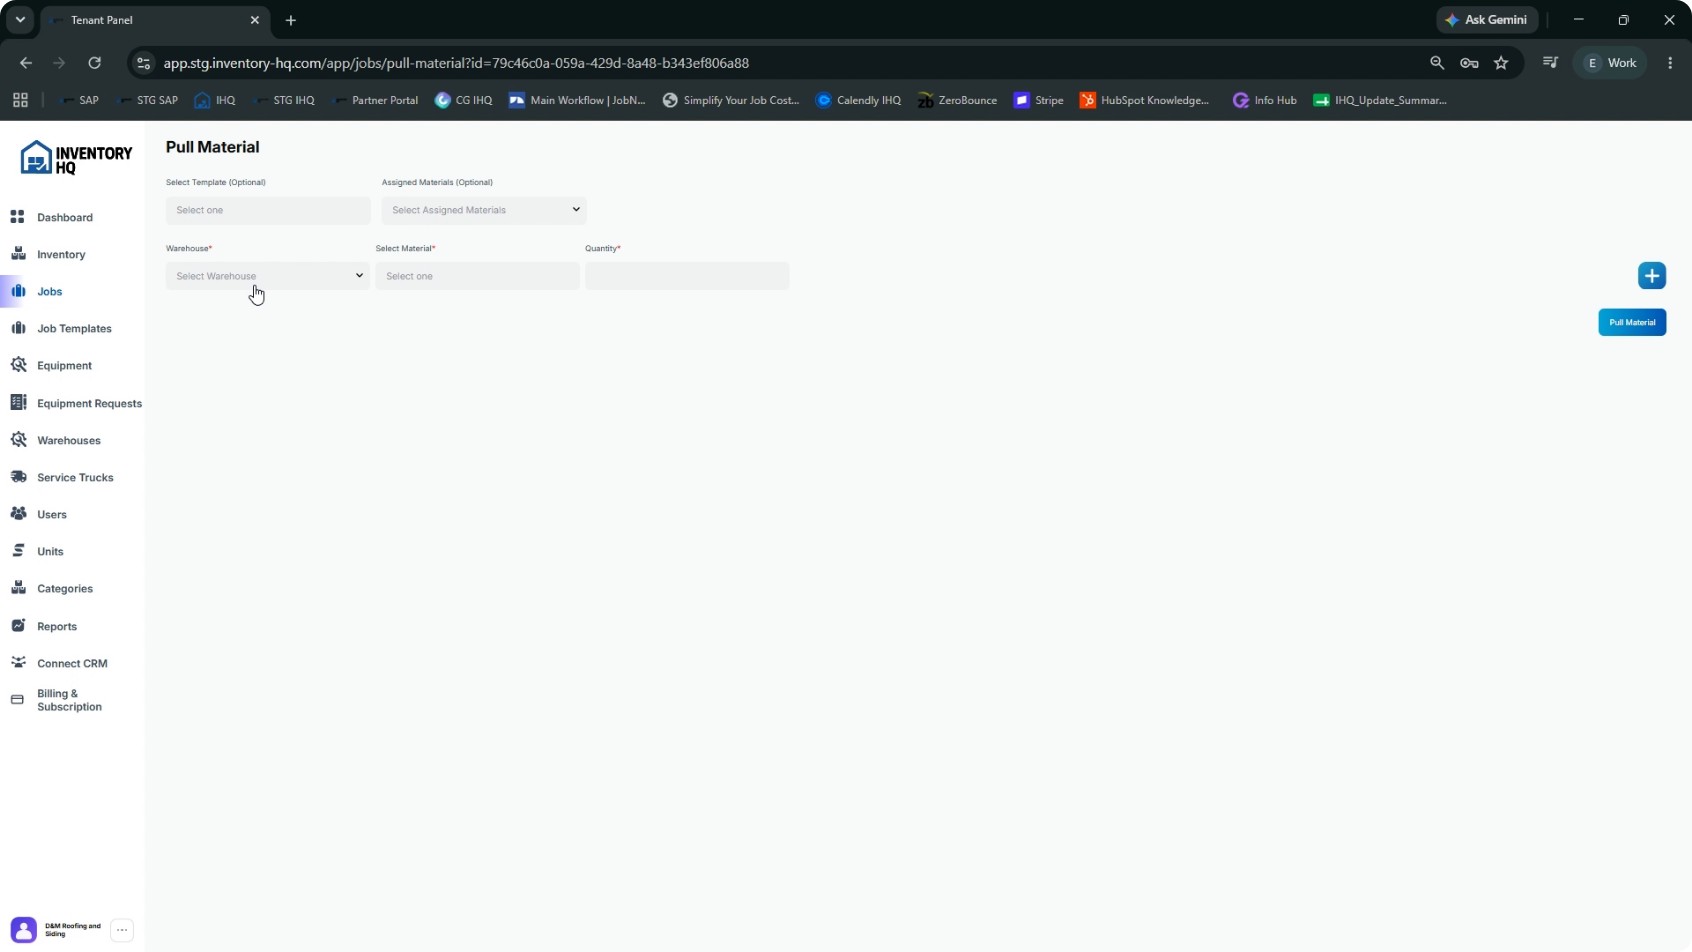
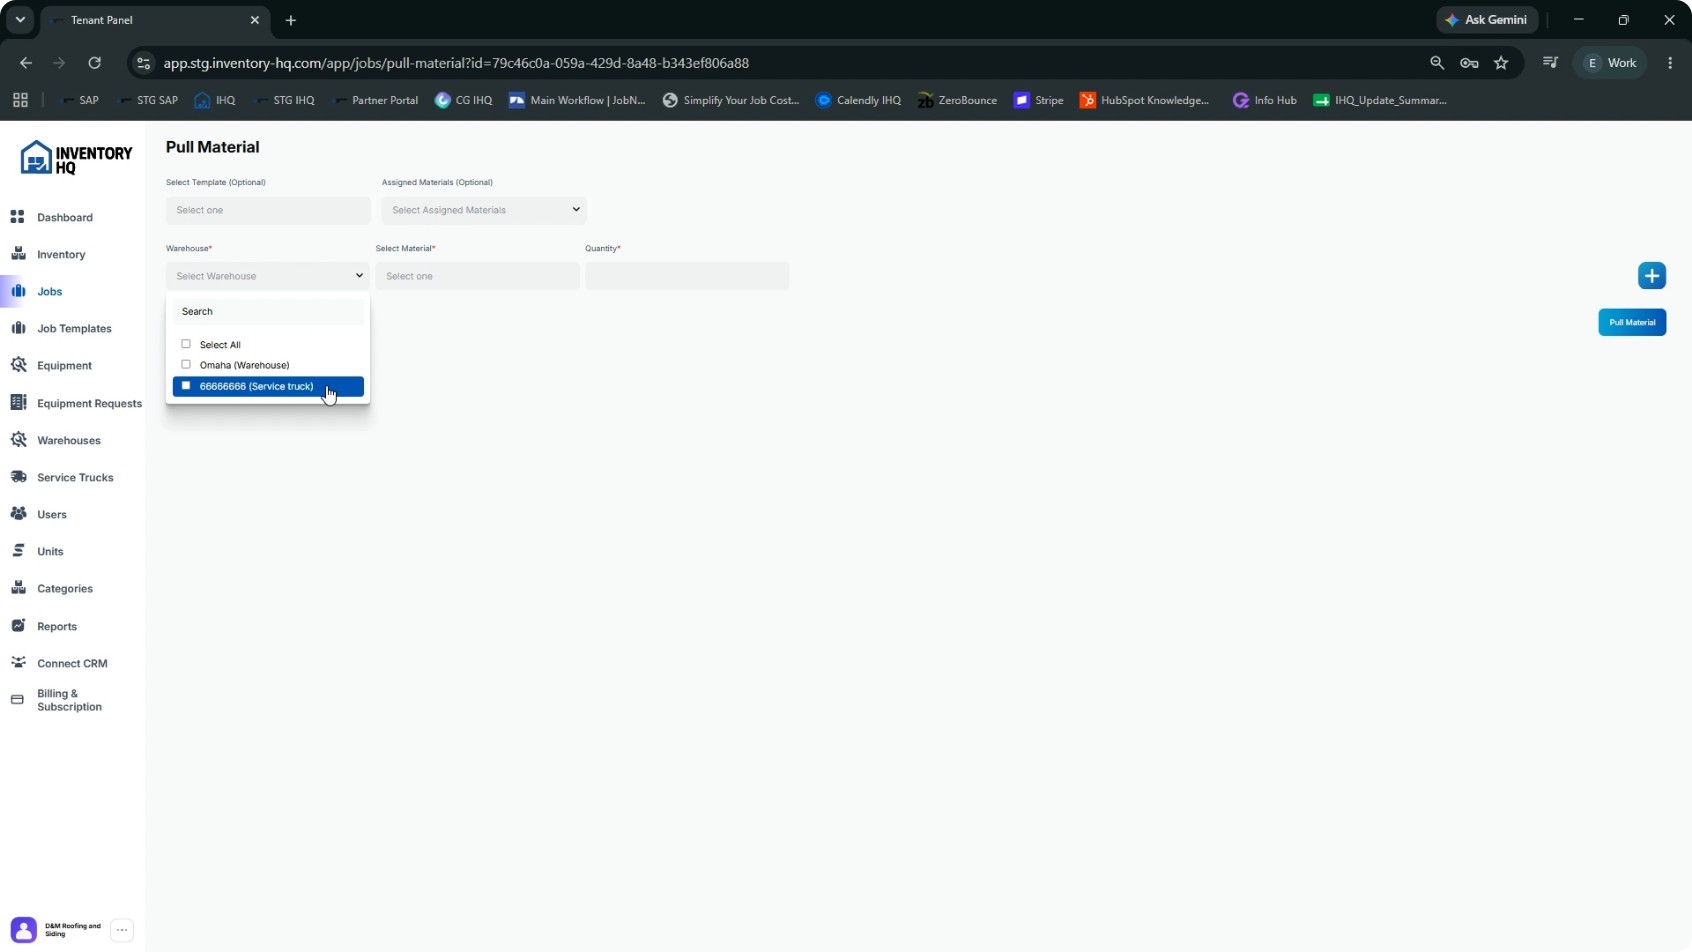
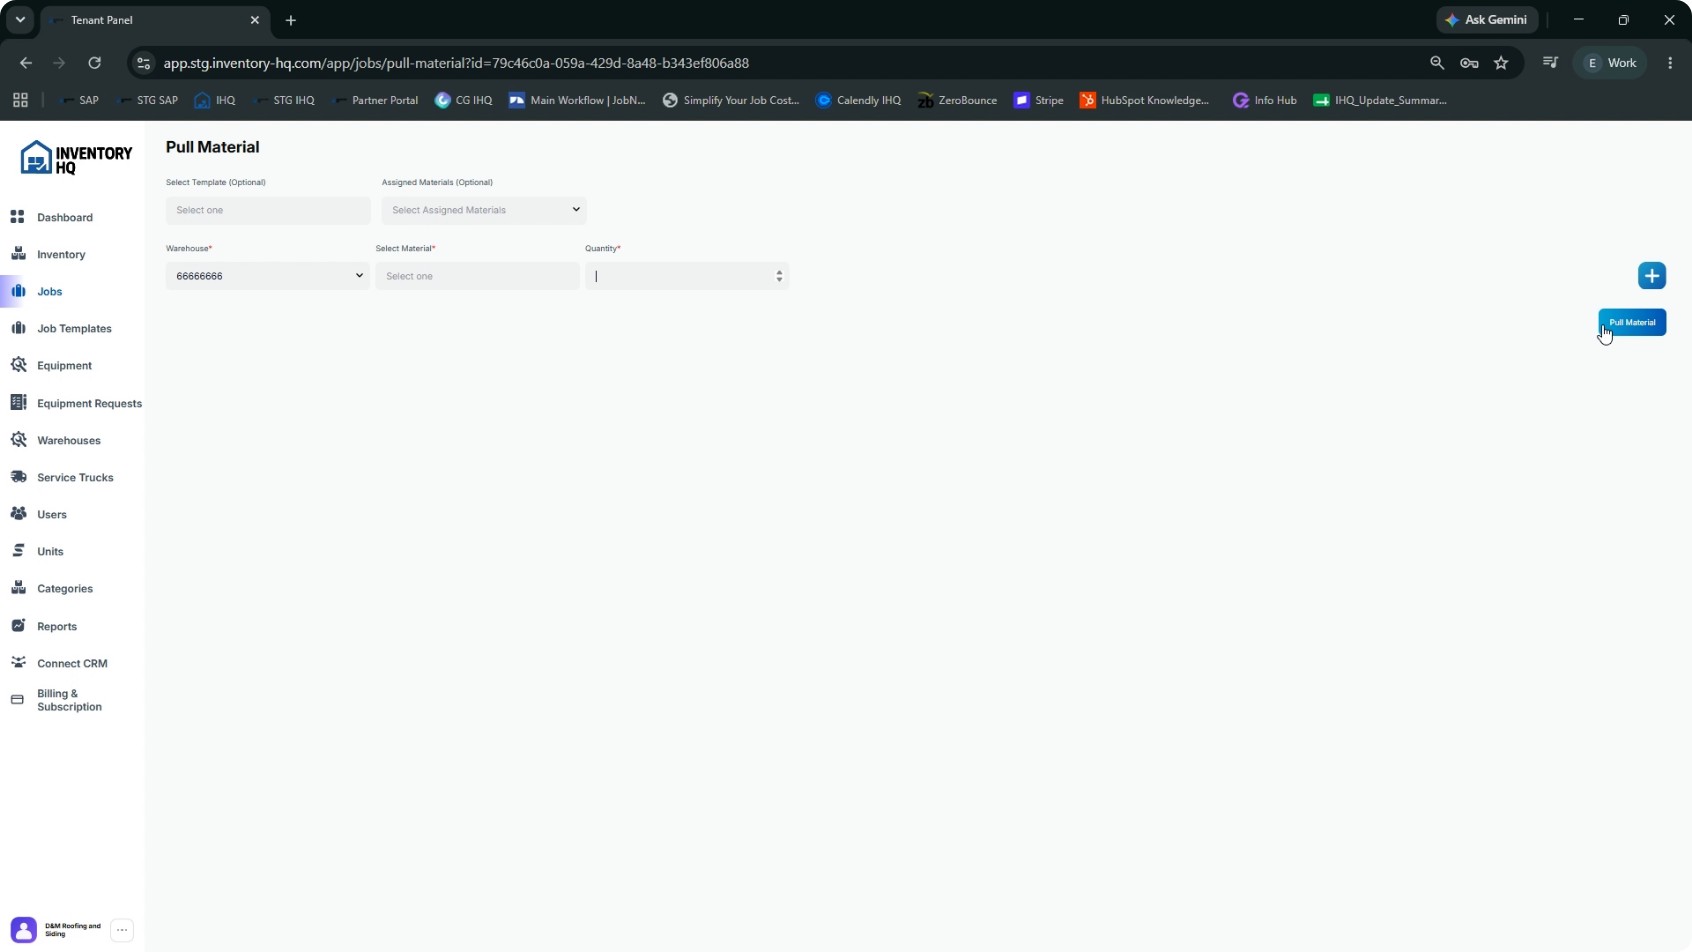
Pulling from a truck works the same way as pulling from a warehouse. Go to the Jobs section. Open the job you want to work with (e.g., a test job). Click Pull Material. In the pull window, you can select either a warehouse or a service truck as the source. If the job is not yet assigned to a service truck:
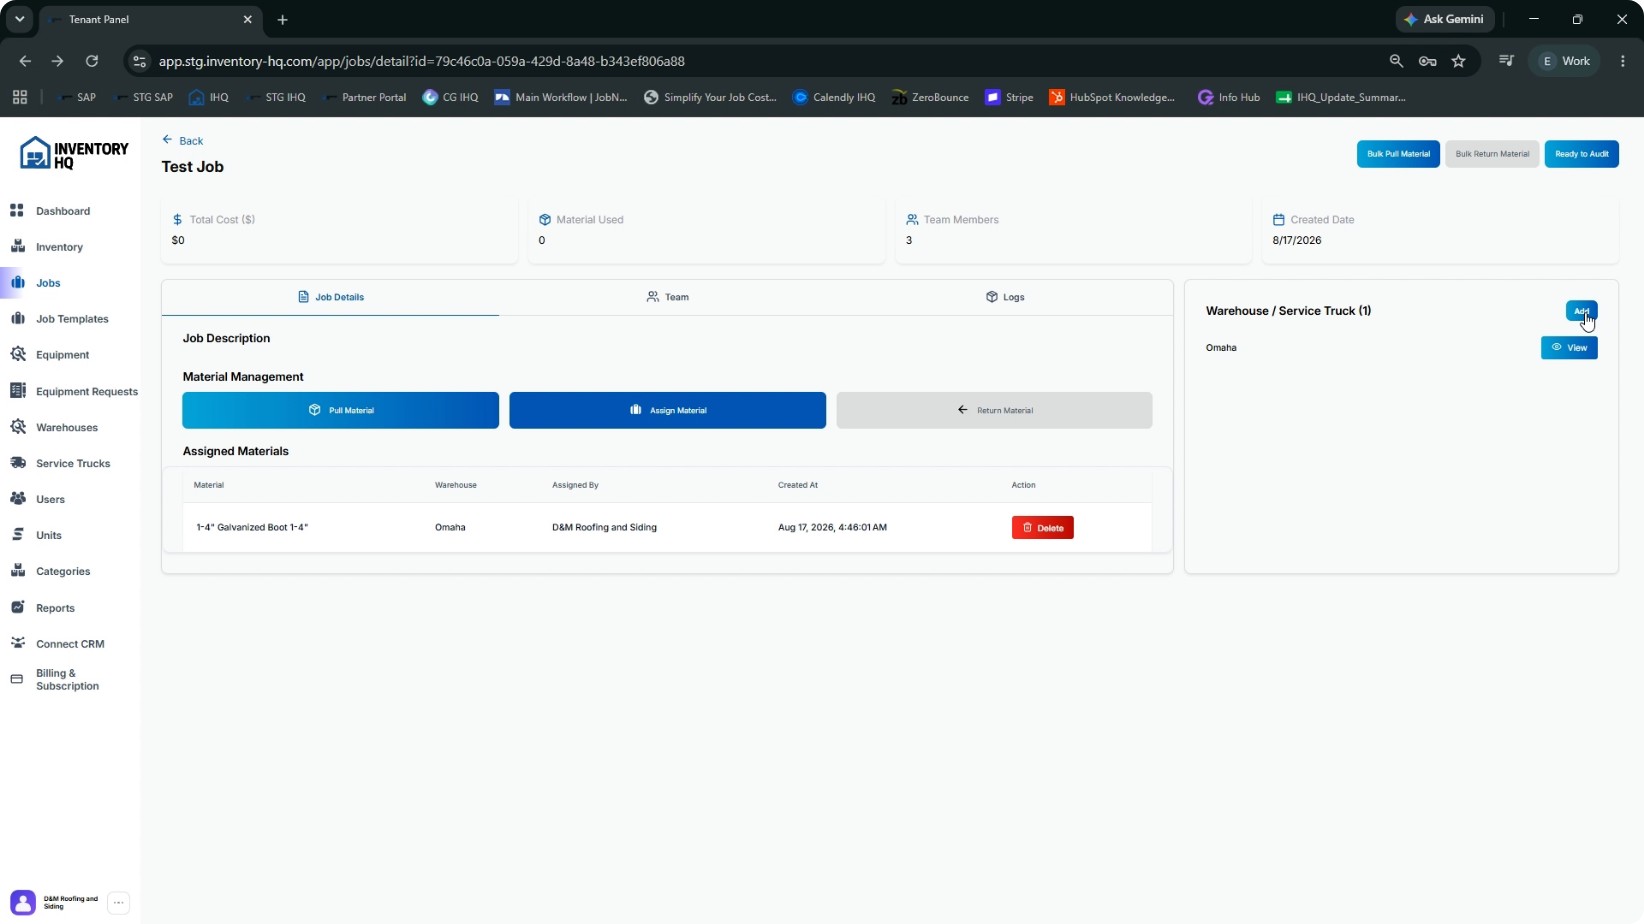
- Go back to the job details and assign a Service Truck first.
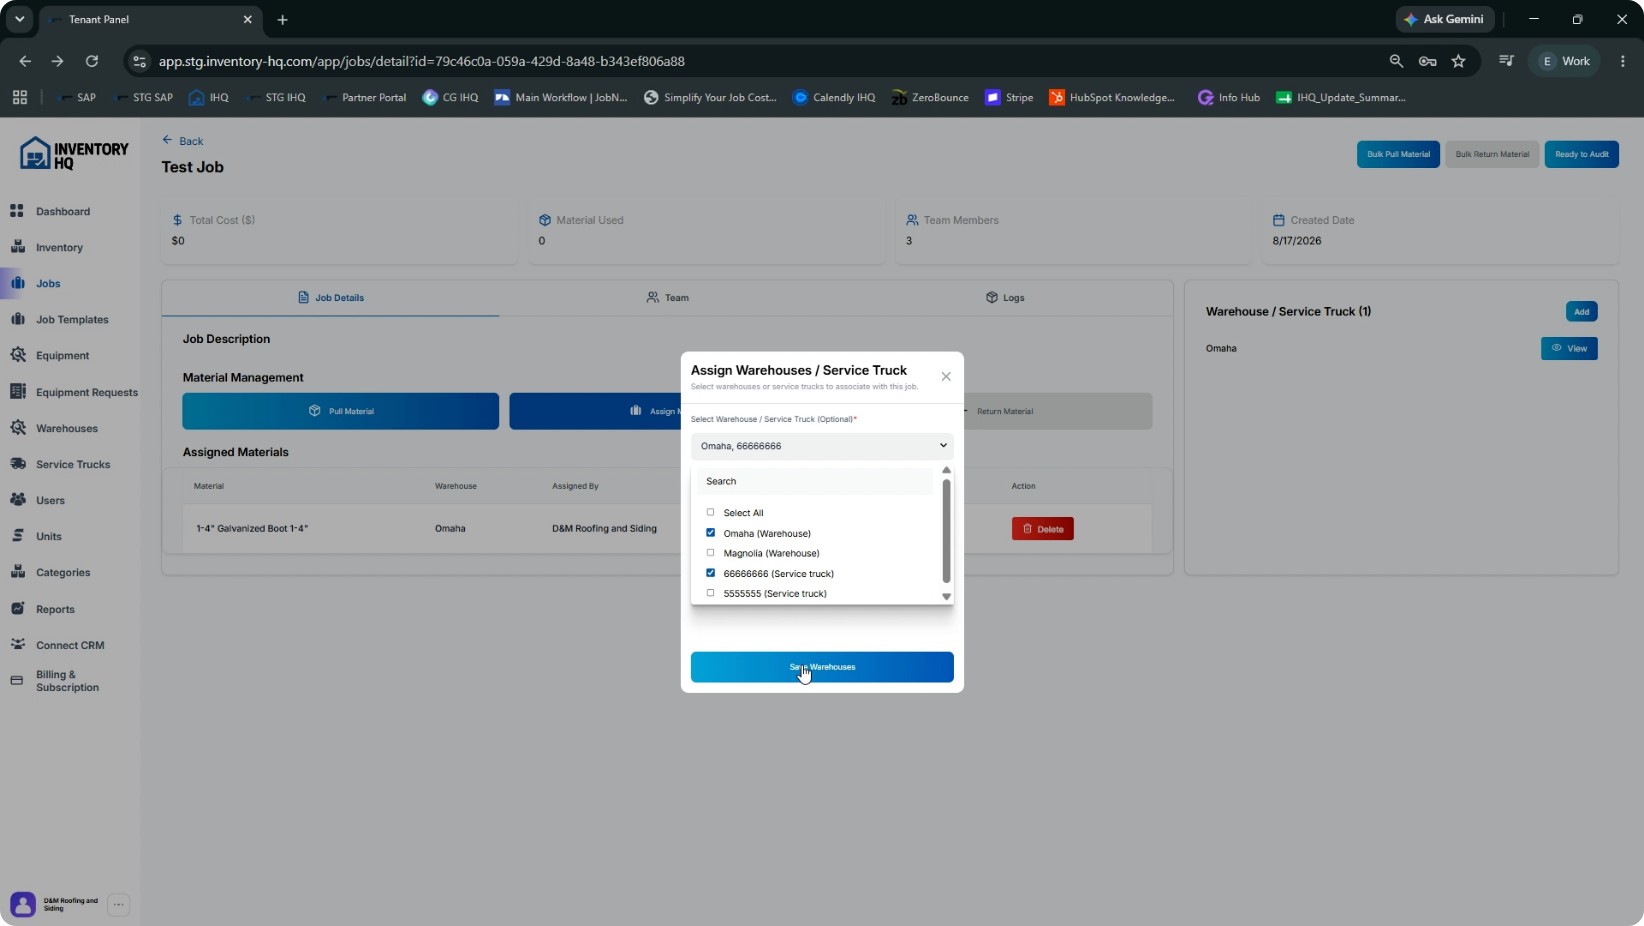
- Currently, the job may only be assigned to a warehouse. Add a service truck in the job’s warehouse/service truck assignment area.
- Choose the desired service truck.
- Click Save Warehouses to save the assignment.
Now, when you pull material for that job, you can select the assigned service truck as the source. Choose the material and quantity to pull. Click Pull Material to complete the operation.
- 6
Filter and View Active Stock on a Service Truck
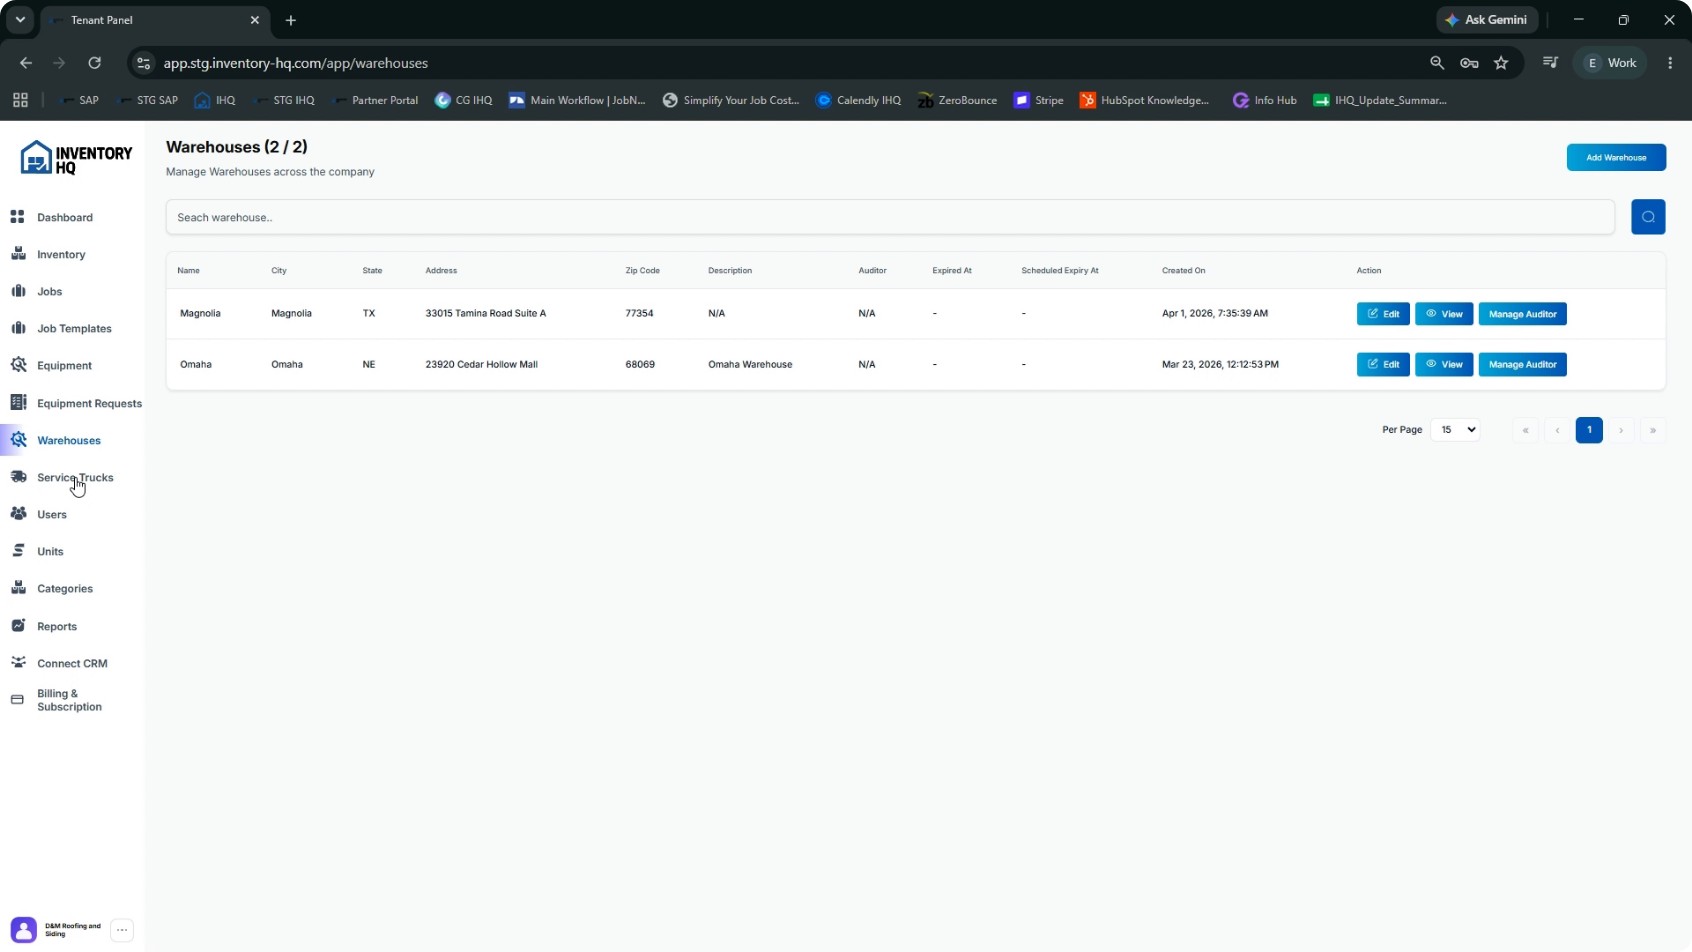
To review what is currently on a truck, return to the Service Trucks section. Open a specific service truck from the list. On the truck inventory view:
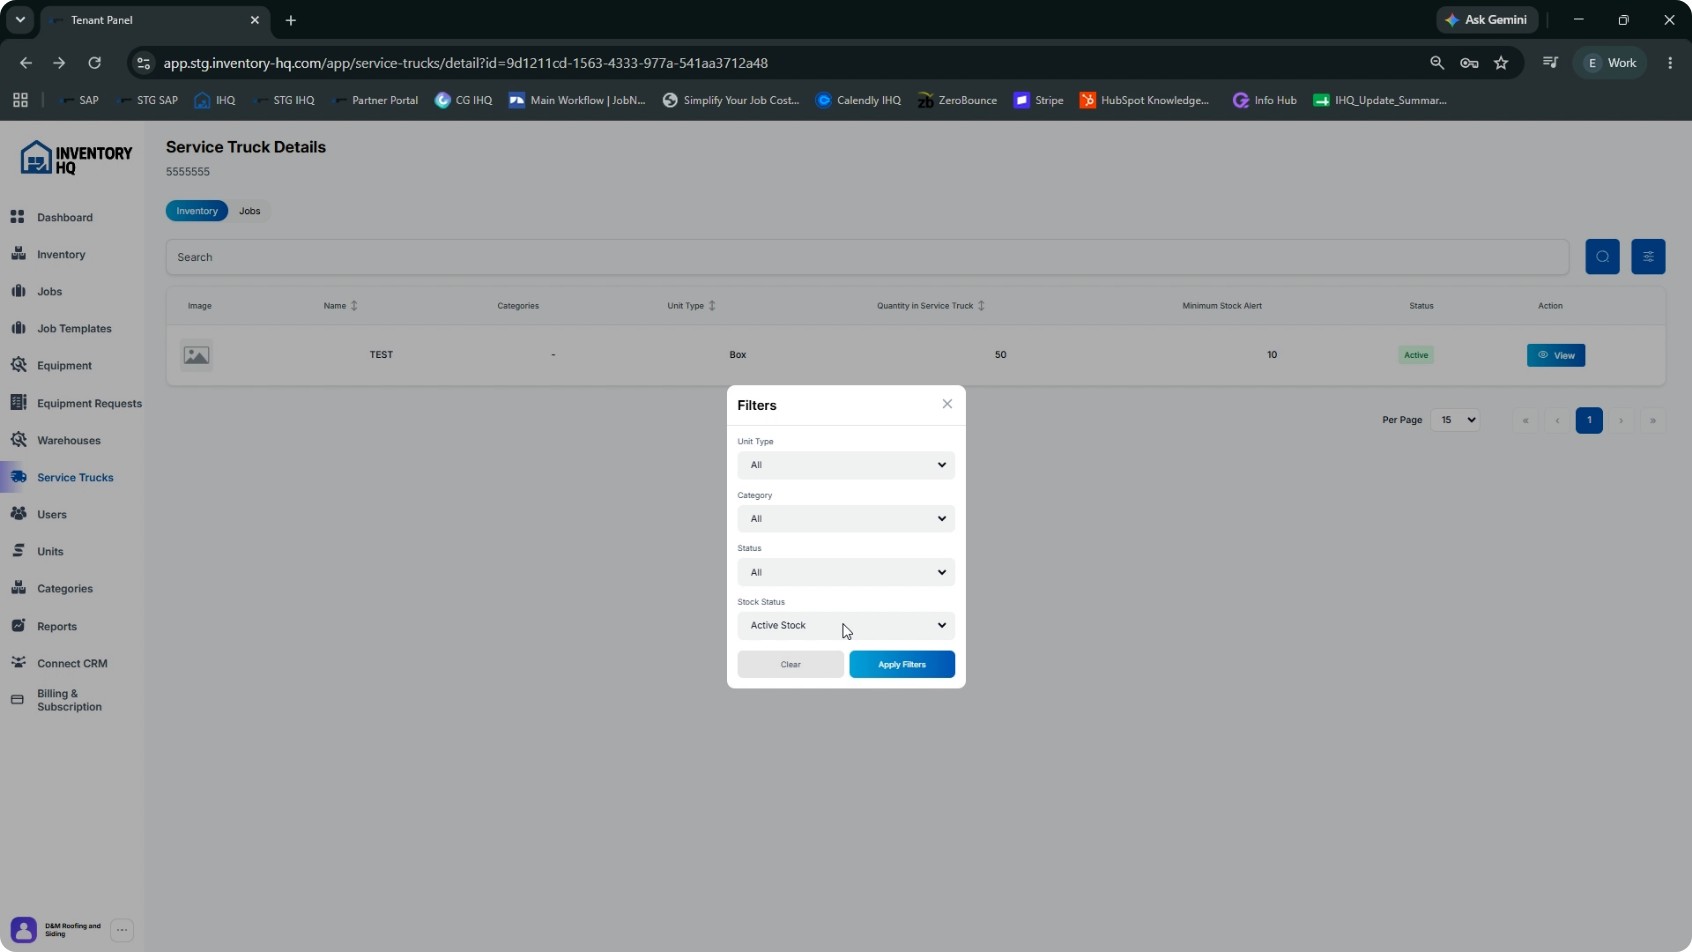
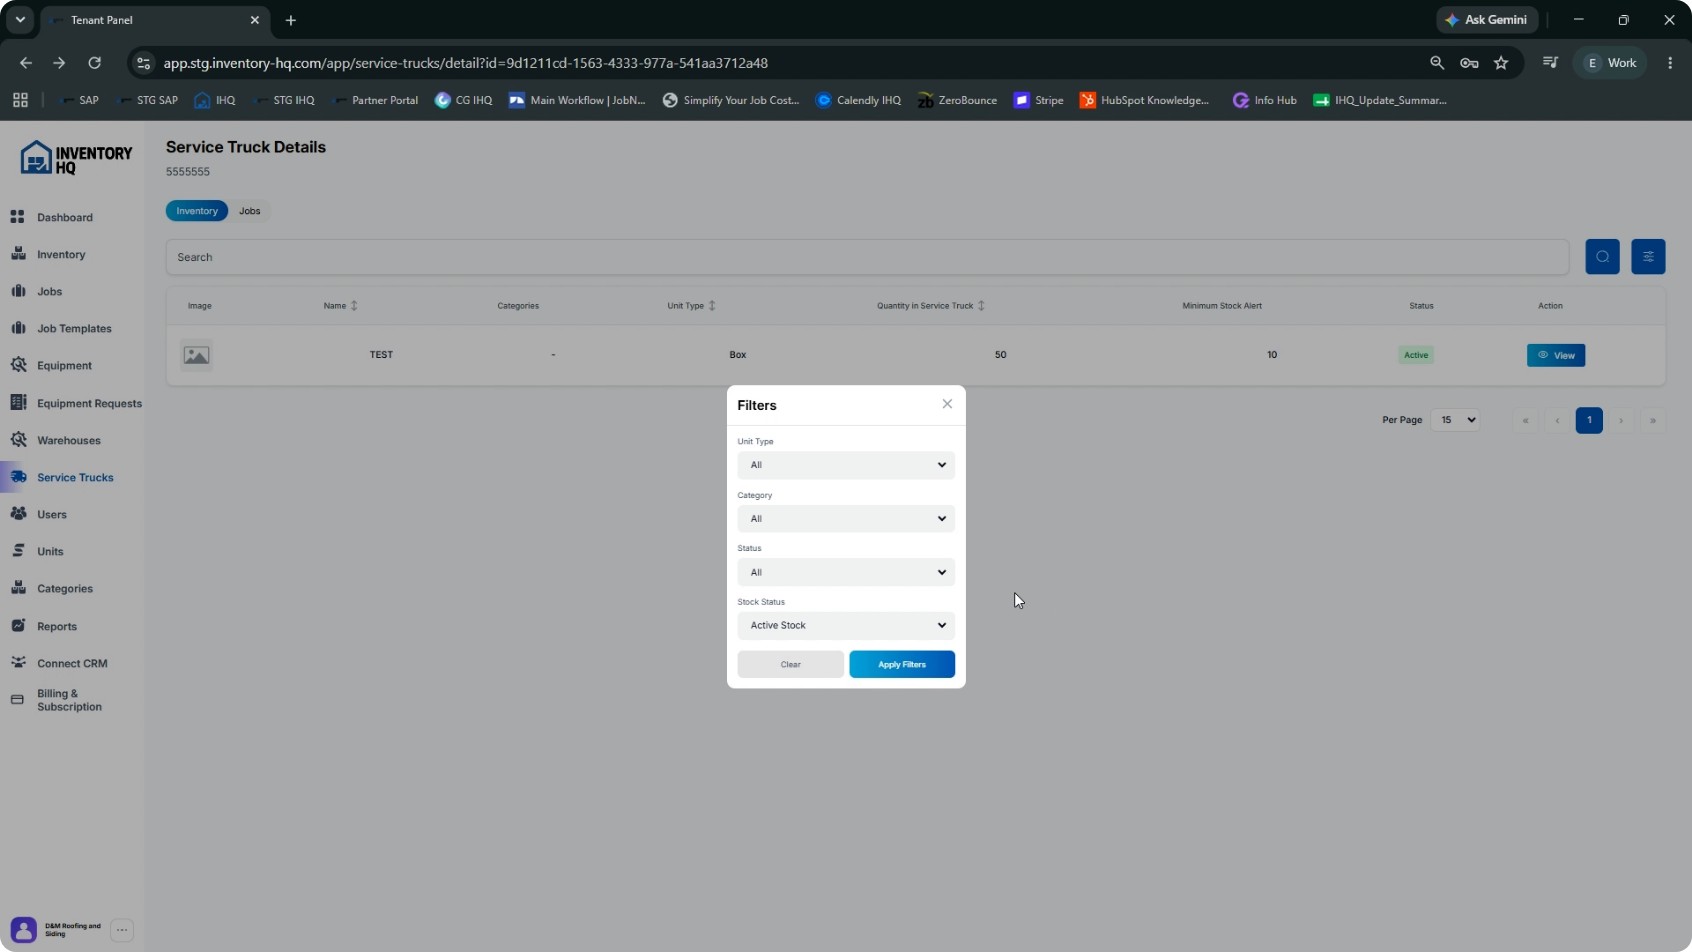
- Use the filter options to adjust what you see.
- Change the Stock Status filter to Active Stock.
This shows only items that are actually on the truck and hides zero-quantity items that would clutter the list. Click Apply Filter to update the view.
NEXT TUTORIAL
Managing Equipment and Equipment Requests →