
Managing Equipment and Equipment Requests
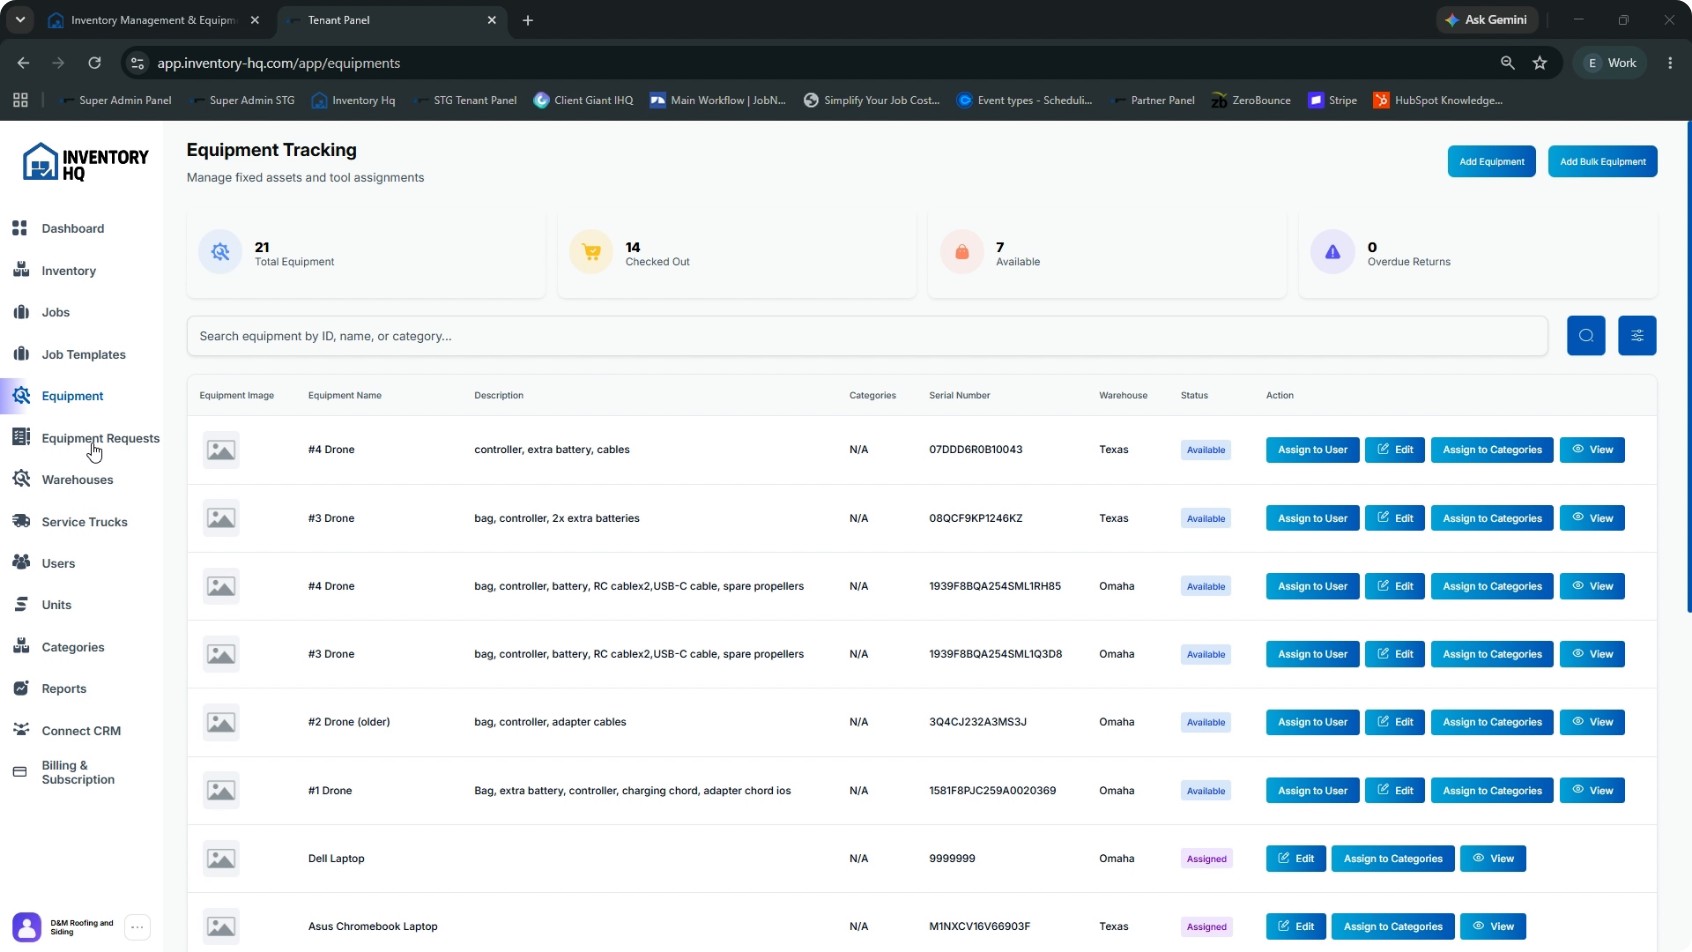
Use this process to add, assign, and track loaned equipment such as drones, ladders, tablets, and other tools. The equipment section is separate from inventory and gives you a clear overview of what is checked out, available, and overdue, along with full accountability via signatures and timestamps.
Step by step
- 1
Understand the Equipment Overview
At the top of the Equipment page, review the summary that shows:
- Total equipment checked out
- Total equipment available
- Total overdue returns
This gives you a quick status of all loaned equipment across your company.
- 2
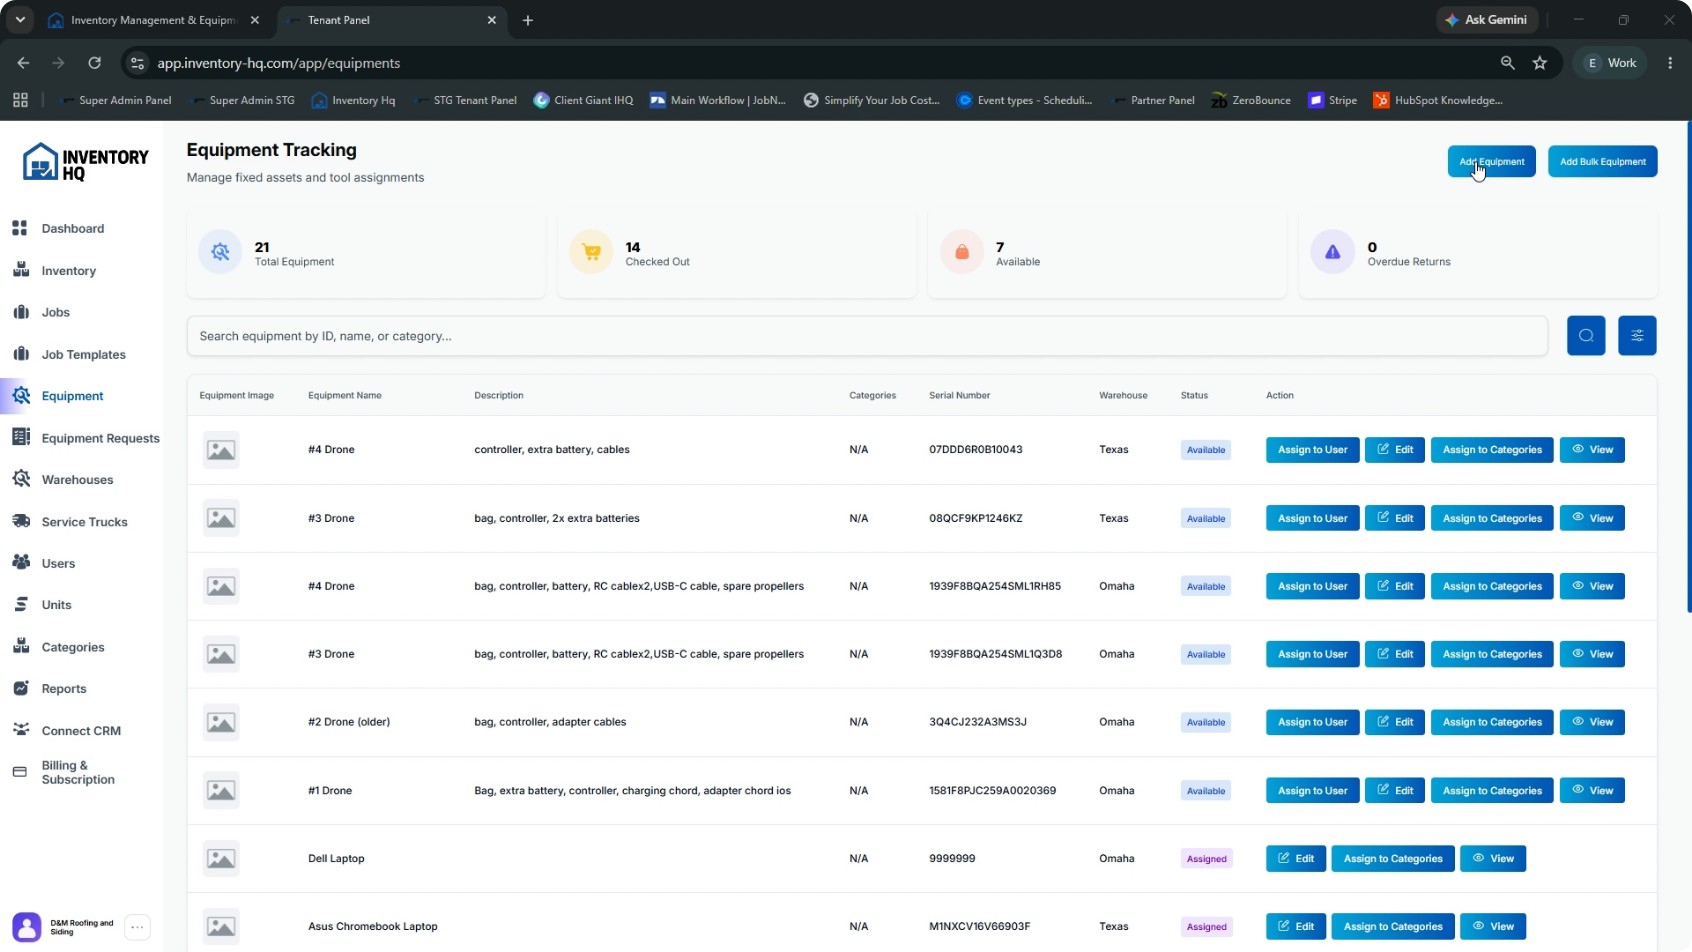
Add a Single Equipment Item
At the top right corner, click the Add Equipment button. In the Add Equipment form:
- Upload an image of the equipment (recommended for easier identification later).
- Enter the Equipment Name, Serial Number, and Model (all three are required fields).
- Optionally assign the equipment to a Warehouse.
- Optionally add a Short Description or any additional information about the equipment.
When all required details are filled in, click Add Equipment to save.
- 3
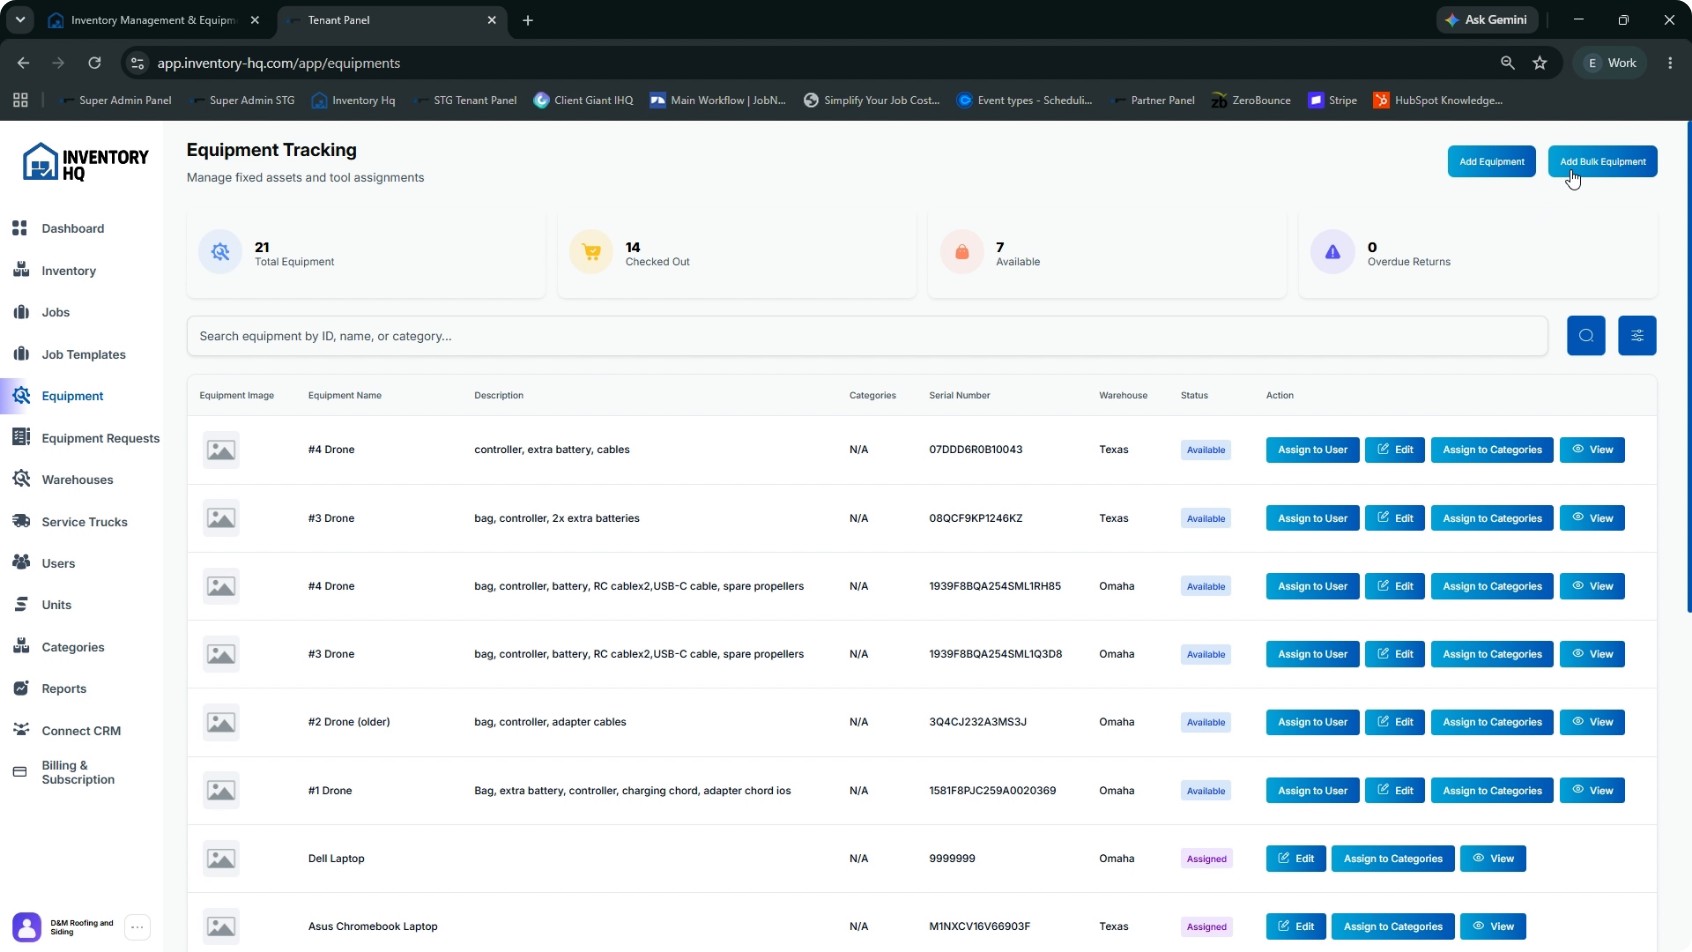
Add Multiple Equipment Items in Bulk
If you have many equipment items to load, use the Add Bulk Equipment option.
- Download the sample Excel template provided.
- Enter all equipment details into that Excel sheet, following the template format.
- Upload the completed Excel file back into the system.
- Click Submit to create all the equipment records in bulk.
- 4
Assign Equipment to Users and Jobs
Once your equipment list is ready, you can assign and track each item.
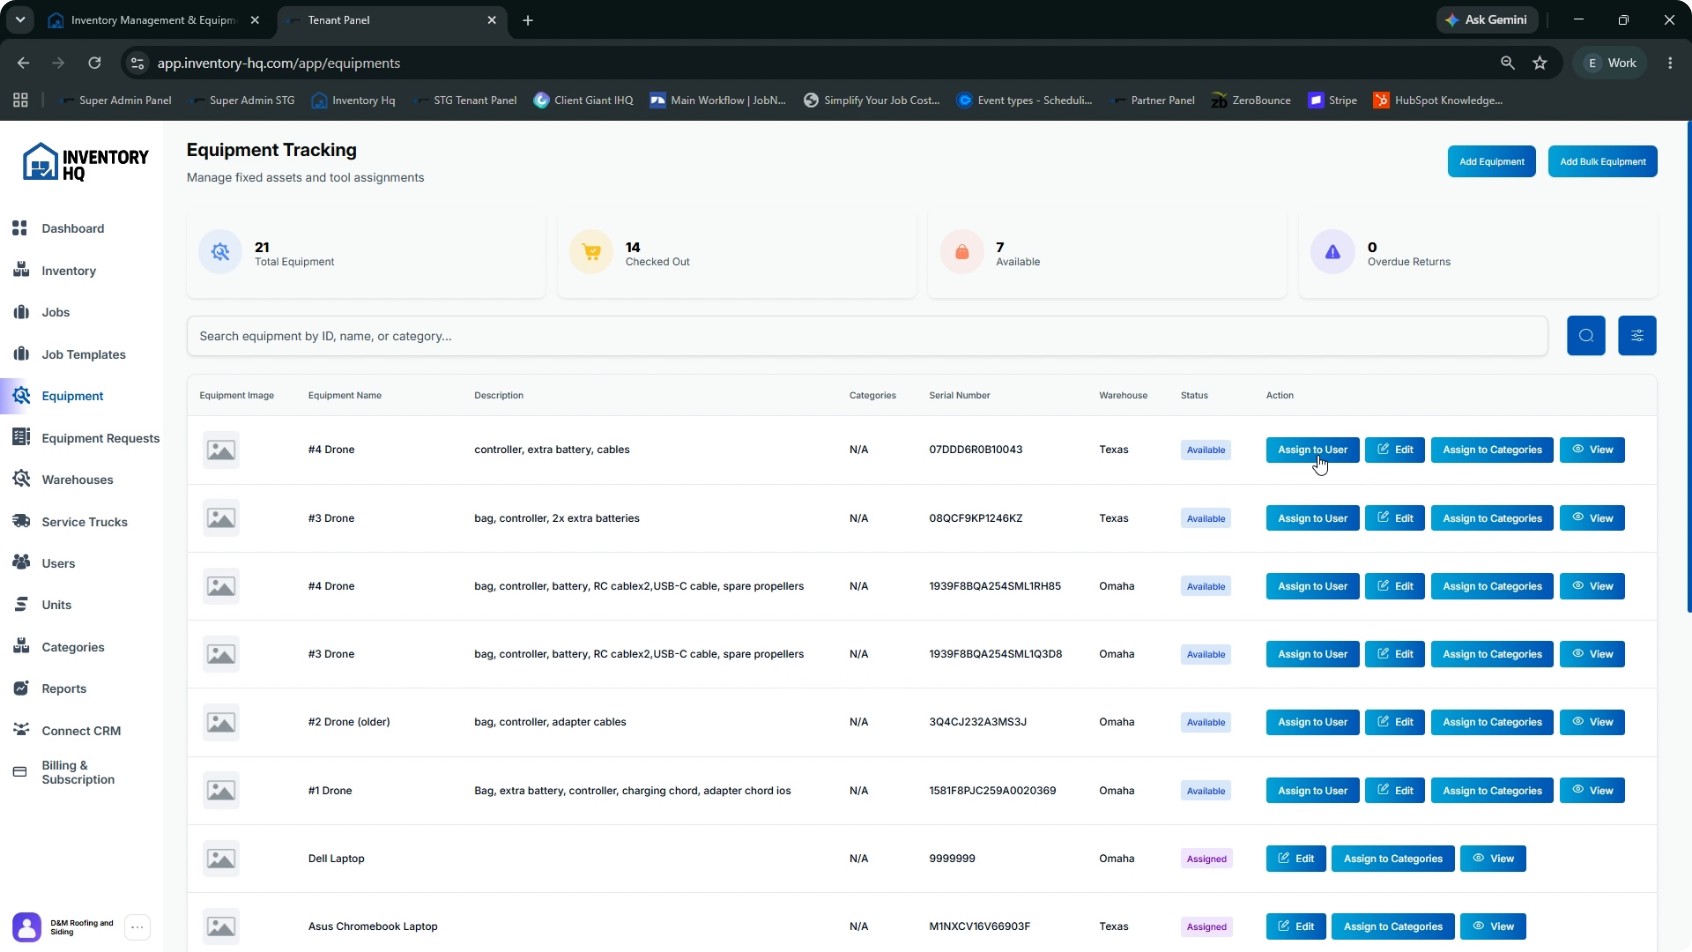
- When someone takes a piece of equipment, click the Assign to User button on that item.
- Select the specific User who will be responsible for the equipment.
- Optionally assign the equipment to a specific Job.
- Set the Expected Return Date.
- For accountability, have the user sign digitally in the provided signature field.
- Click Assign to complete the checkout.
The equipment status will update from Available to Assigned, so there is always clarity on who has what.
- 5
Tag Equipment with Categories
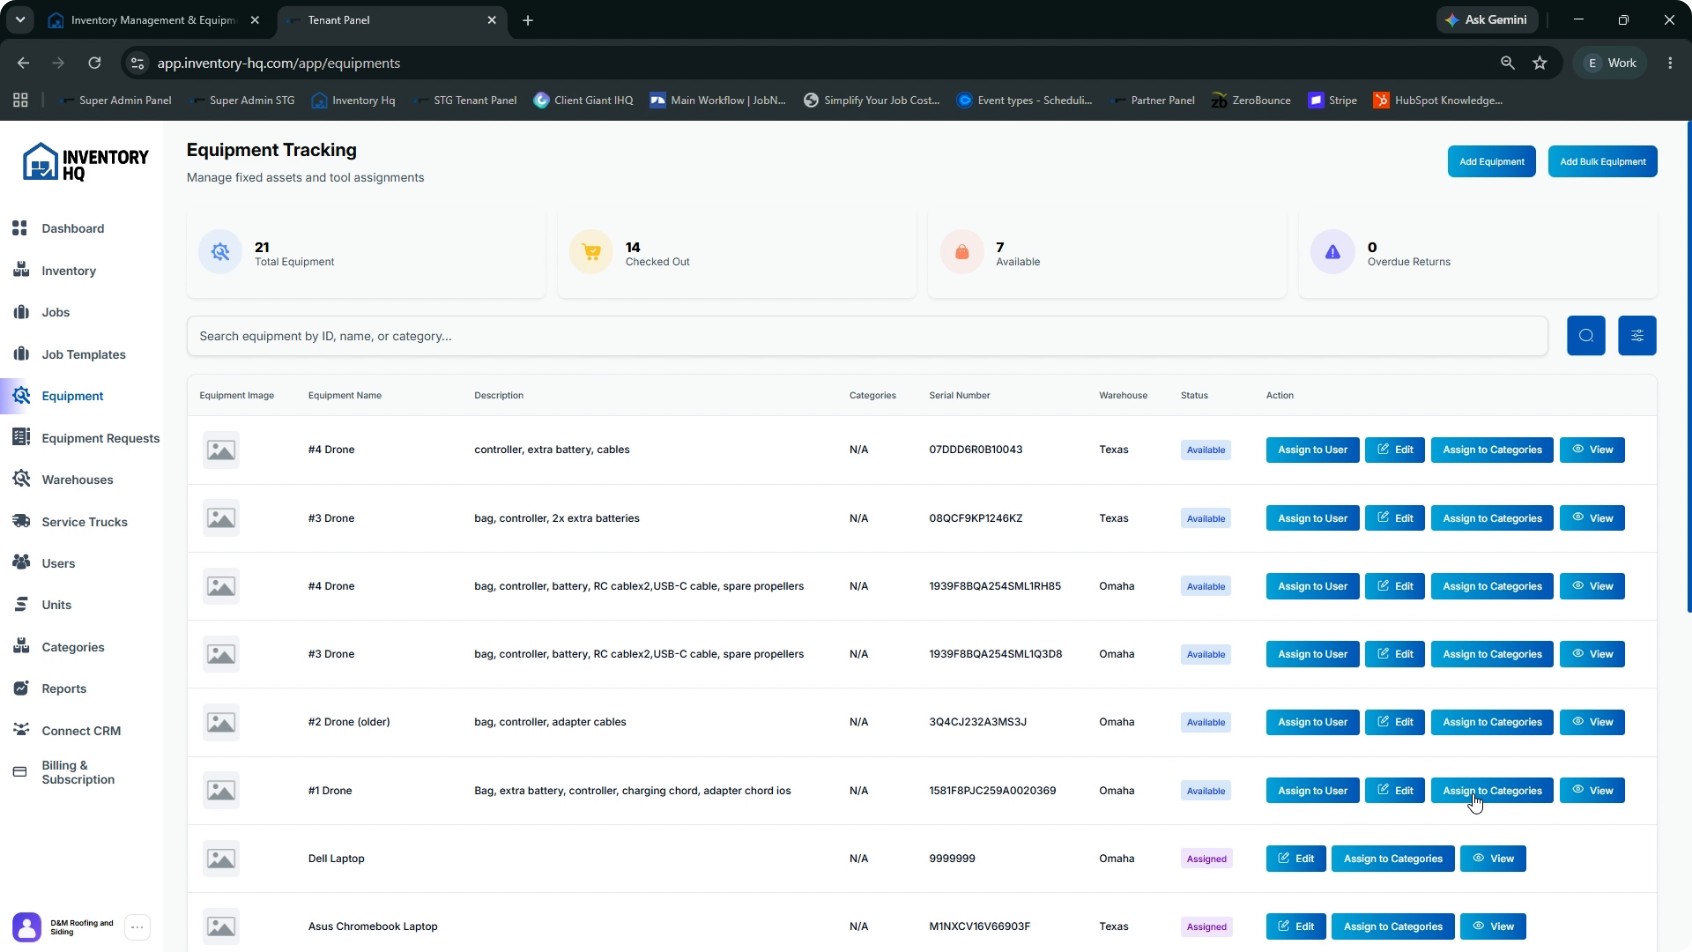
To make filtering and reporting easier, tag equipment with the same categories used for materials.
- Click the Assign to Categories button on the equipment item.
- Select the relevant categories.
- Save your changes to enable better filtering and organization.
- 6
Process and Track Equipment Requests
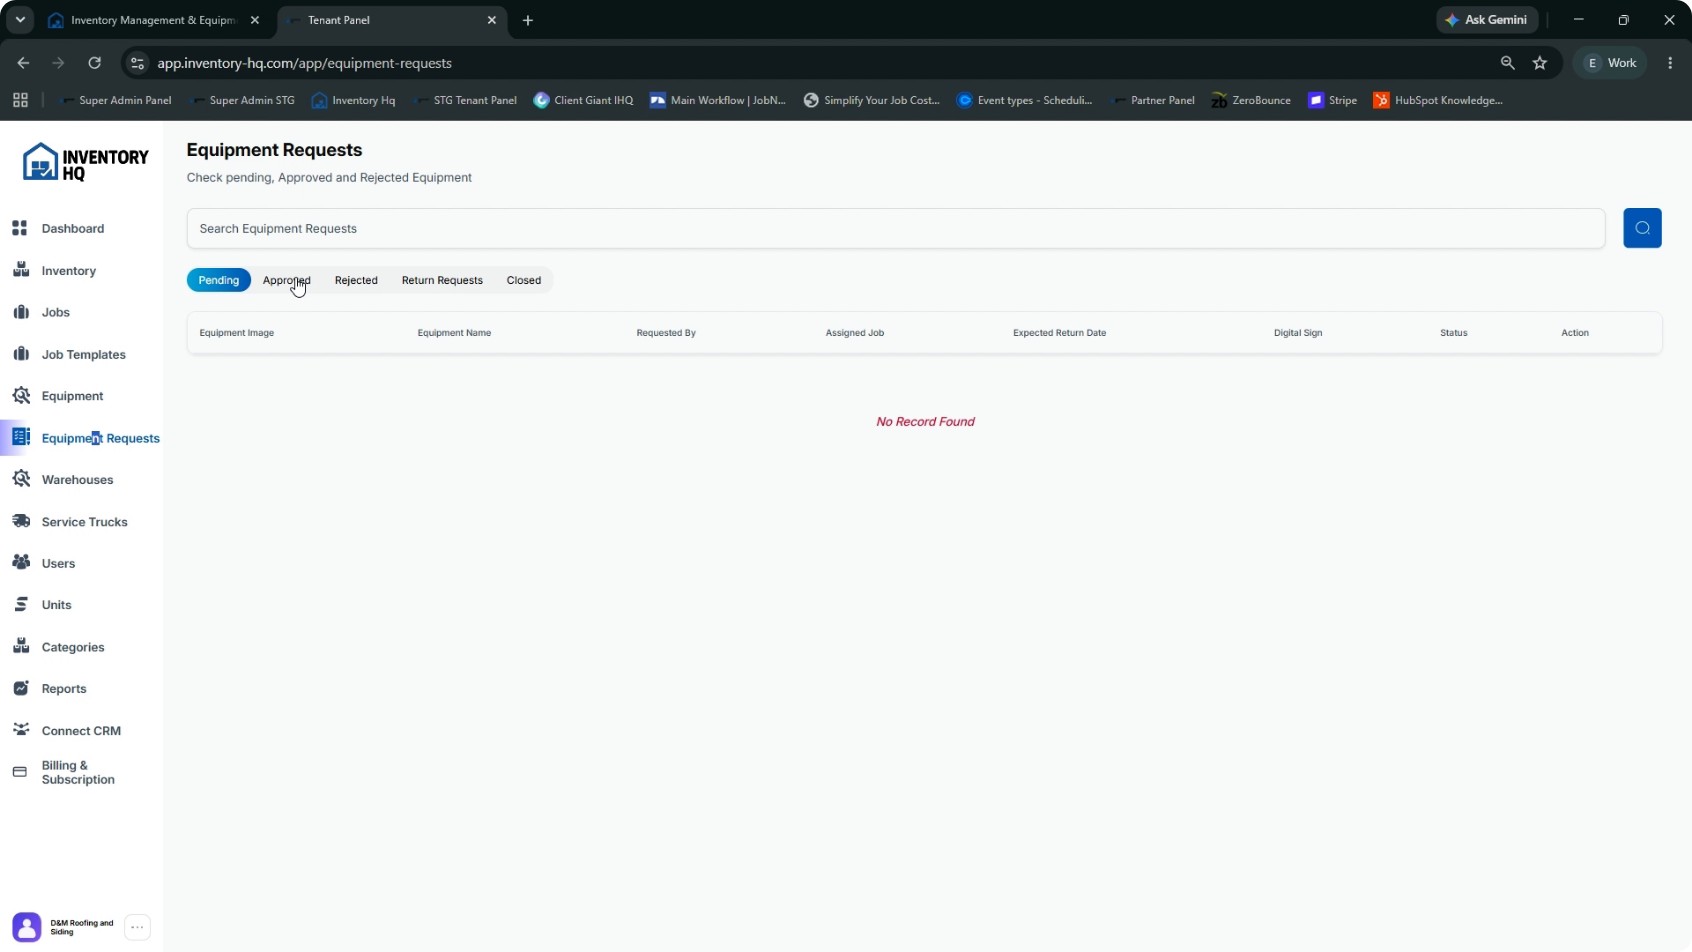
Go to the Equipment Requests section to manage the approval workflow.
- When a team member requests a piece of equipment for a job and provides an expected return date, the request appears in the Pending tab.
- An admin reviews the request and either Approves or Rejects it.
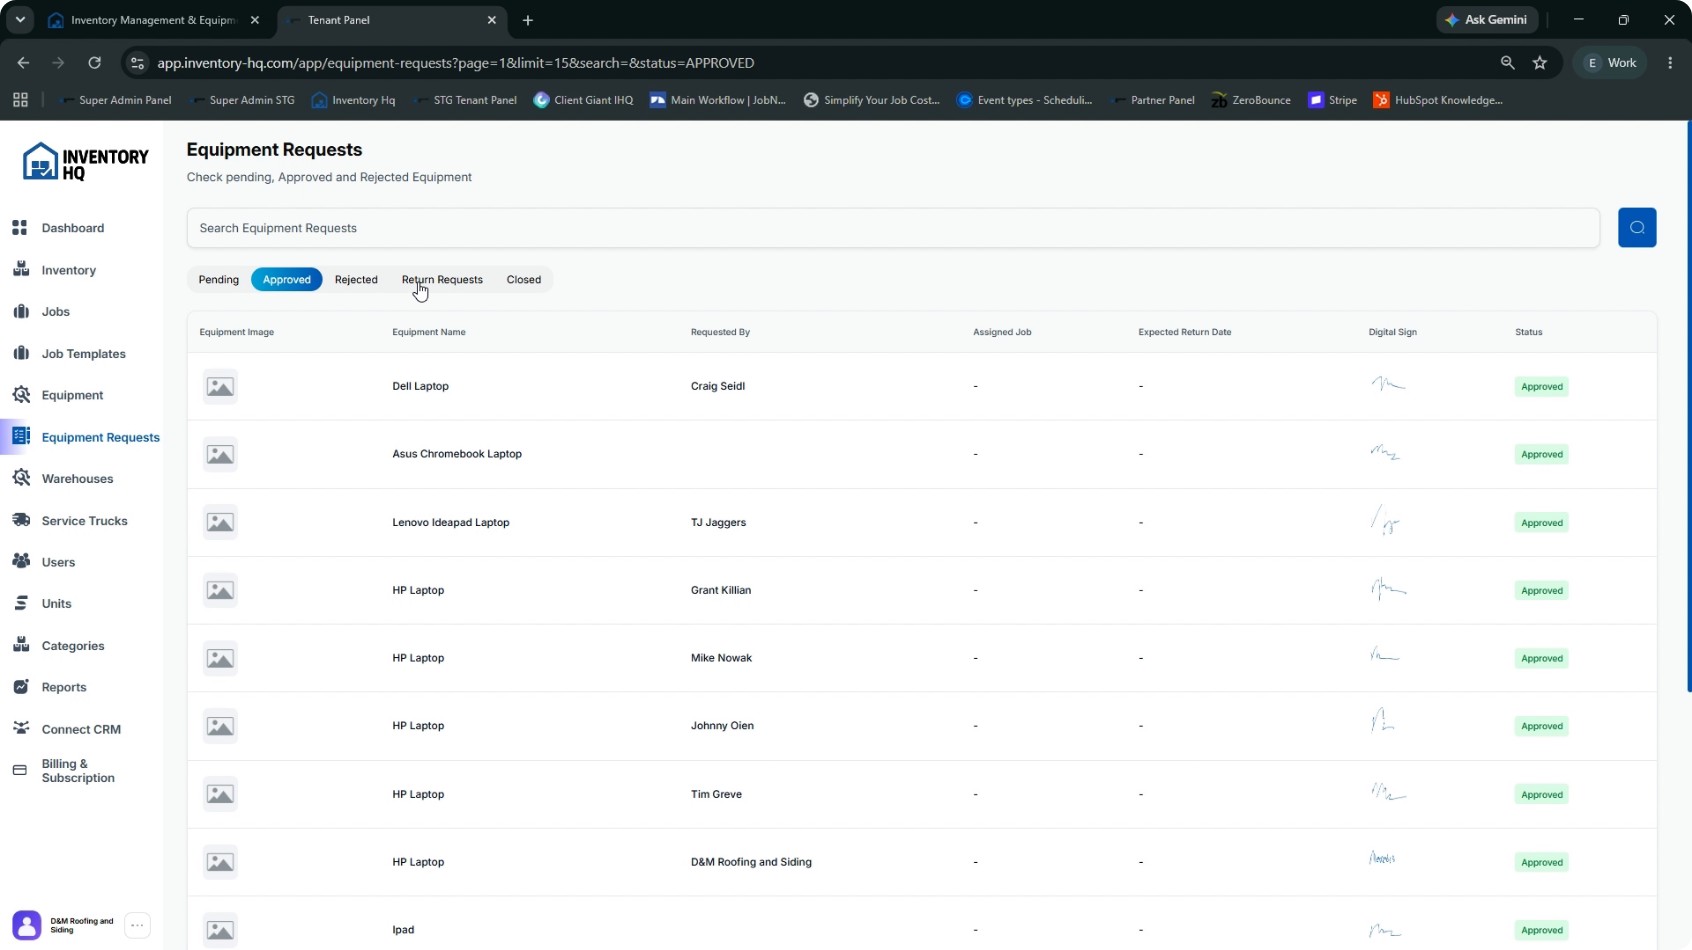
- Approved requests move to the Approved tab; rejected ones move to the Rejected tab.
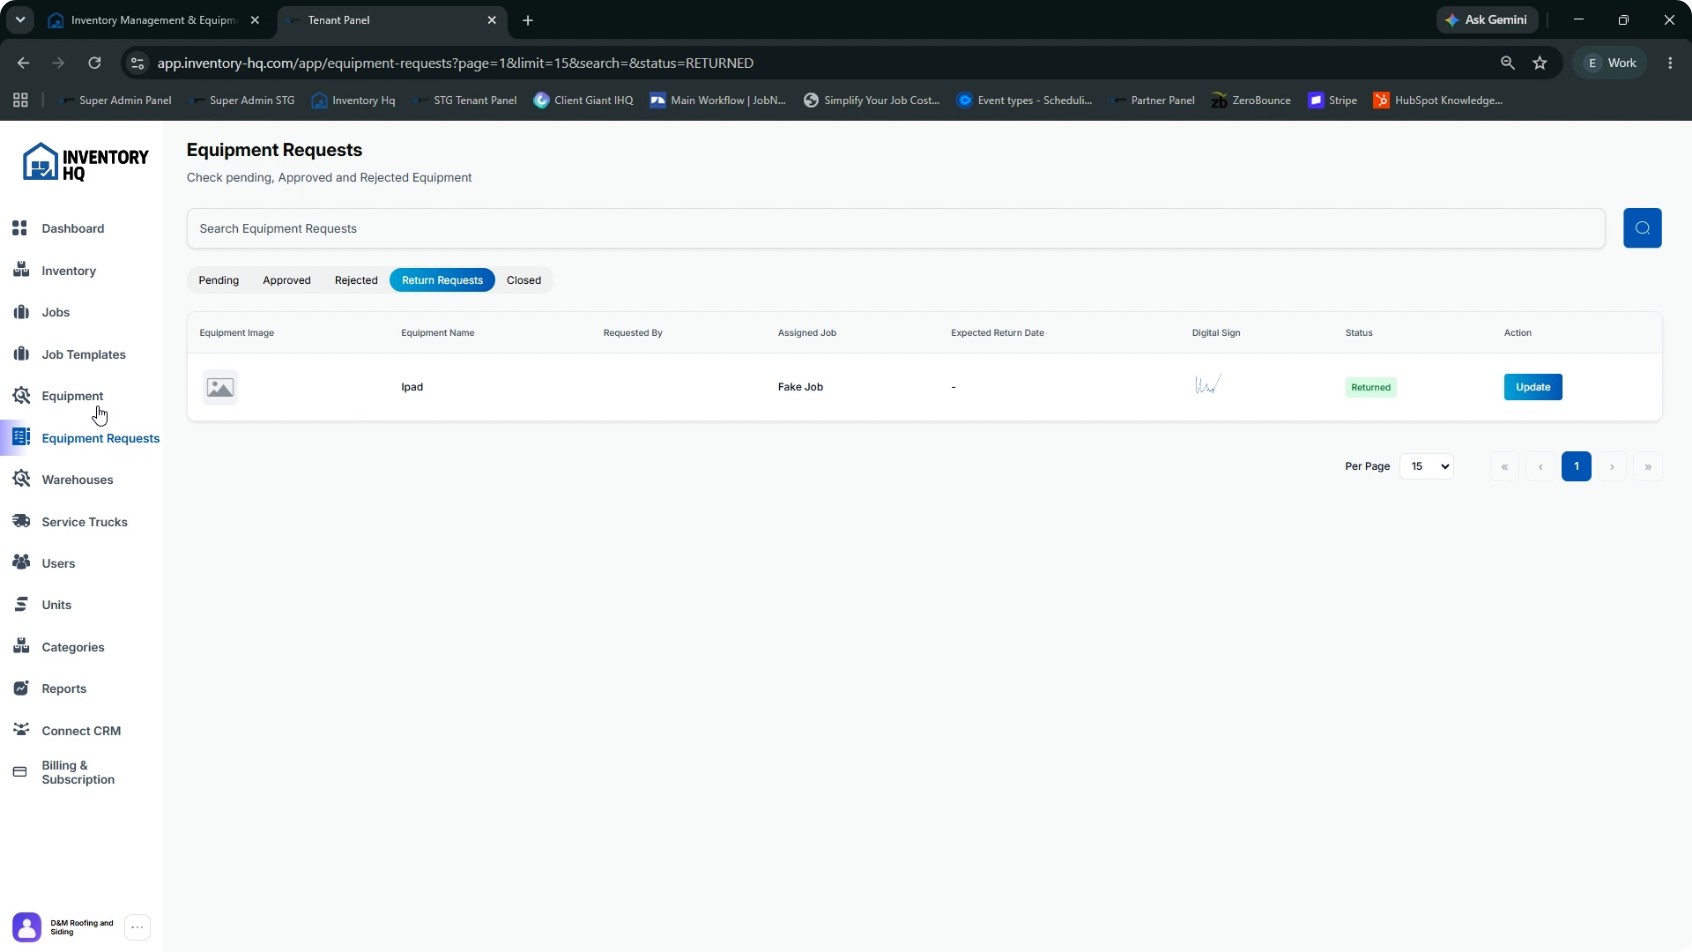
Each approval captures a digital signature for accountability. When the equipment is returned, the Return Request is processed and the record is closed.
- 7
Monitor Overdue Returns and Maintain Accountability
The Expected Return Date on each assignment feeds into the Overdue Returns counter.
- Check the overdue returns counter regularly (at least once a week is recommended).
- Follow up on any overdue equipment using the recorded name, signature, and date associated with each checkout.
By consistently using this tracking process, every checkout has a clear owner and timestamp, which greatly reduces the risk of equipment going missing—whether it’s a small tool or a high-value item like a ten-thousand-dollar drone.
NEXT TUTORIAL
Managing Jobs and Material Movement in Inventory HQ →