
Managing Jobs and Material Movement in Inventory HQ
This document explains how to create and manage jobs, attach warehouses or service trucks, and handle all material movements (assign, pull, return, bulk actions, and audit) so that inventory and job costs stay accurate from start to finish.
Step by step
- 1
Open the Jobs Page
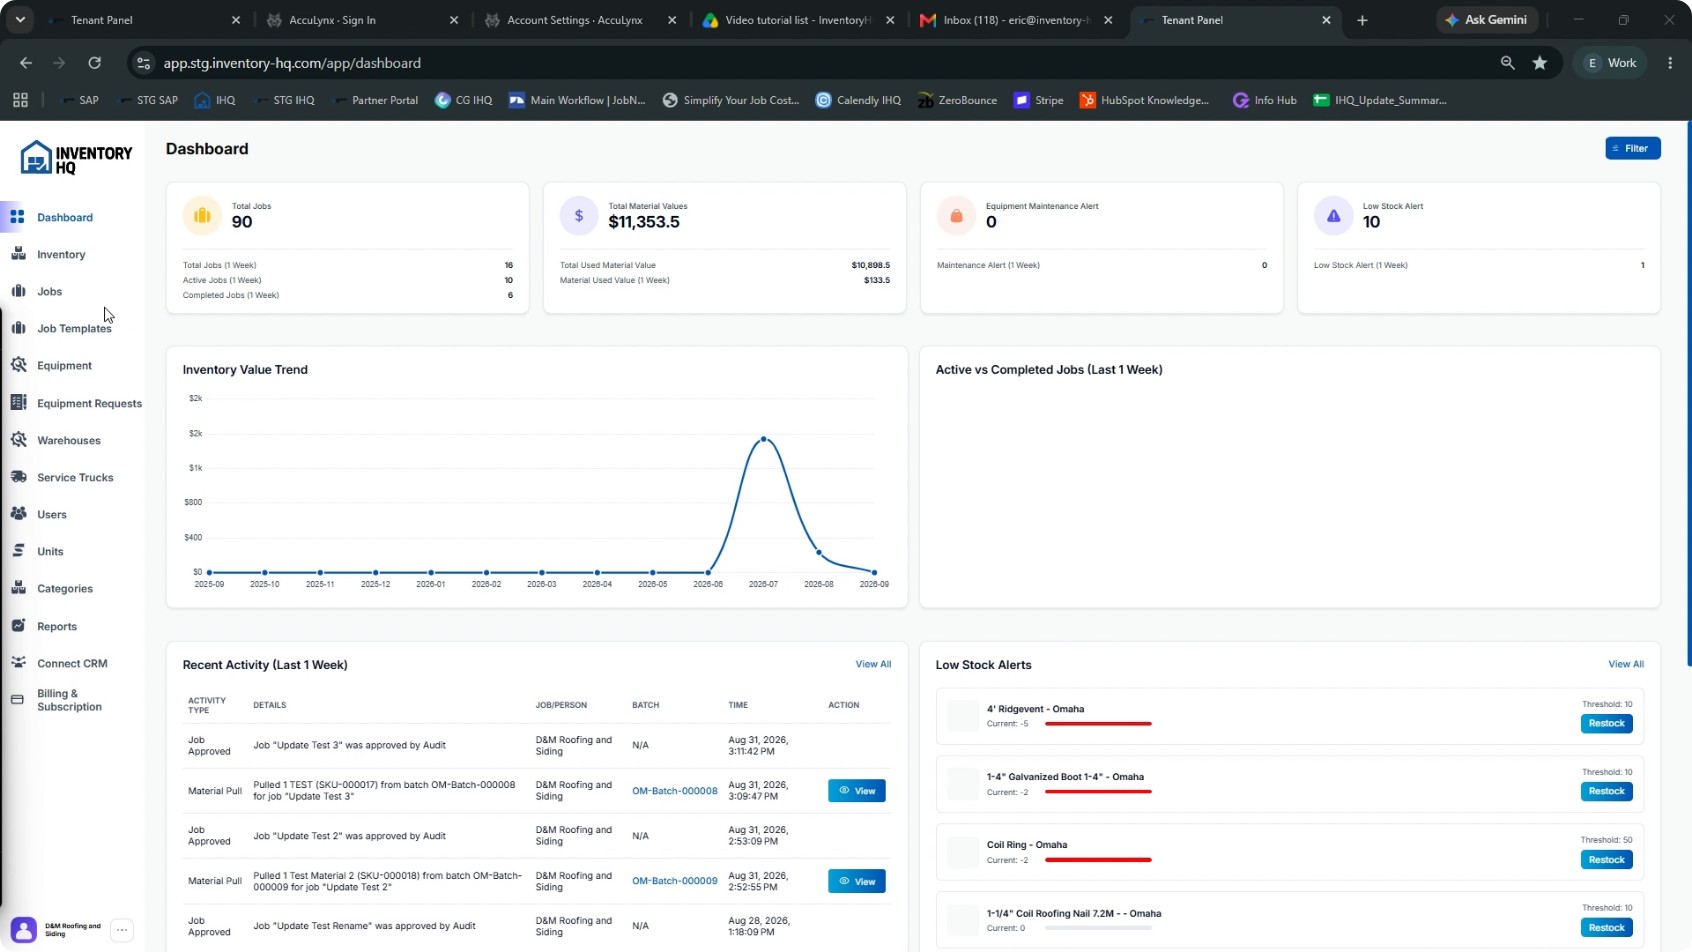
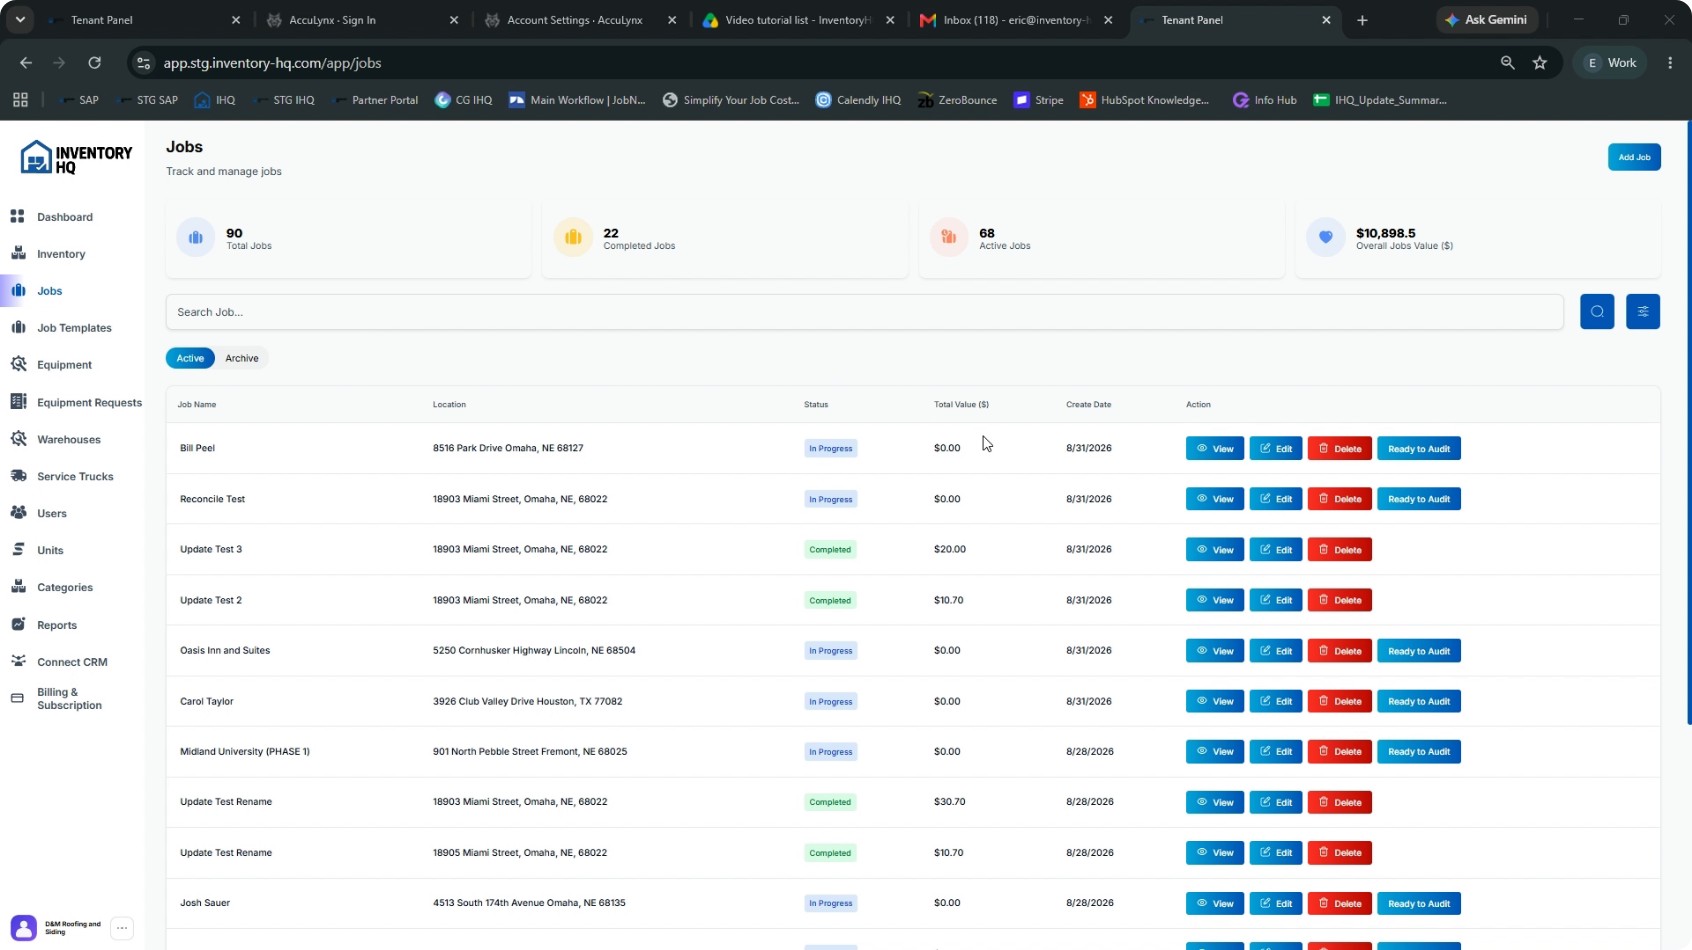
From the main navigation, open the Jobs page, where you can see total jobs, completed jobs, active jobs, their dollar values, and separate Active and Archive lists.
- 2
Create a New Job
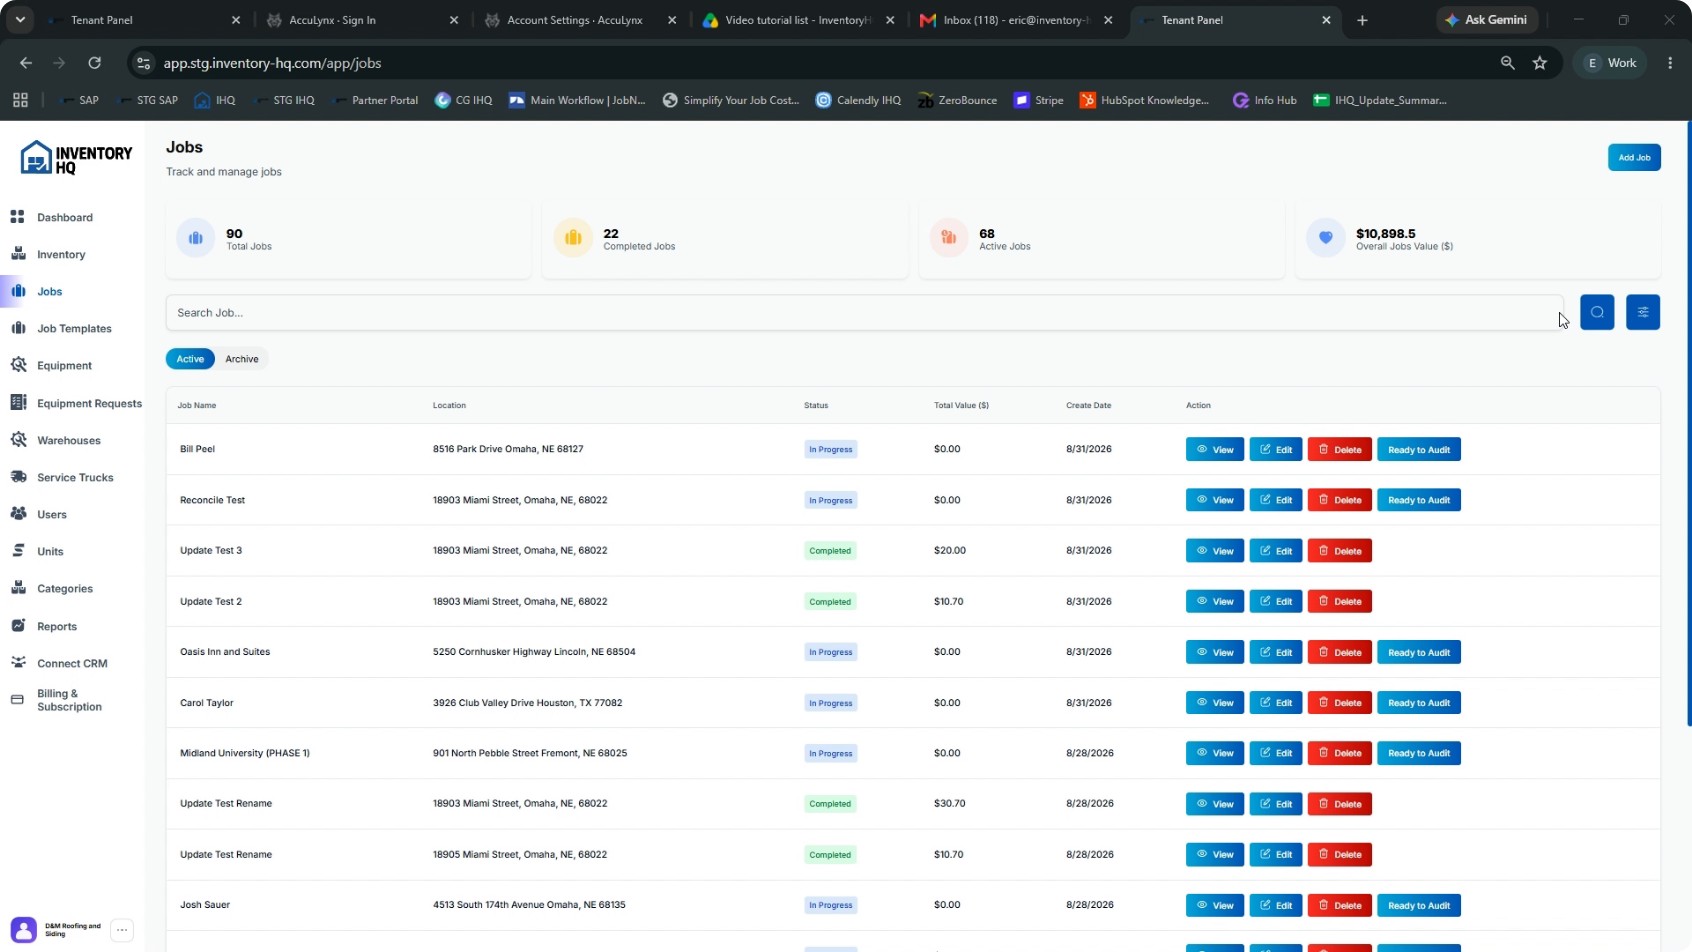
On the Jobs page, click Add Job to create a new job.
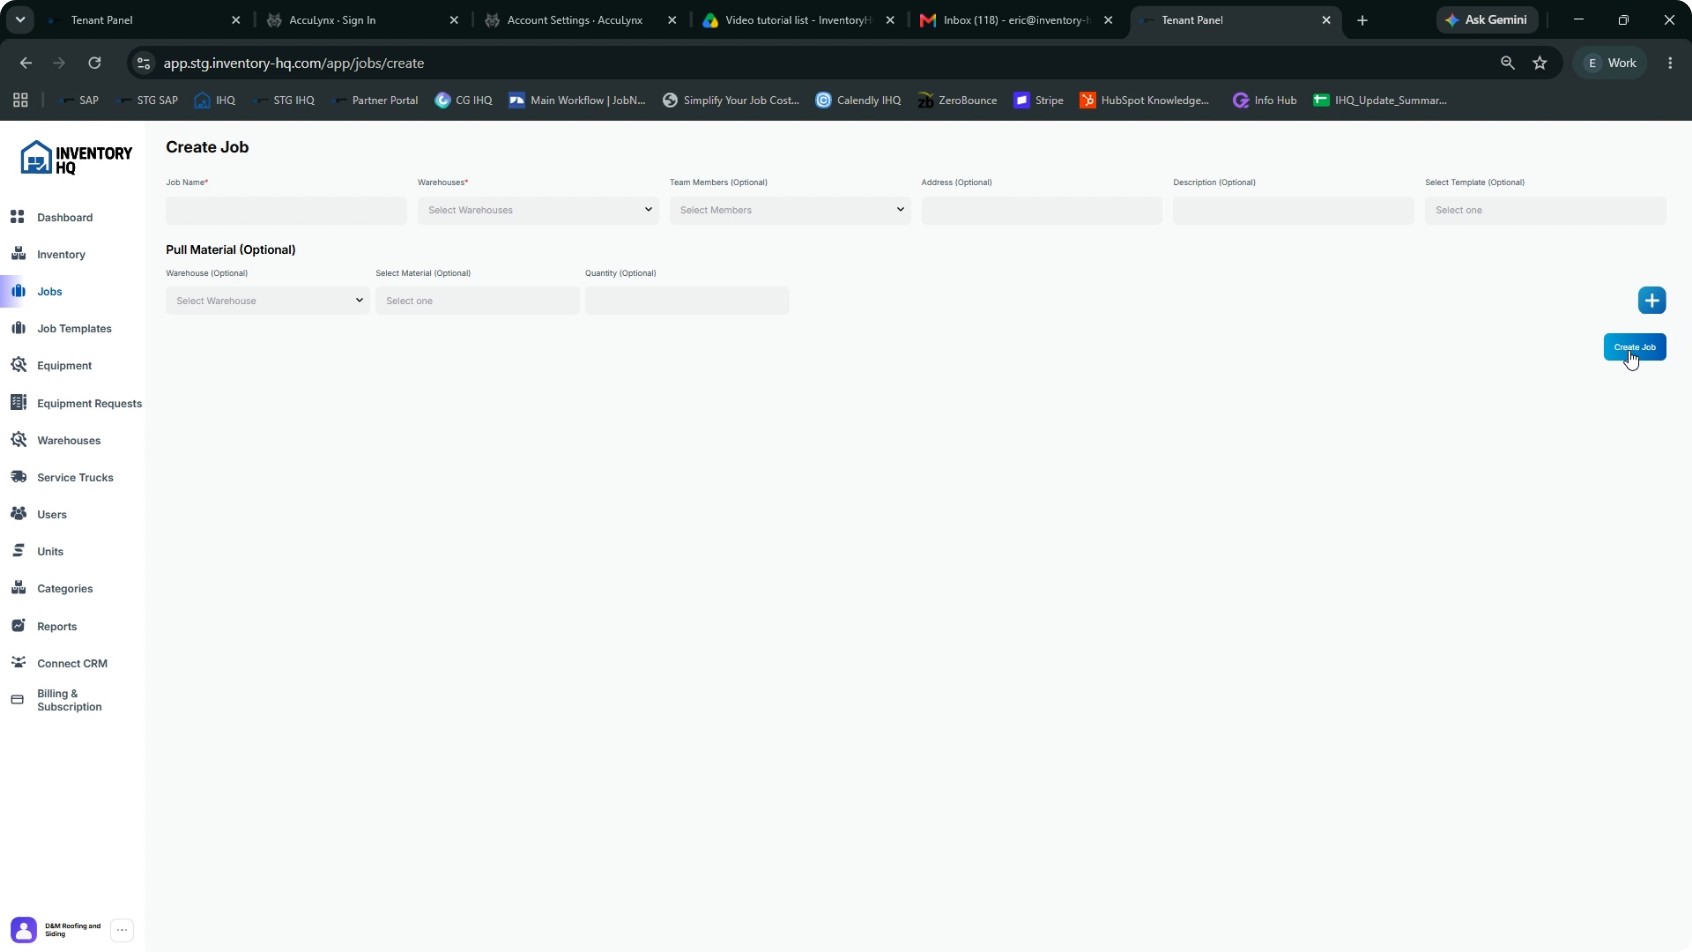
Enter the Job Name and Warehouse. Team members, address, and description are optional at this stage and can be added later. Once you have at least the name and warehouse, click Create Job to save.
- 3
Open an Existing Job
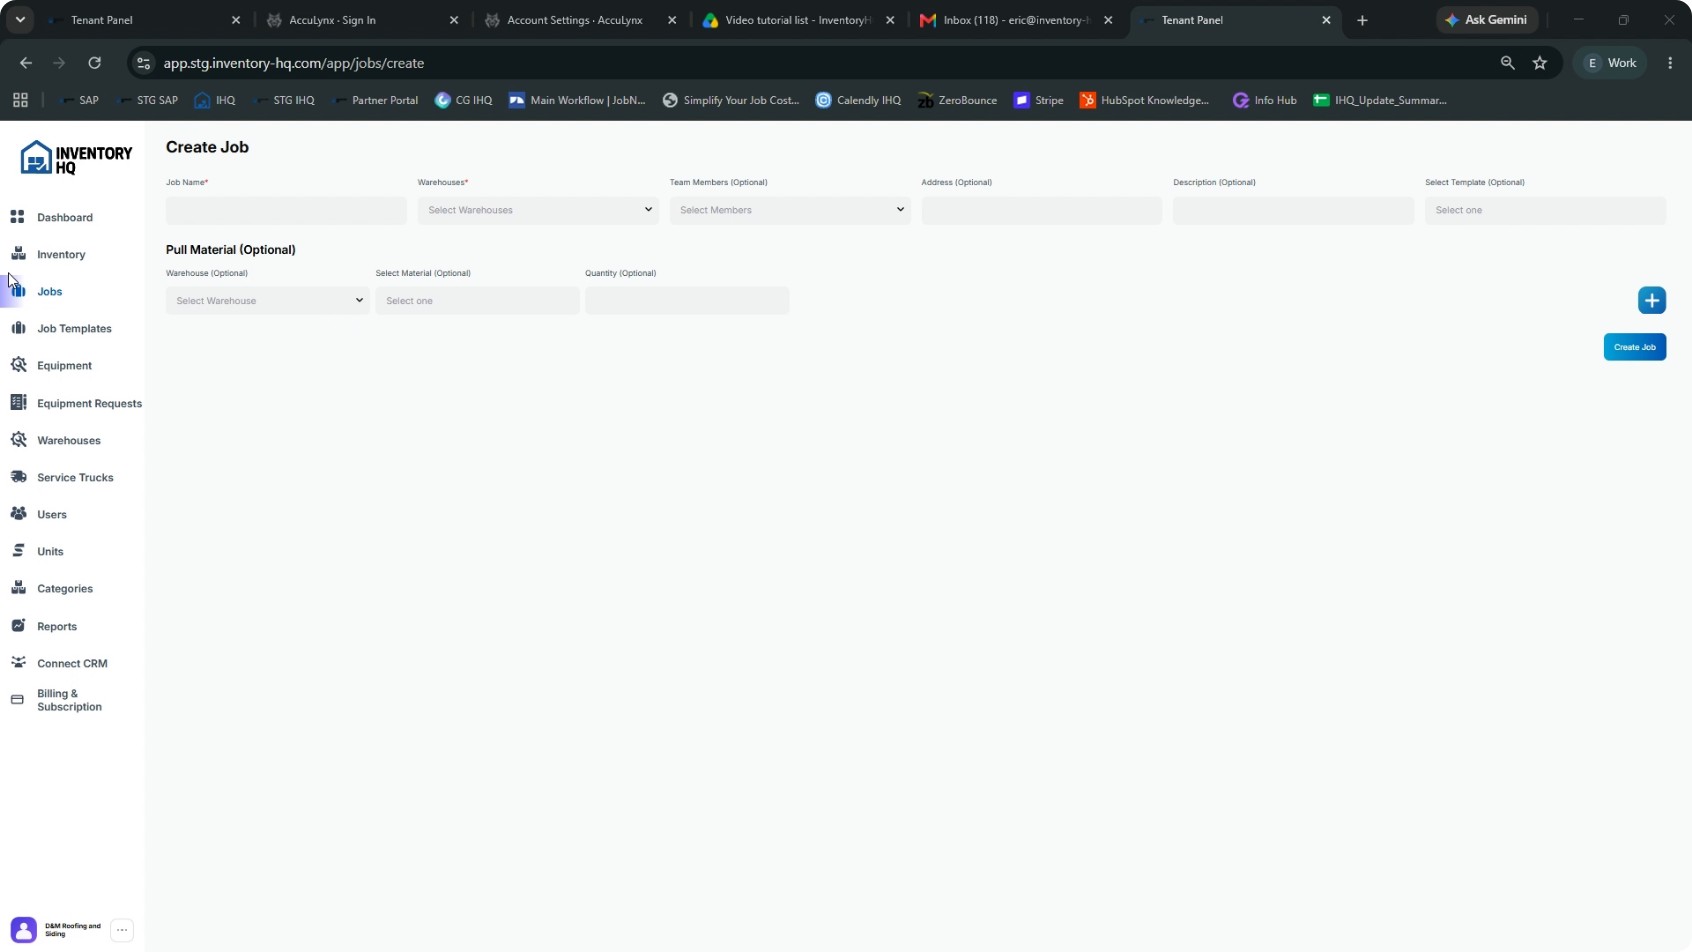
Return to the jobs list to view all jobs. Open an existing job from the list to see its details.
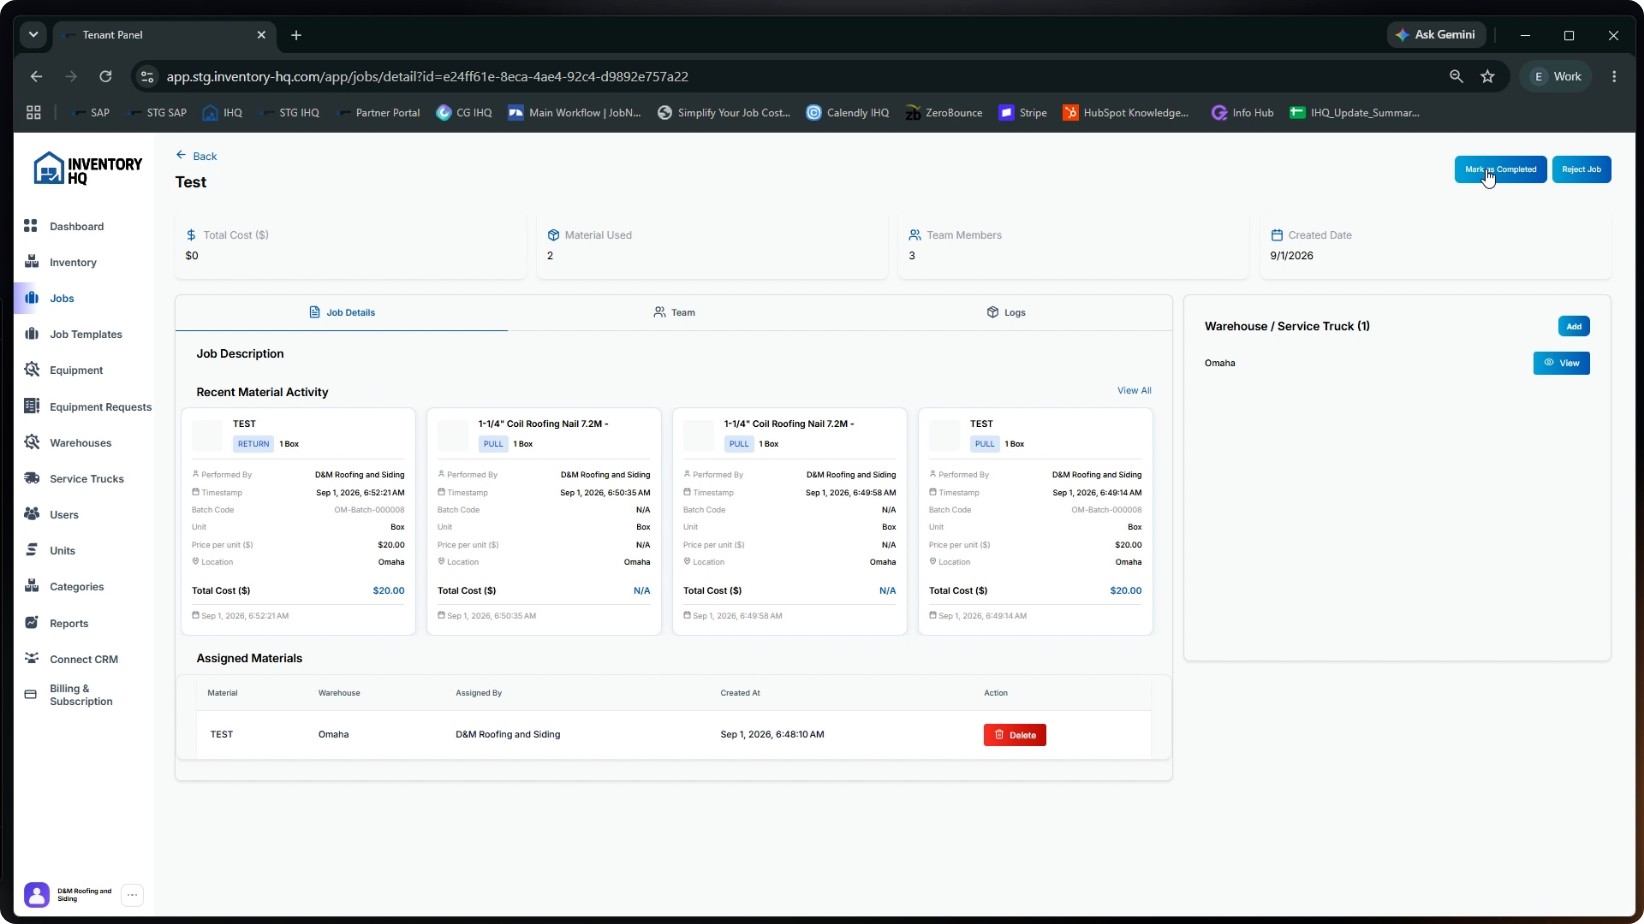
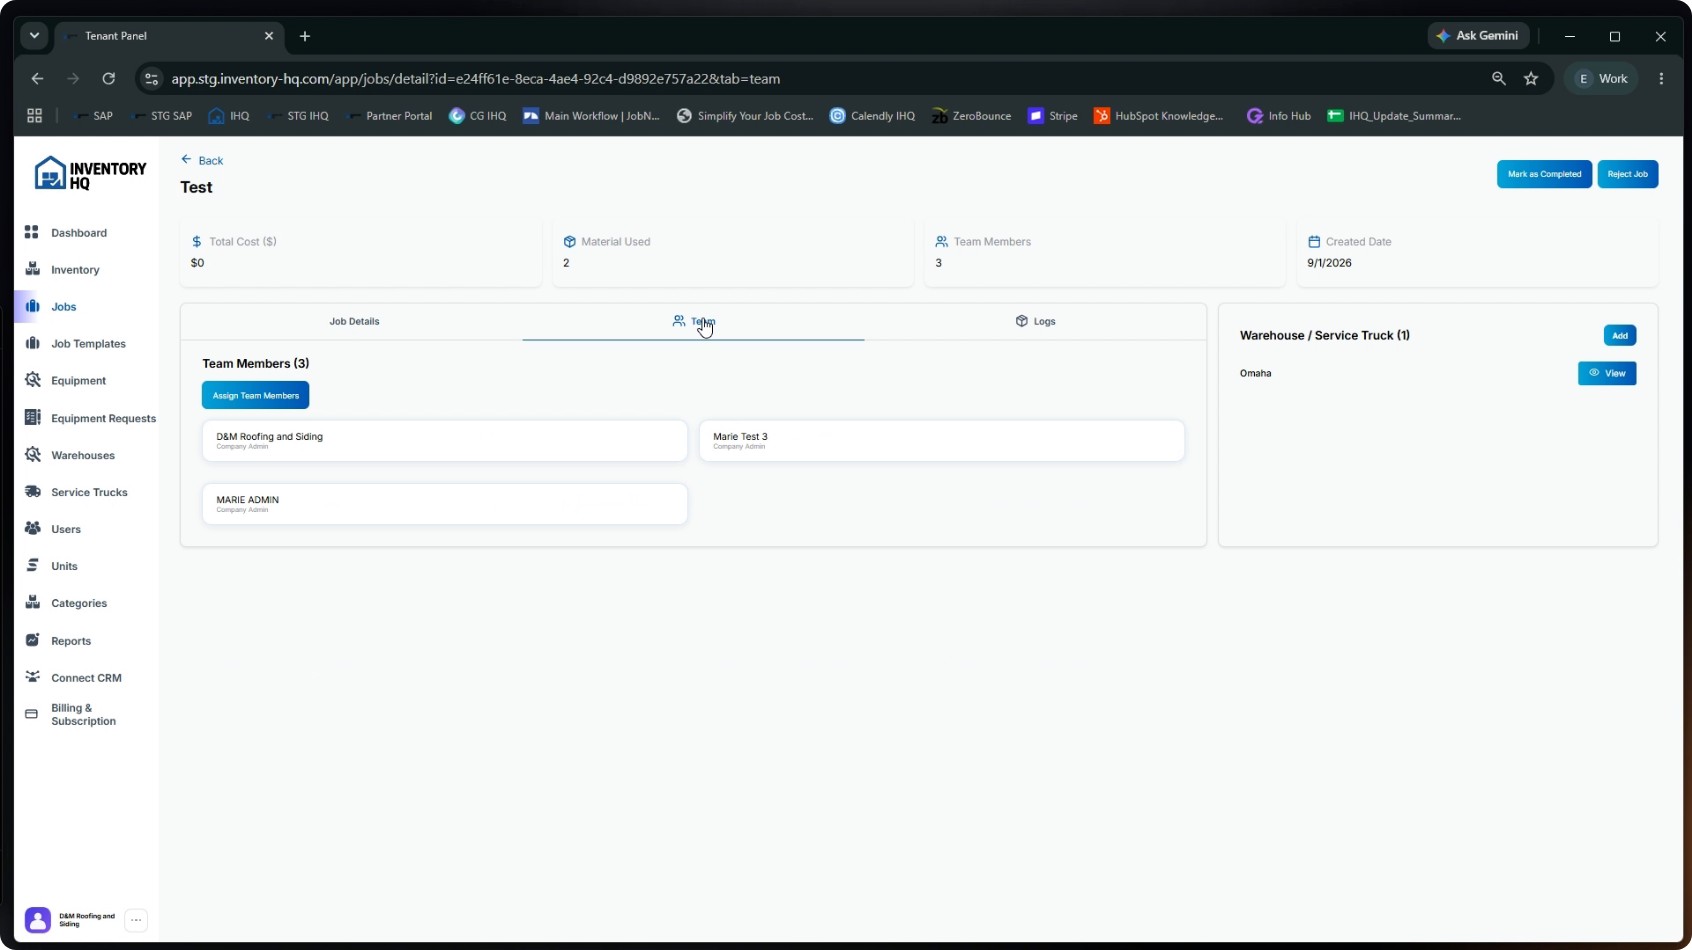
Inside the job, you can view the running total cost, materials used, team members, created date, and tabs for Job Details, Team, and Logs.
- 4
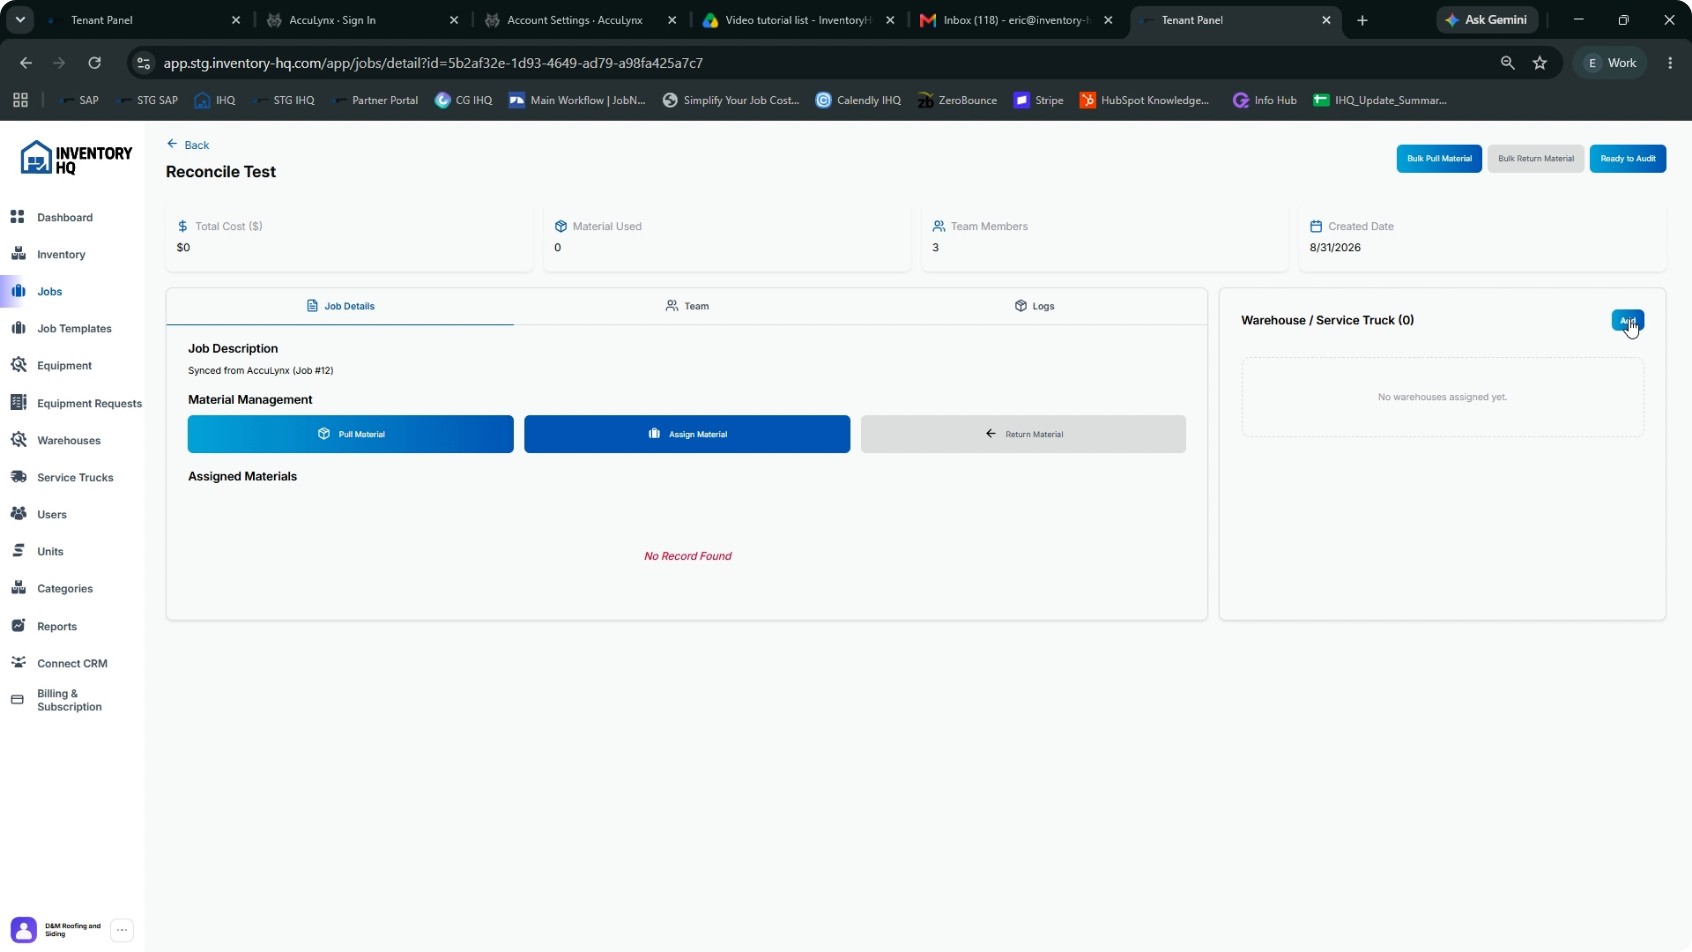
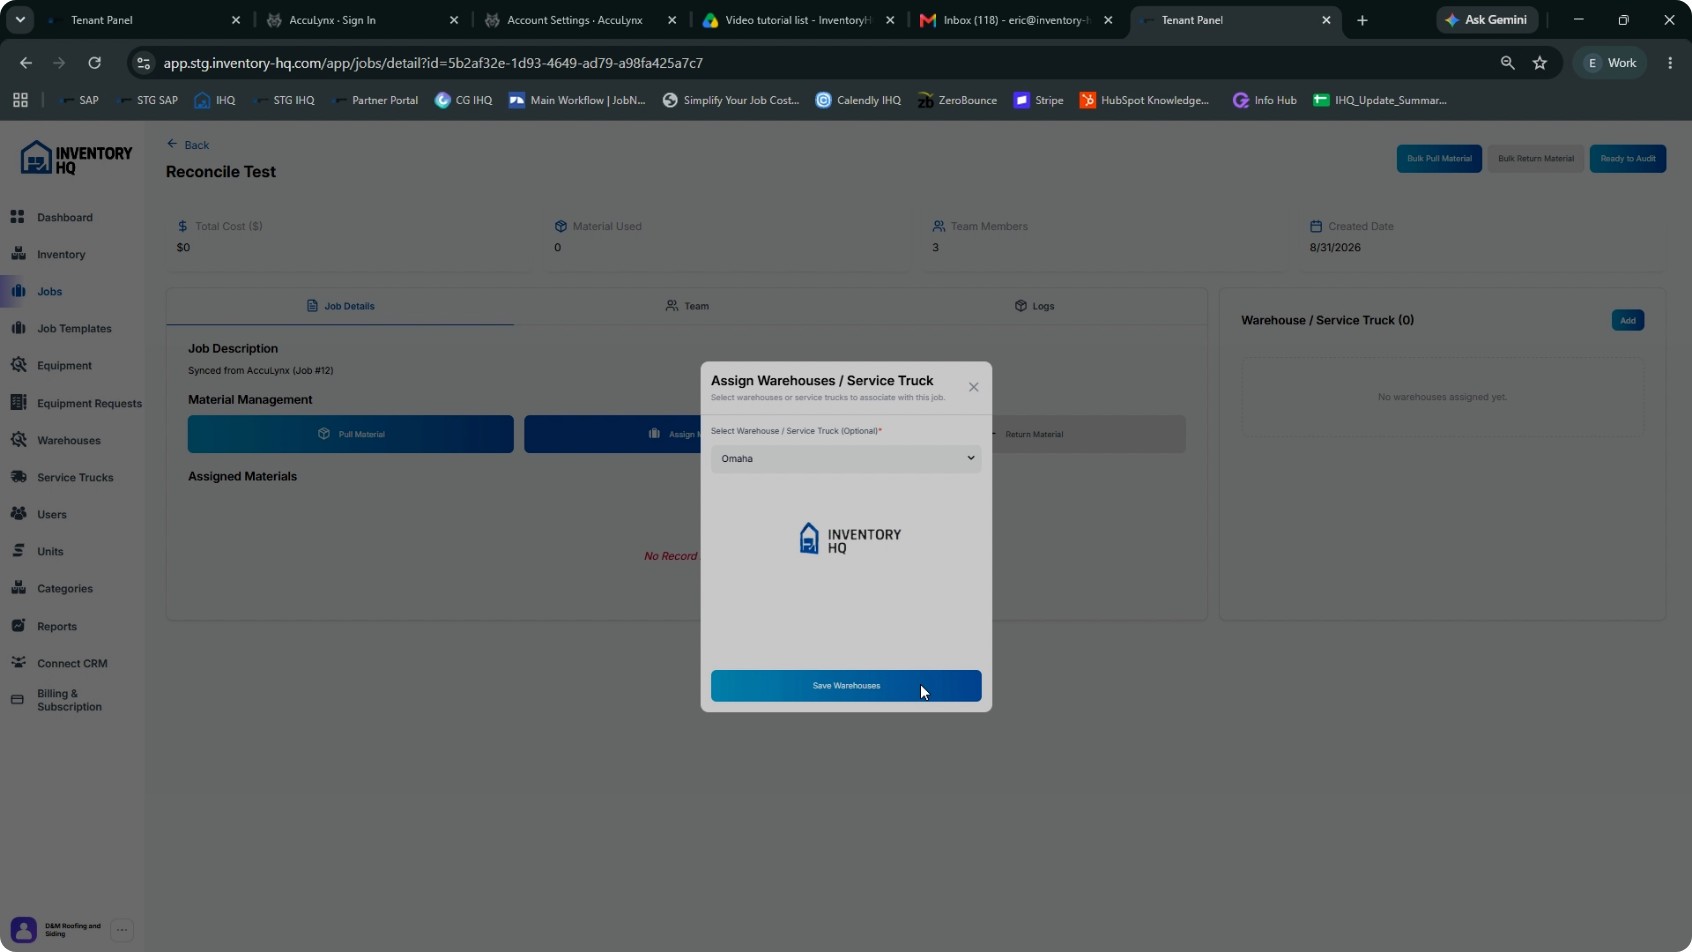
Attach Warehouses or Service Trucks to a Job
In the job details section, use the warehouse/service truck area to define where this job will pull materials from. Click to add a specific warehouse or service truck, then click Save Warehouses to confirm.
- 5
Understand Material Management Options
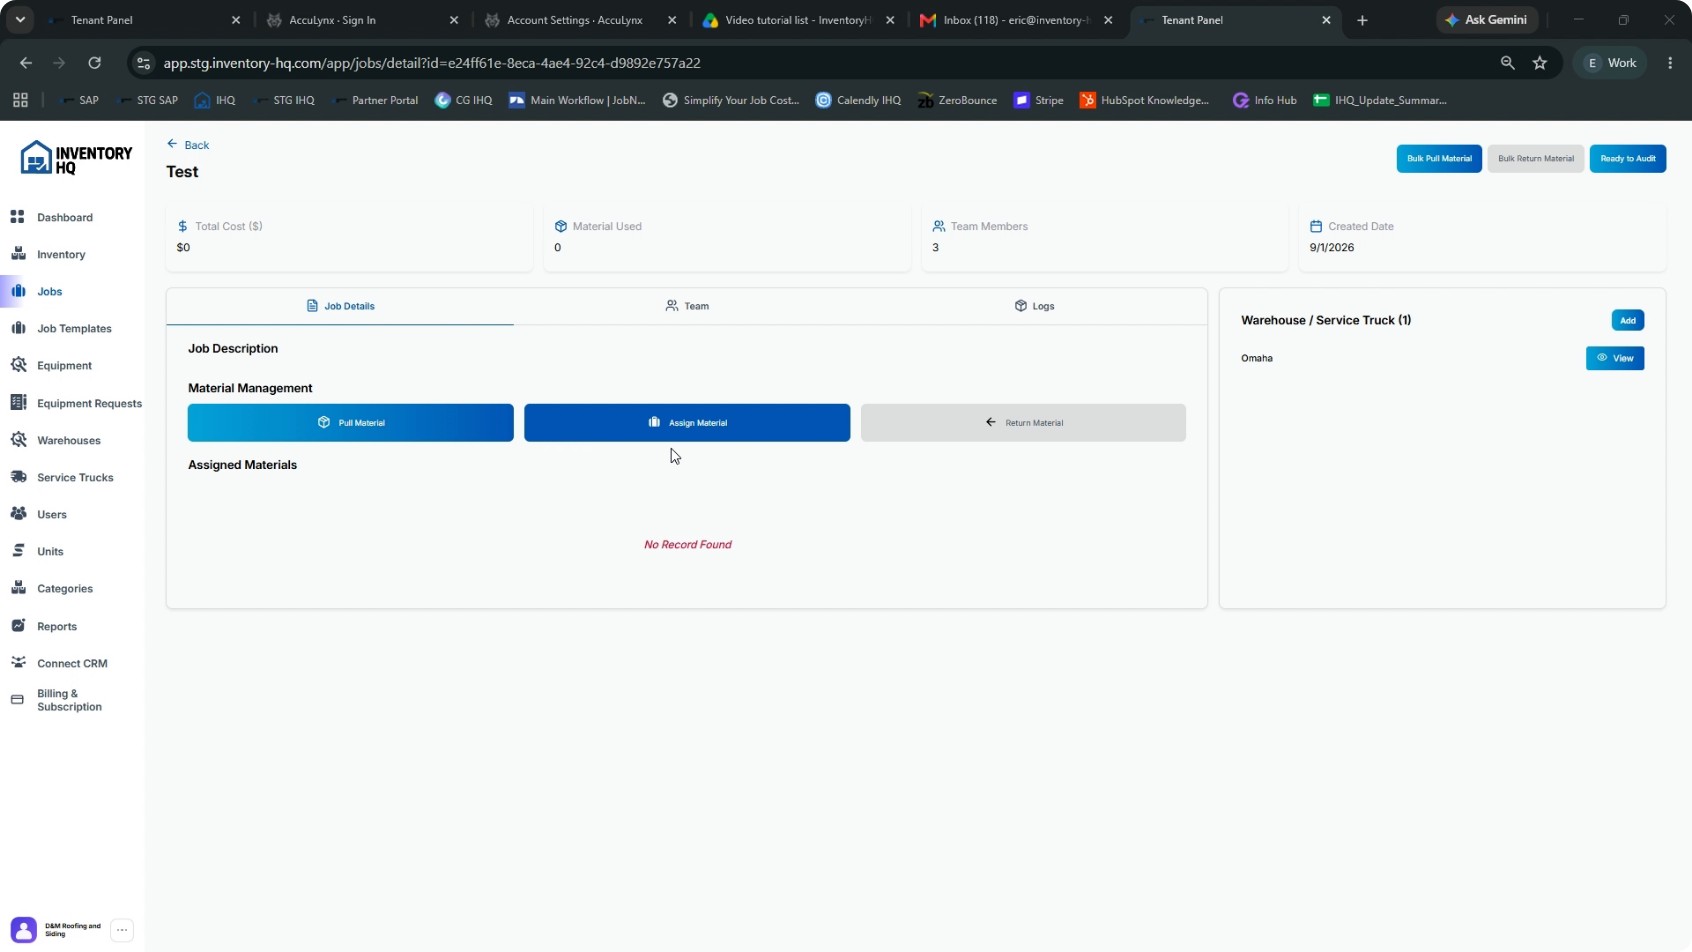
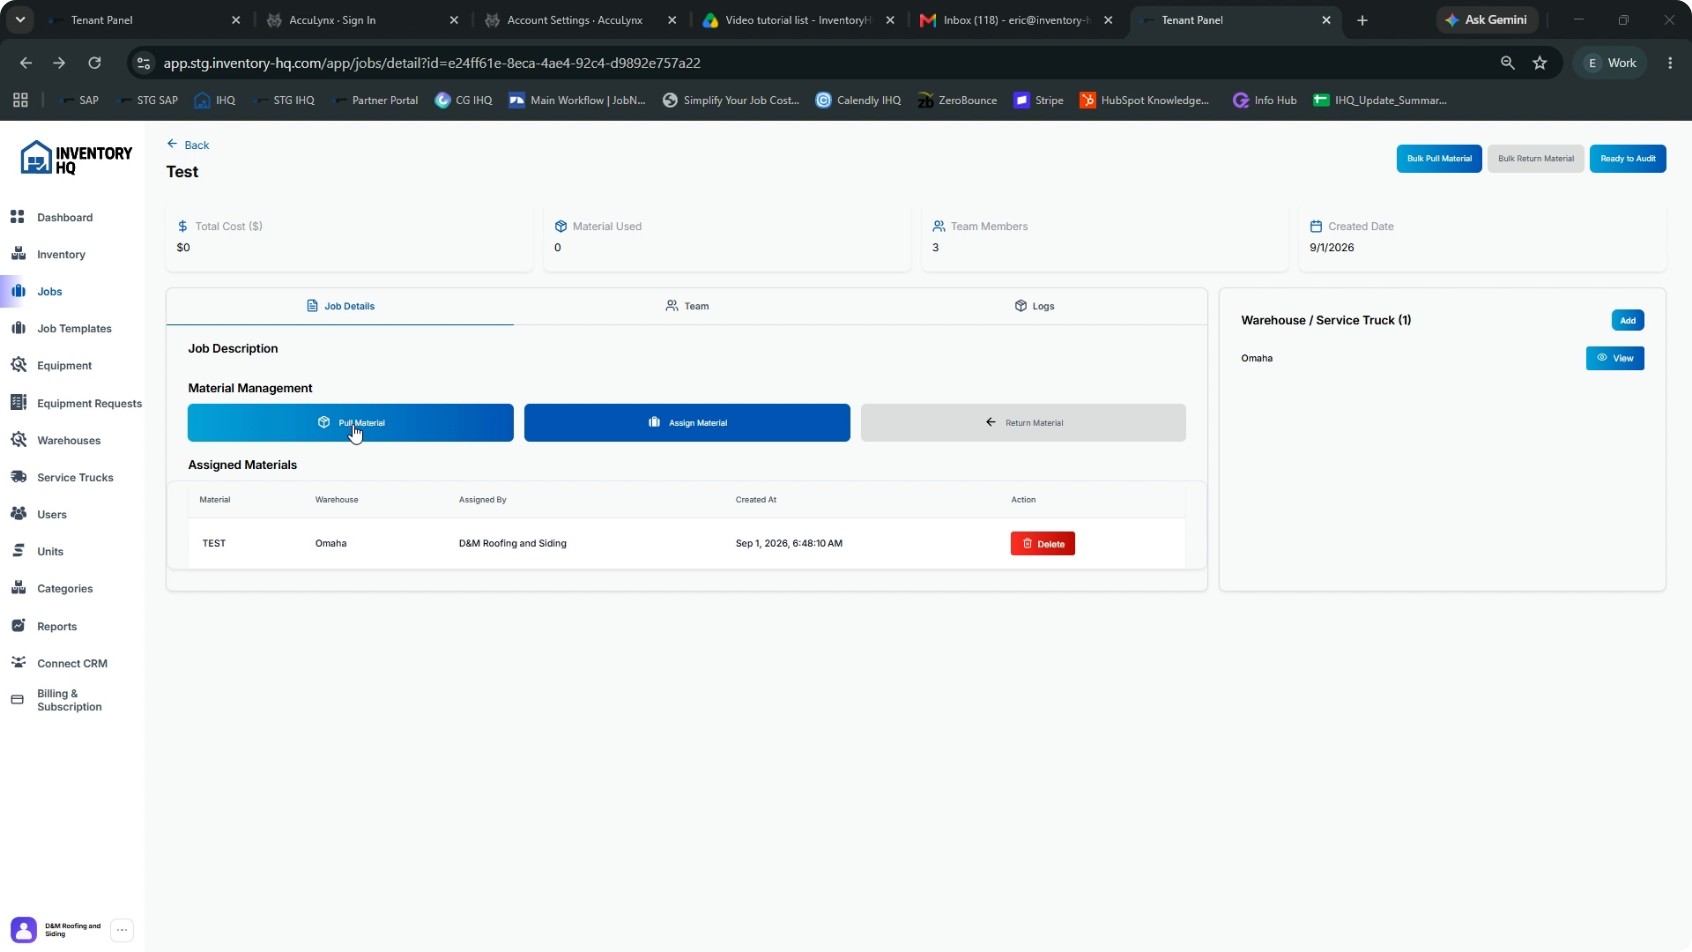
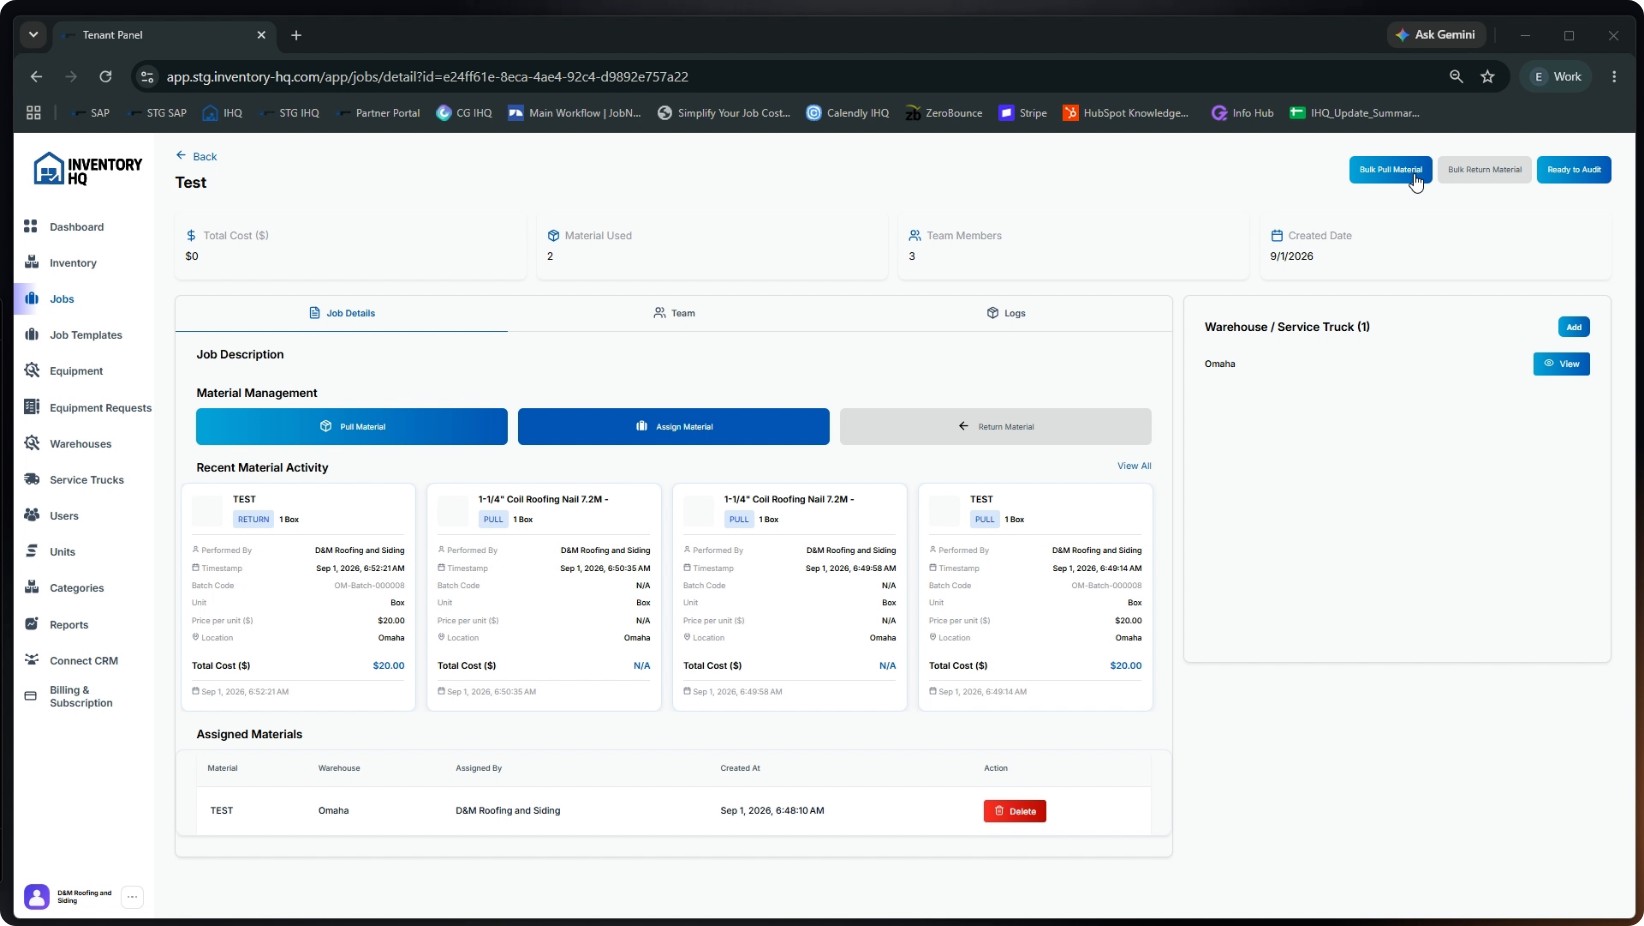
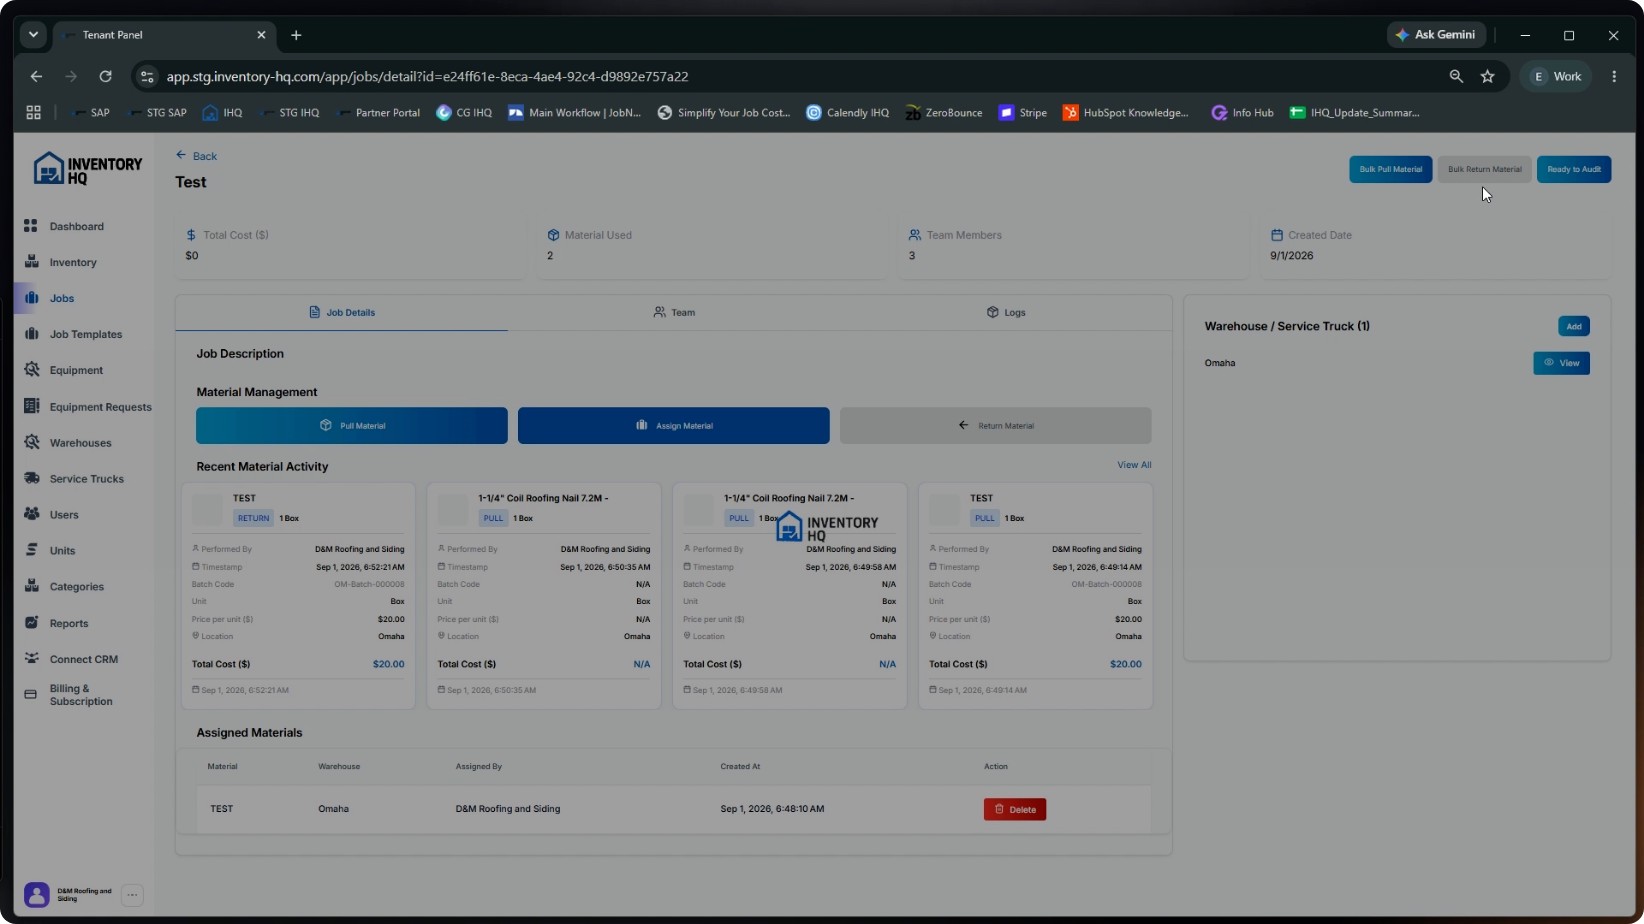
Within the job, use the Material Management section. You will see Pull Material, Assign Material, and Return Material. At the top, you will also see:
- Bulk Pull Material
- Bulk Return Material
- Ready to Audit
The next steps explain each in detail.
- 6
Assign Material (Planning Stage Only)
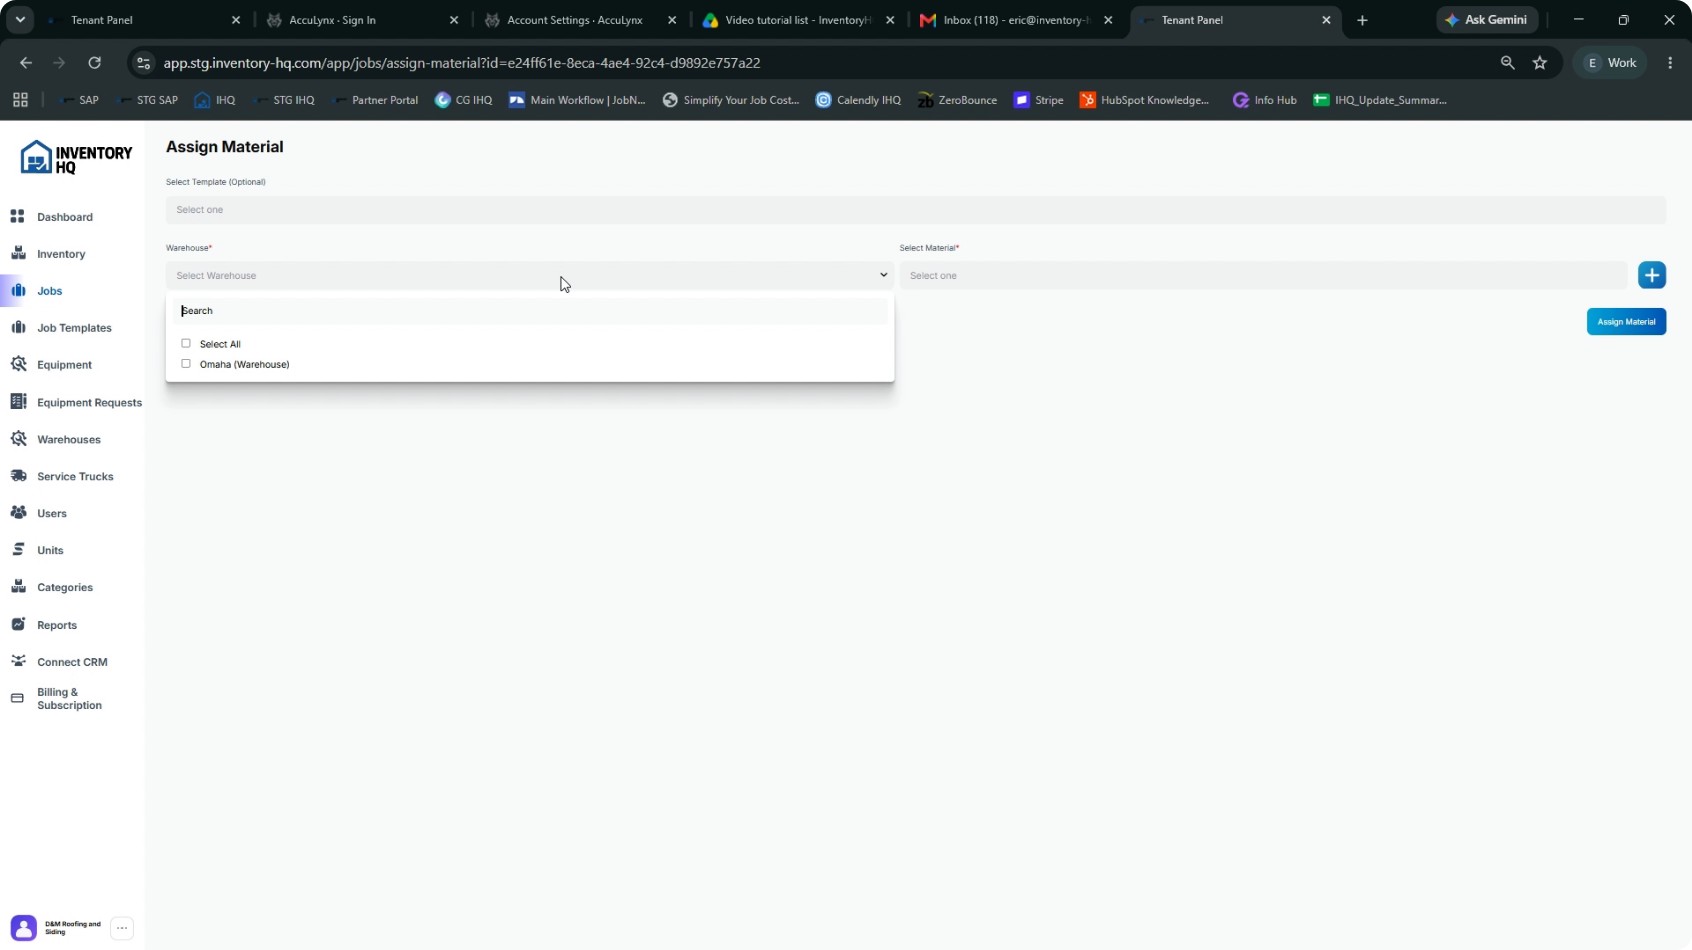
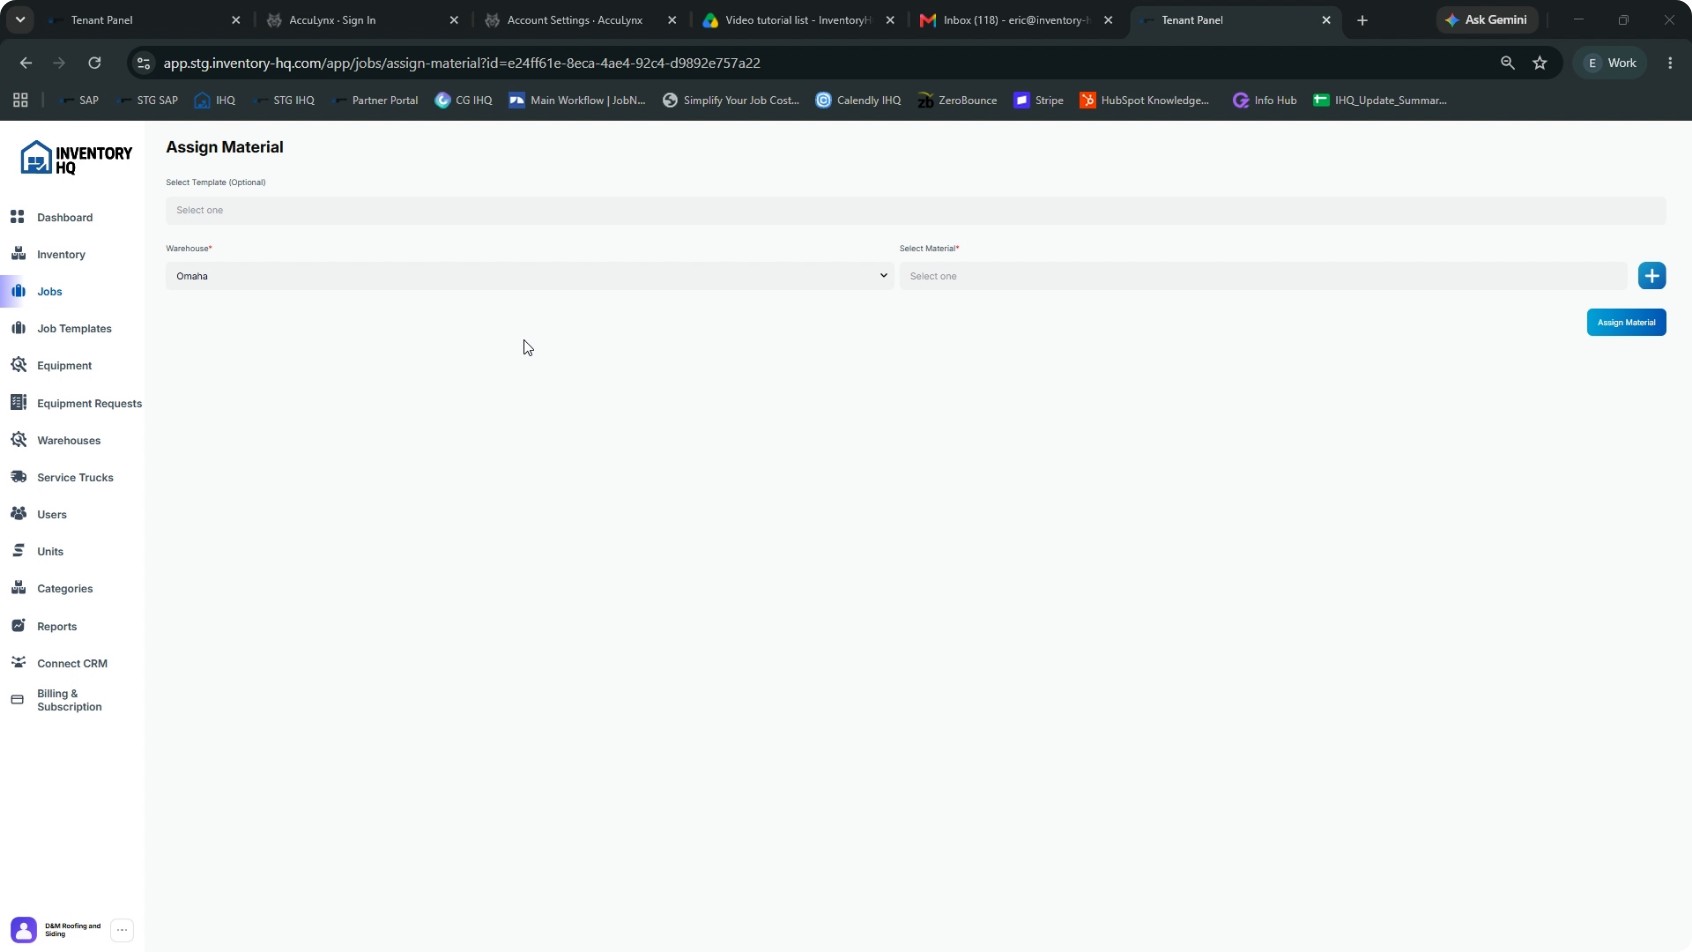
Click Assign Material to plan what the job is expected to use. Select the warehouse. Choose the material(s) the job is expected to use. Use the plus (+) button to add additional materials, then click Assign Material to save your planned list. The assigned materials now appear in the list at the bottom. Assigning materials:
- Does not move any stock.
- Does not post any cost to the job.
- Remains unchanged even after pulls, as a record of what was planned.
Pulls will later record what actually happened.
- 7
Pull Material (Actual Usage)
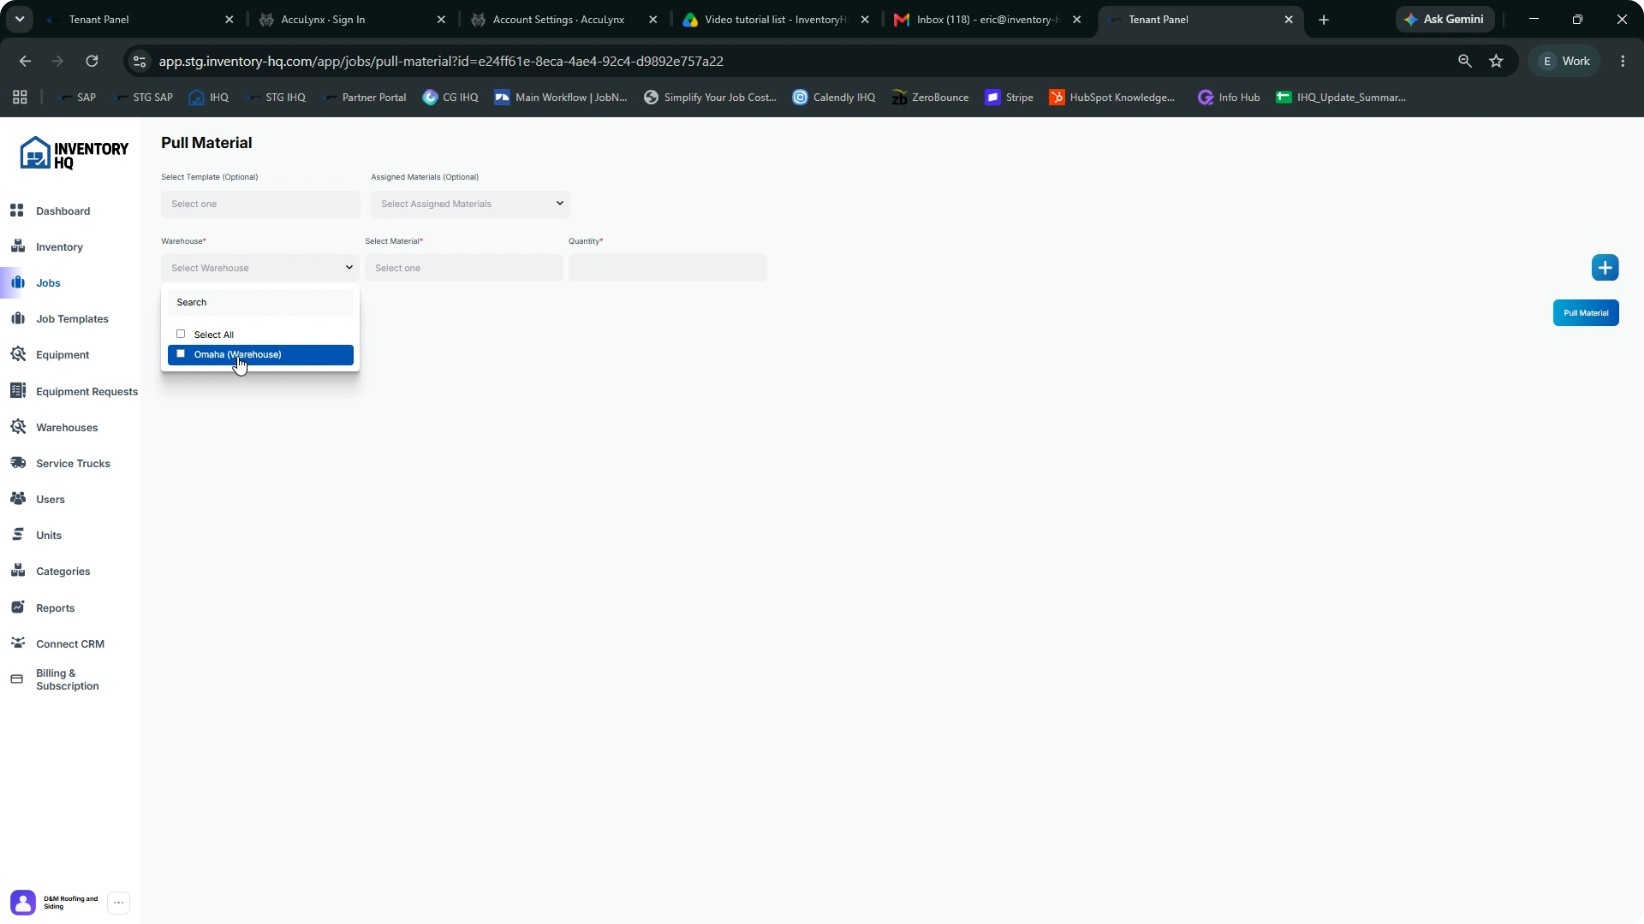
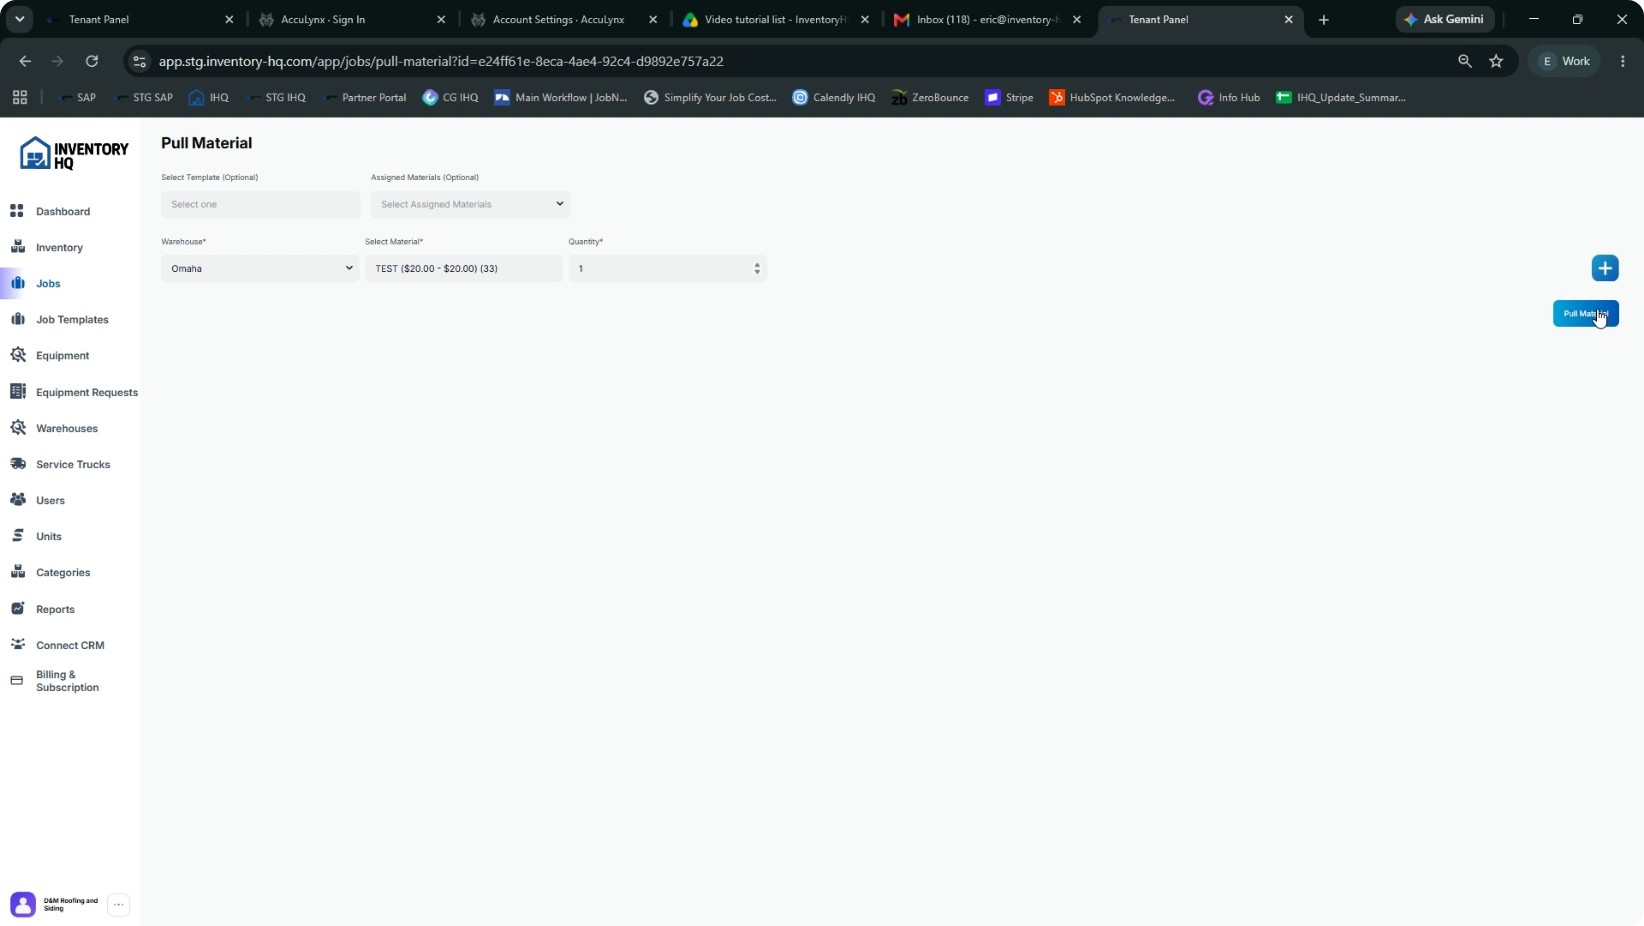
Click the Pull Material button to record real material usage; this is where actual movement and costing occur. To manually pull material:
- Select the warehouse.
- Select the specific material.
- Enter the quantity used.
- Use the plus (+) button to add more materials if needed.
- Click Pull Material to confirm.
When you pull material, stock leaves the warehouse, cost posts to the job, and the pull appears in Recent Material Activity with a batch code.
- 8
Pull Material When Inventory Shows Zero or Negative
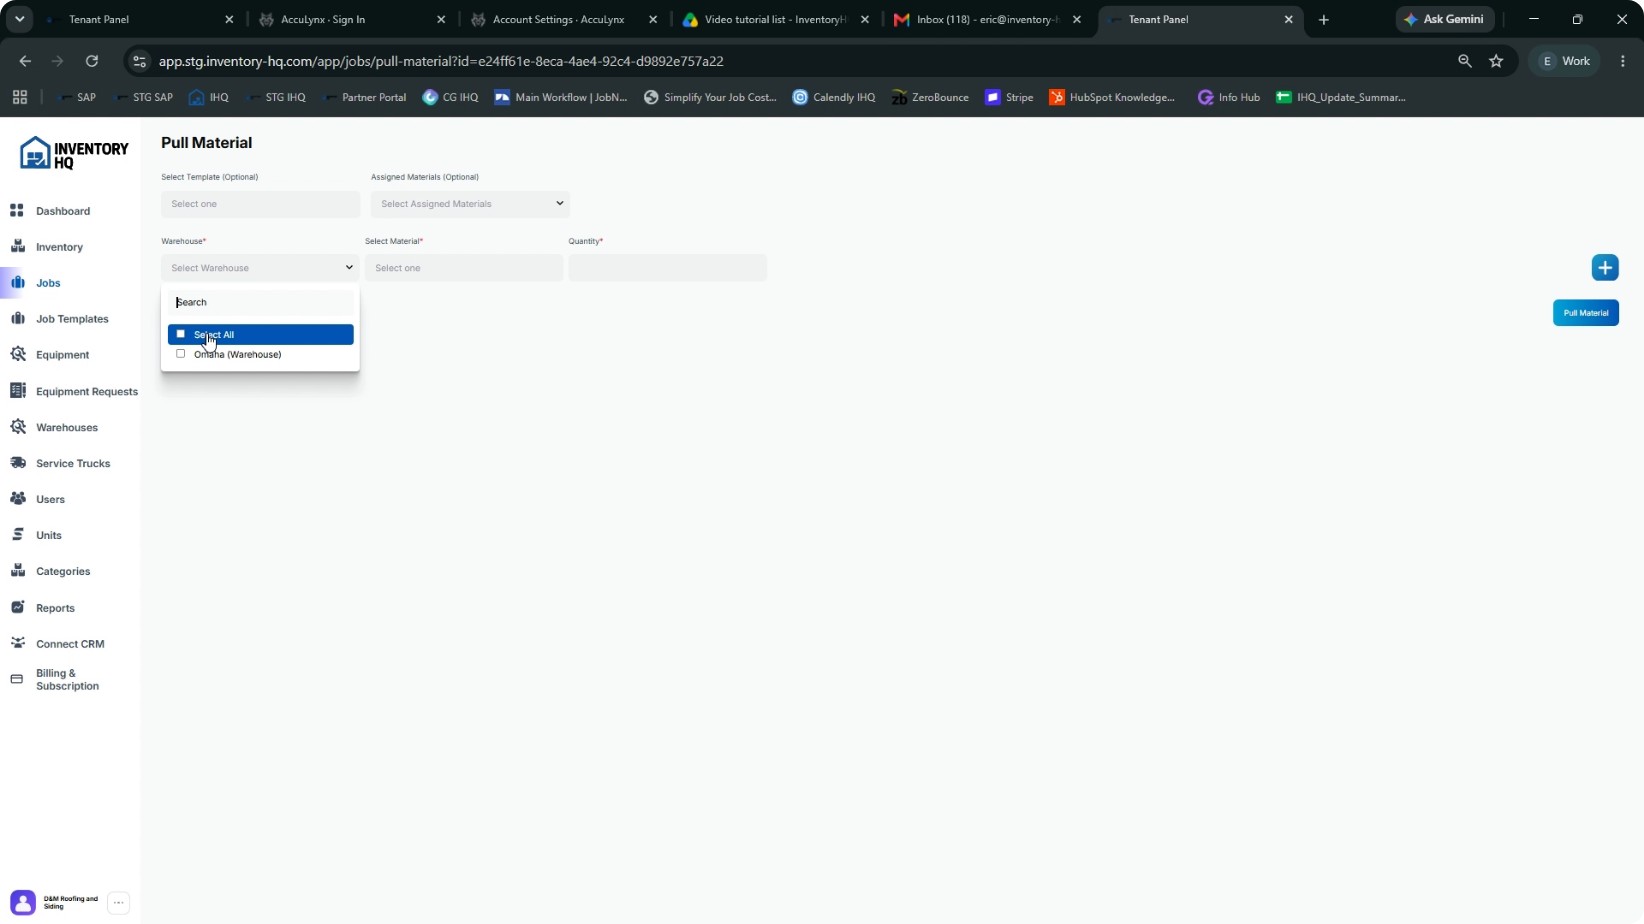
If the system shows zero (or negative) quantity for a material but your crew physically used it, you should still pull it:
- Select the warehouse.
- Select the specific material (even if it shows 0 or negative).
- Enter the quantity used as a normal positive number.
- Click Pull Material.
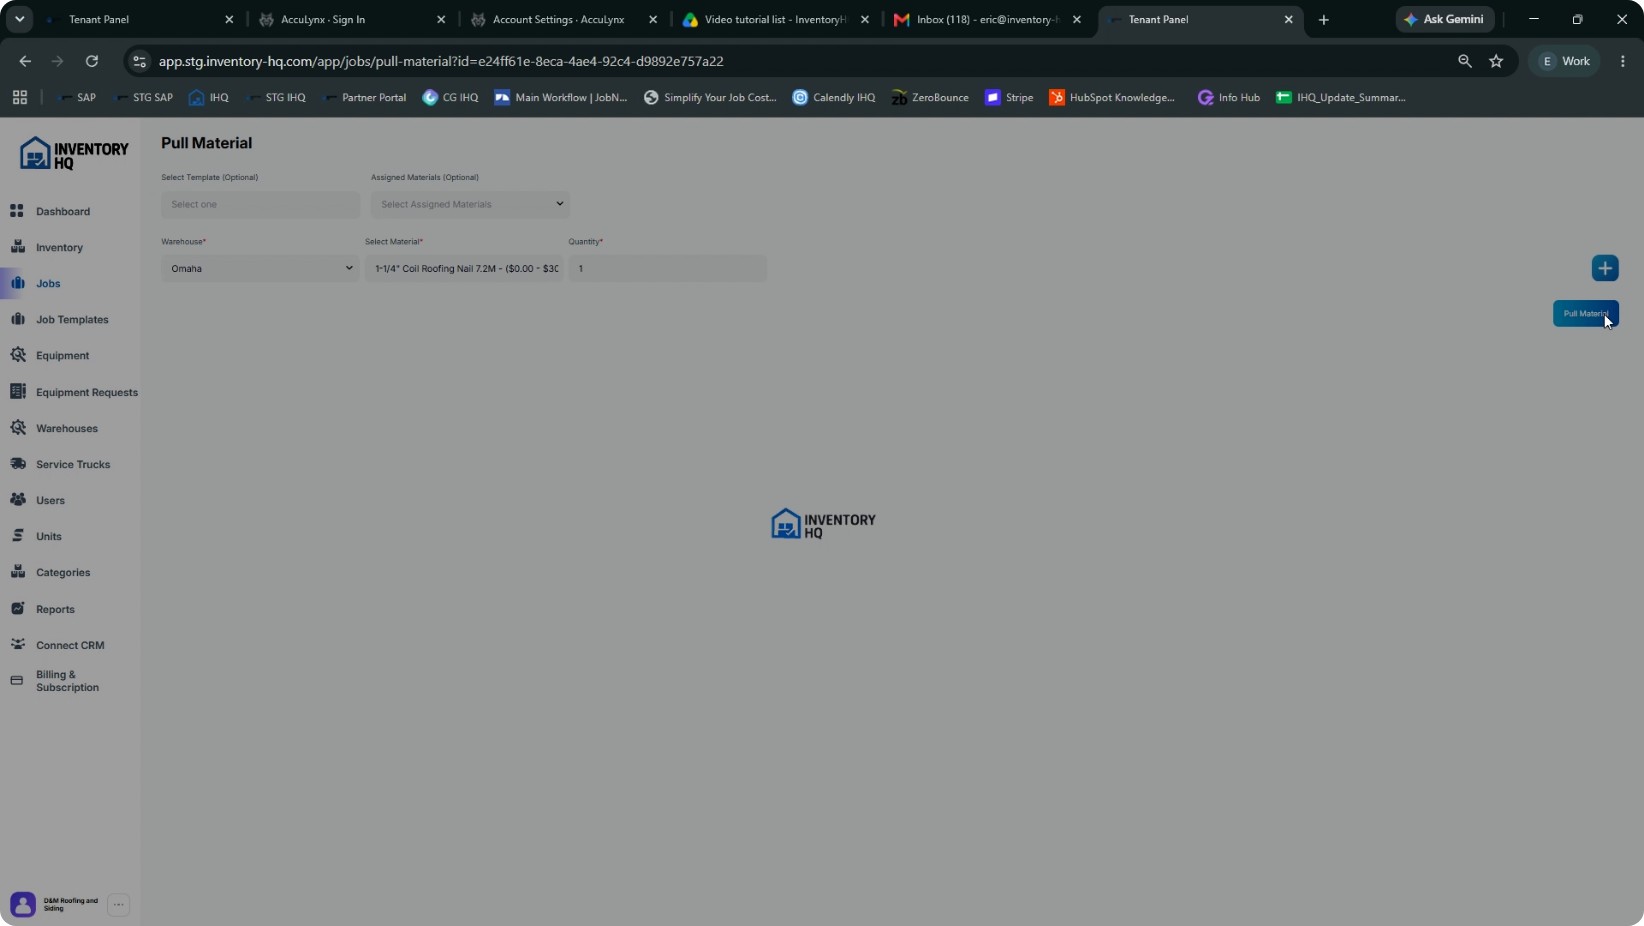
In this scenario, the job is costed correctly and the inventory count goes negative. When you restock that item, the negative balance automatically reconciles. You may see N/A in total cost for negative inventory until it is reconciled.
- 9
Return Full, Unused Material Units
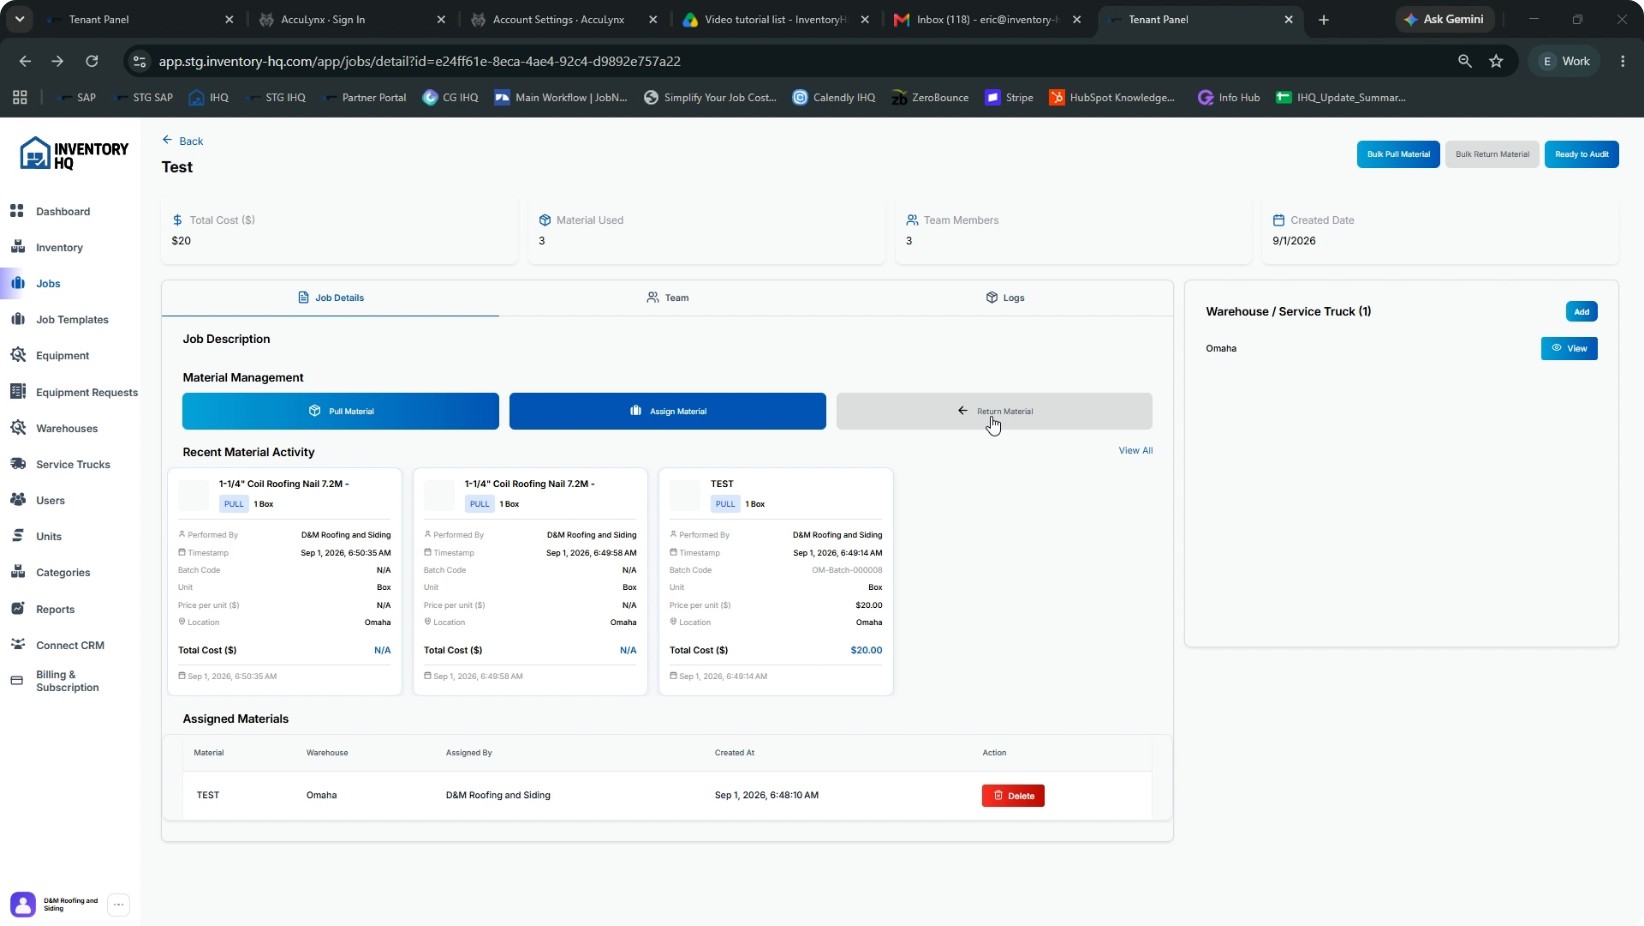
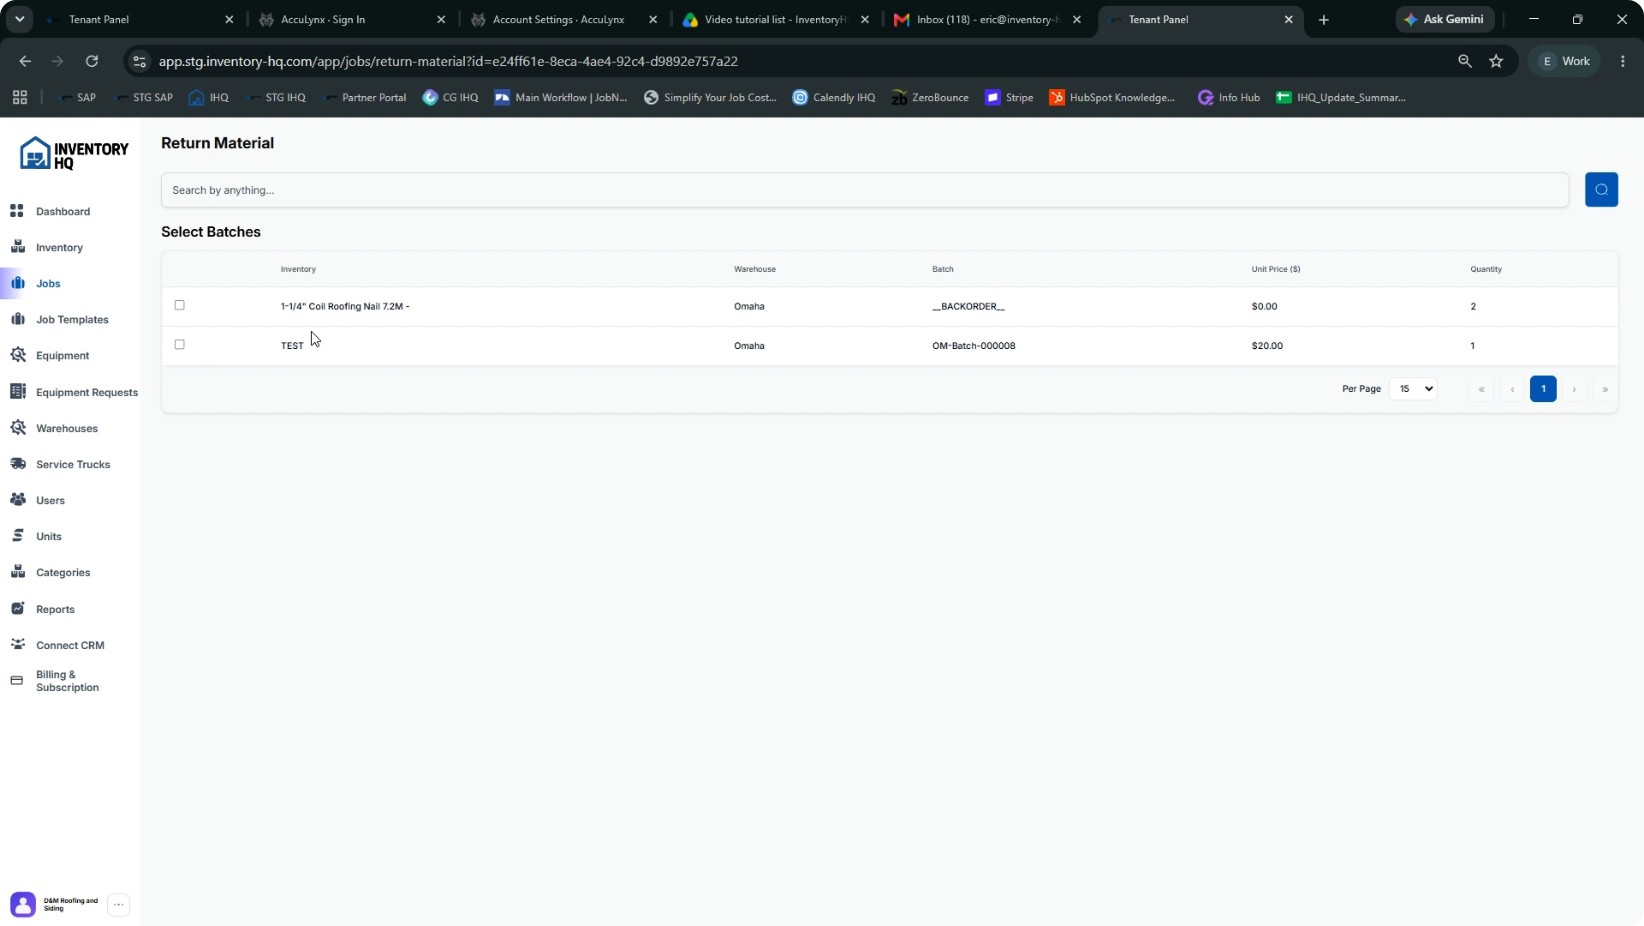
Use Return Material for full, unused units only (e.g., a full roll, an unopened box):
- Open the Return Material screen.
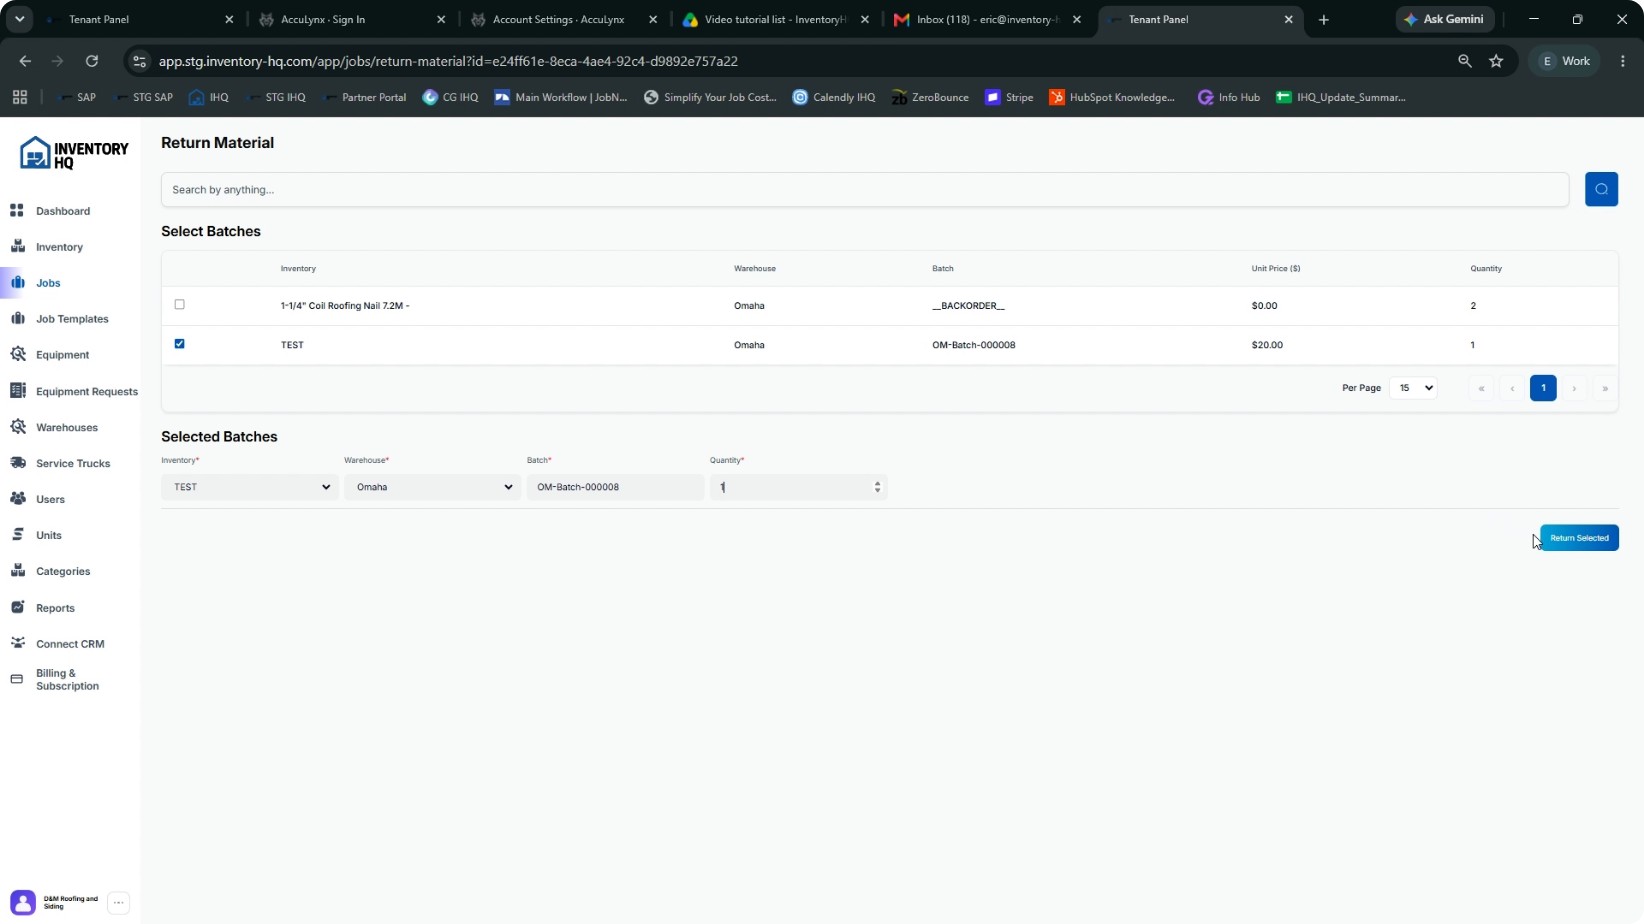
- The screen shows only batches pulled for this job, with their batch codes and prices.
- Check/select the batch you are returning, then enter the quantity being returned.
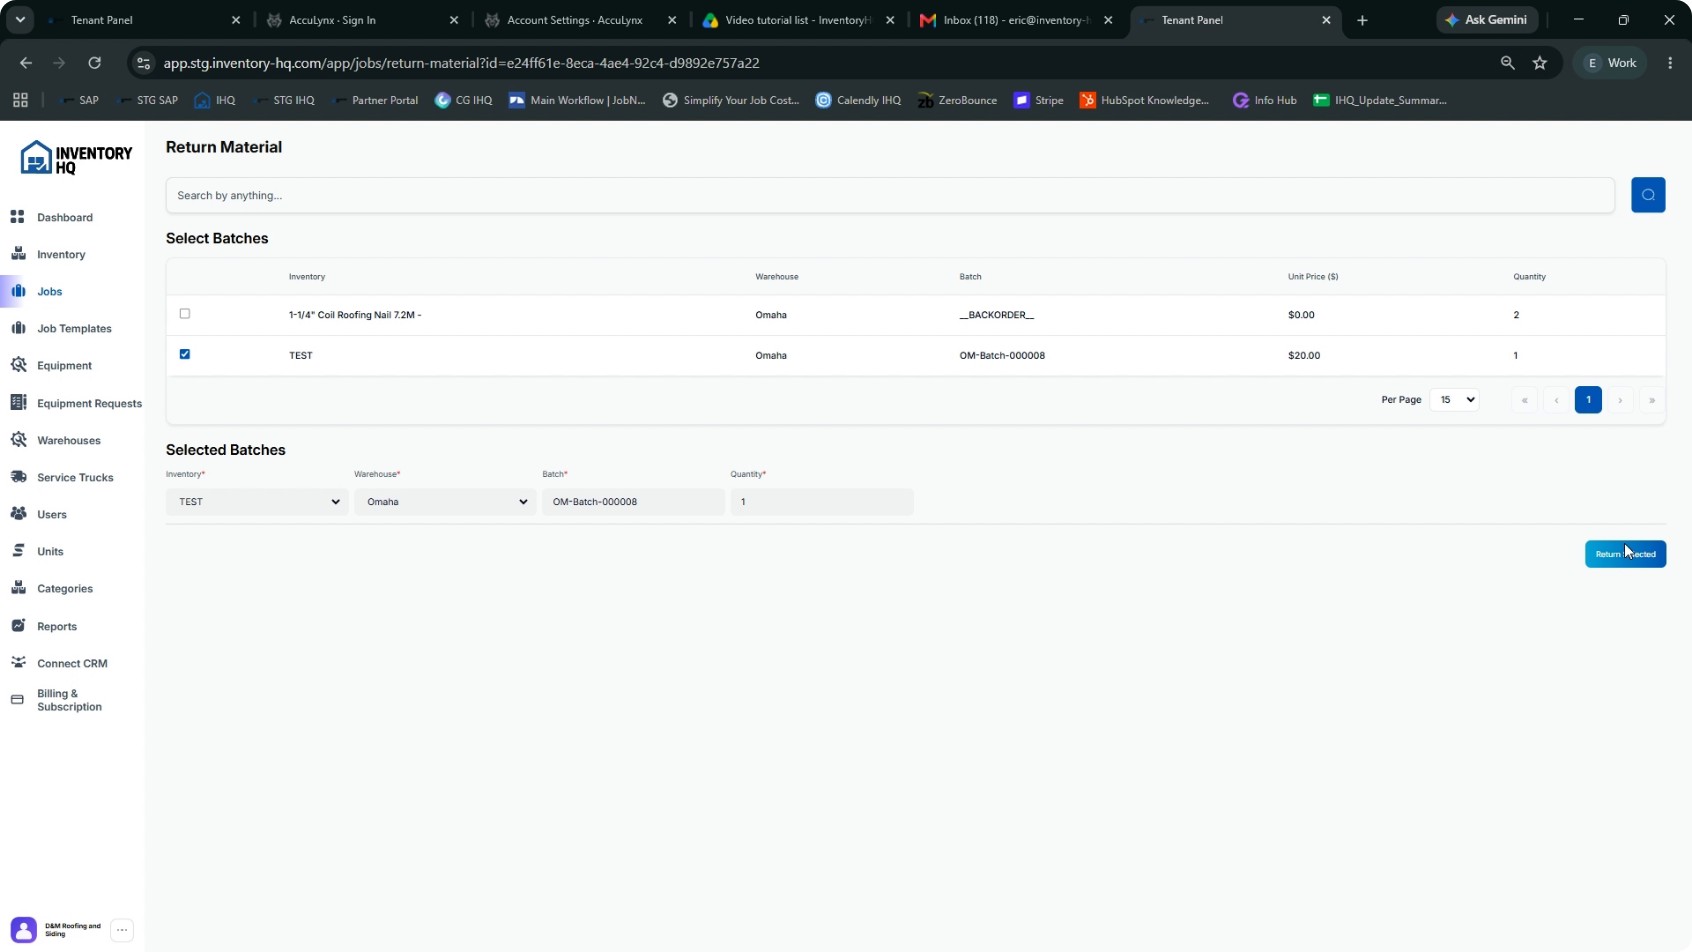
- Click Return Selected to process the return.
This sends stock back into inventory and reduces the job cost accordingly.
- 10
Handle Partial or Mixed Leftover Materials
Do not use Return Material for partially used units (e.g., a half-used roll). Instead:
- Restock leftovers into inventory as a new item.
- Name it after the parent item, such as “Synthetic Felt – Half Roll”.
- Price it proportionally (e.g., half of a $30 bundle is $15).
- Place it in the same warehouse the job pulled from.
For loose, mixed items (like a combined box of nails), estimate the remaining fraction—using weight compared to a full box is the most accurate—and price that fraction accordingly. These leftover materials then remain trackable and can be used on future jobs. For example, you might enter a “Roof Decking – Half” item in inventory to represent half a unit.
- 11
Use Bulk Pull Material for Large Lists
For large material lists, use Bulk Pull Material:
- Download the bulk pull template.
- Scope the template to one warehouse, one service truck, or all locations.
- Use the Material Name column, which auto-fills from the SKU. When you type the SKU (must match exactly), the material name confirms you have the right item.
- Optionally leave the Date field blank to use the upload time as the date.
- Fill in the quantities.
- Upload the file so all materials are pulled in one action.
- 12
Use Bulk Return Material
For returning many items at once, use Bulk Return Material:
- Download the bulk return template.
- The template is pre-filled with everything this job has previously pulled.
- Fill in only the Return Quantity column.
- Upload the file to process all returns in one step.
Important warning: If the upload seems slow, check Recent Activity on the dashboard before uploading again. Uploading the same file twice will return everything twice.
- 13
Mark a Job as Ready to Audit
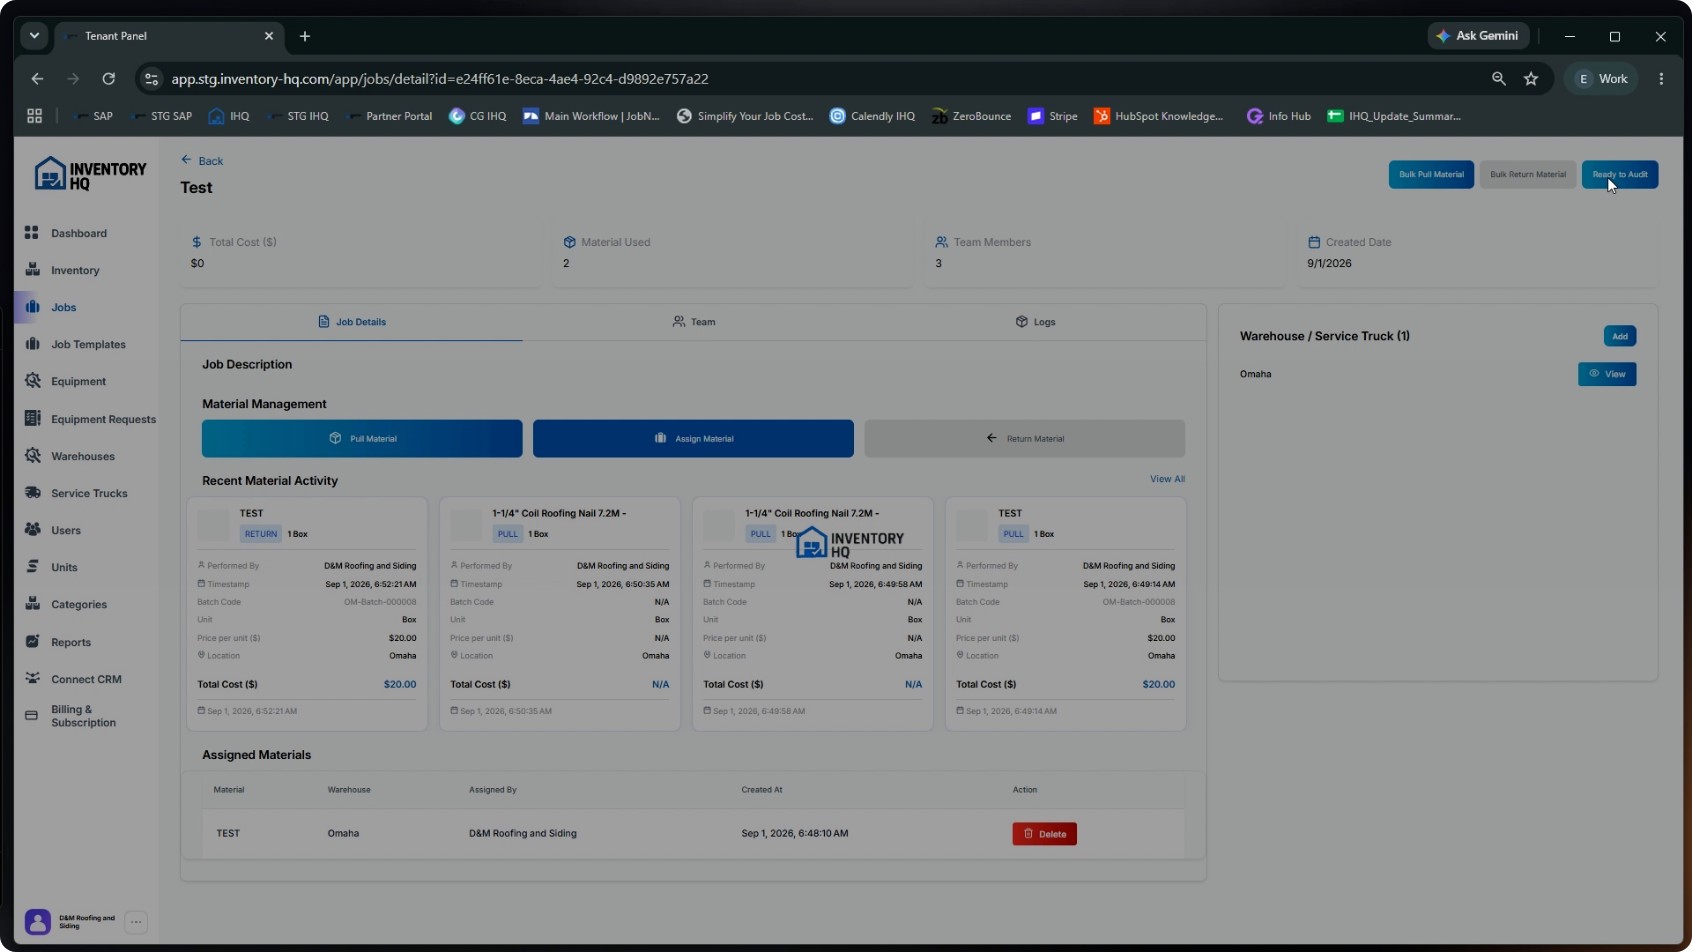
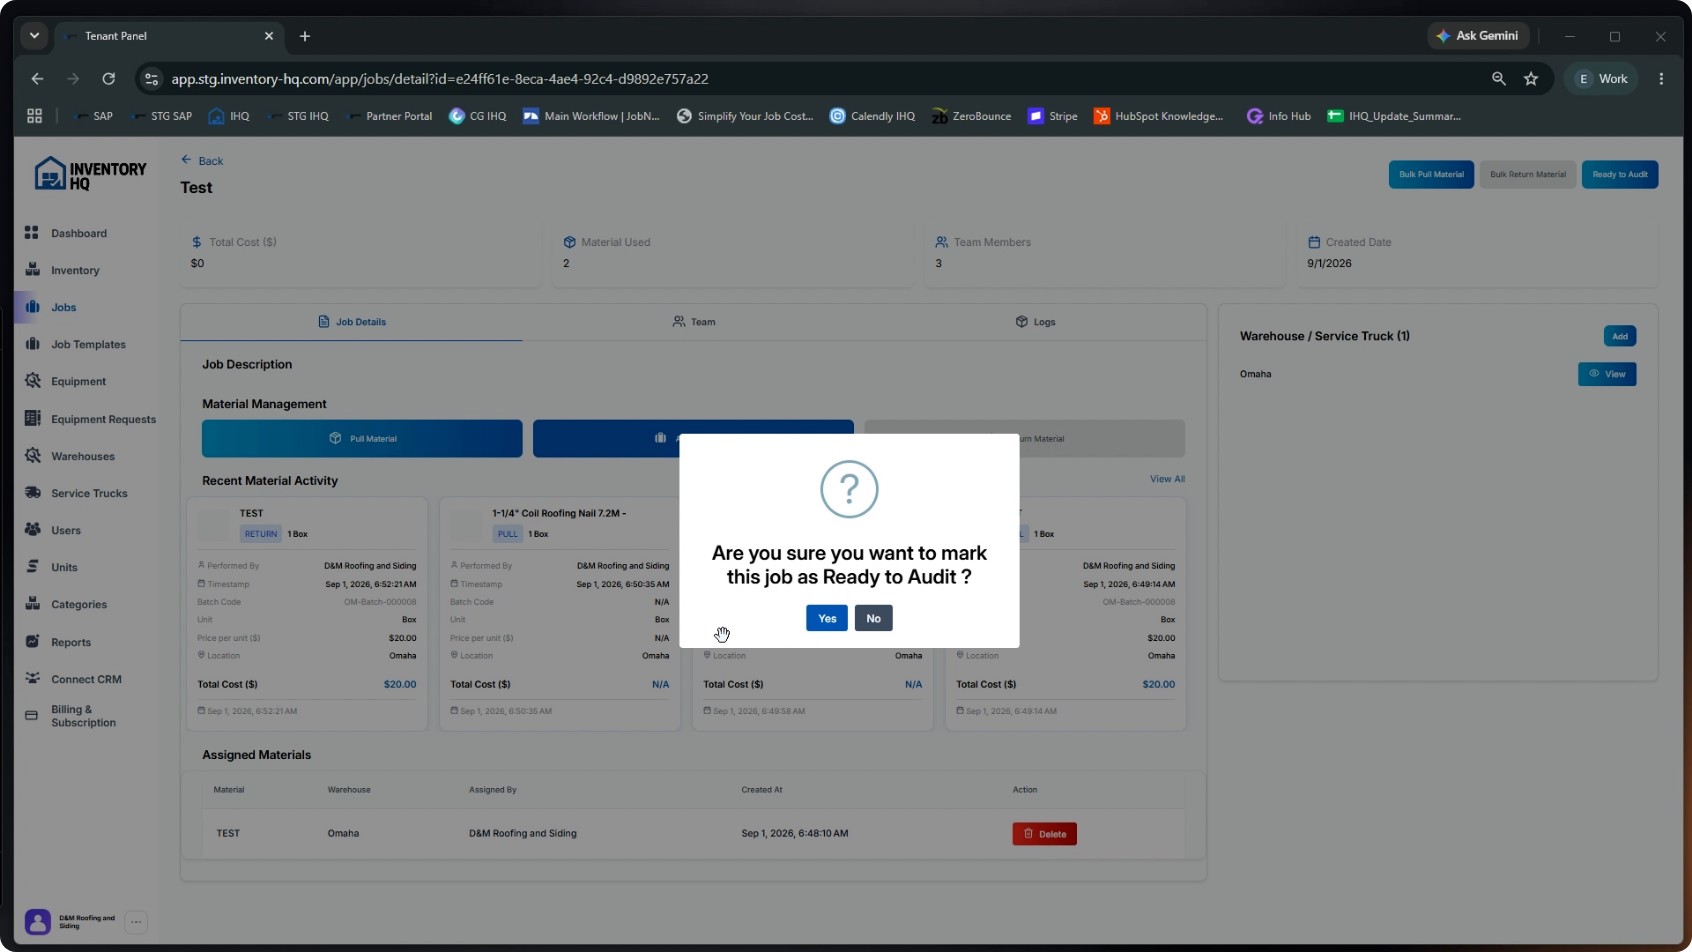
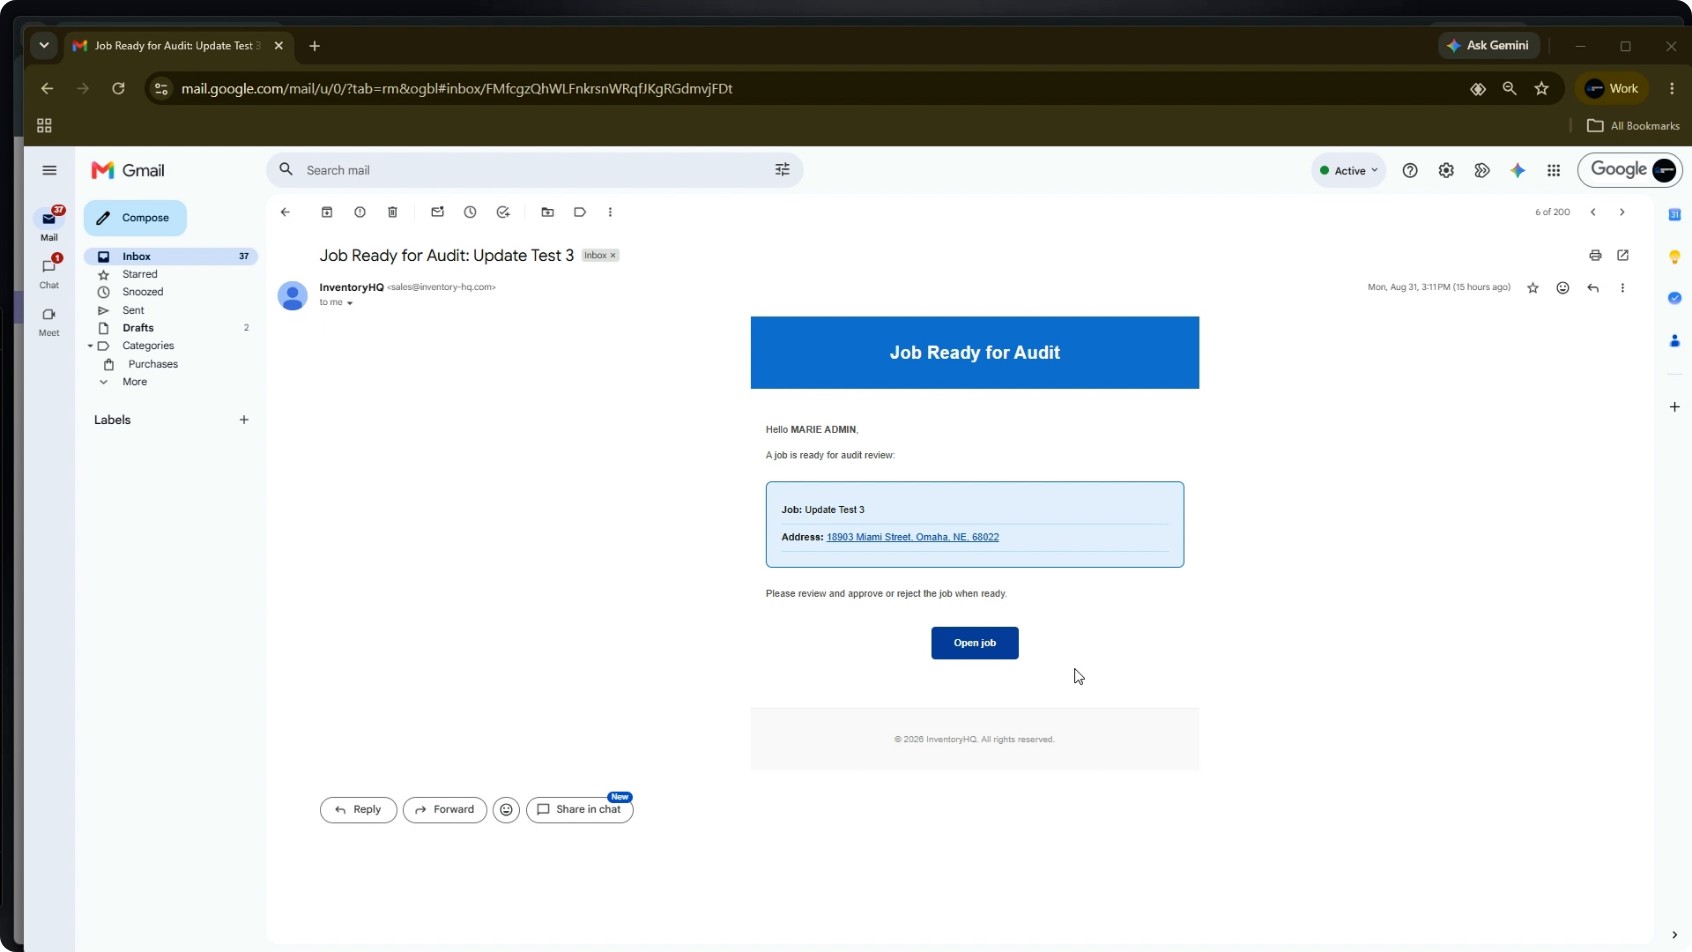
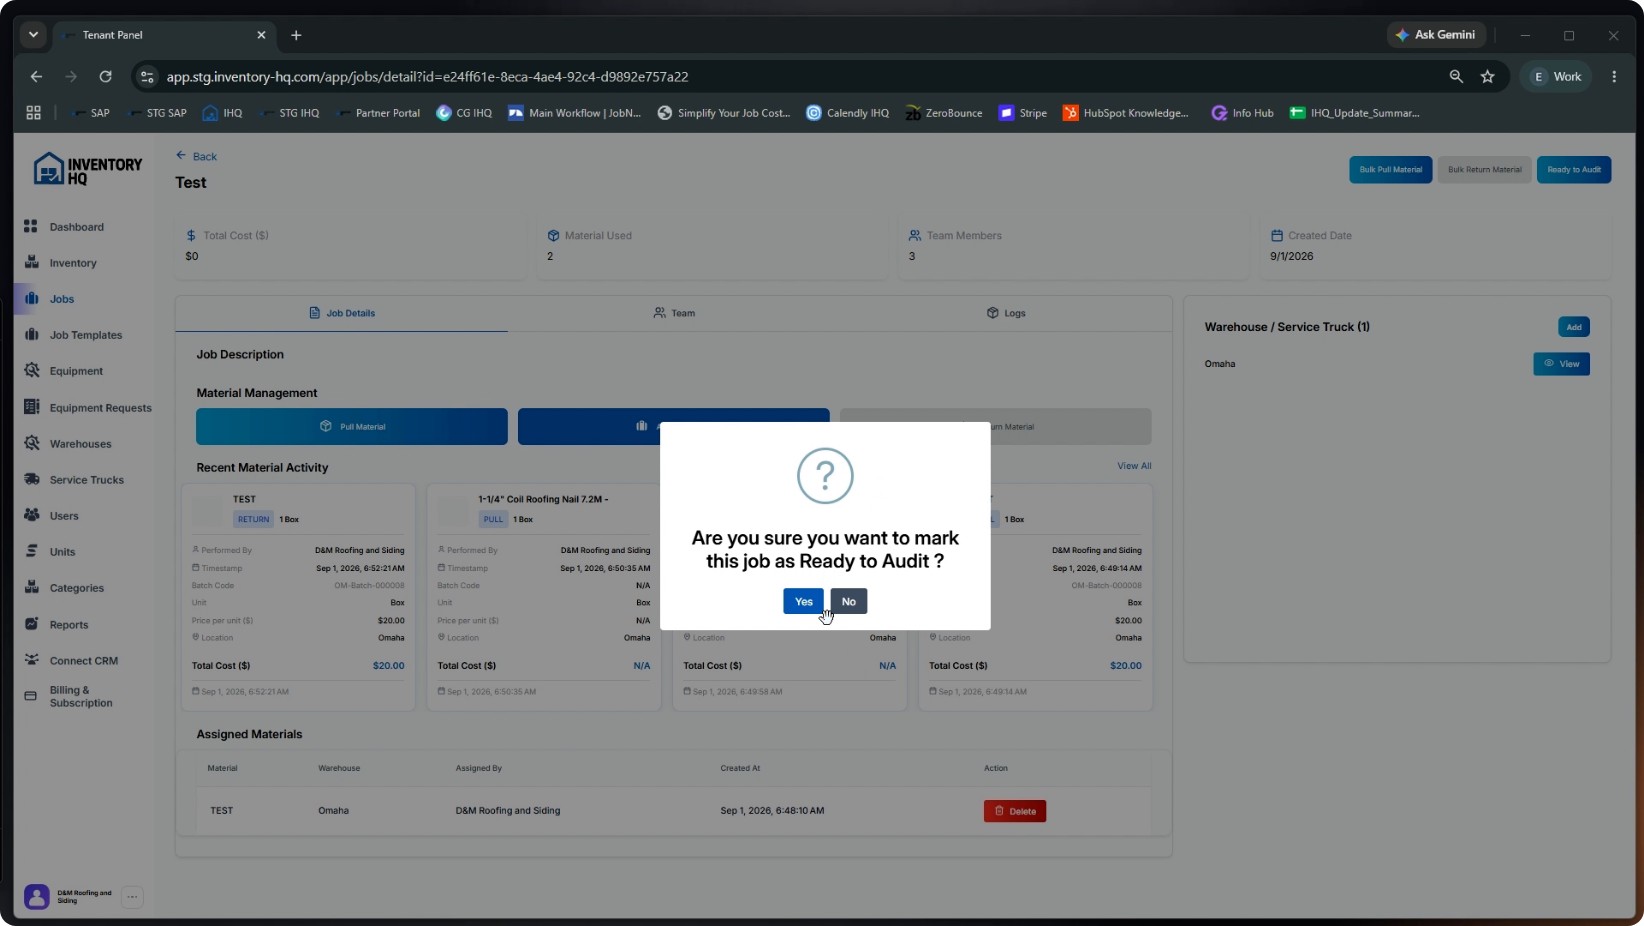
When field work is done and all pulls and returns have been recorded, the field crew clicks the Ready to Audit button on the job. After this:
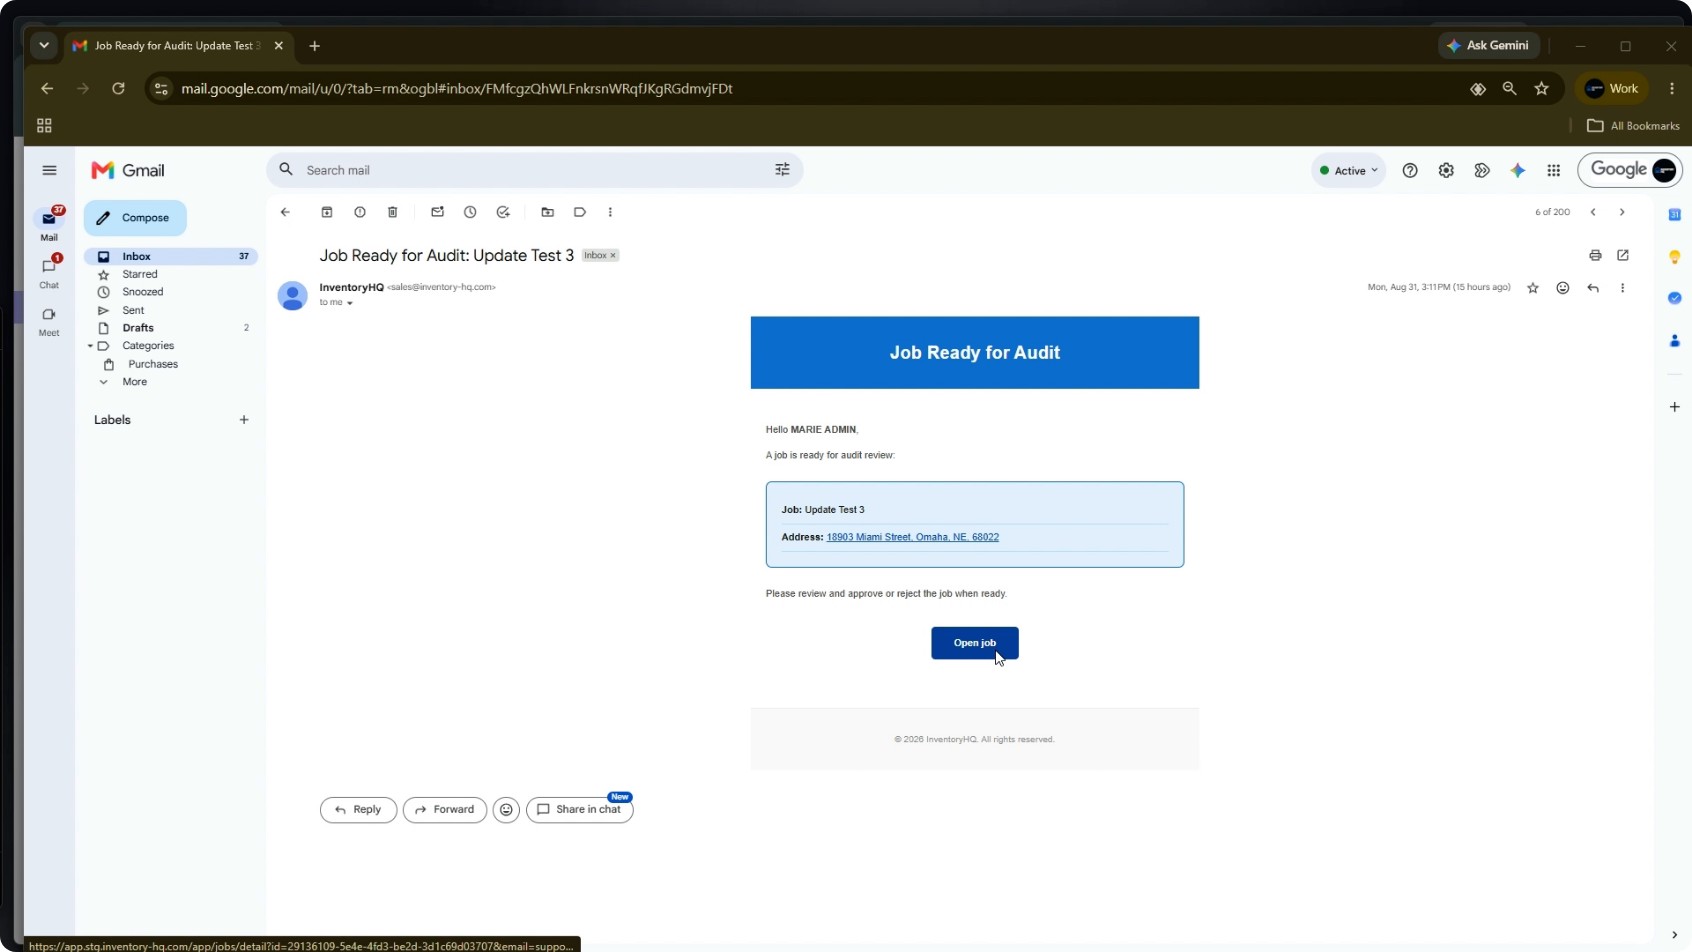
- The auditor assigned to the job’s warehouse receives an email and push notification.
- The email includes an Open Job button.
- Clicking this link routes the auditor to the Inventory HQ login panel, and after login, directly to the job.
Any assigned auditor can then approve or reject the job, and every decision is logged.
- 14
Approve or Reject the Job
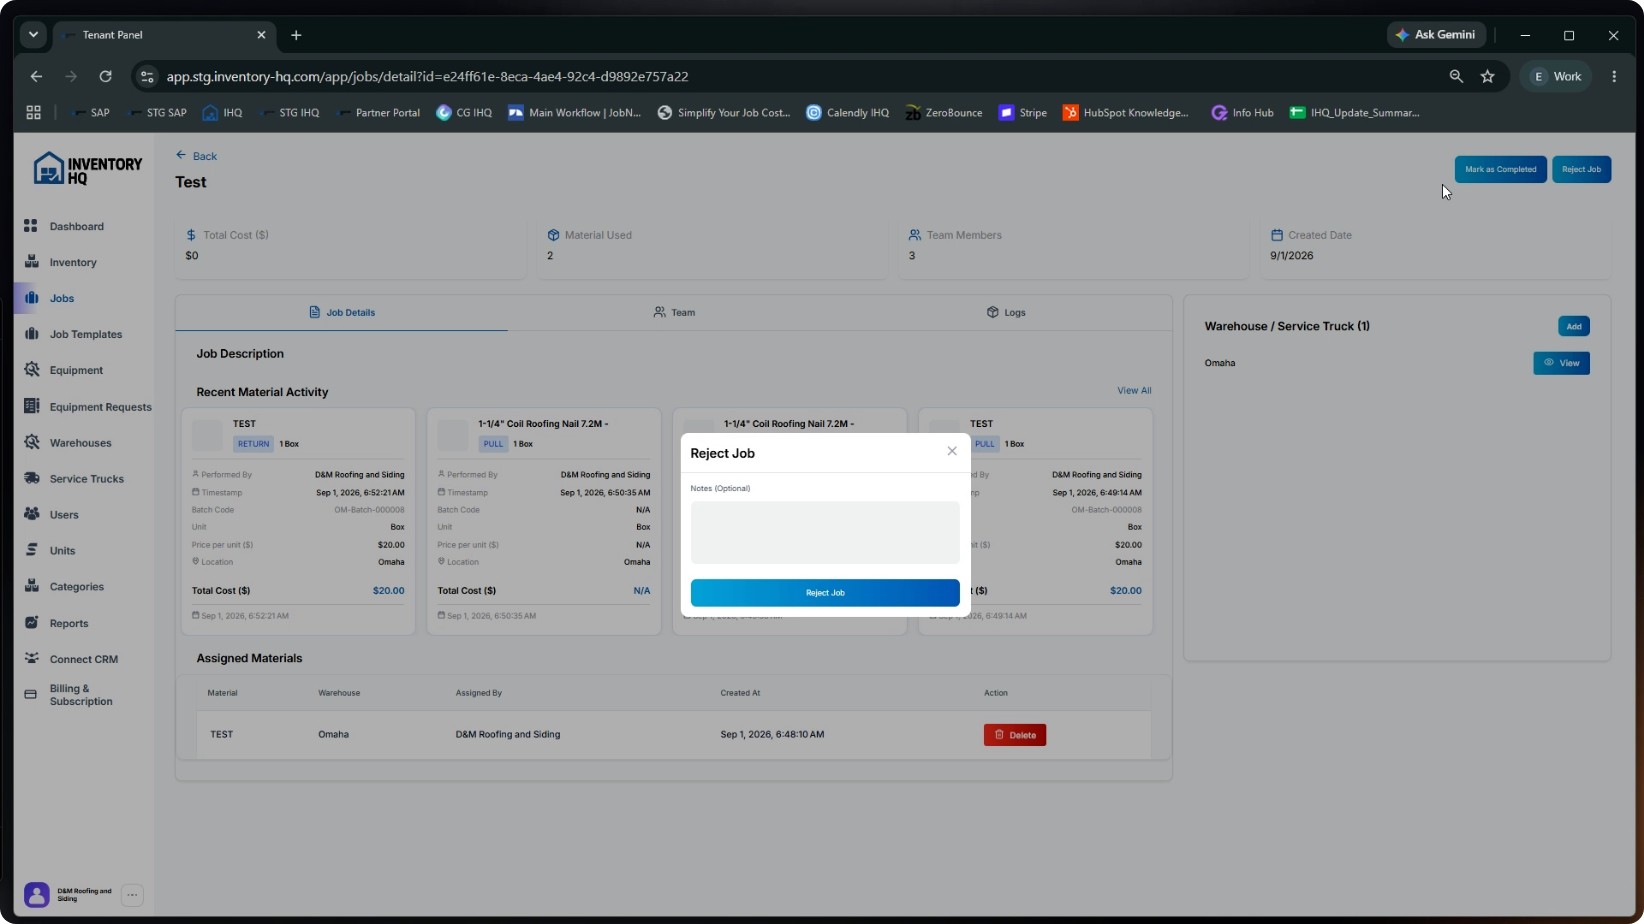
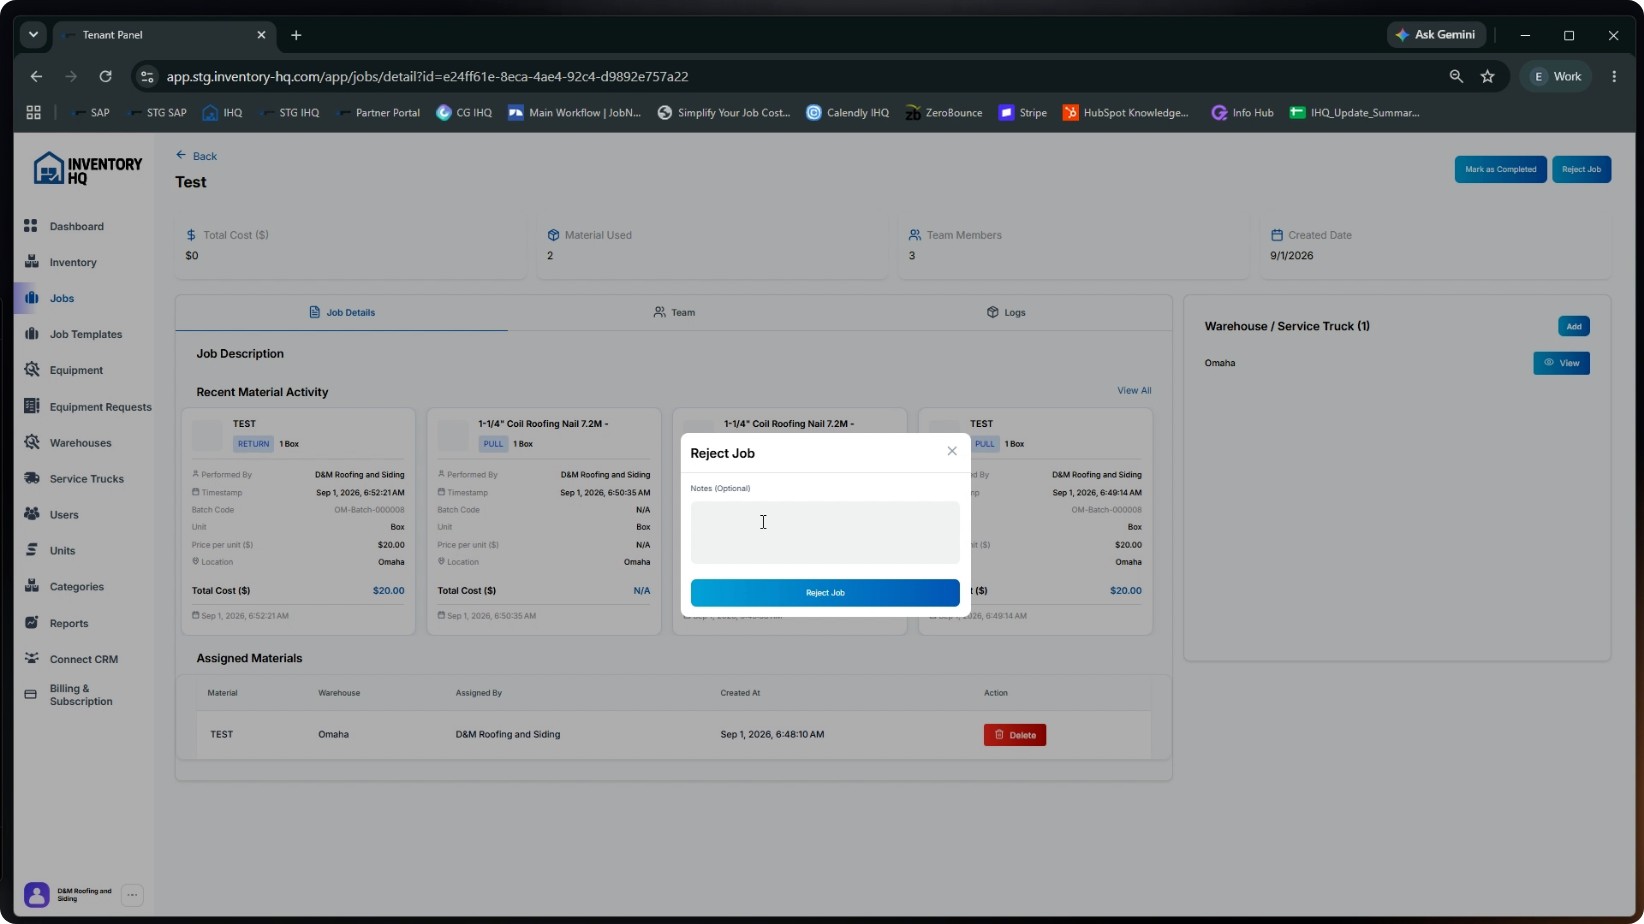
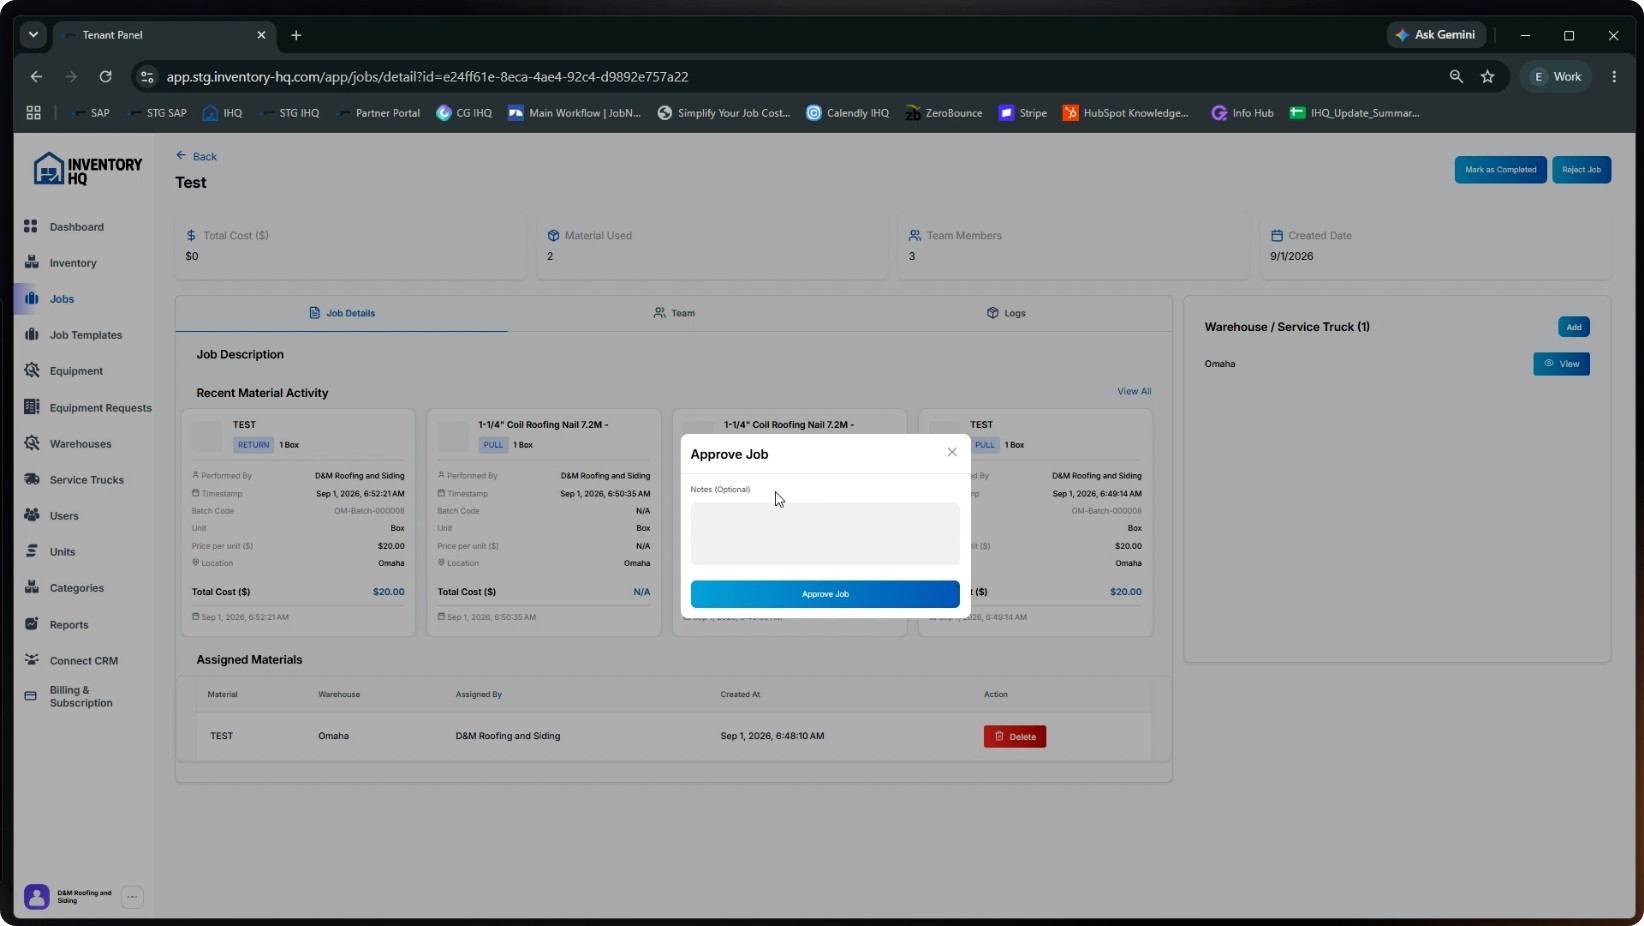
From the job’s audit view, to reject the job, click Reject Job, enter a clear reason in the notes field, then click Reject Job to save the rejection and notify the field team. When the job is ready to be completed, mark the job Ready to Audit if not already done, then use the approval action to mark the job as Completed, following the same pattern as rejecting, but choosing approval instead. Two safety nets ensure nothing is missed:
- If a warehouse has no auditor assigned, notifications go to the Company Admin.
- Company admins are automatically included on every job’s Team, including jobs coming from your CRM, so they can step in to review.
Once approved, the job is complete, and its full material and cost history is locked in.
NEXT TUTORIAL
Creating and Using Job Templates for Pull Lists →