
Initial InventoryHQ Account Configuration
This process walks you through configuring a new InventoryHQ account in the correct order: defining roles and permissions, adding team members, creating warehouses, setting up units of measure, and optionally configuring categories. Following this sequence ensures your team has the right access and your materials are correctly organized before you start loading inventory.
Step by step
- 1
Open Roles and Permissions
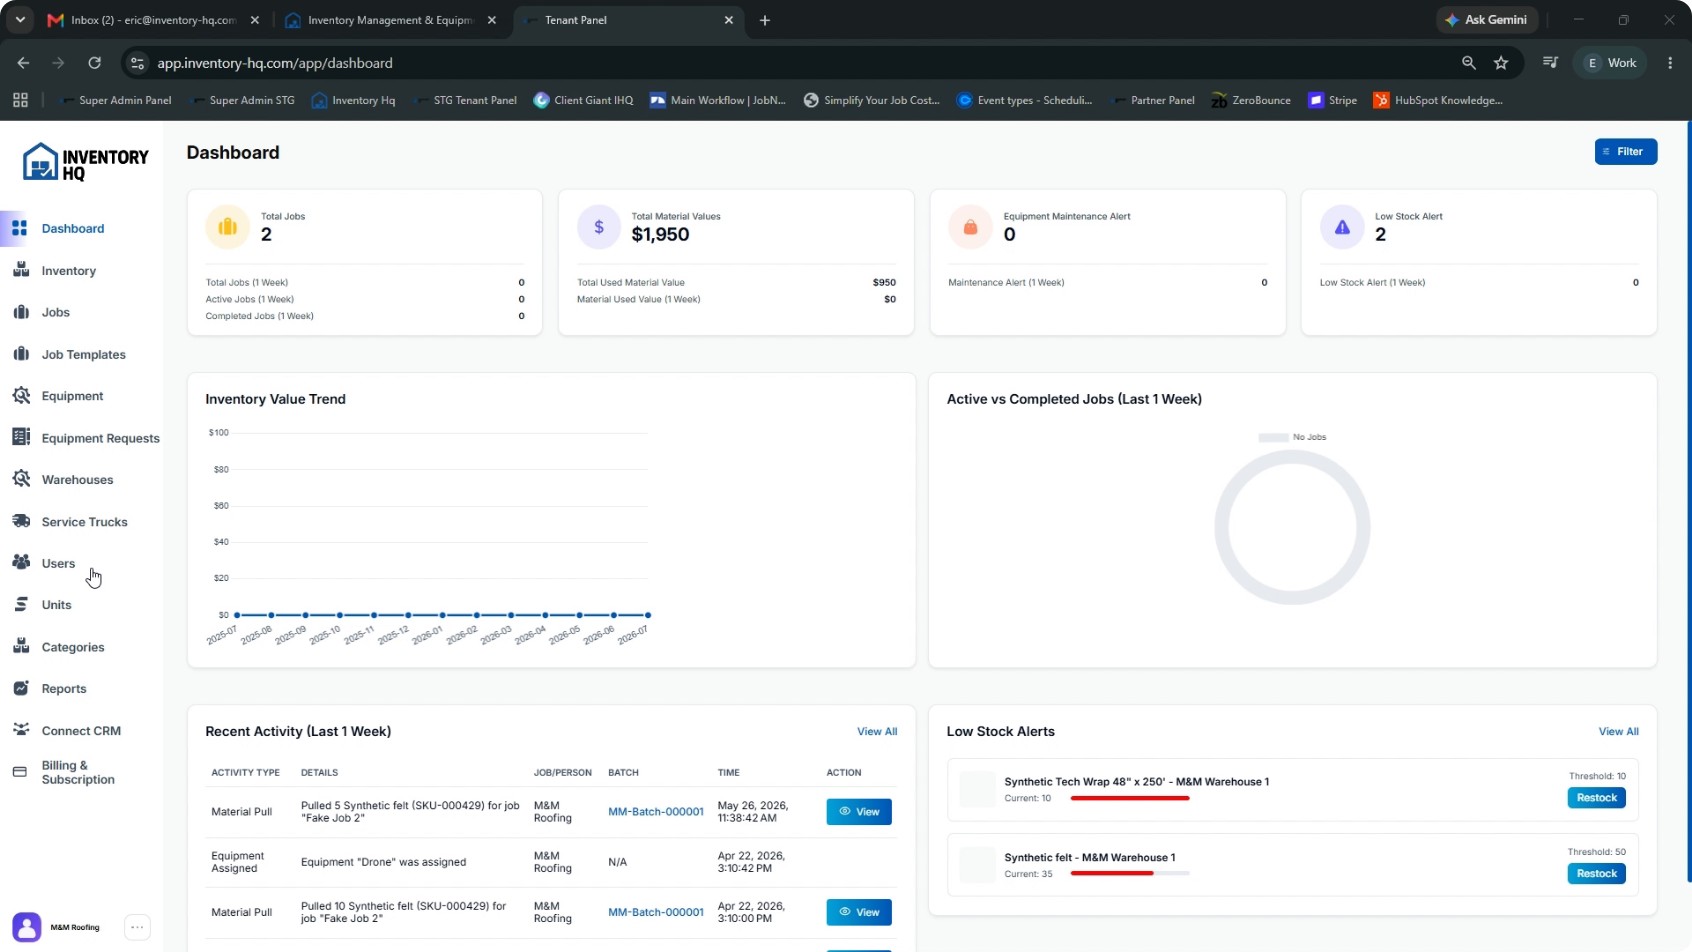
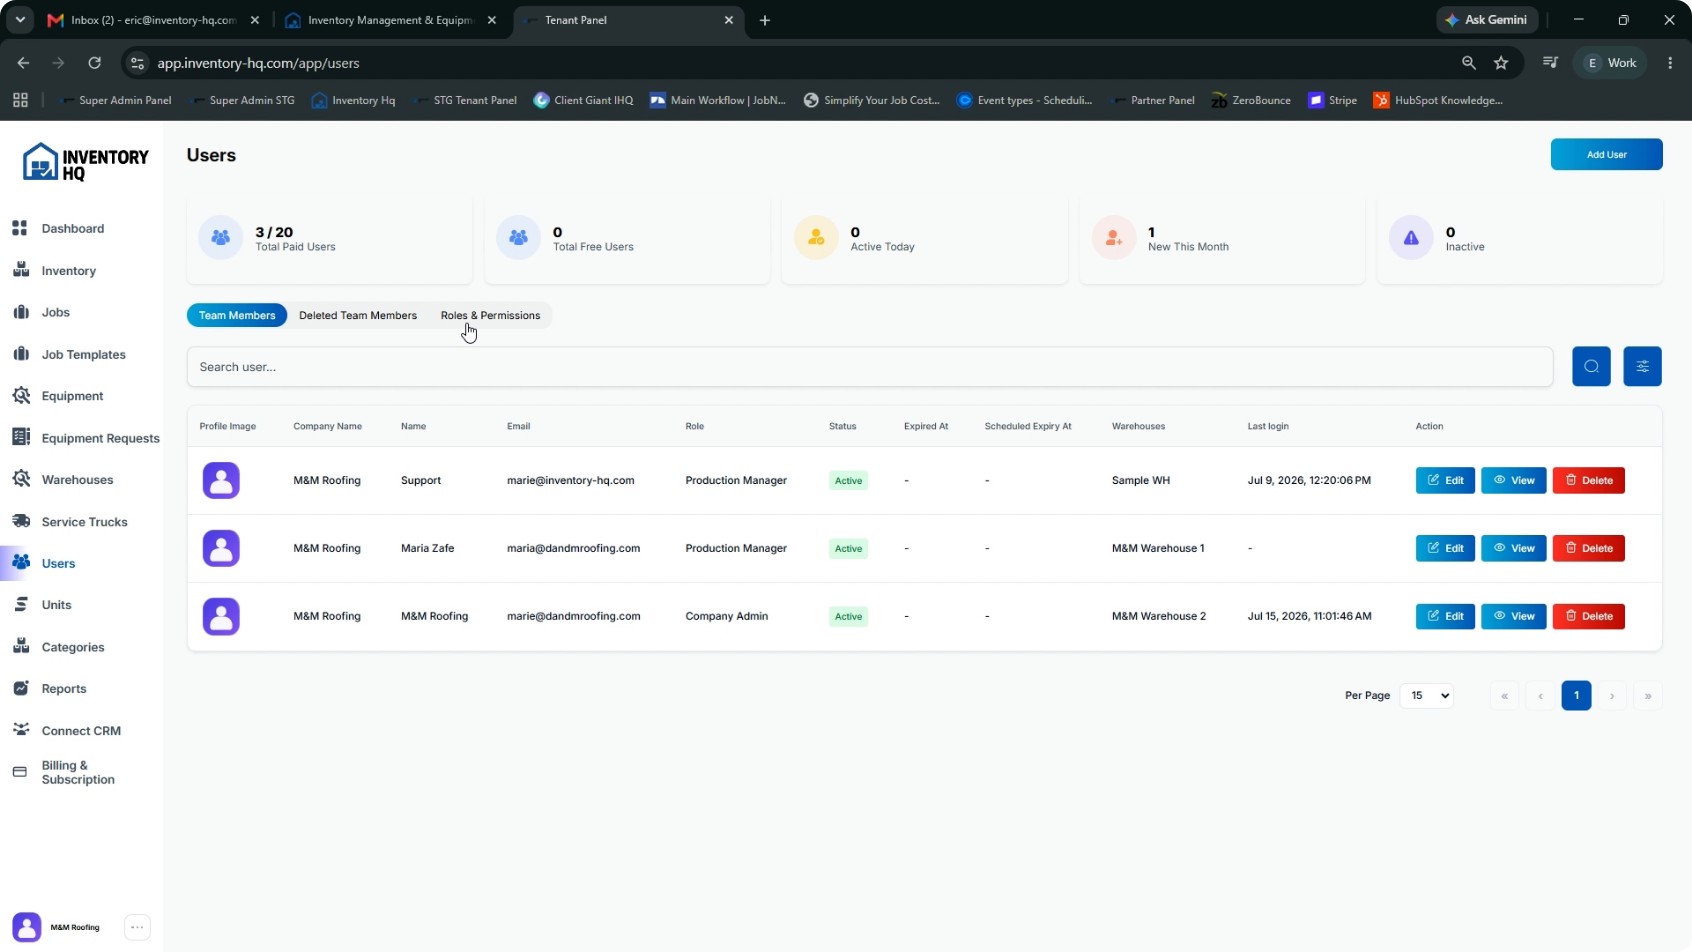
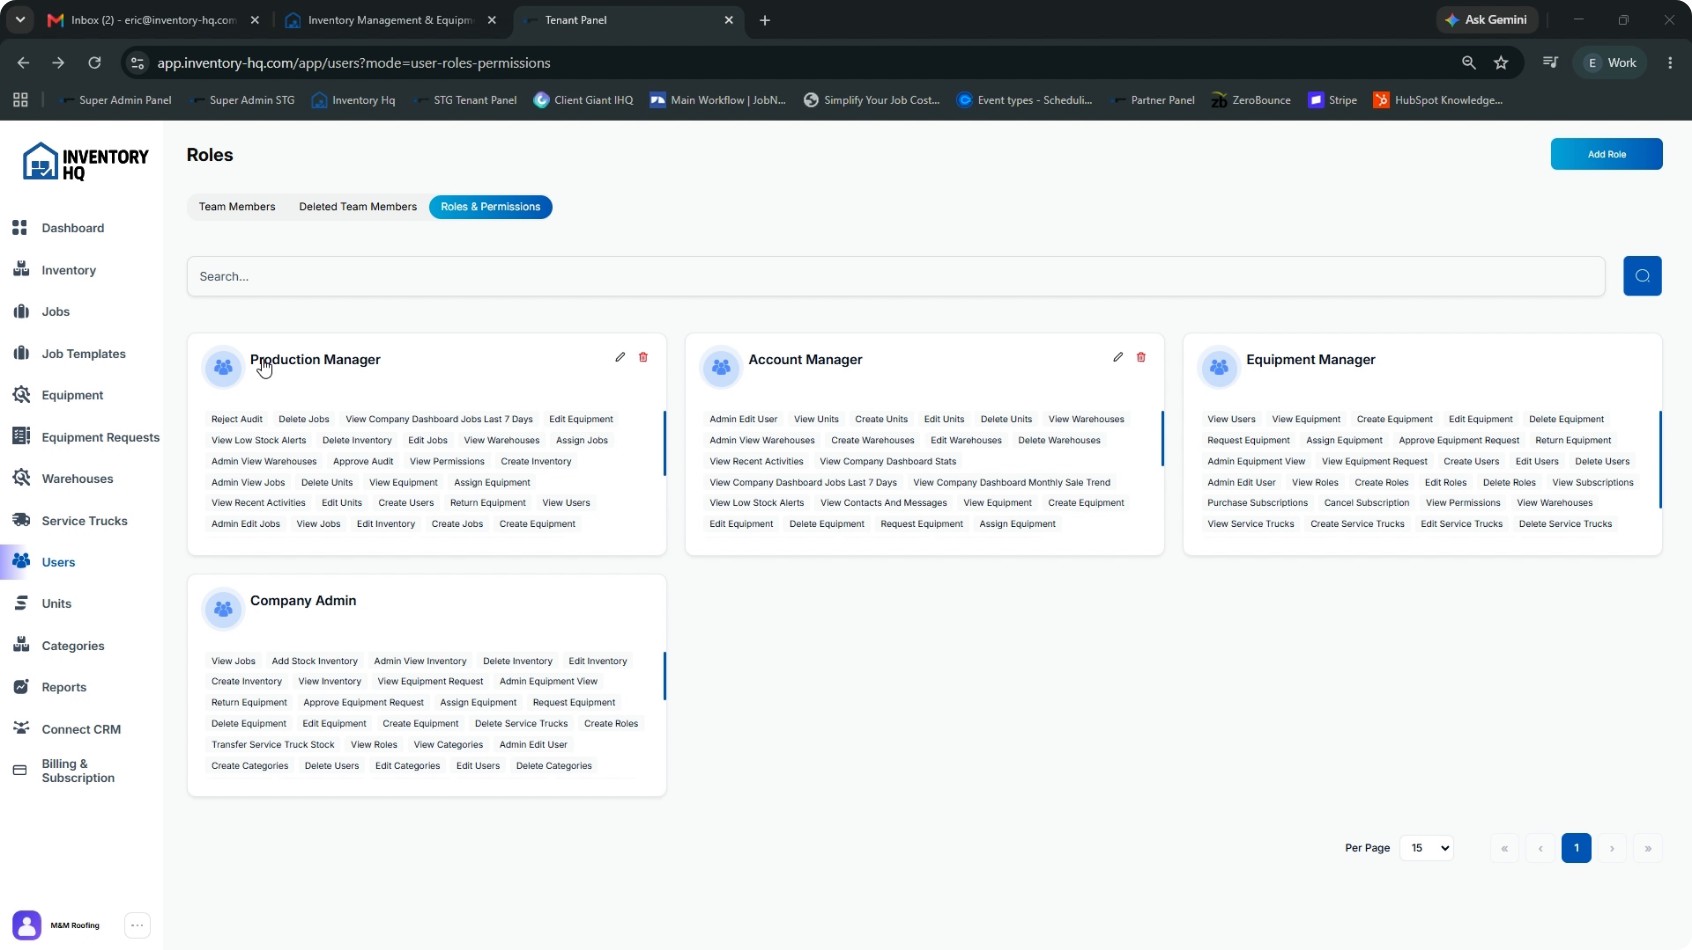
In the side panel, go to Users. Click Roles and Permissions. Roles define what each person can see and do in InventoryHQ, so you must create them before adding any users.
- 2
Create and Configure Roles
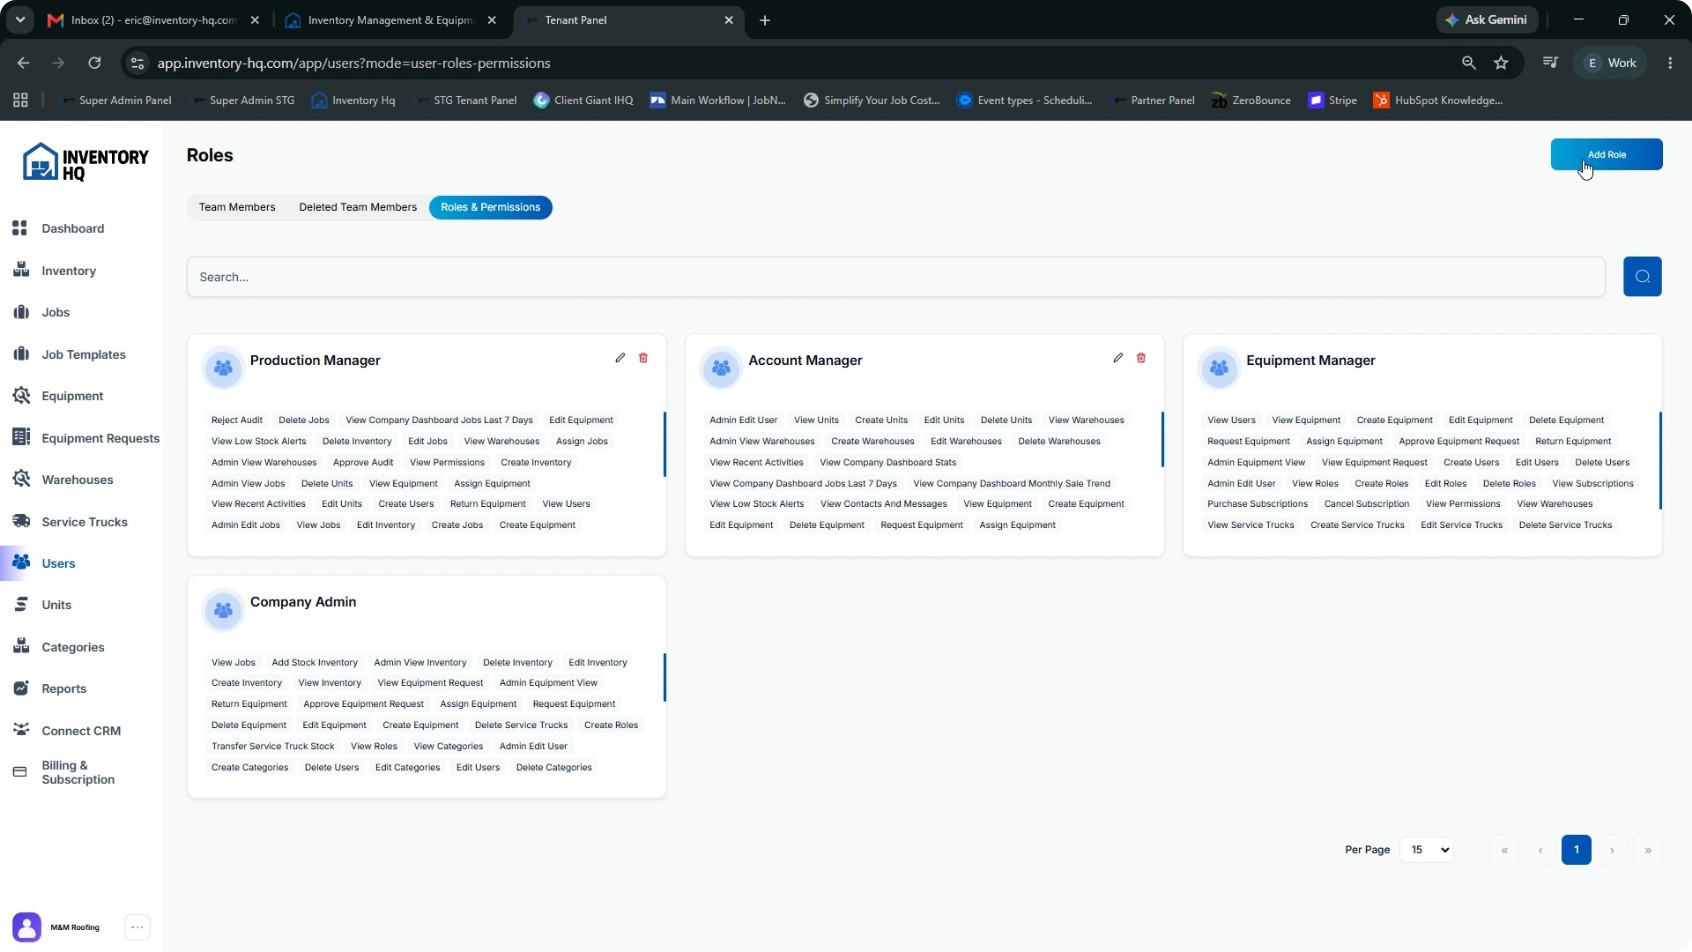
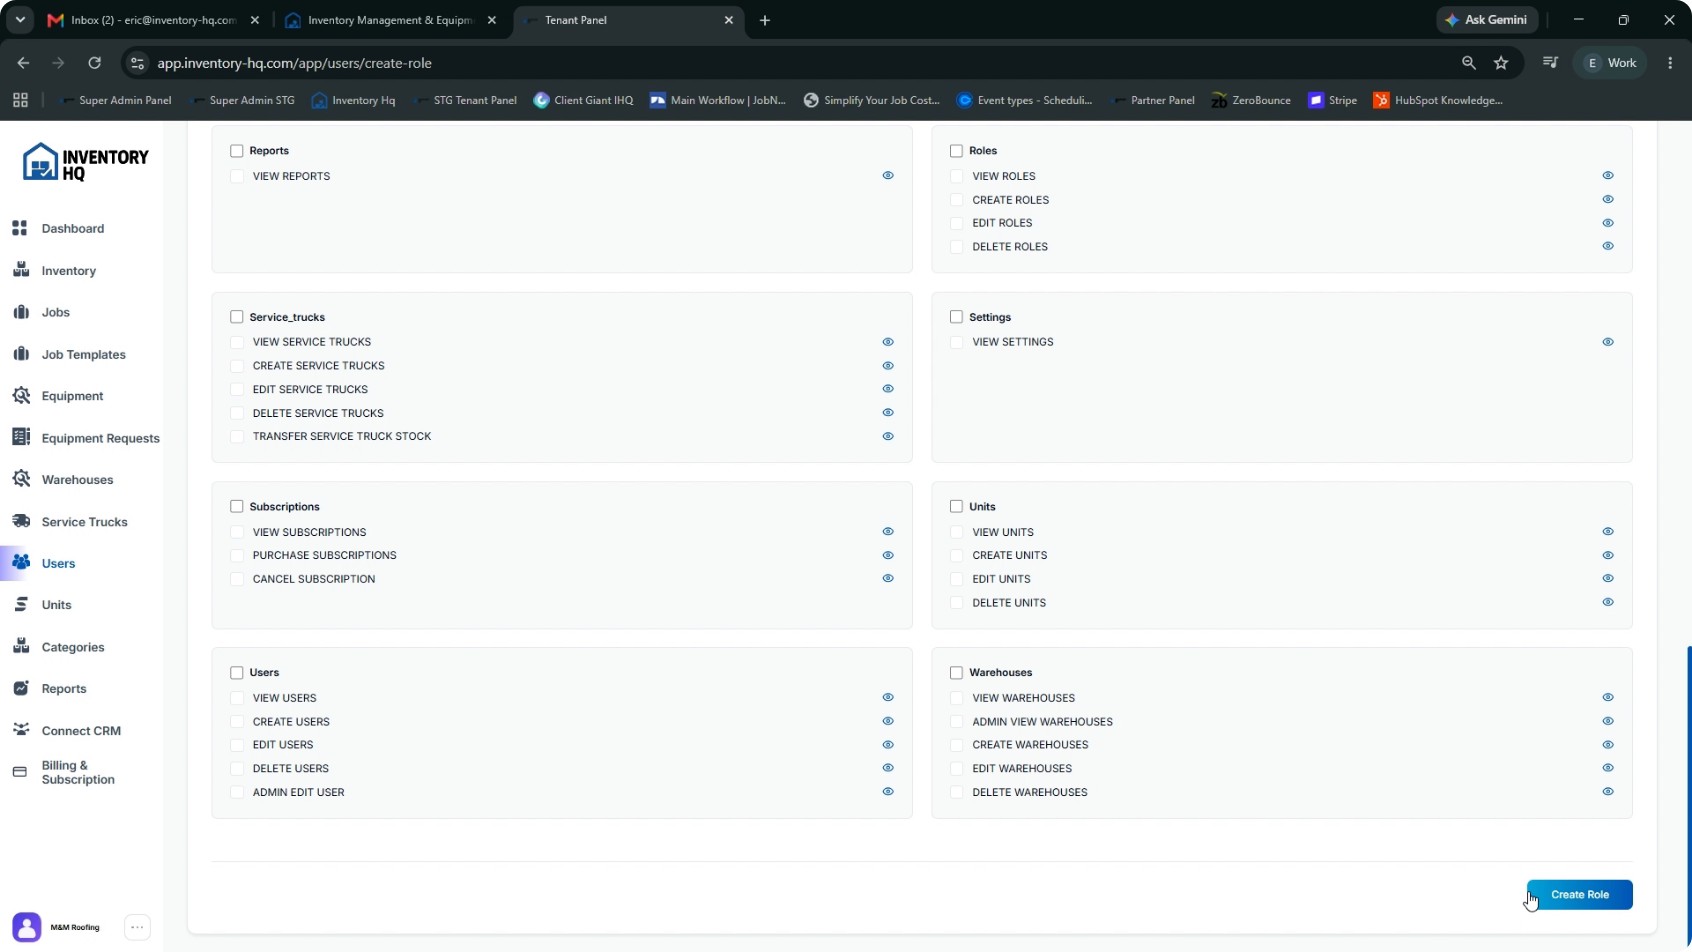
Click Add role. Name the role clearly (for example: Company Admin, Production Manager, Warehouse Manager, Field Crew, Office Staff). Use the same titles your company already uses to avoid confusion. Add a short description explaining what the role is responsible for. Toggle each permission on or off, depending on what you want people with this role to see and do. Ensure the Company Admin role has all permissions enabled. When you are done configuring permissions, click Create role. Review each role and its permissions so you can assign the correct access to every user from day one.
- 3
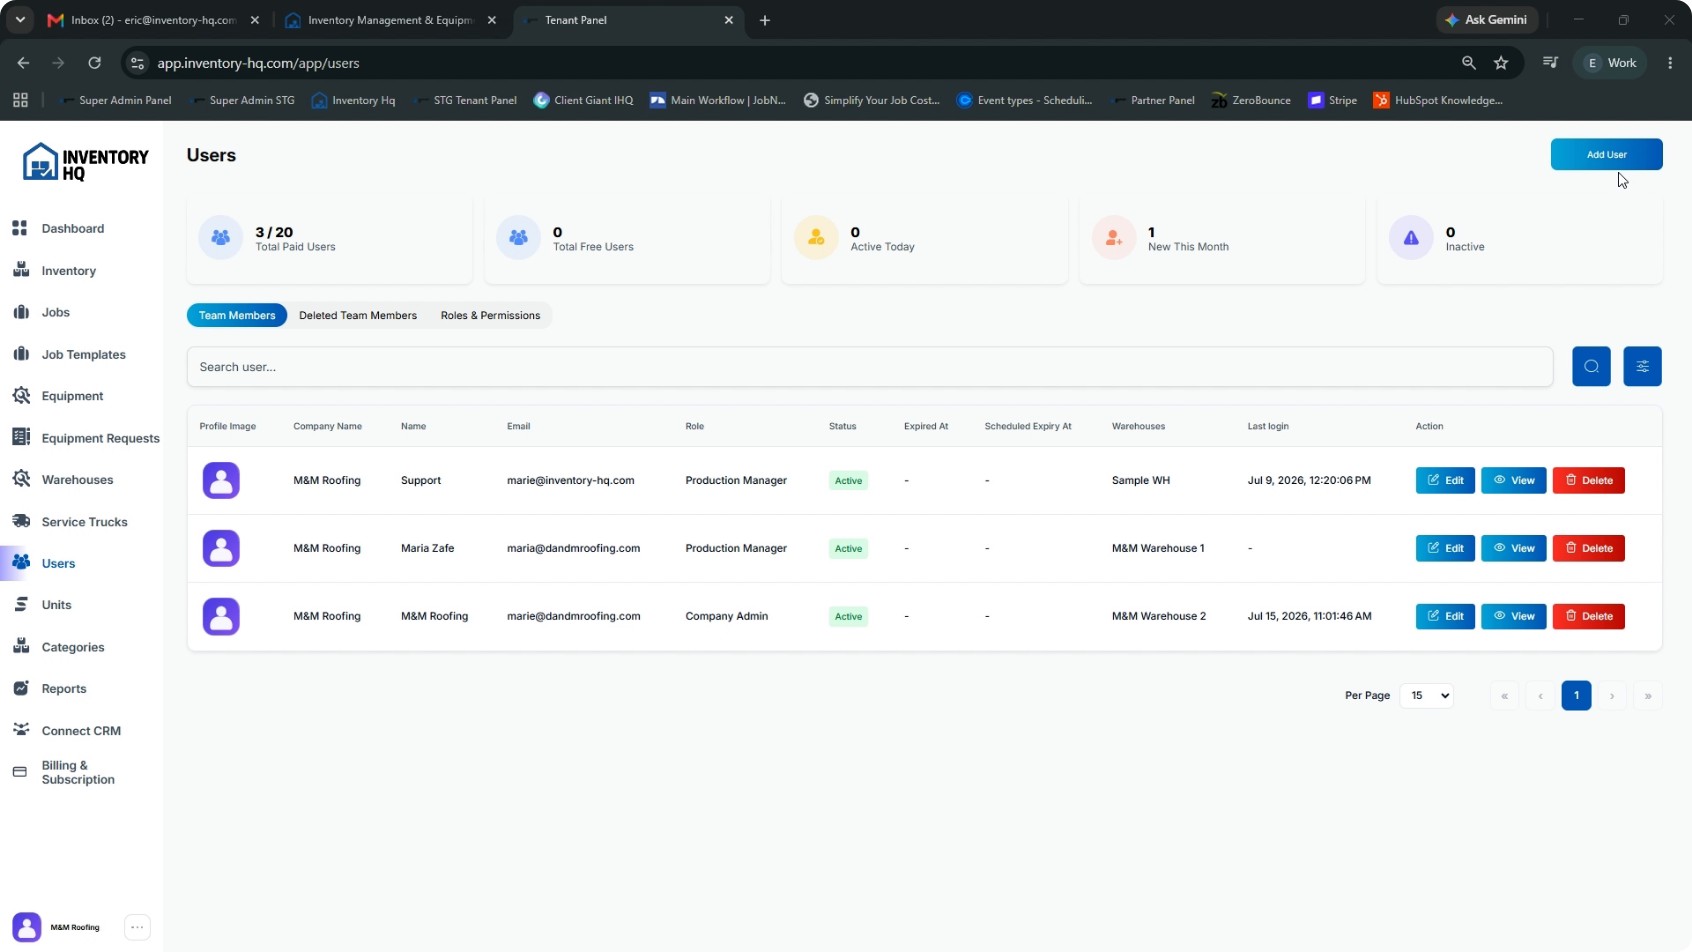
Add Team Members
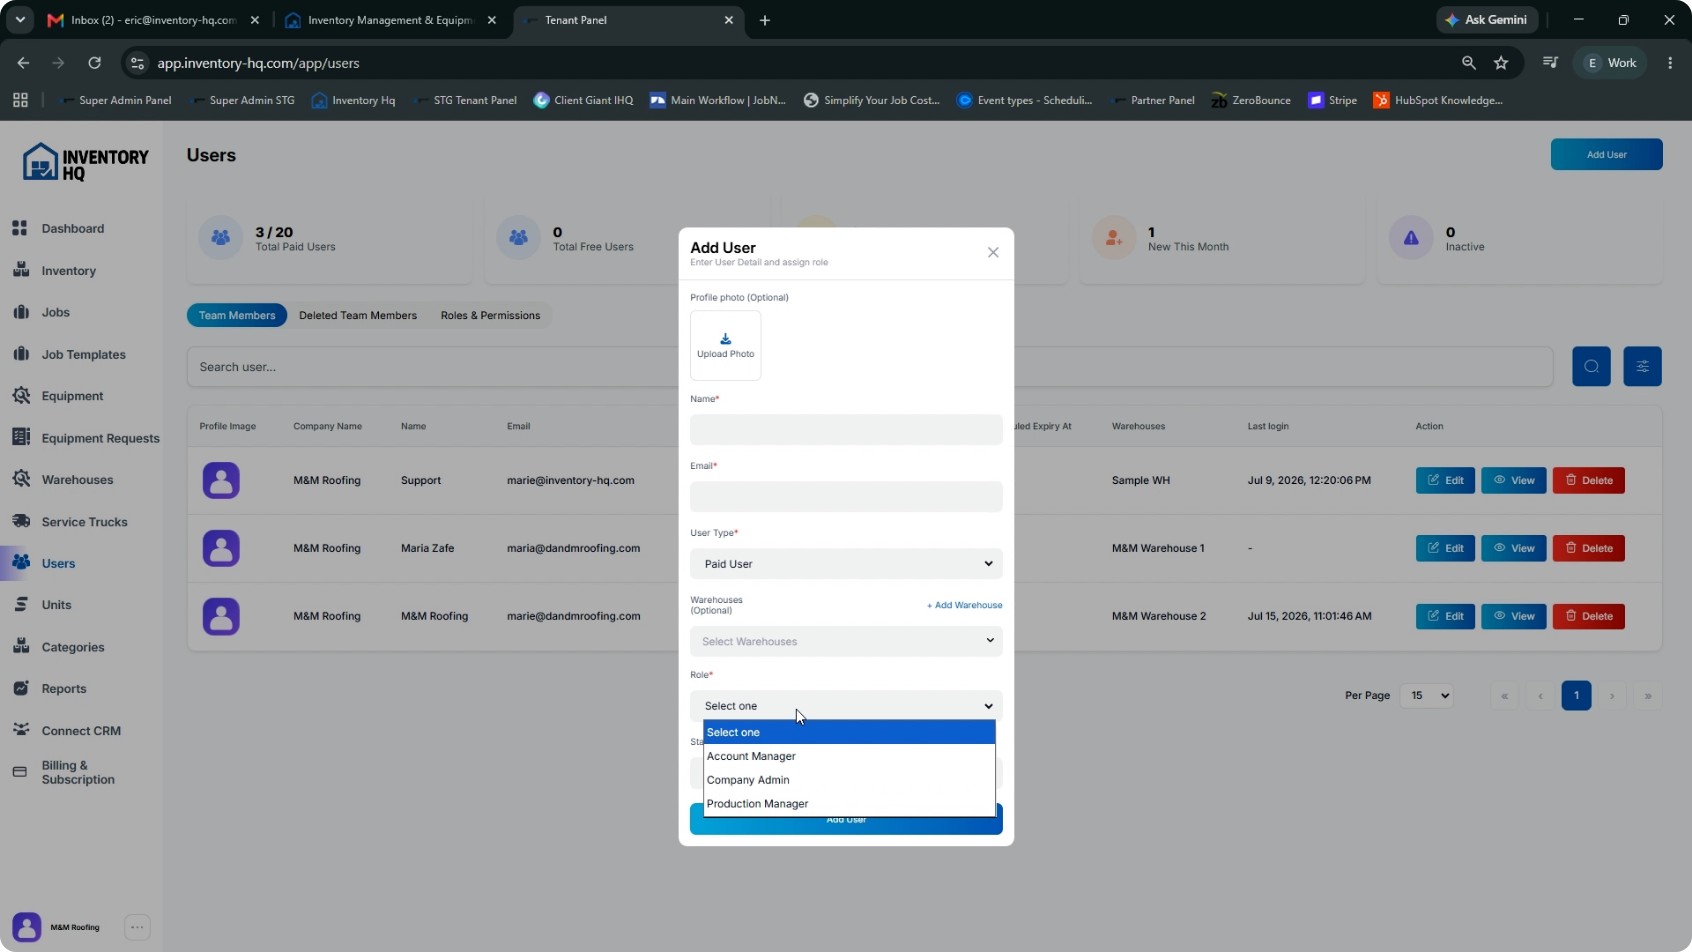
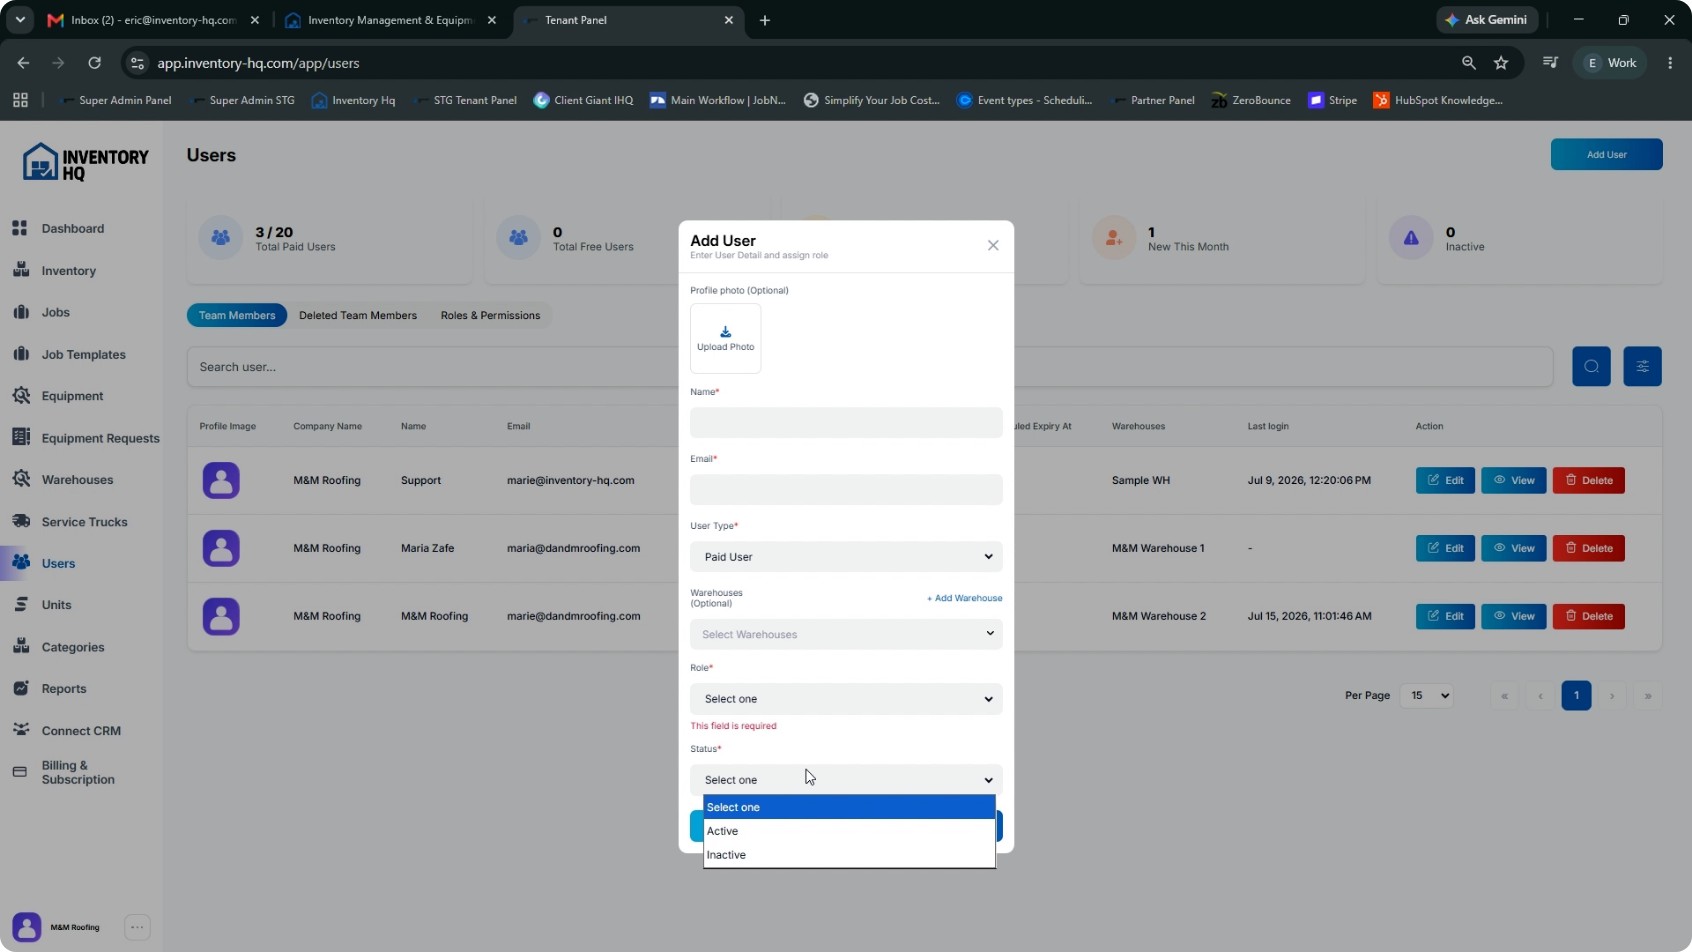
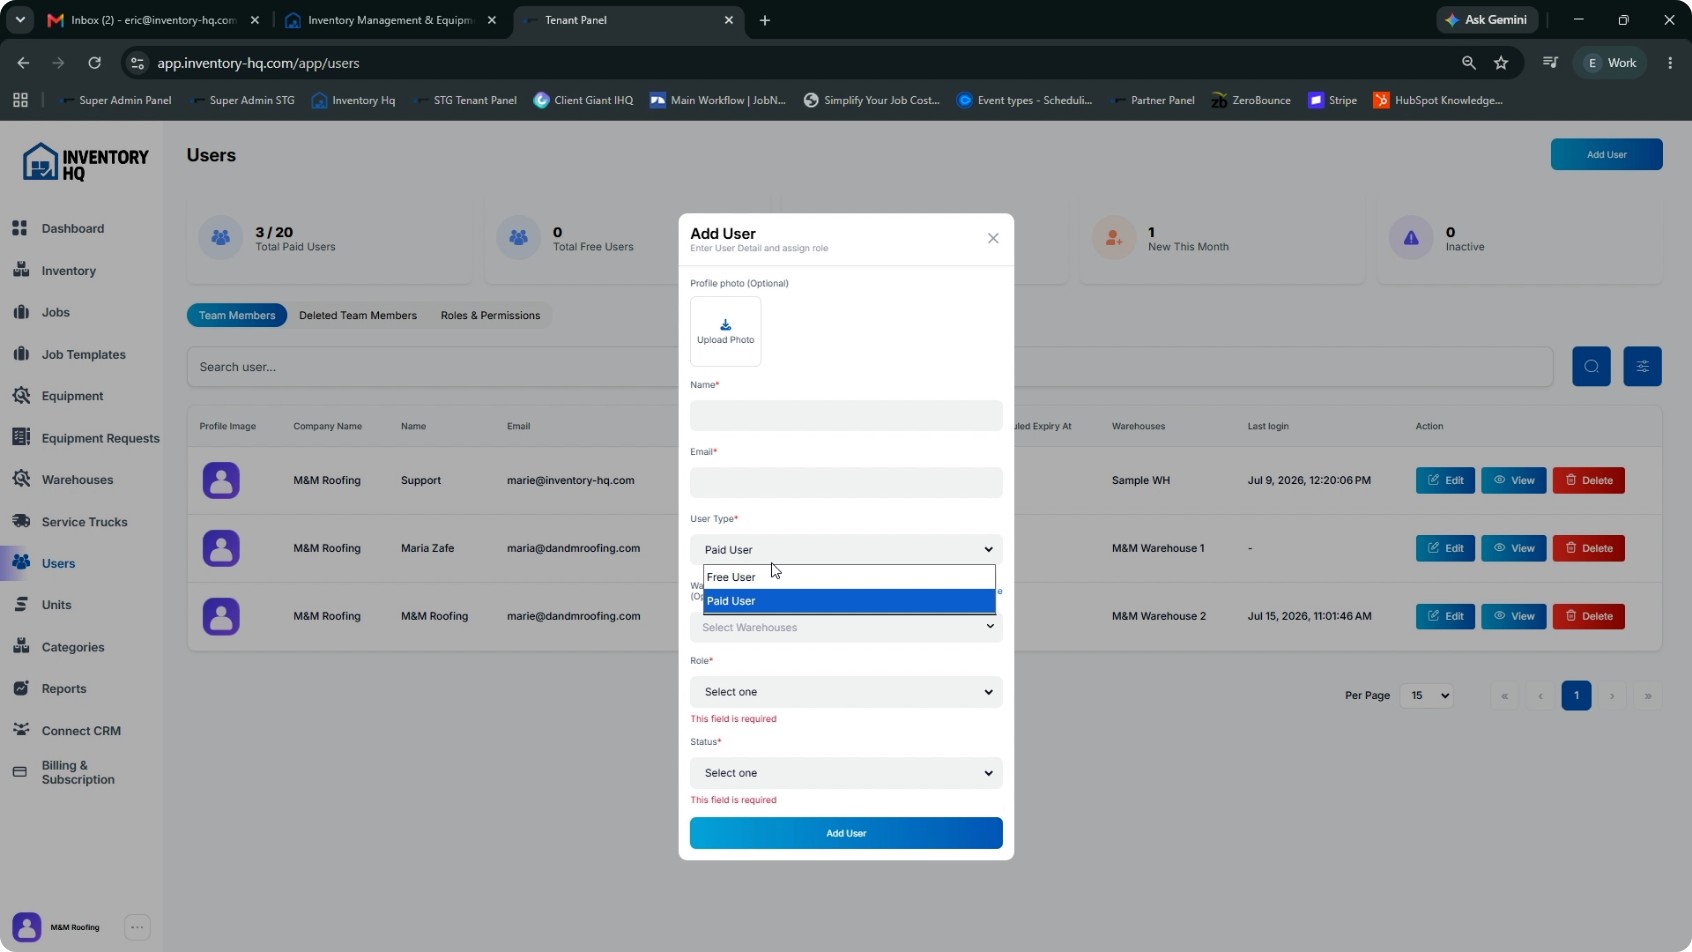
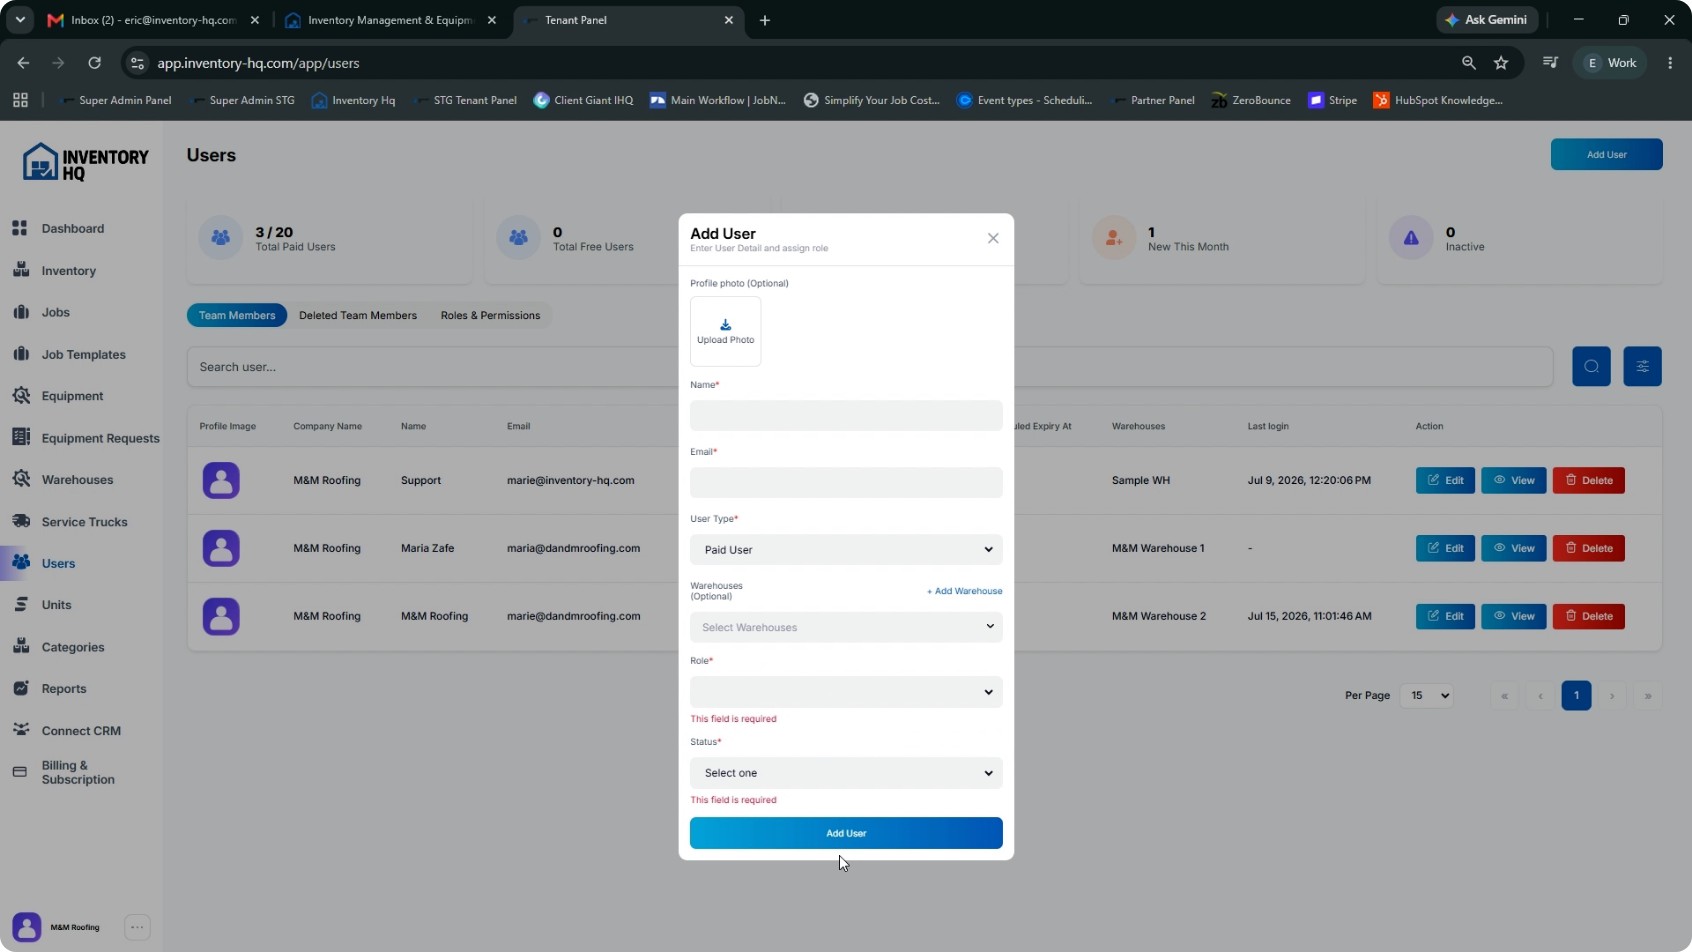
In the side panel, go to Team members. Click Add user. Enter the user’s name and email (their email will be their login). Assign them to their specific warehouse or warehouses, then select the appropriate role. Set their status as Active or Inactive. You will also see a User type field. Paid user: Has access to the inventory side of the platform. They can view stock, pull materials for jobs, and process returns. Anyone who physically touches or manages inventory must be a paid user. Free user (equipment-only user): Restricted to the equipment portion of the app only. They can submit equipment requests, sign items out (e.g., drones, ladders, tablets), and return them, but cannot view or access inventory. Choose whether this user is Paid or Free, and when everything is set, click Add user.
- 4
Set Up Warehouses
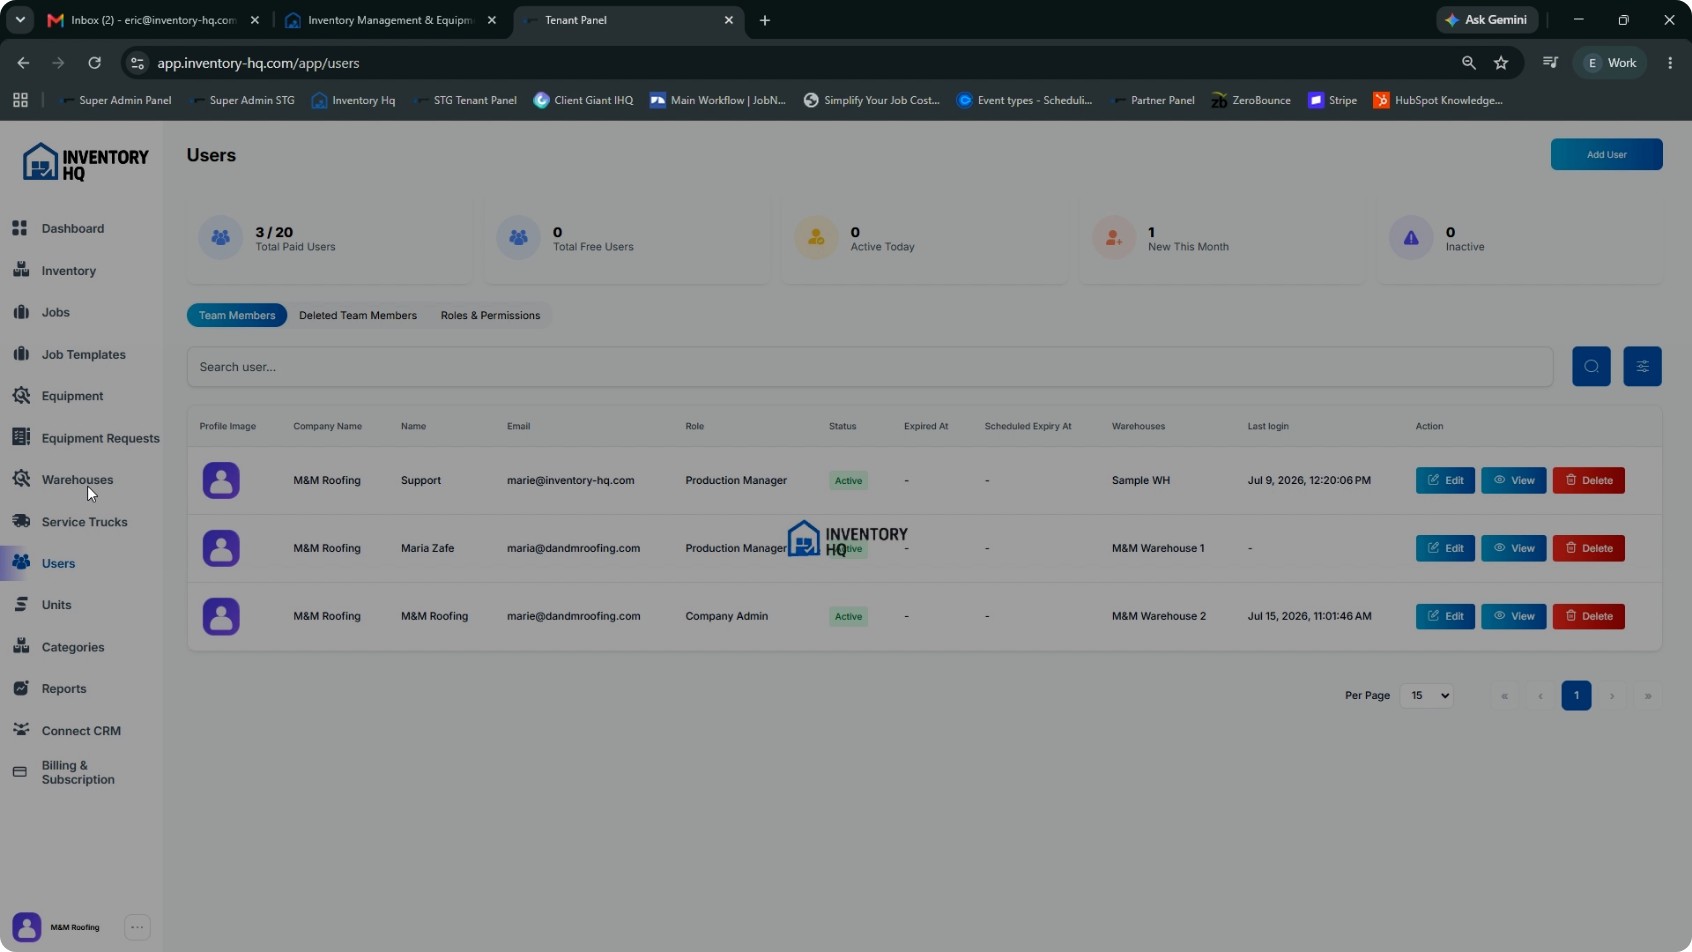
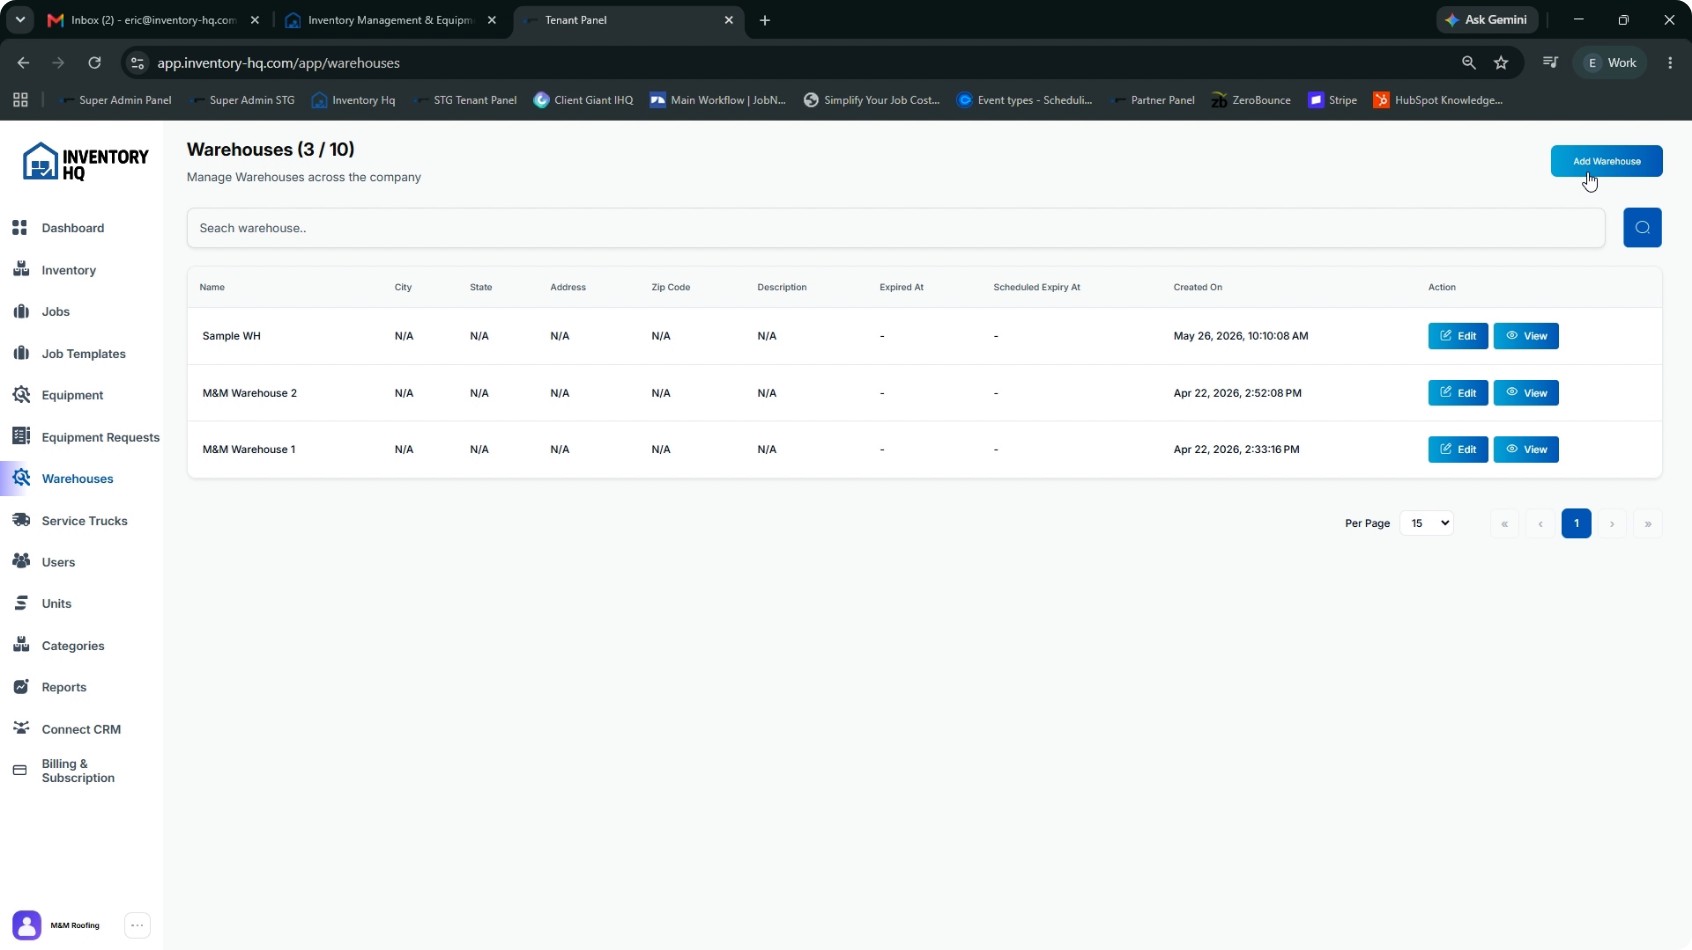
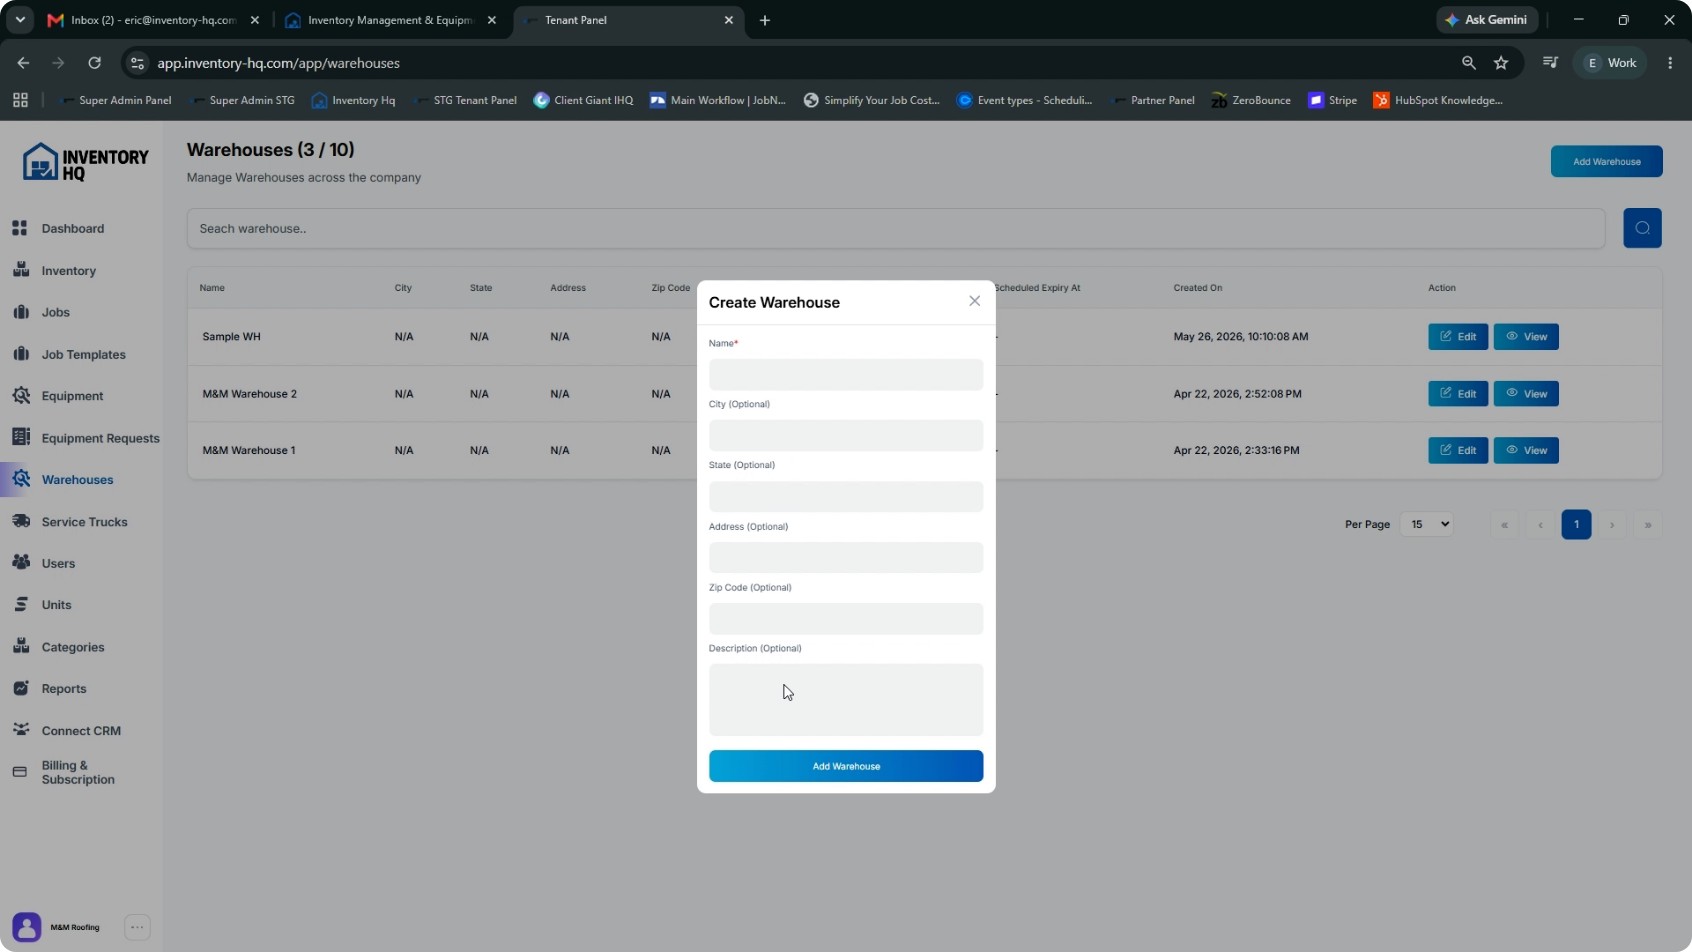
In the side panel, go to Warehouses. Click the Add warehouse button. Enter a clear warehouse name, and optionally add the address details. The header will show how many warehouses your plan includes. Every material you load will be stored in one of these warehouses, so create all required warehouses before touching inventory. When you are finished, click Add warehouse to create it. Your warehouses will now appear throughout the system for selection and reporting.
- 5
Configure Units of Measure
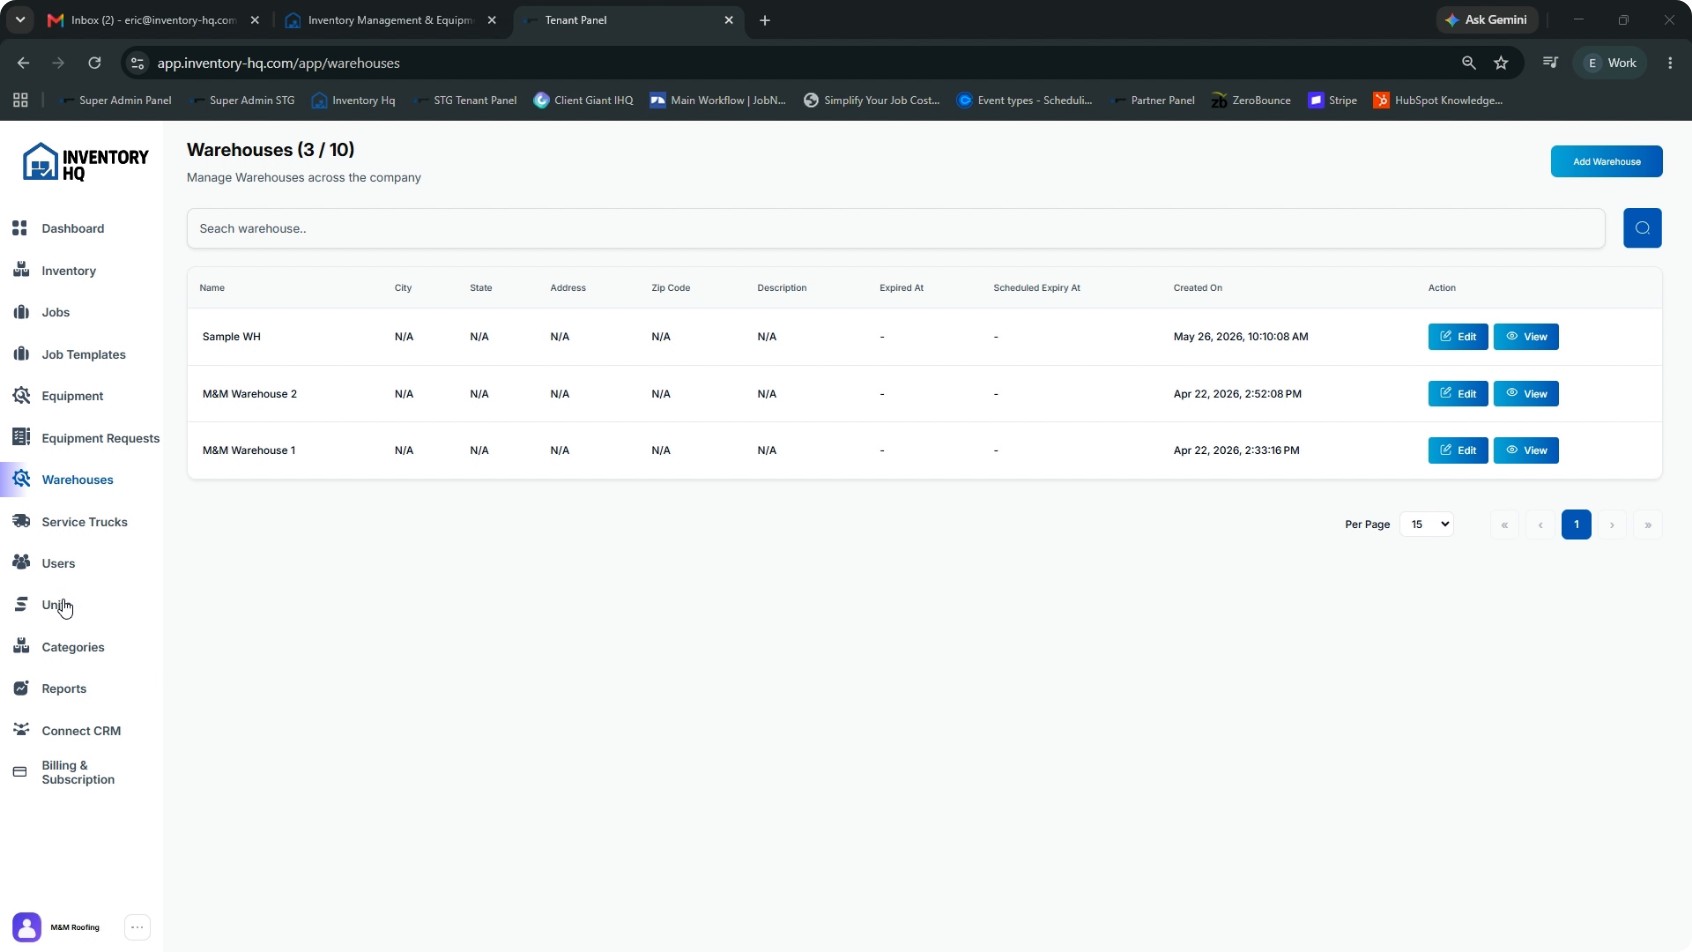
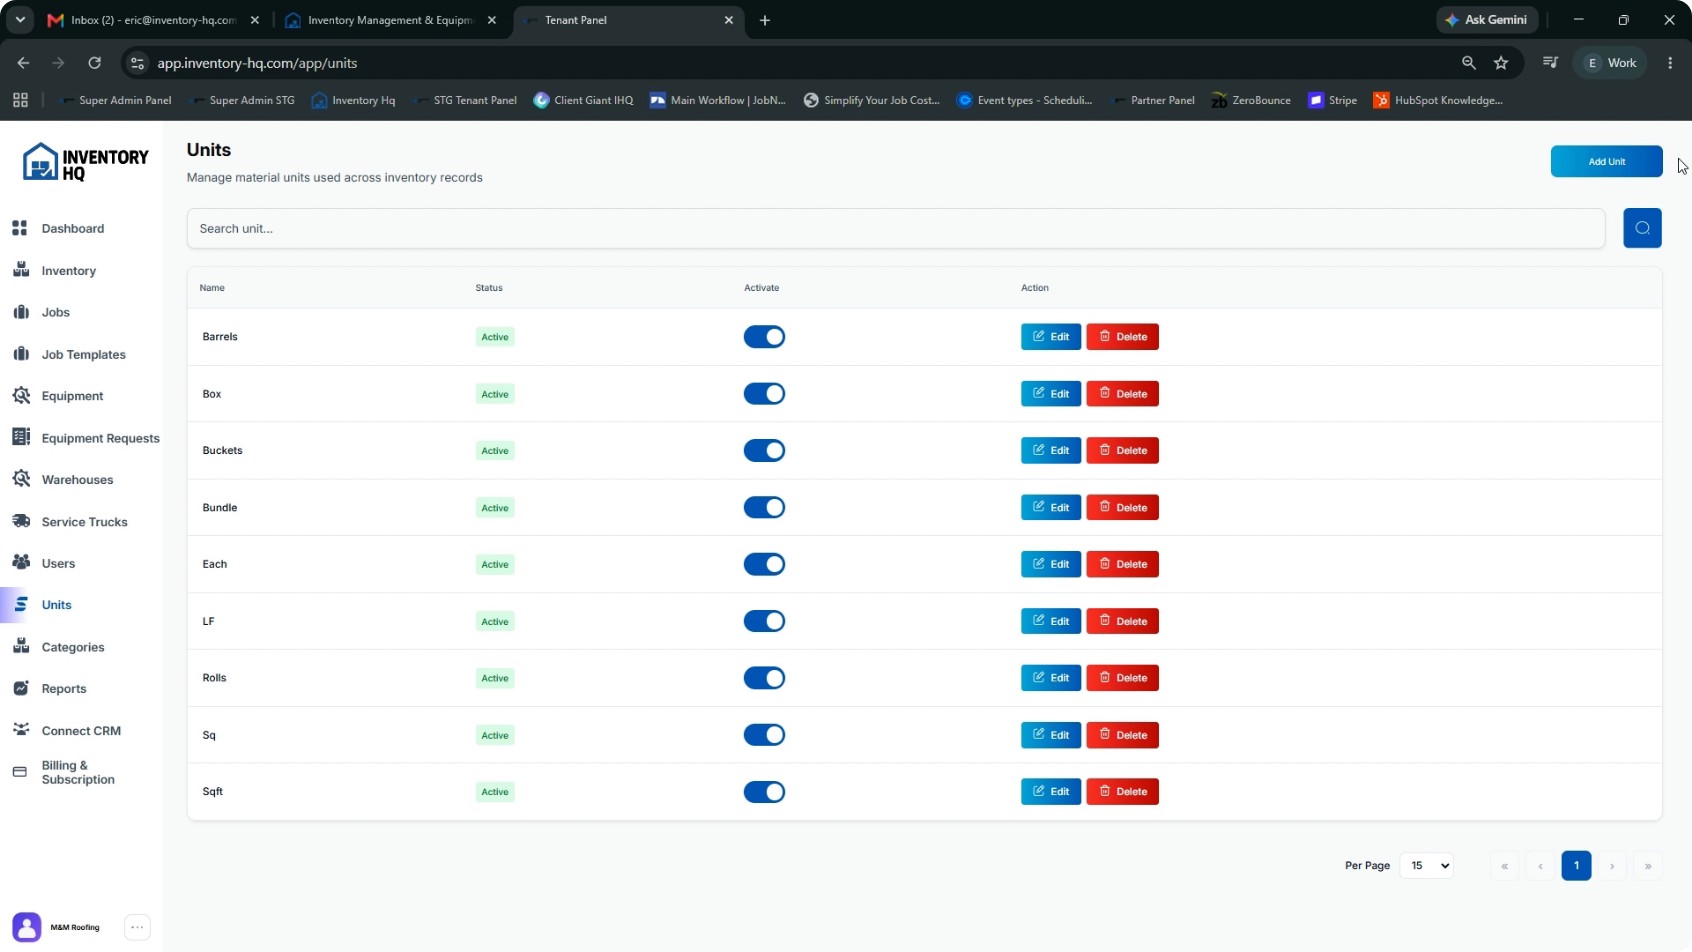
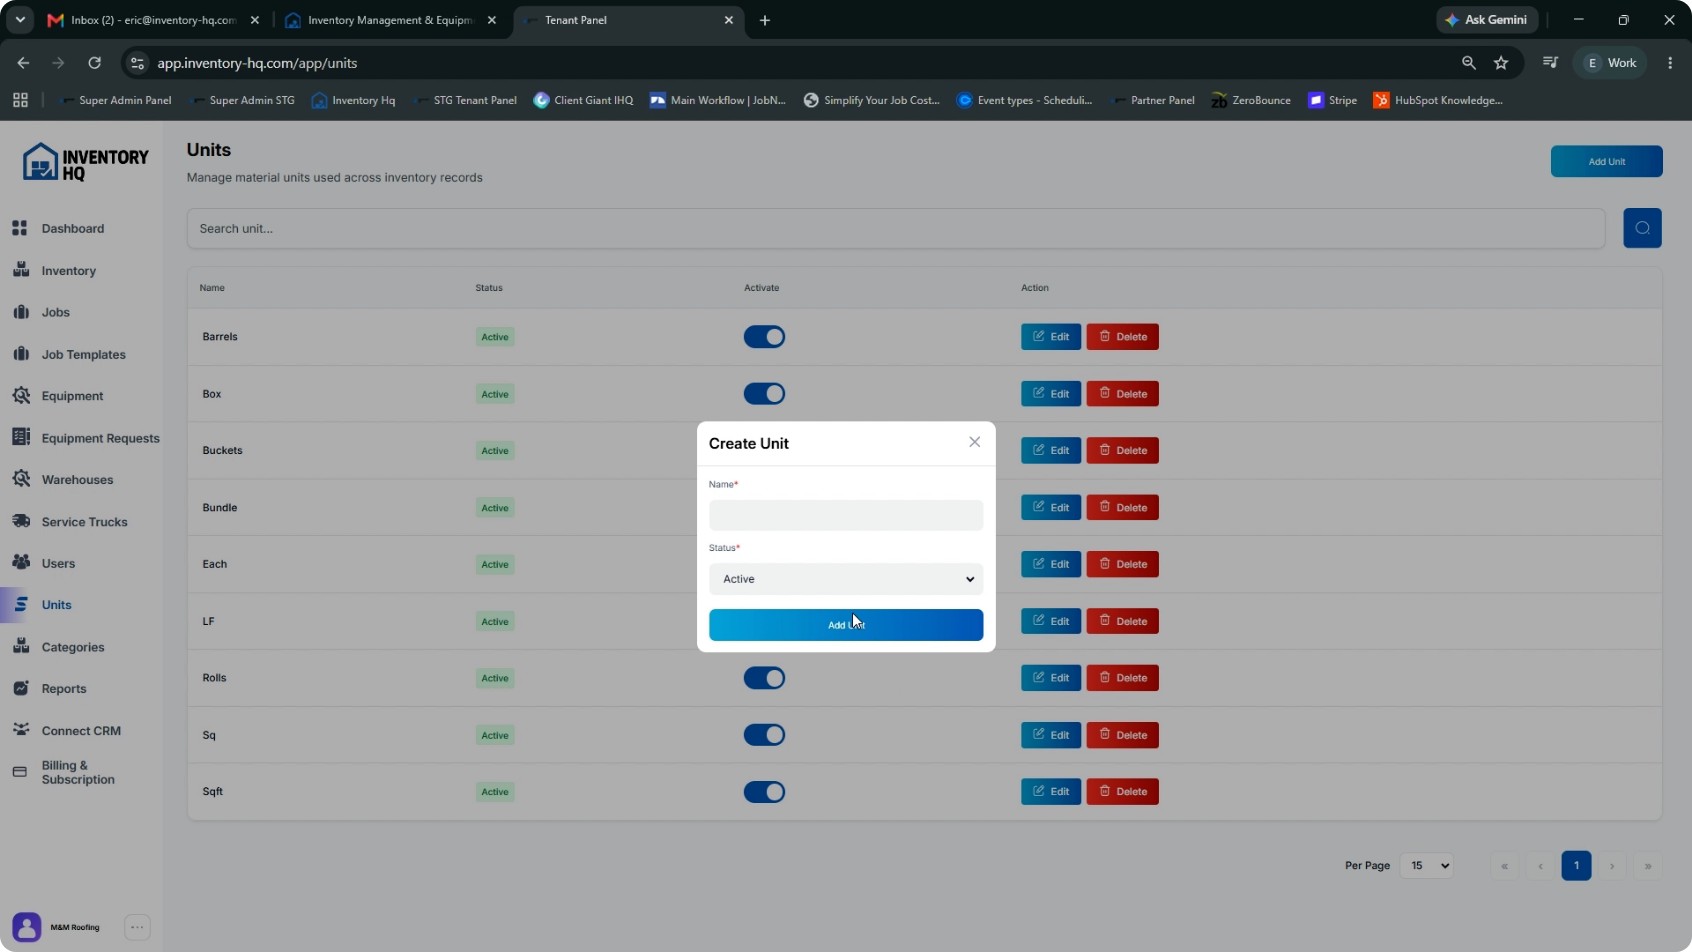
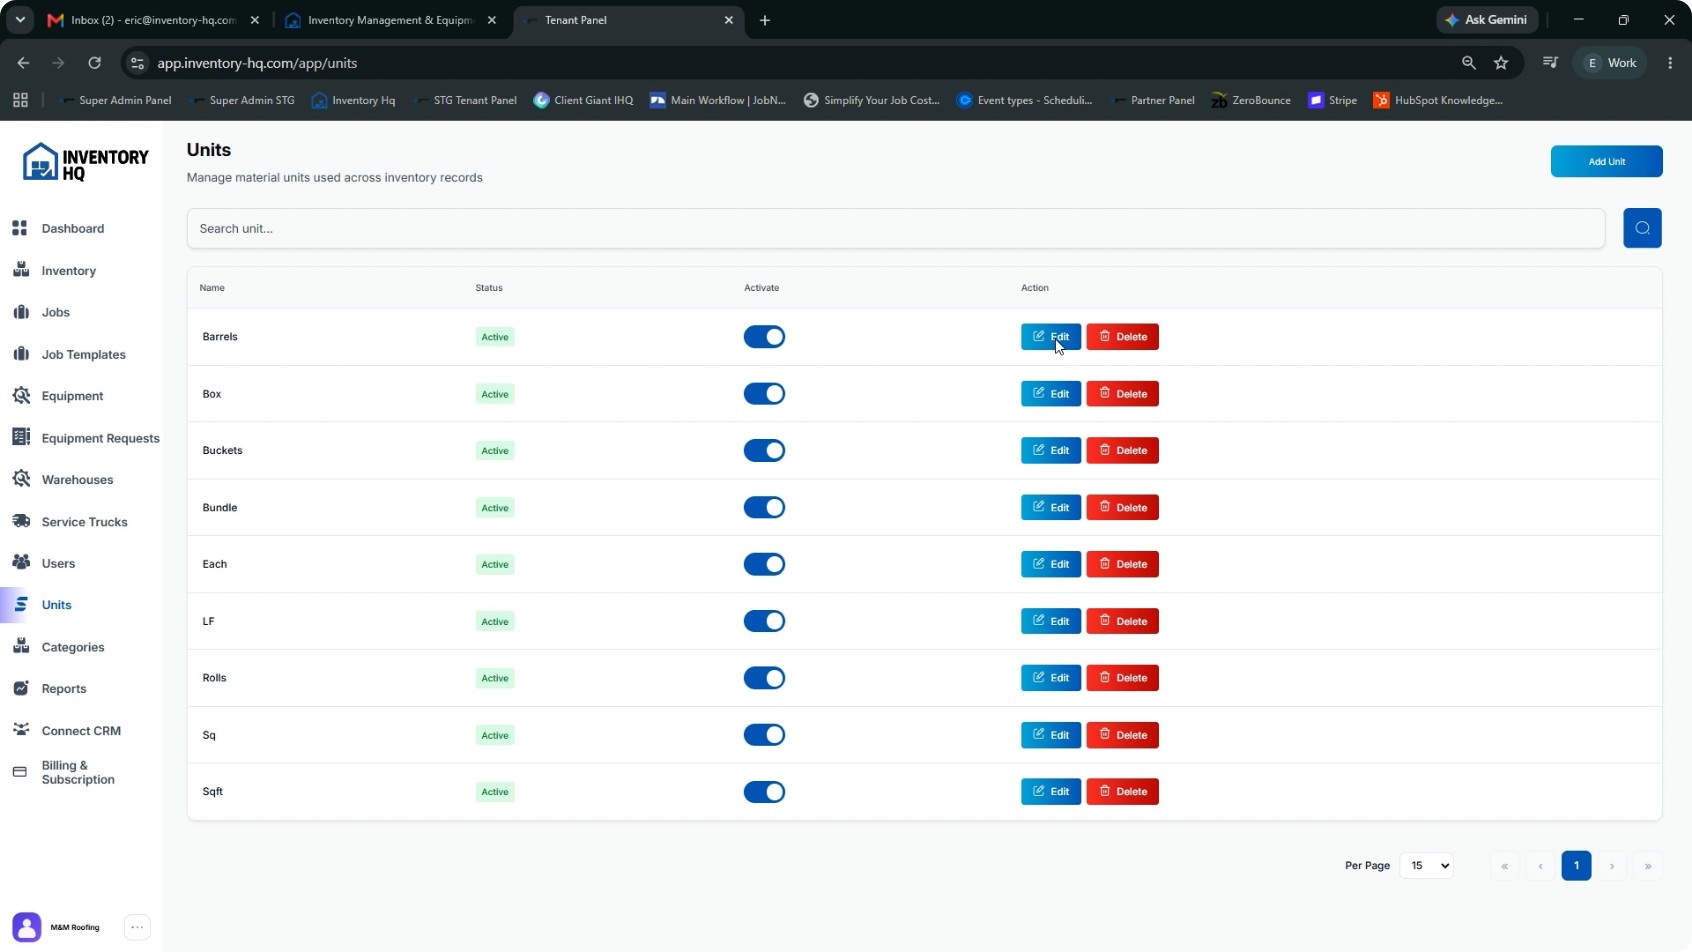
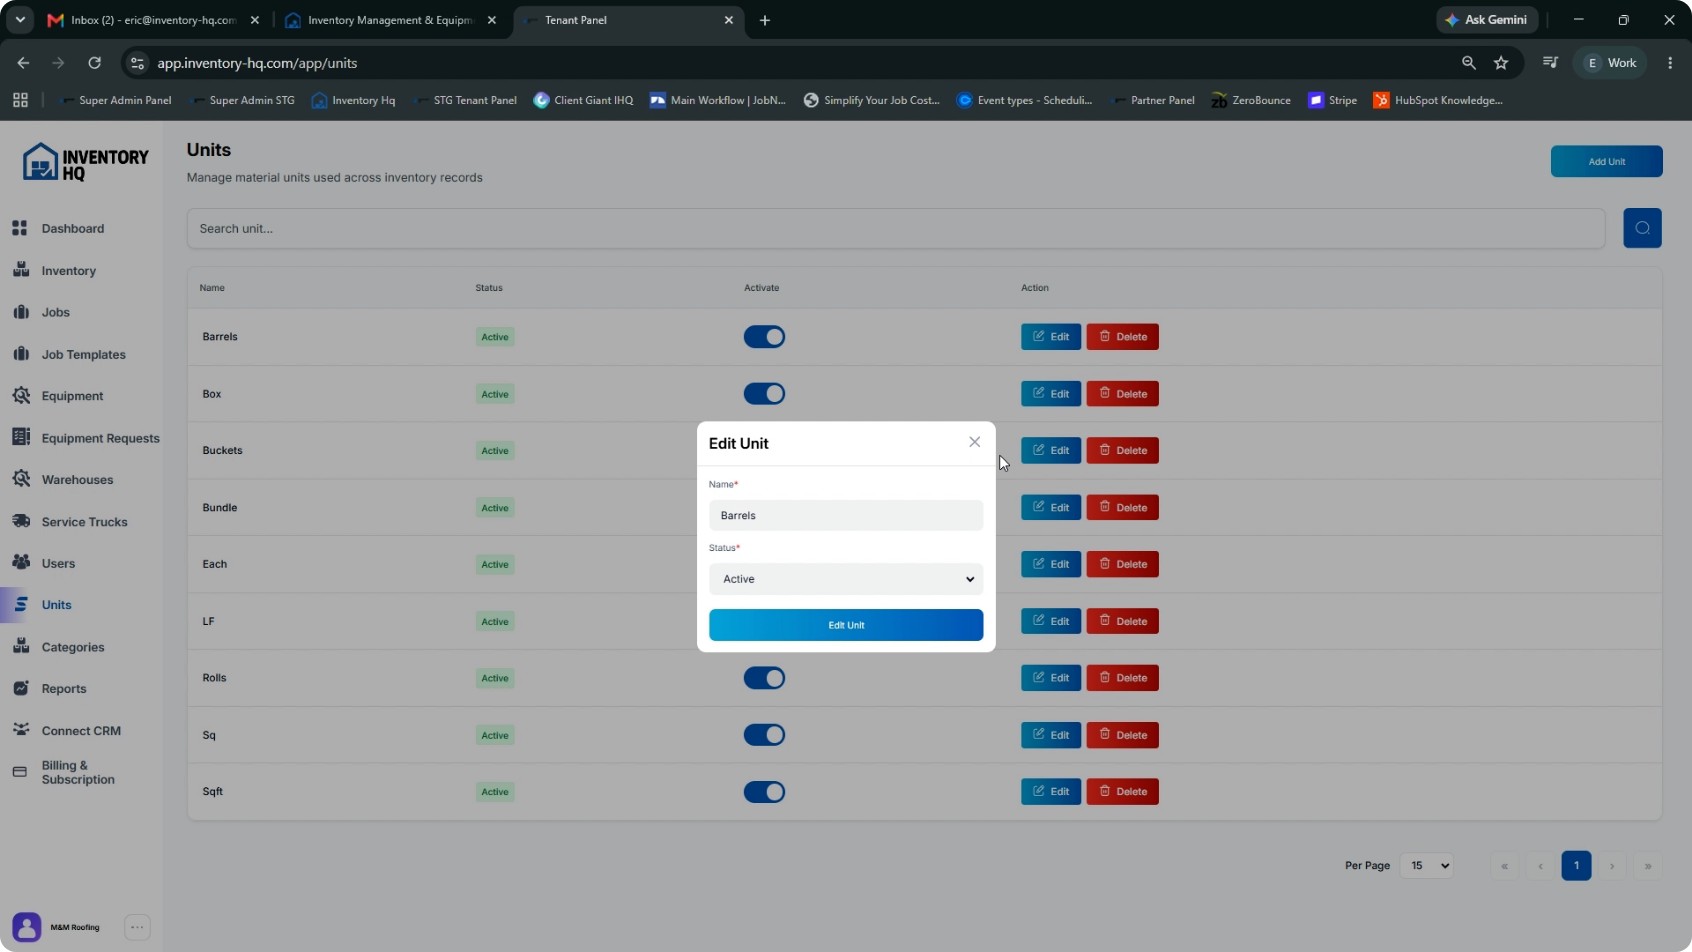
Go to Units. Units represent how your materials are measured (e.g., box, bundle, roll, each, linear feet, squares). The default list covers most common units, and you can add your own with Add unit. If you stop using a unit, deactivate it instead of deleting it, because deleting a unit that has been used can affect existing records. Add any additional units your company uses by selecting or creating them, then mark them as Active. Click Add unit to save the new unit. You can also edit any existing (default) units if needed, then save your changes.
- 6
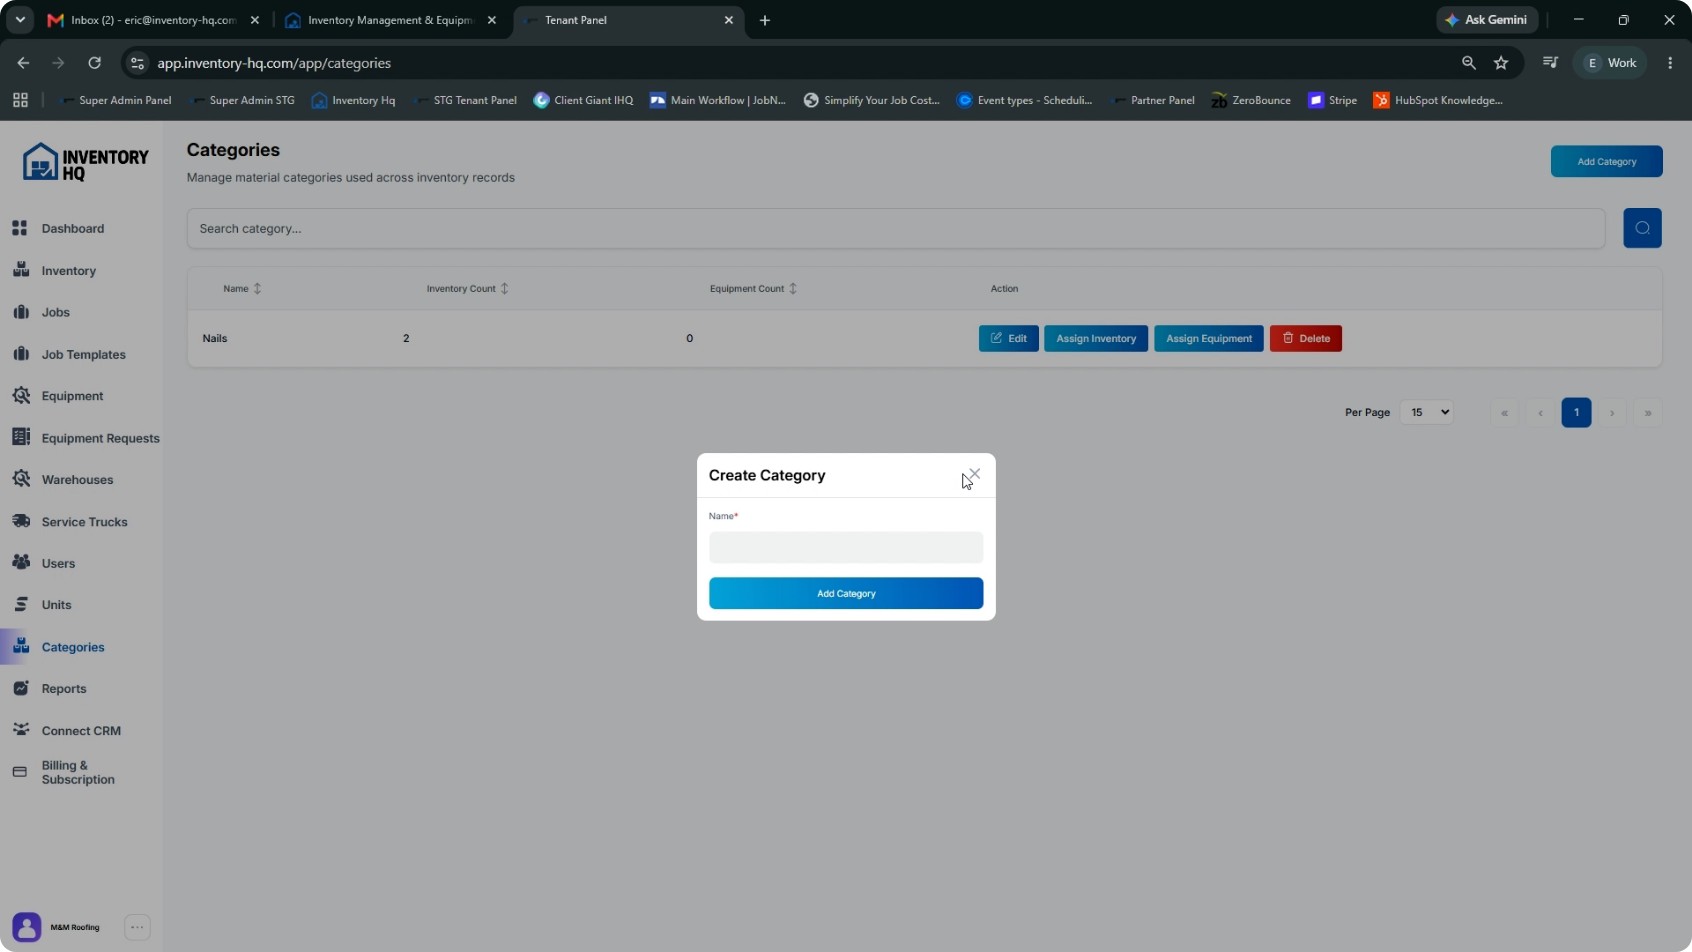
(Optional) Create Categories
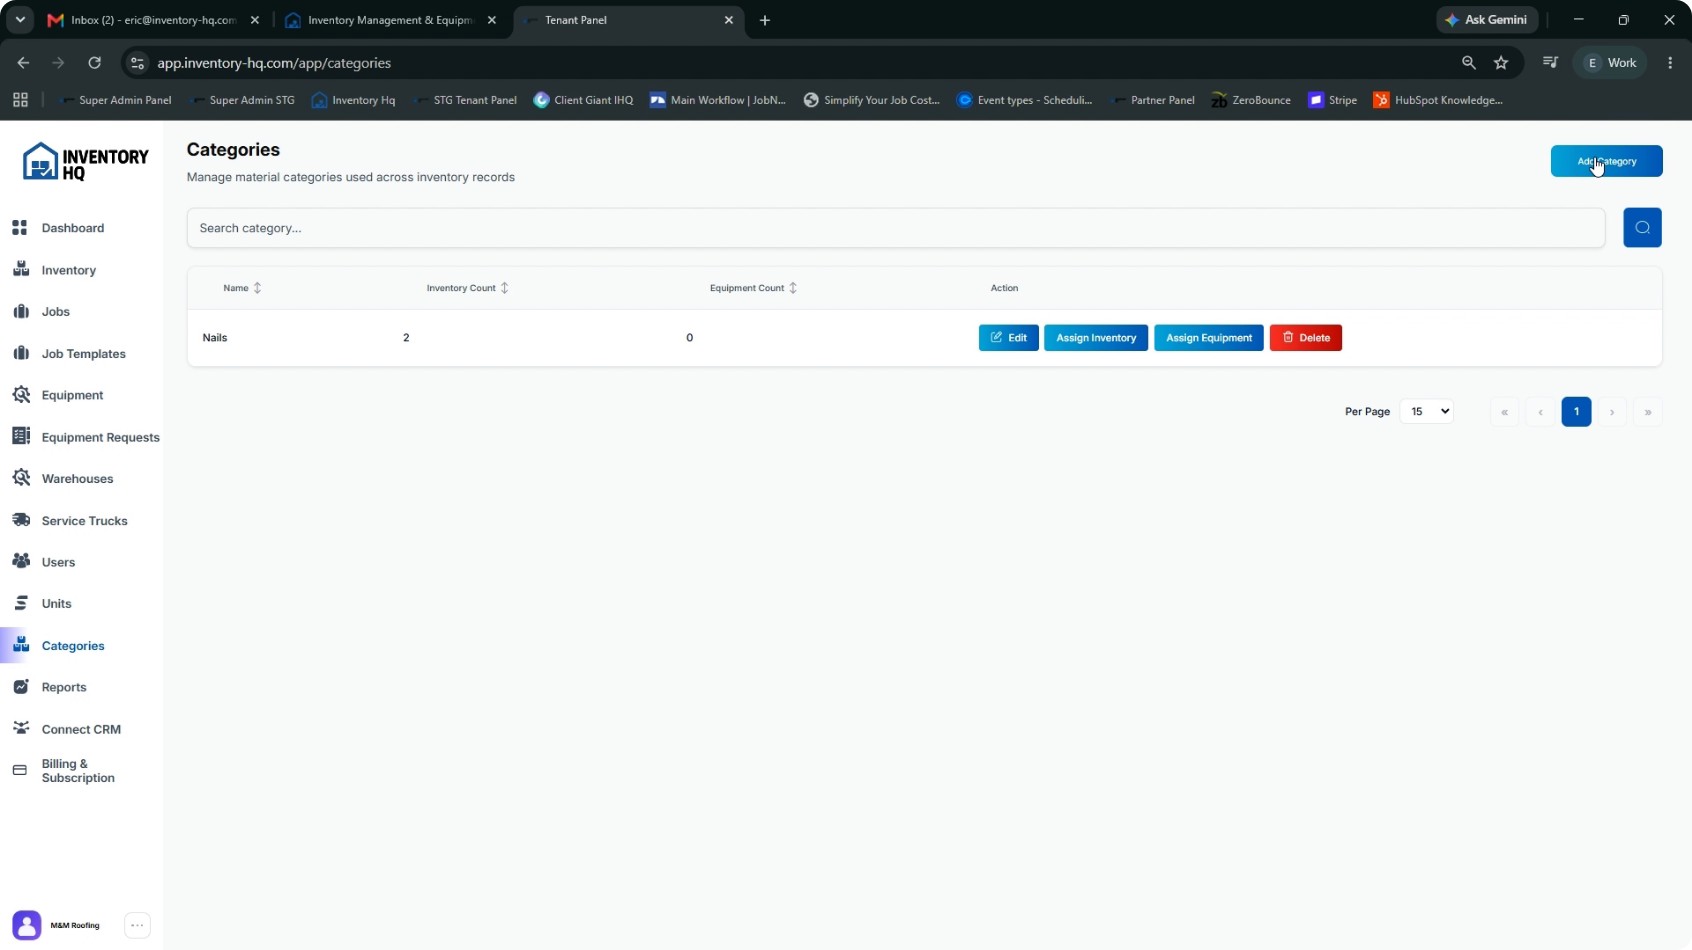
You can optionally set up Categories after configuring units. Categories are grouping labels for your materials and equipment (for example, grouping multiple types of nails under a “Nails” category). You can load inventory even without categories, but categories help with organization and reporting. Click the Add category button. Enter the category name (for example, “Nails” if you have many nail types), then click Add category.
Your foundational setup is now complete: roles and permissions, team members, warehouses, units, and optional categories. You are ready for the next step—loading your inventory.
NEXT TUTORIAL
Inventory HQ Mobile App Overview →