
Inventory HQ Platform Overview
This document provides a high-level tour of the Inventory HQ platform, explaining where key features live and what each section is used for. Use this as a map to understand the dashboard and main sidebar areas before diving into feature-specific videos.
Step by step
- 1
Access Inventory HQ and Log In
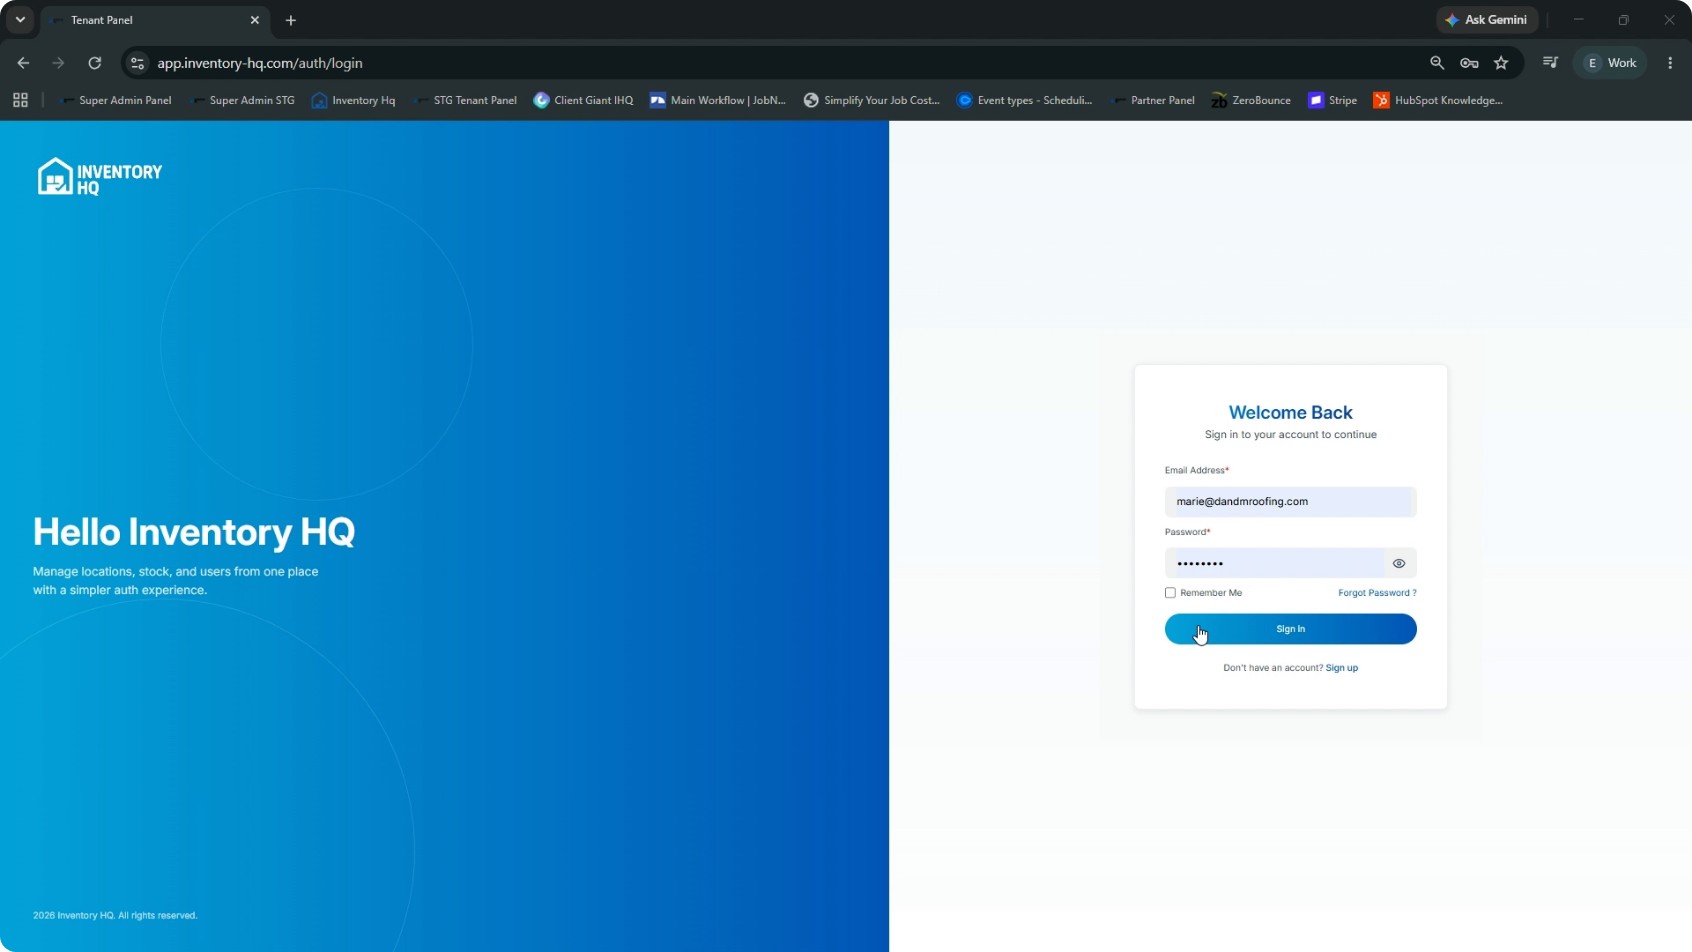
Go to inventory-hq.com in your browser. Log in using the email address and password that your company admin set up for you.
After logging in, you will land directly on the Dashboard. Note that in demos you may see a dummy account where all data and numbers are for testing only.
- 2
Review the Dashboard Summary Cards
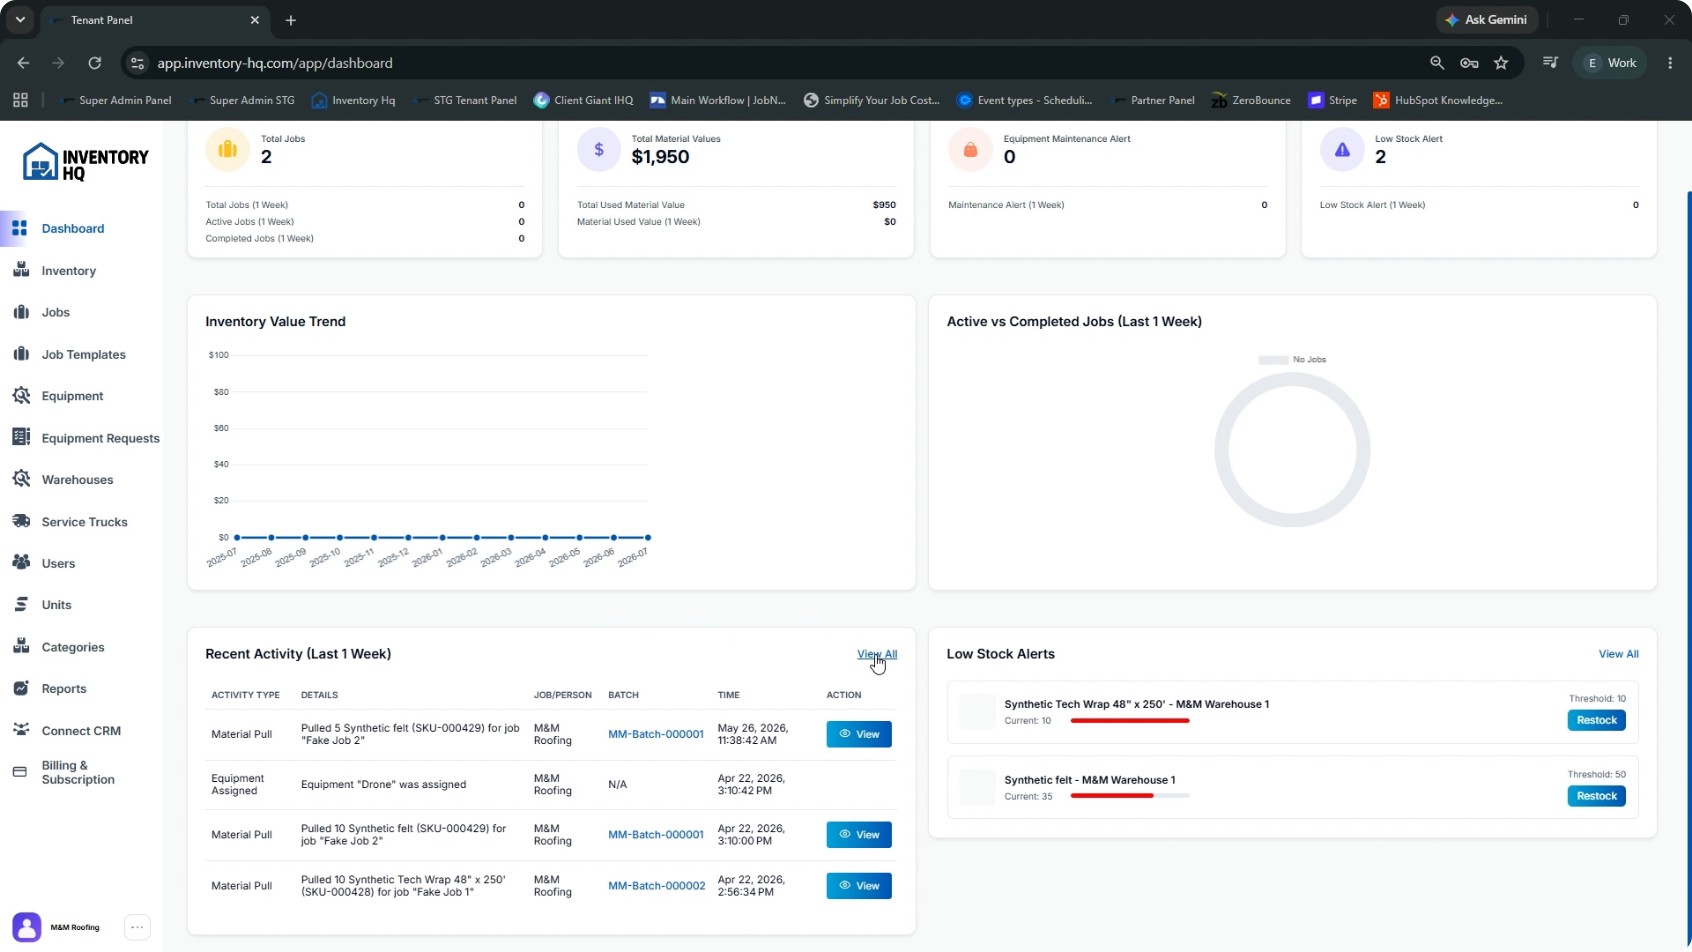
From the Dashboard (your main landing page and command center), review the four summary cards at the top:
- Total Jobs – Shows how many active jobs you currently have, plus a weekly breakdown to see if activity is picking up or slowing down.
- Total Material Value – Displays the combined unit value of all items across all warehouses in a single total.
- Equipment Maintenance Alerts – Flags any equipment that needs attention, so issues are caught before a field team member needs the equipment.
- Low Stock Alerts – Lists items that have dropped below their minimum threshold so you can restock before jobs are delayed.
A quick glance at these cards gives you an immediate snapshot of operations.
- 3
Analyze Inventory Trends and Job Status
Scroll down the Dashboard to see additional visual summaries: Inventory Value Trend – A line chart showing how your total inventory value has changed over time. Active vs. Completed Jobs – A donut chart showing the weekly split between active and completed jobs so you can see what’s still in progress versus what’s done. Below these charts is the Recent Activity feed, which logs every material pull, return, and movement in real time. To see the full historical log, click View all. On the right side, review the Low Stock Alerts panel, which lists:
- Each item below its threshold
- Current quantity
- Configured threshold
- A Restock button so you can act immediately
Use View all from this panel if you want to filter or export the low-stock list.
- 4
Explore the Inventory Section
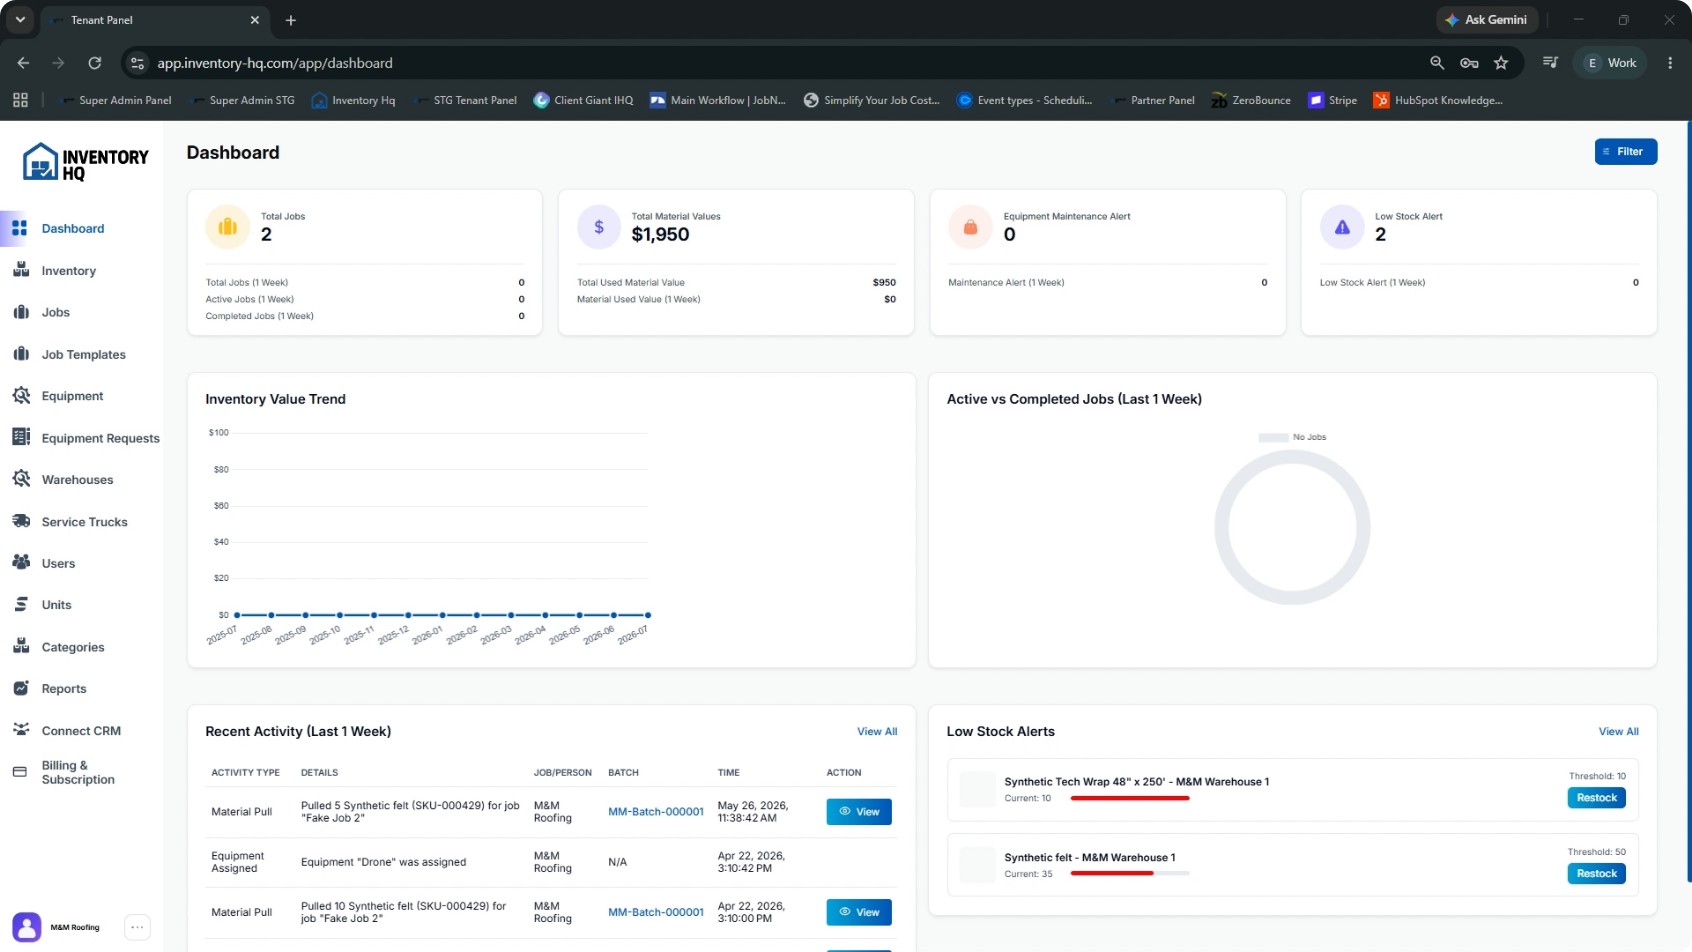
Open the Inventory tab from the left sidebar. In this section you can:
- View every material you stock across all locations
- See stock levels and minimum stock alerts
- Add new materials
- Restock existing items
- Organize and manage your catalog
- 5
Manage Jobs and Job Templates
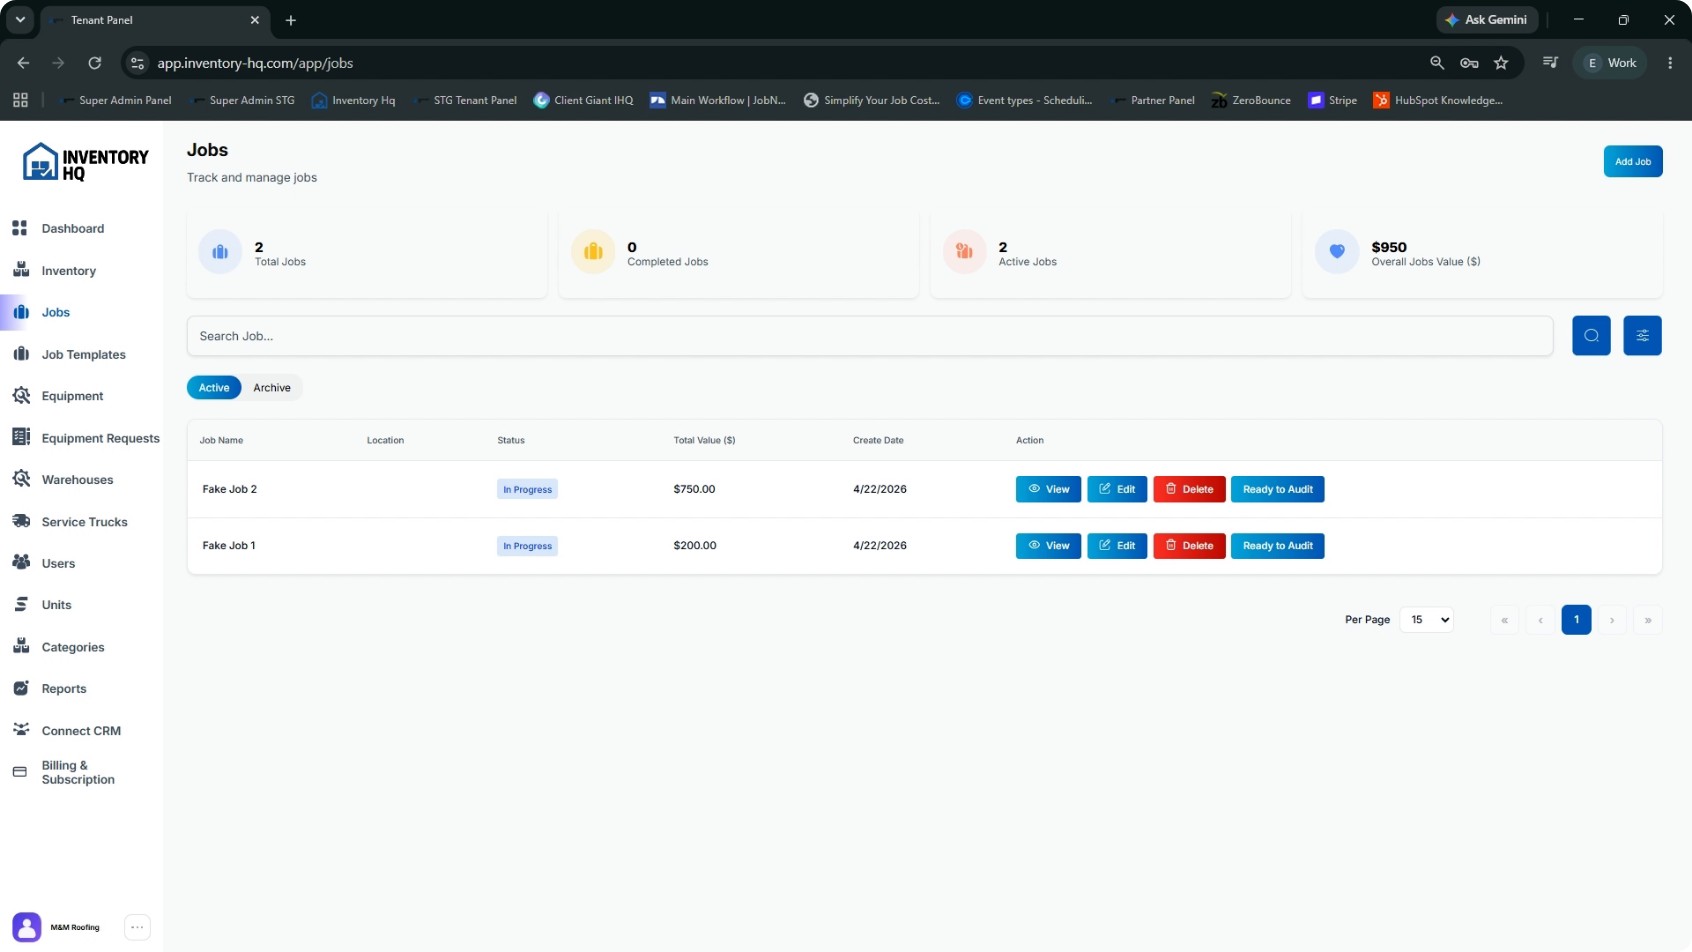
Select the Jobs tab in the sidebar. Here you can:
- View every active and past job
- Assign materials to jobs
- Pull and return materials
- Automatically build up job costs as materials are used
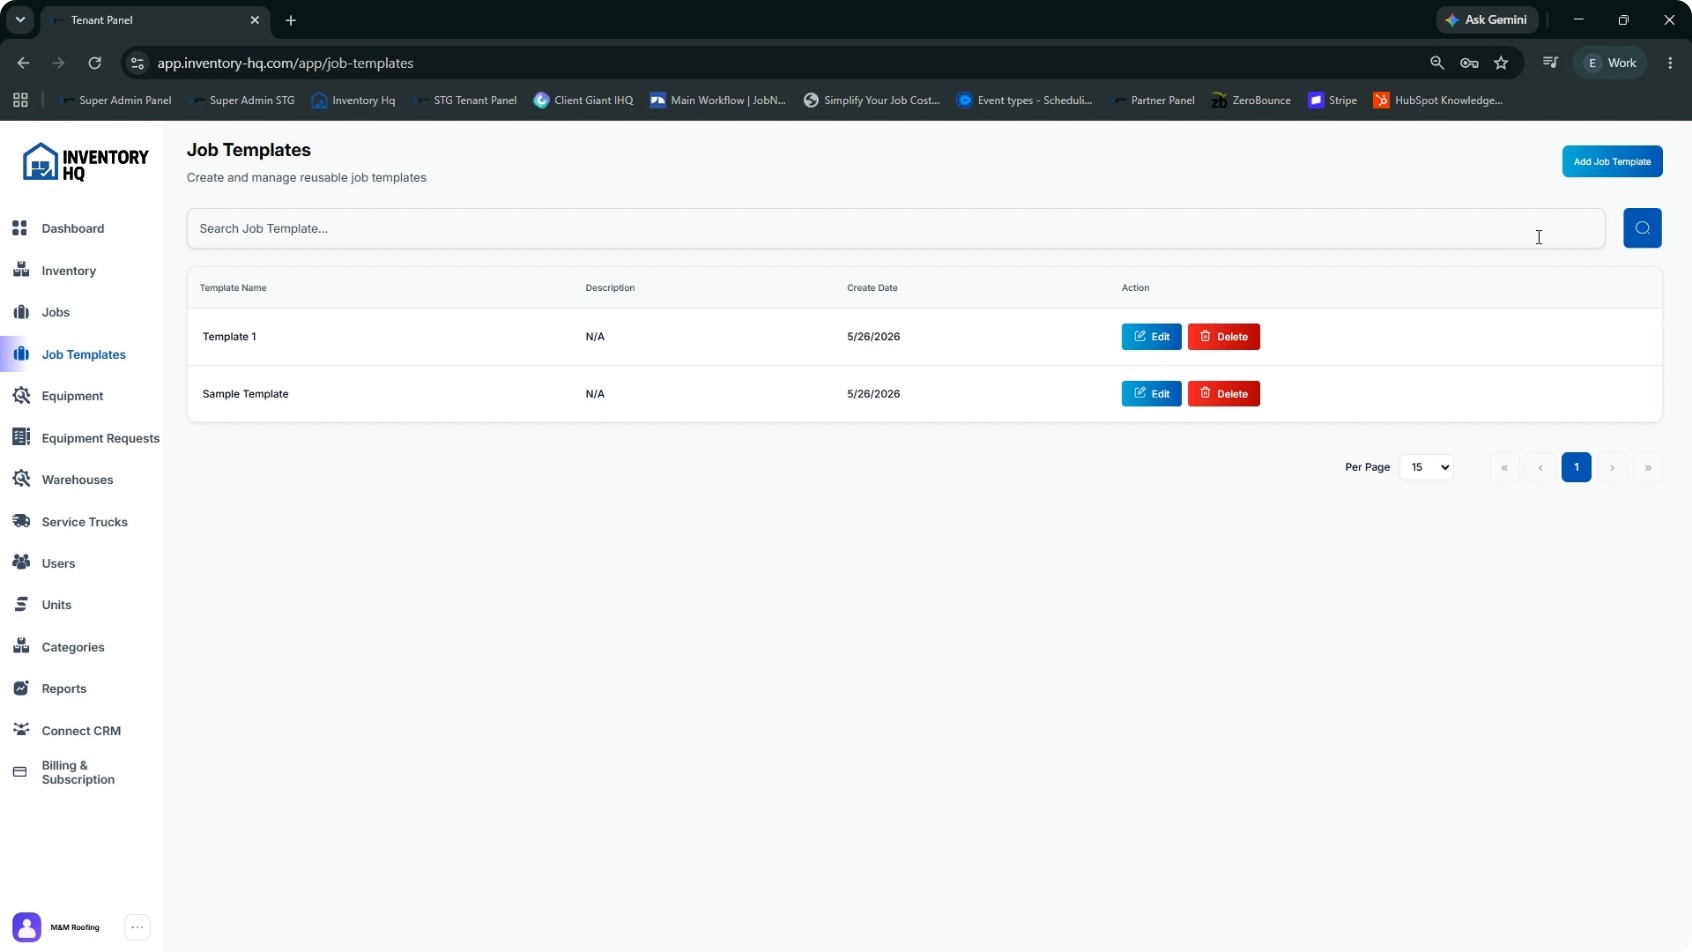
Next, open Job Templates. Job templates allow you to save standard material lists for recurring job types, so crews don’t have to rebuild the same list repeatedly. Set up a template once for a job type, then apply it to any new job to speed up setup and keep material usage consistent.
- 6
Track Equipment and Equipment Requests
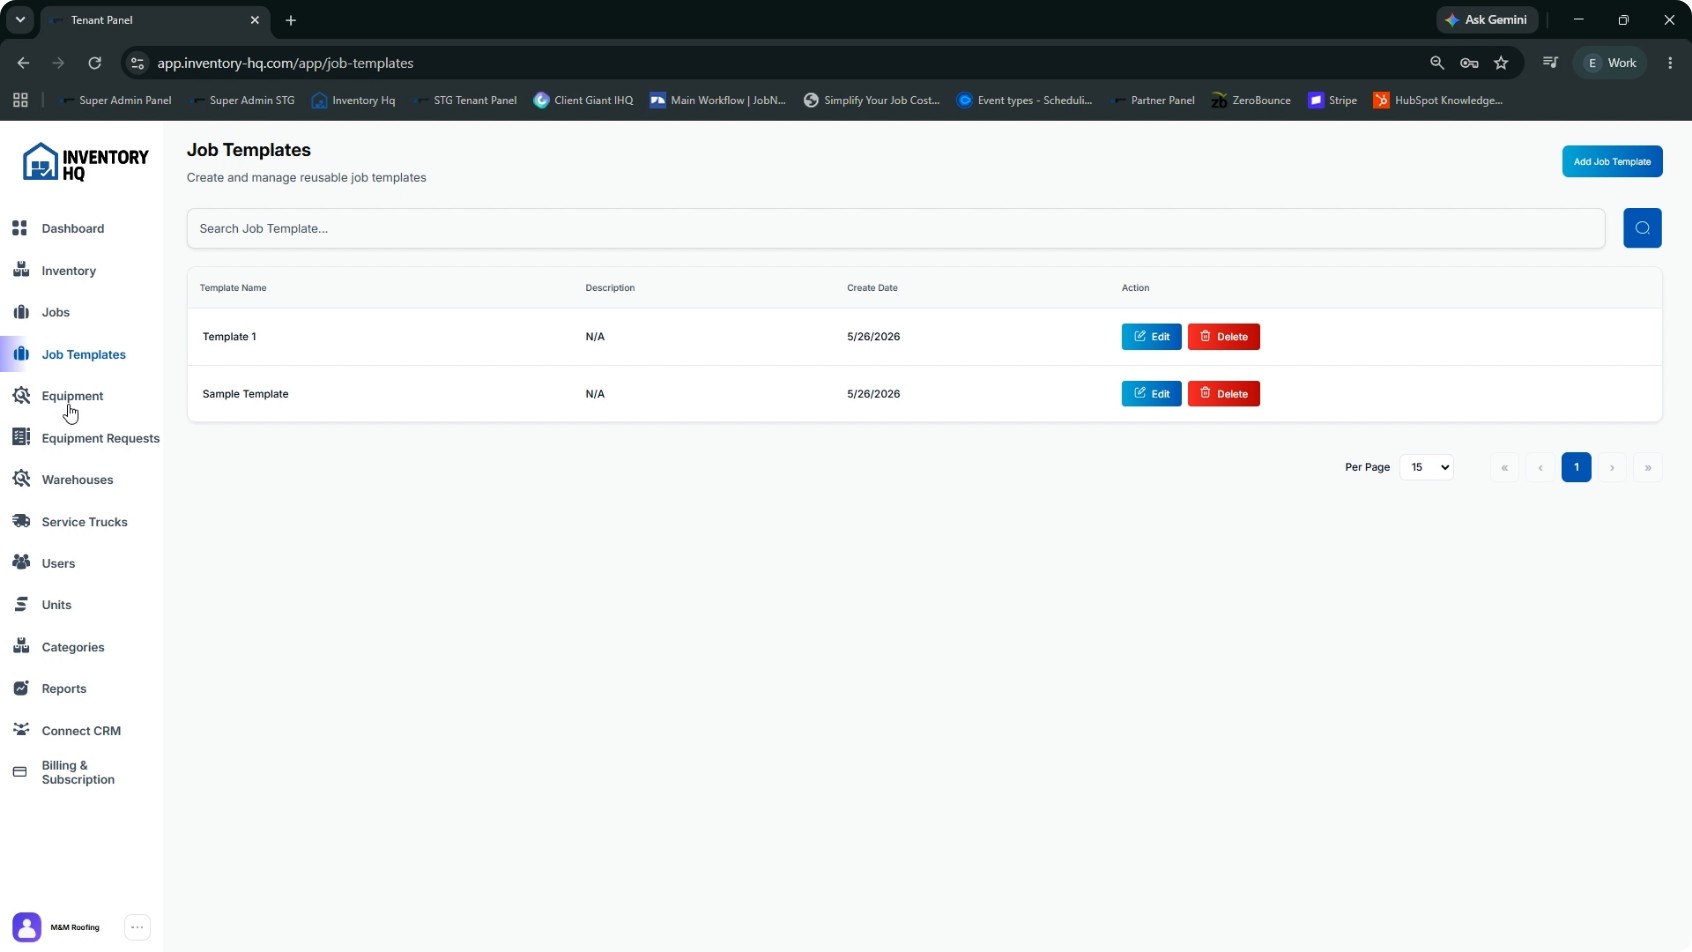
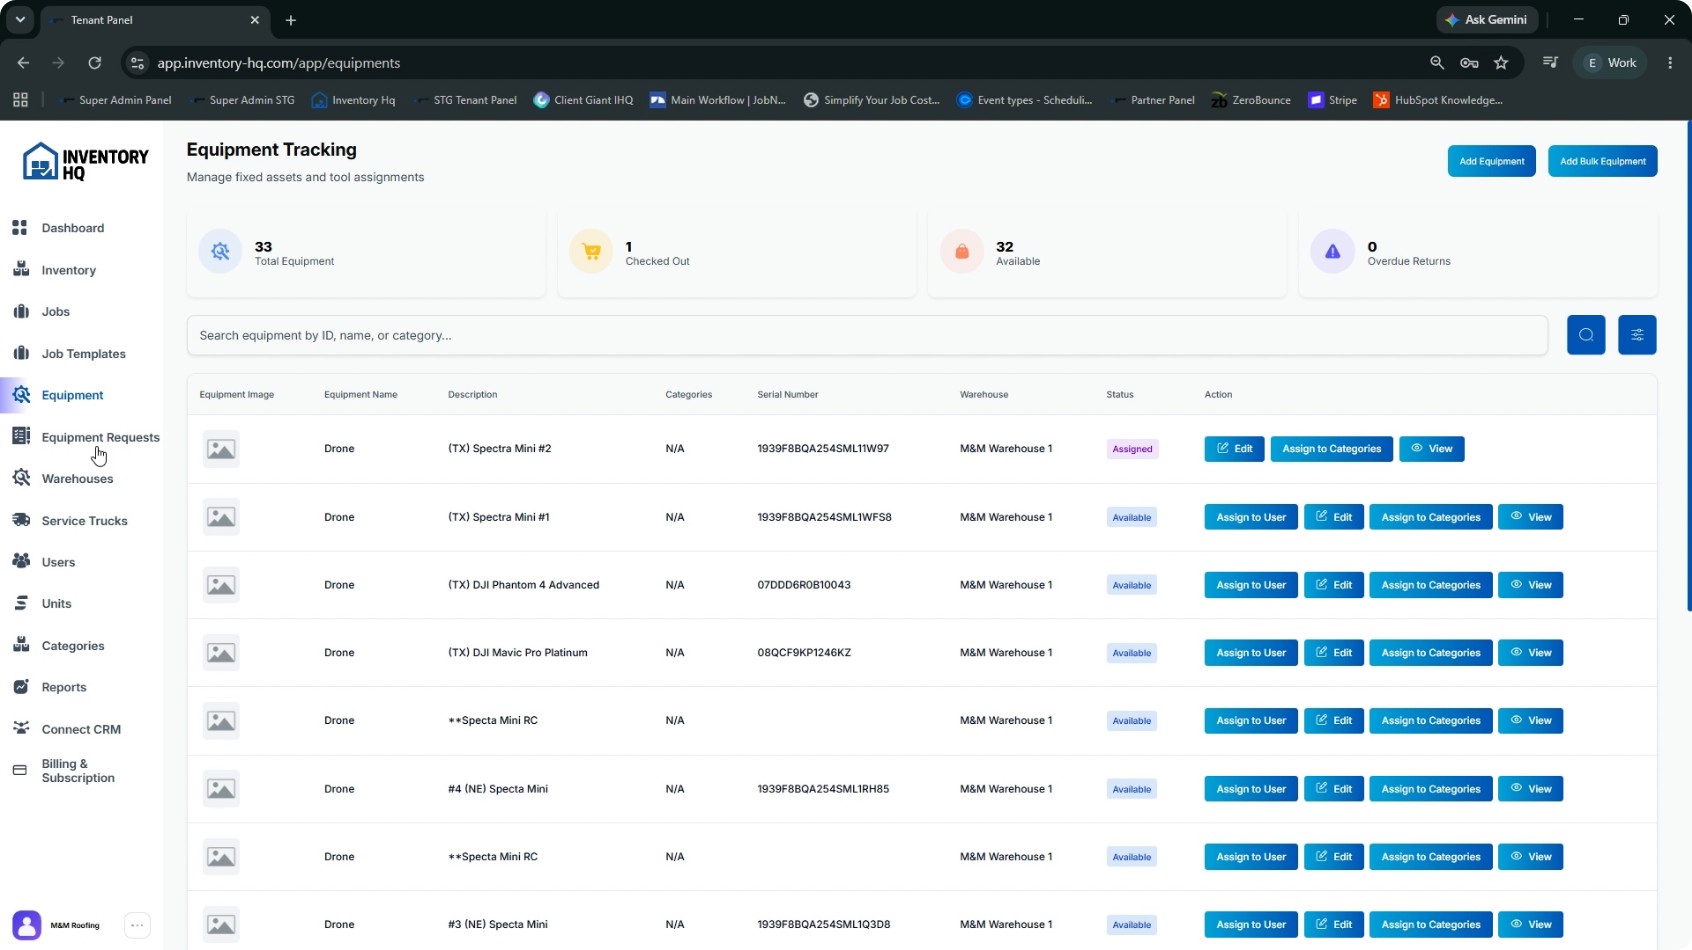
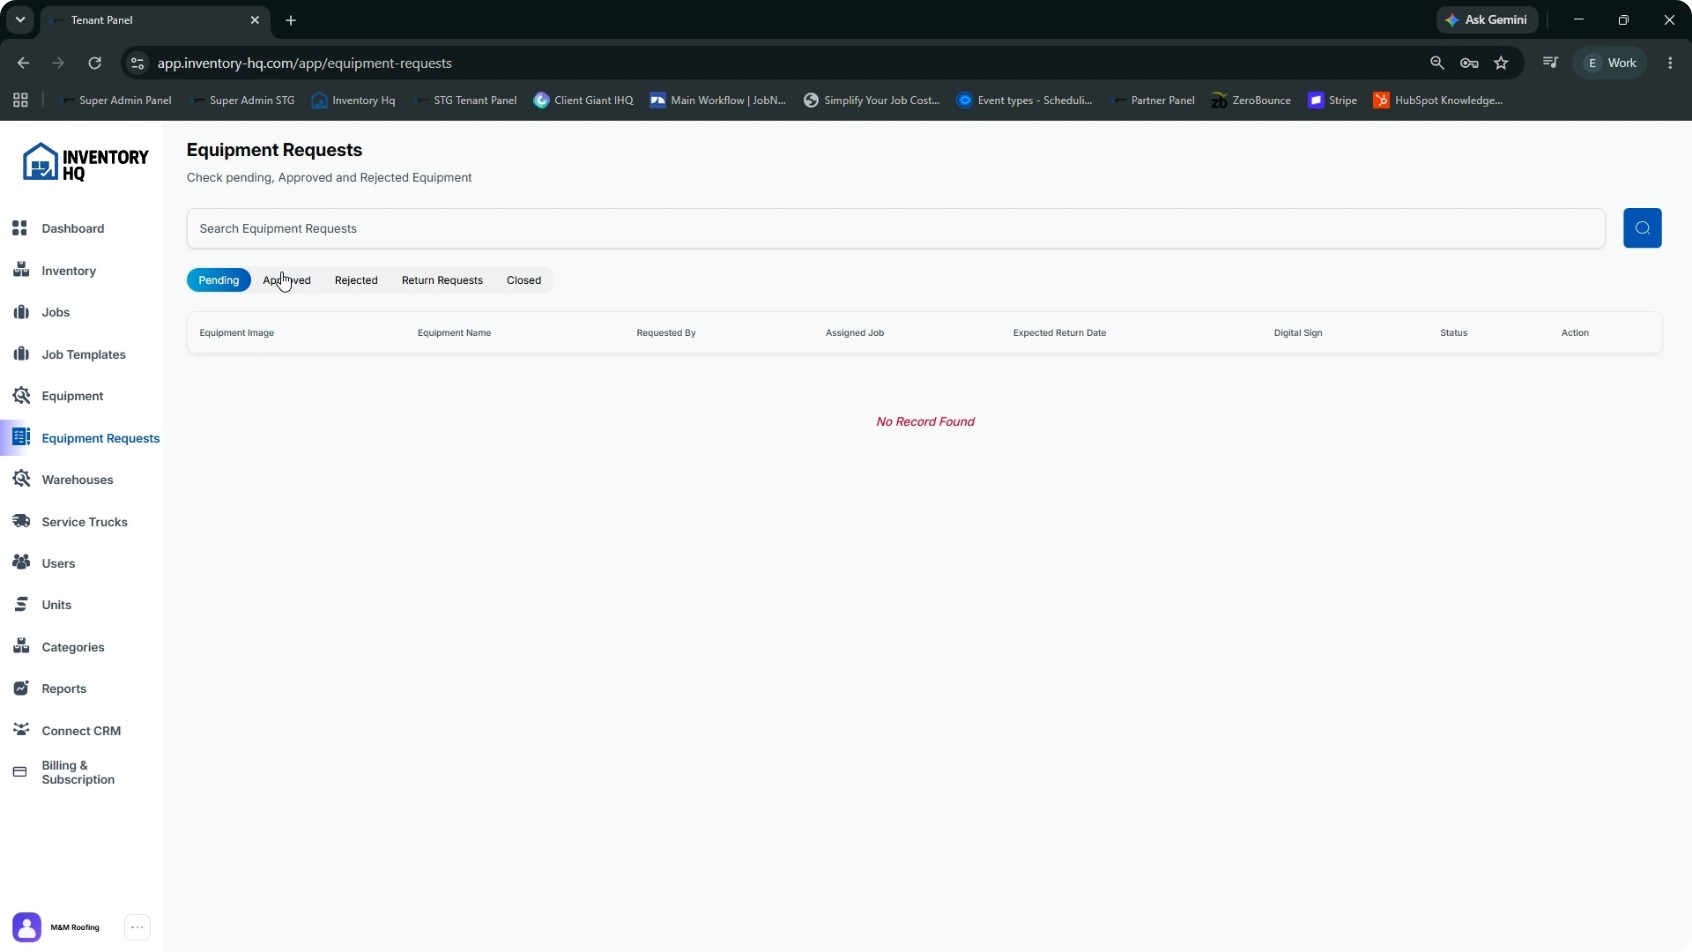
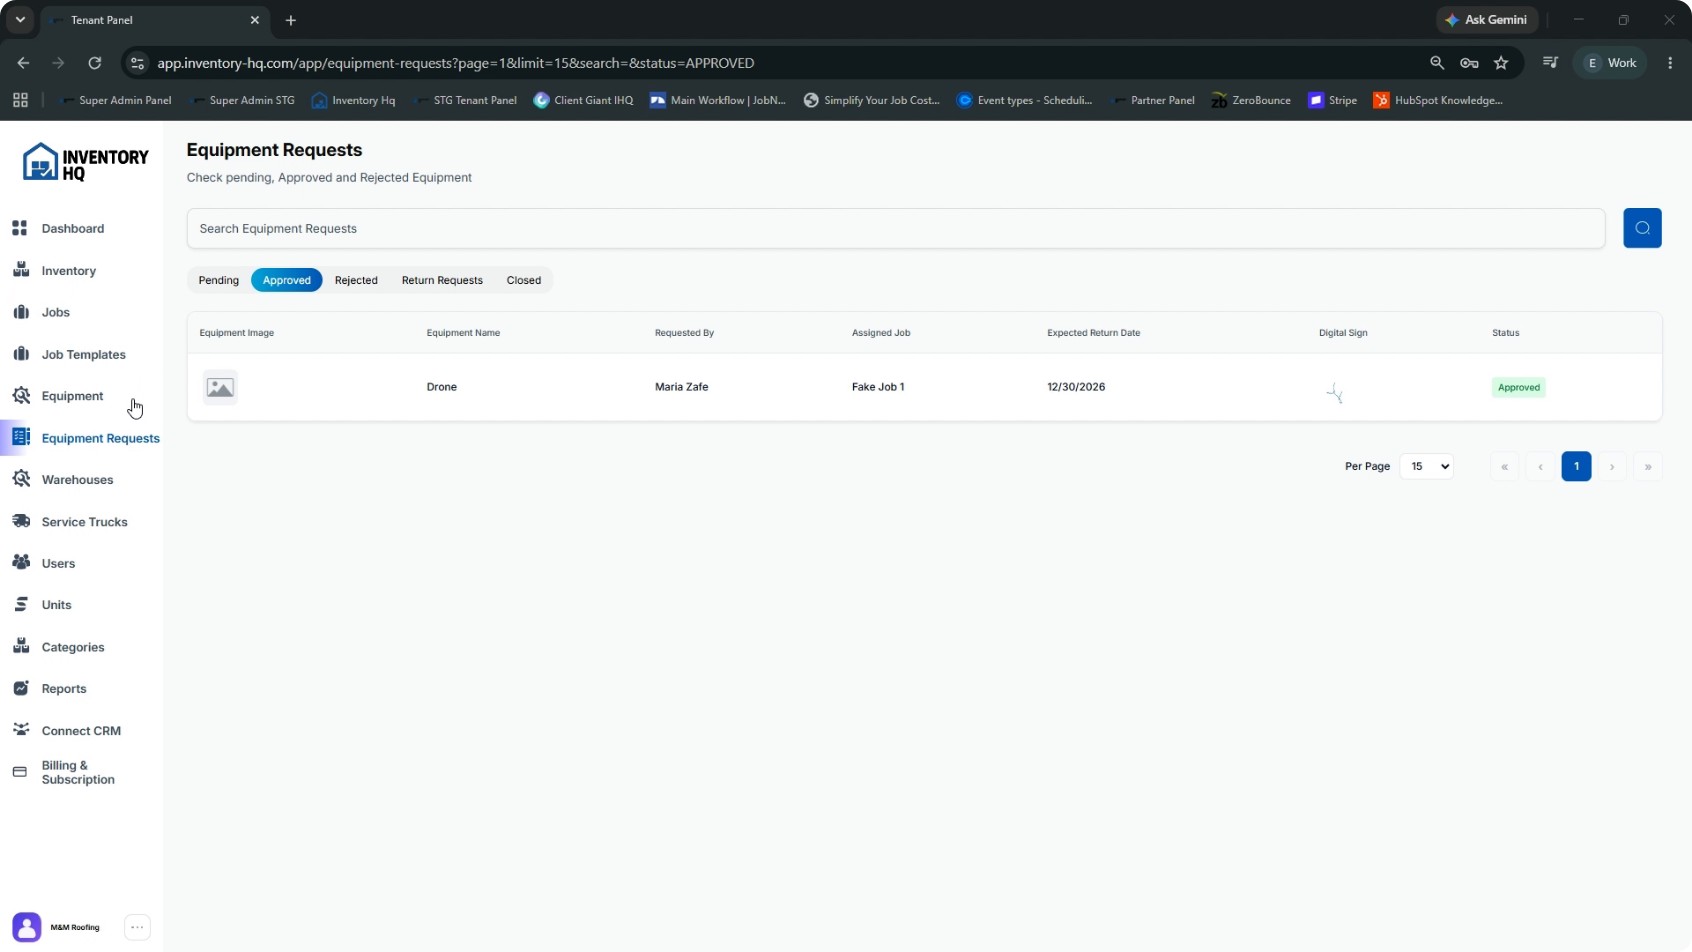
Go to the Equipment section. Use this area to manage assets and tools you loan to the team (for example, drones, tablets, iPads, laptops). You can see what equipment is available, what is checked out, and what is overdue. Next, open Equipment Requests. This is your approval queue, where you can review:
- Pending requests
- Approved requests
- Rejected requests
- Return requests
- Closed requests
You can see each request’s status, as well as digital signatures captured at checkout.
- 7
Configure Warehouses and Service Trucks
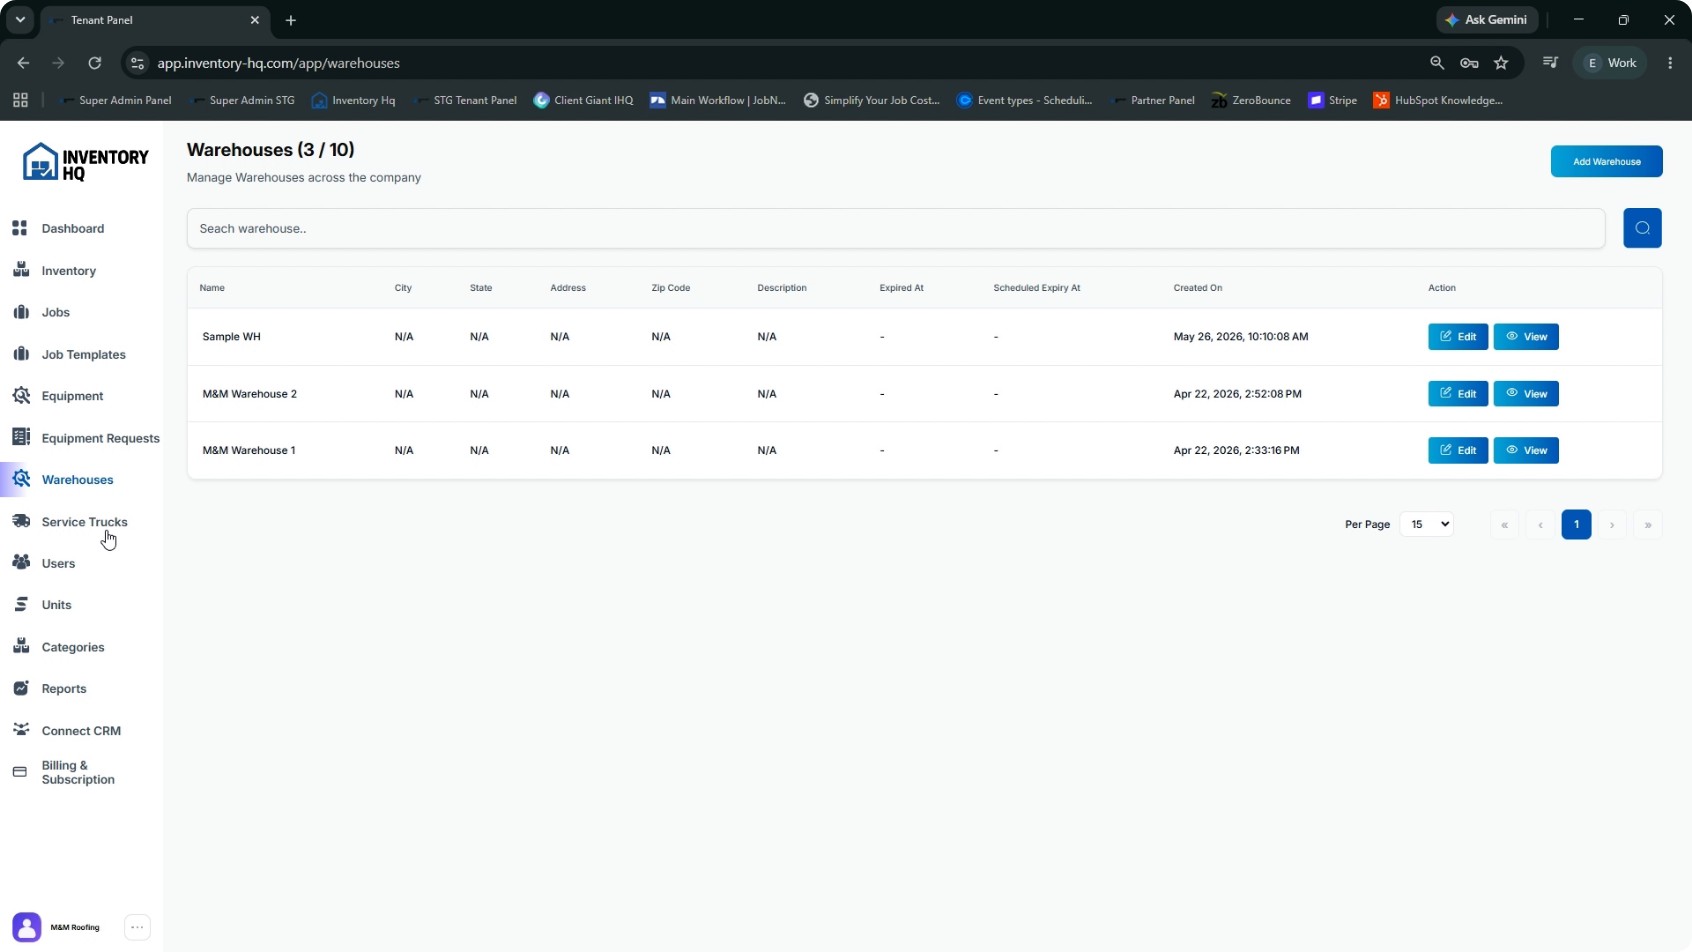
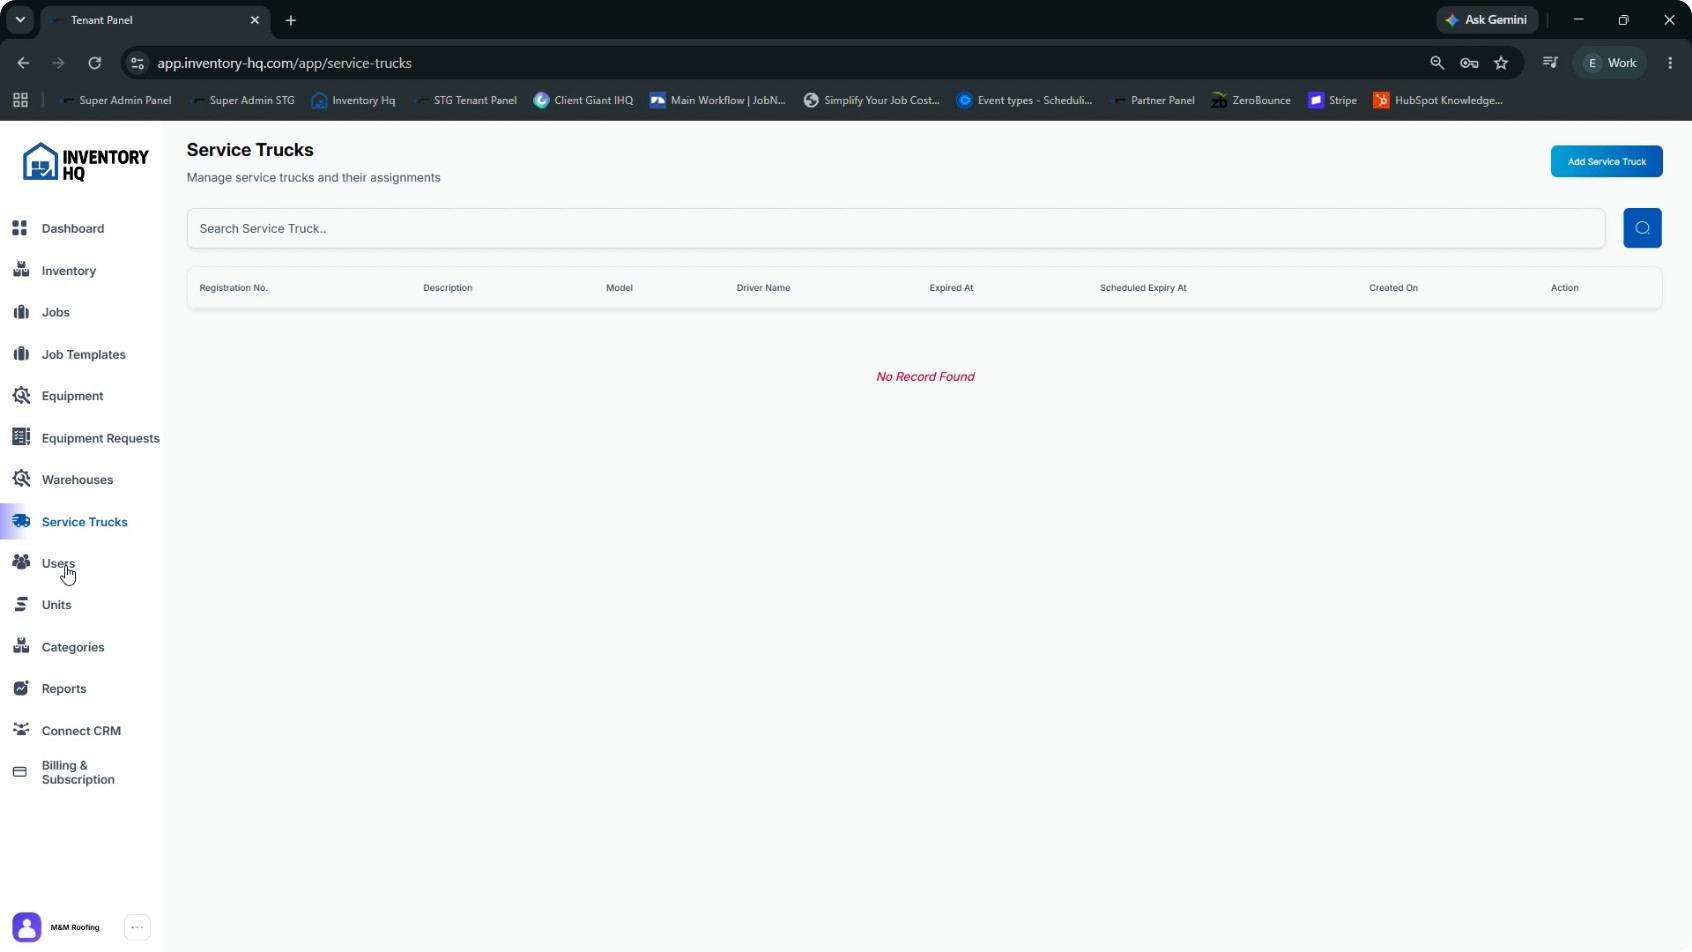
Open the Warehouses tab. Here you define your storage locations. In Inventory HQ, inventory, jobs, and users are all scoped to specific warehouses. Next, select Service Trucks. Treat each service truck like a mobile mini-warehouse:
- Load it with material
- Pull from it for jobs
- Restock it as needed
Use this to ensure every rolling asset is counted like a “warehouse on wheels.” Note that Service Trucks may not be included in all plans; it is an add-on feature that must be enabled if needed.
- 8
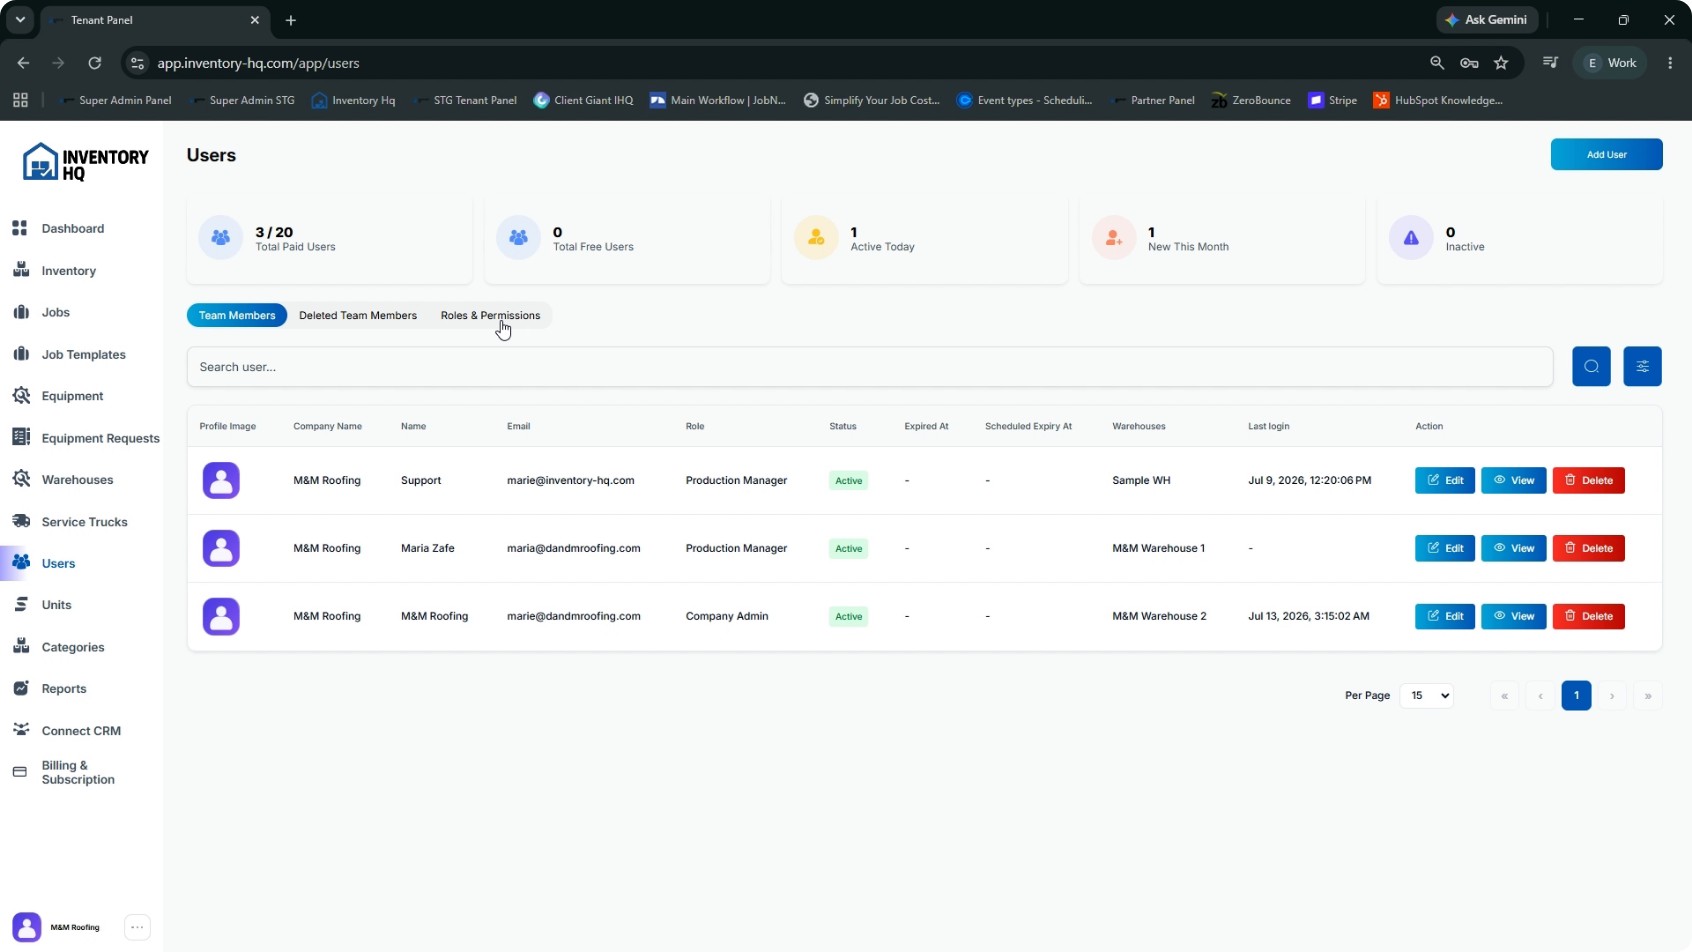
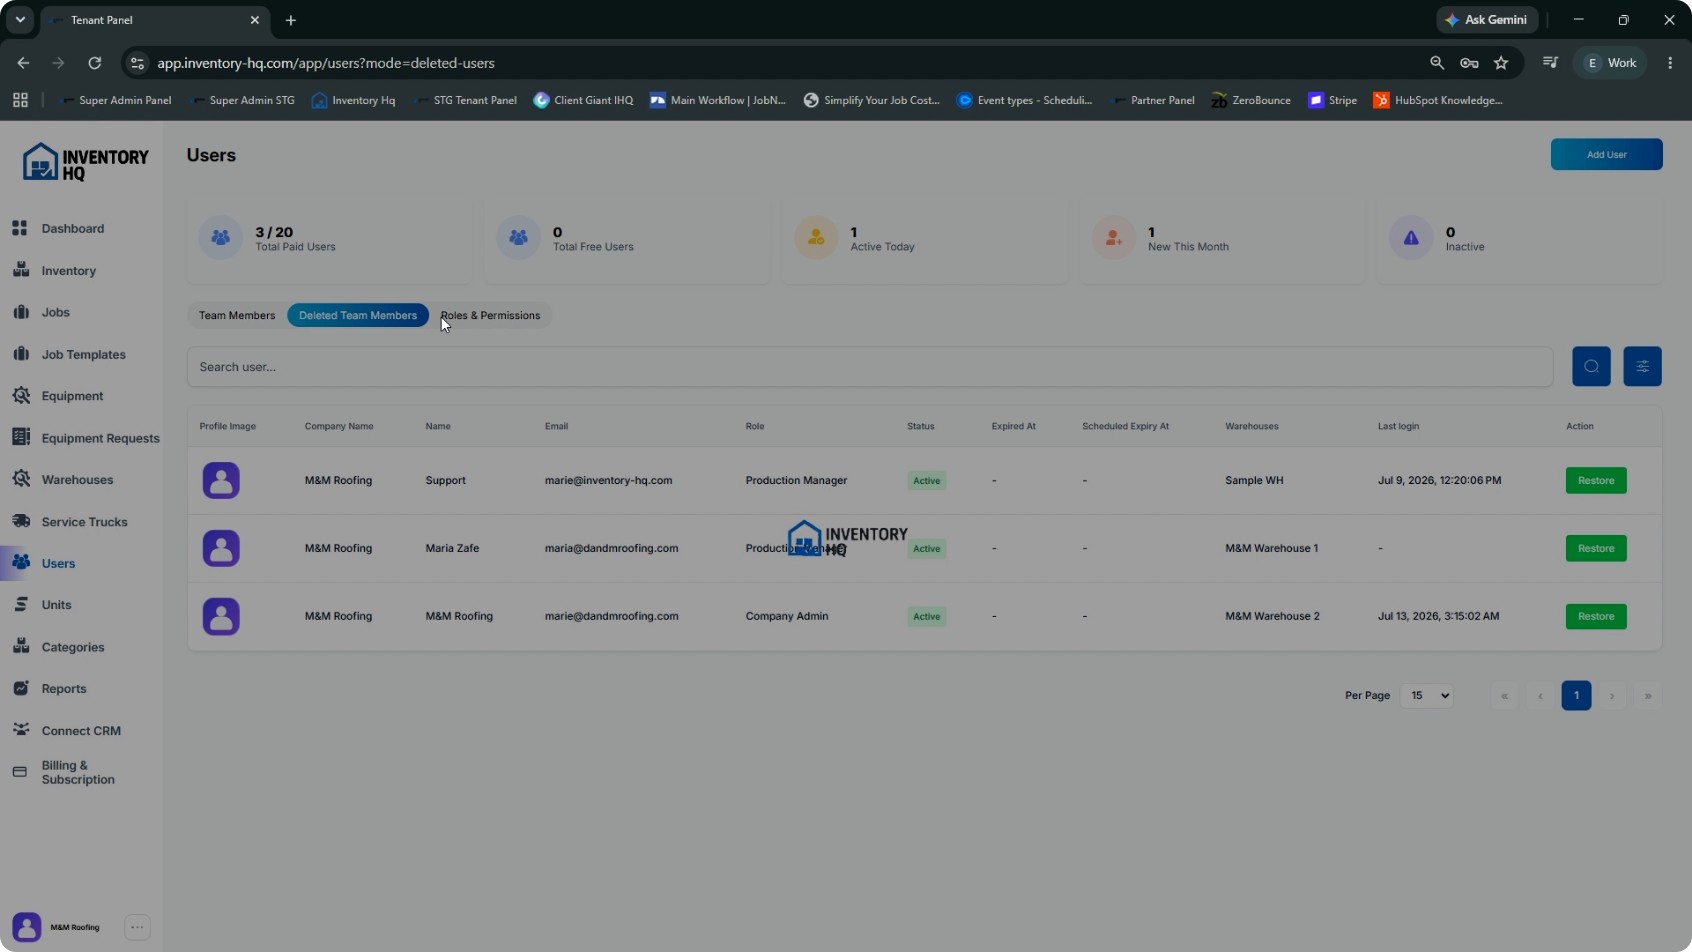
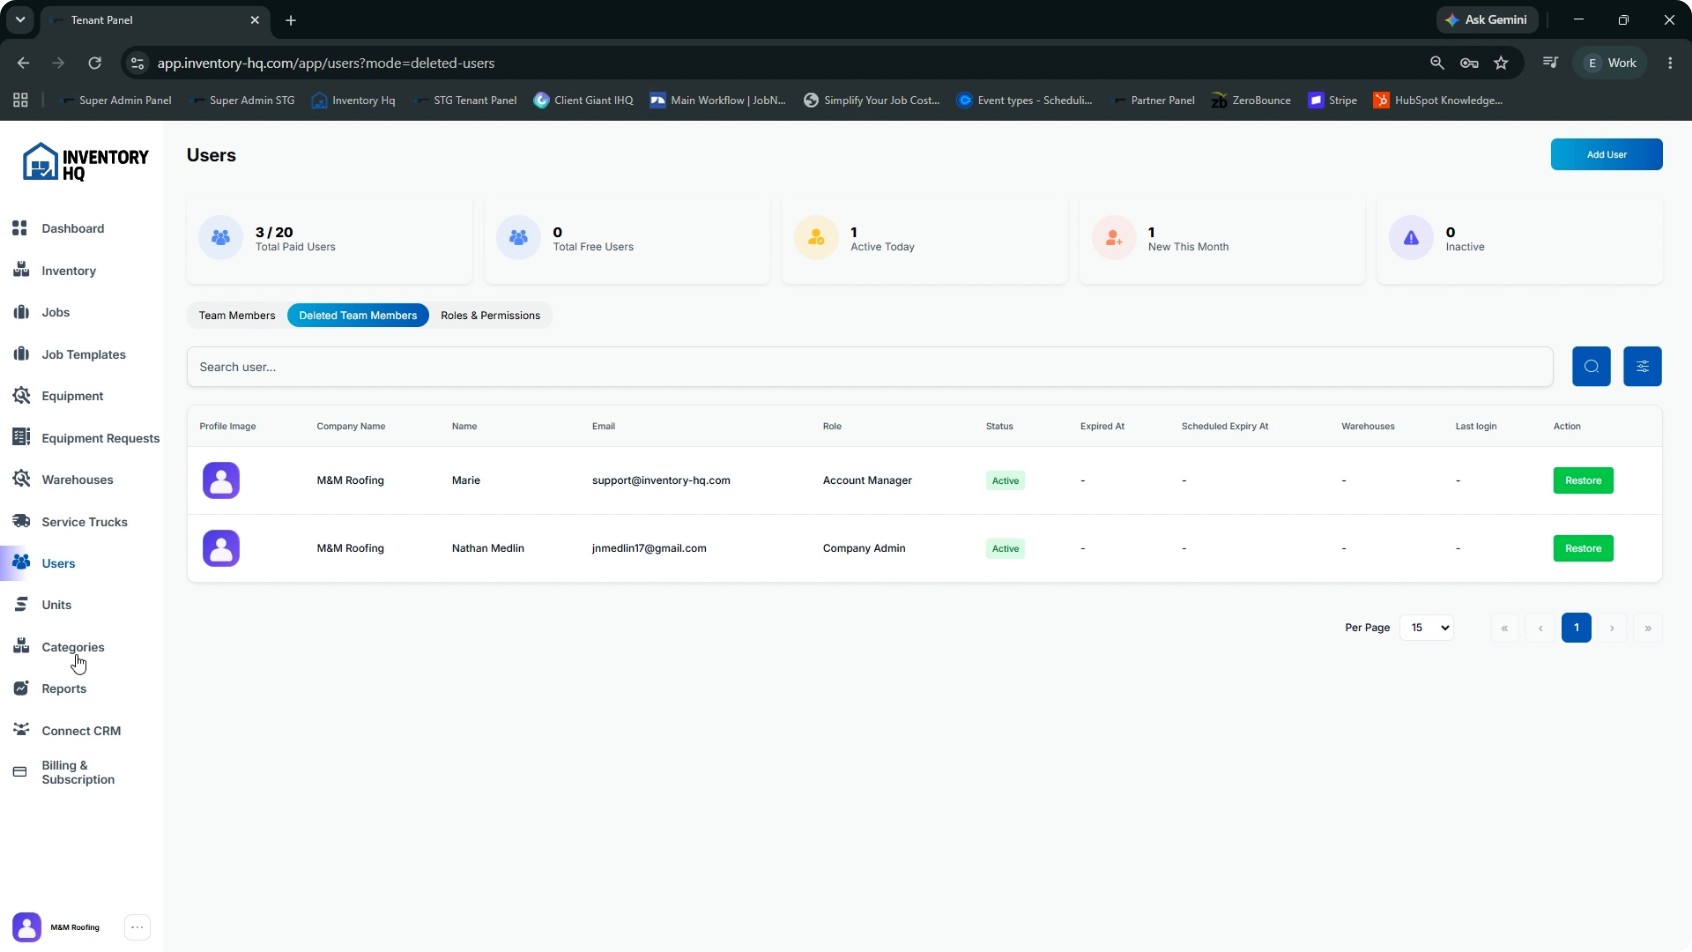
Manage Users, Roles, and Access
Go to the Users section. In this area you can:
- Invite team members
- Assign roles and set permissions
- Control which warehouses each user can access
If a team member was deleted by mistake, you can also restore deleted users from this section.
- 9
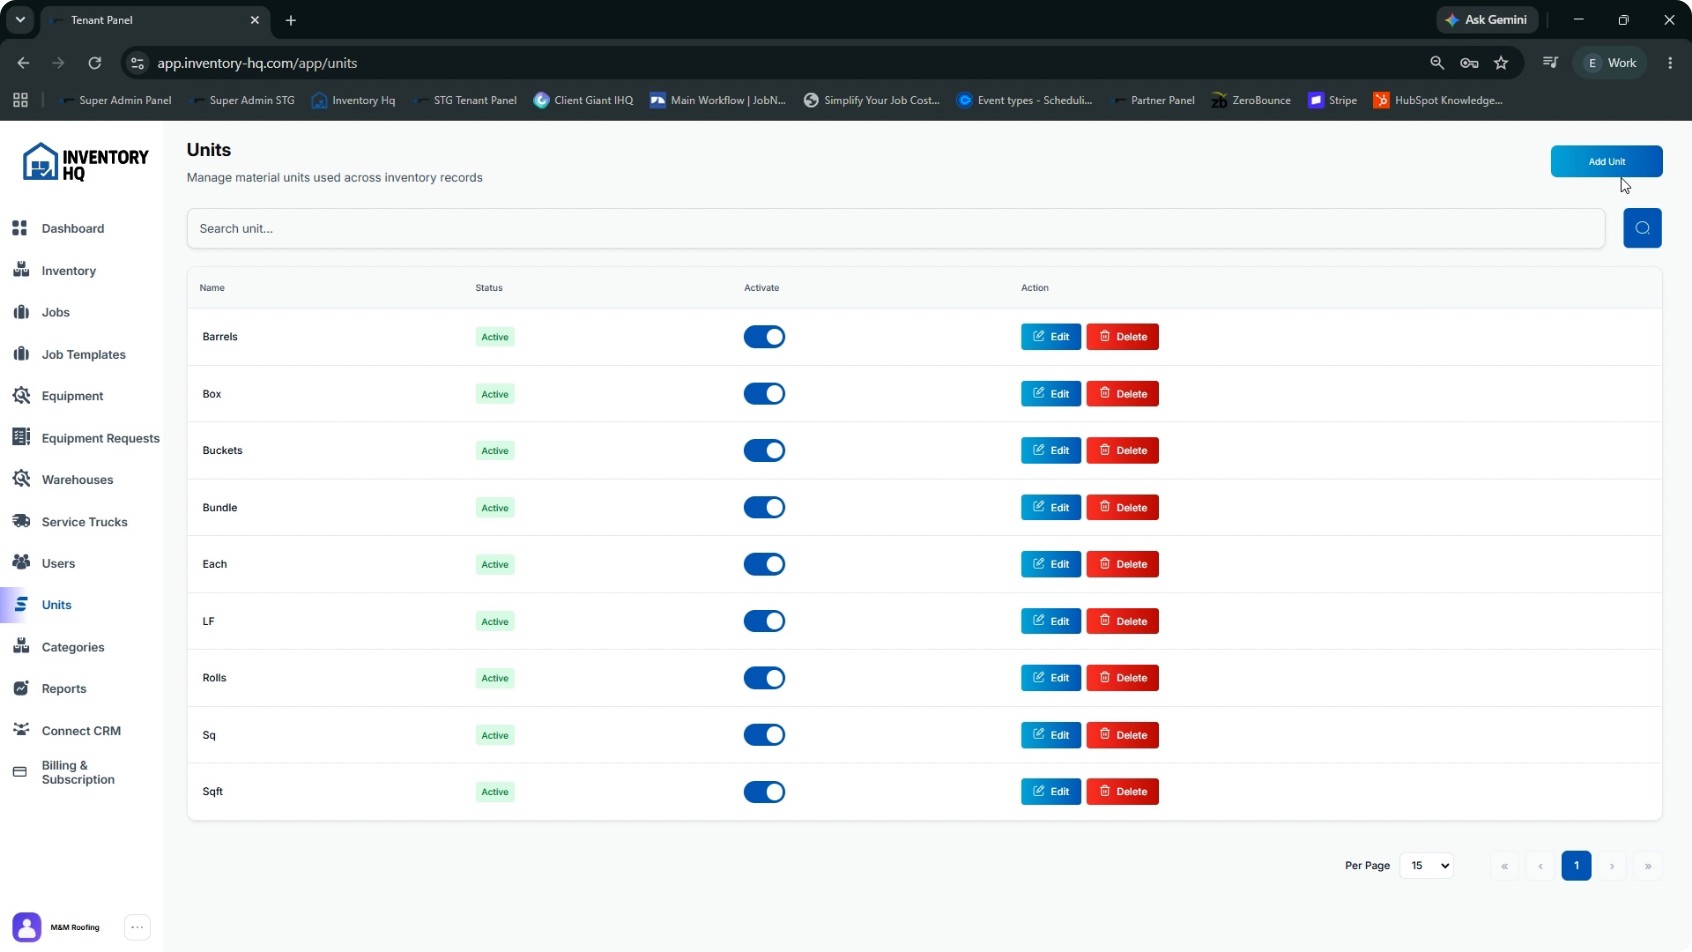
Define Units and Categories
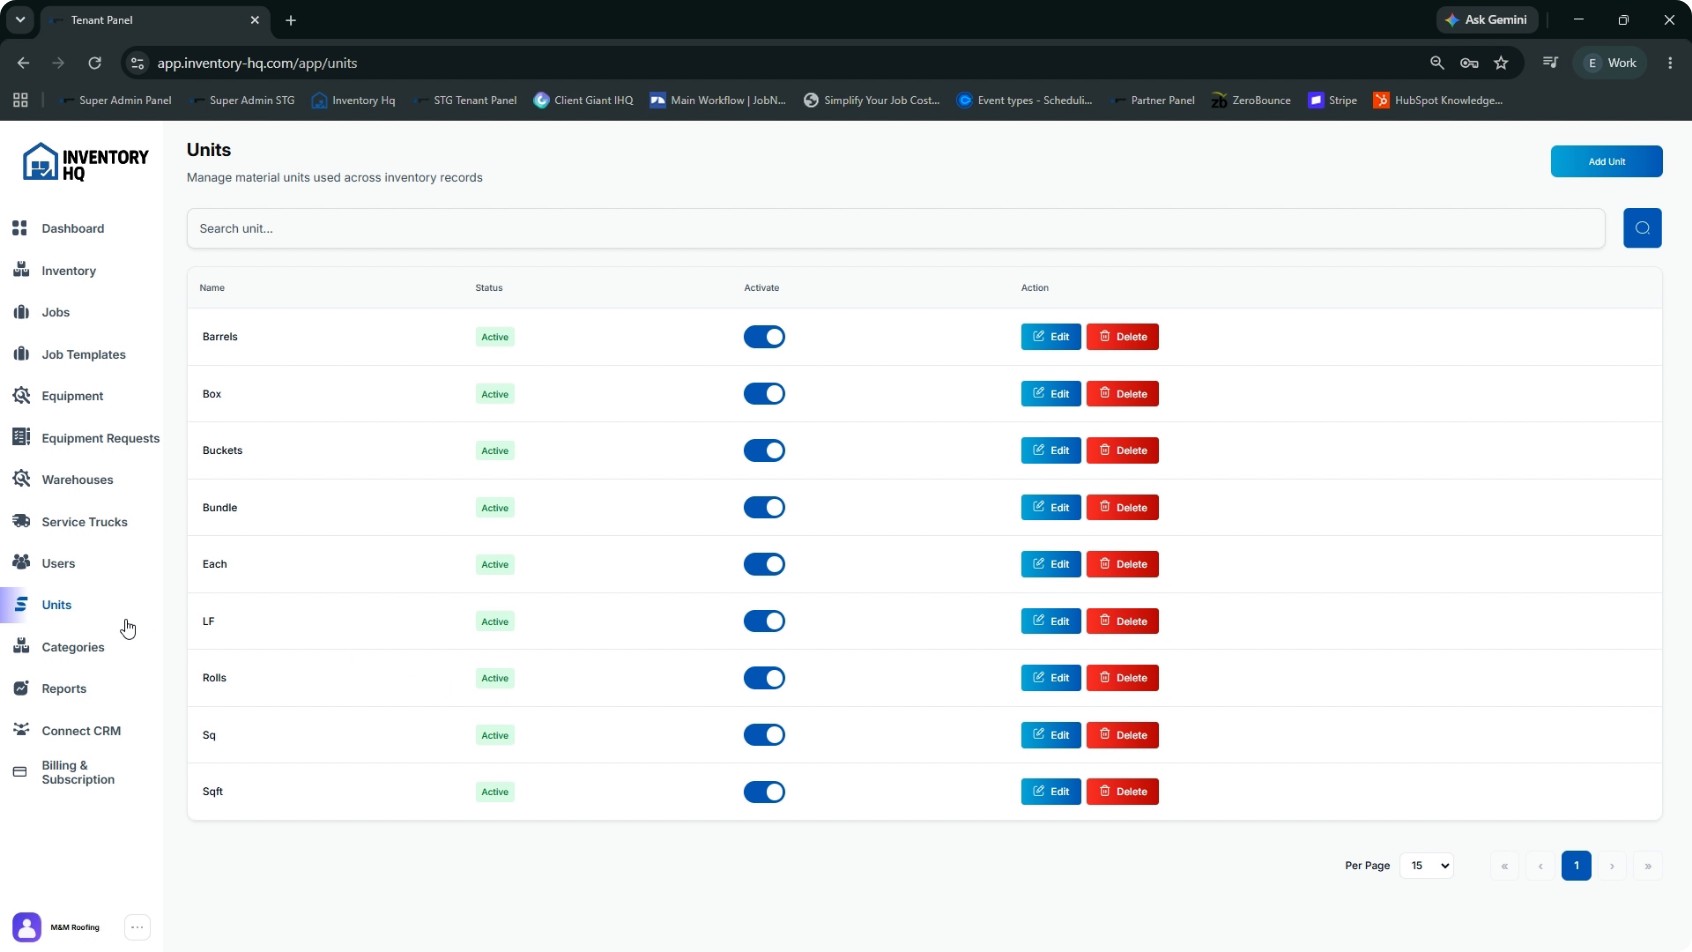
Open Units and Categories. Use Units to define how you measure and count items (e.g., boxes, bundles, rolls, barrels). You can add new units or edit existing ones to match your business.
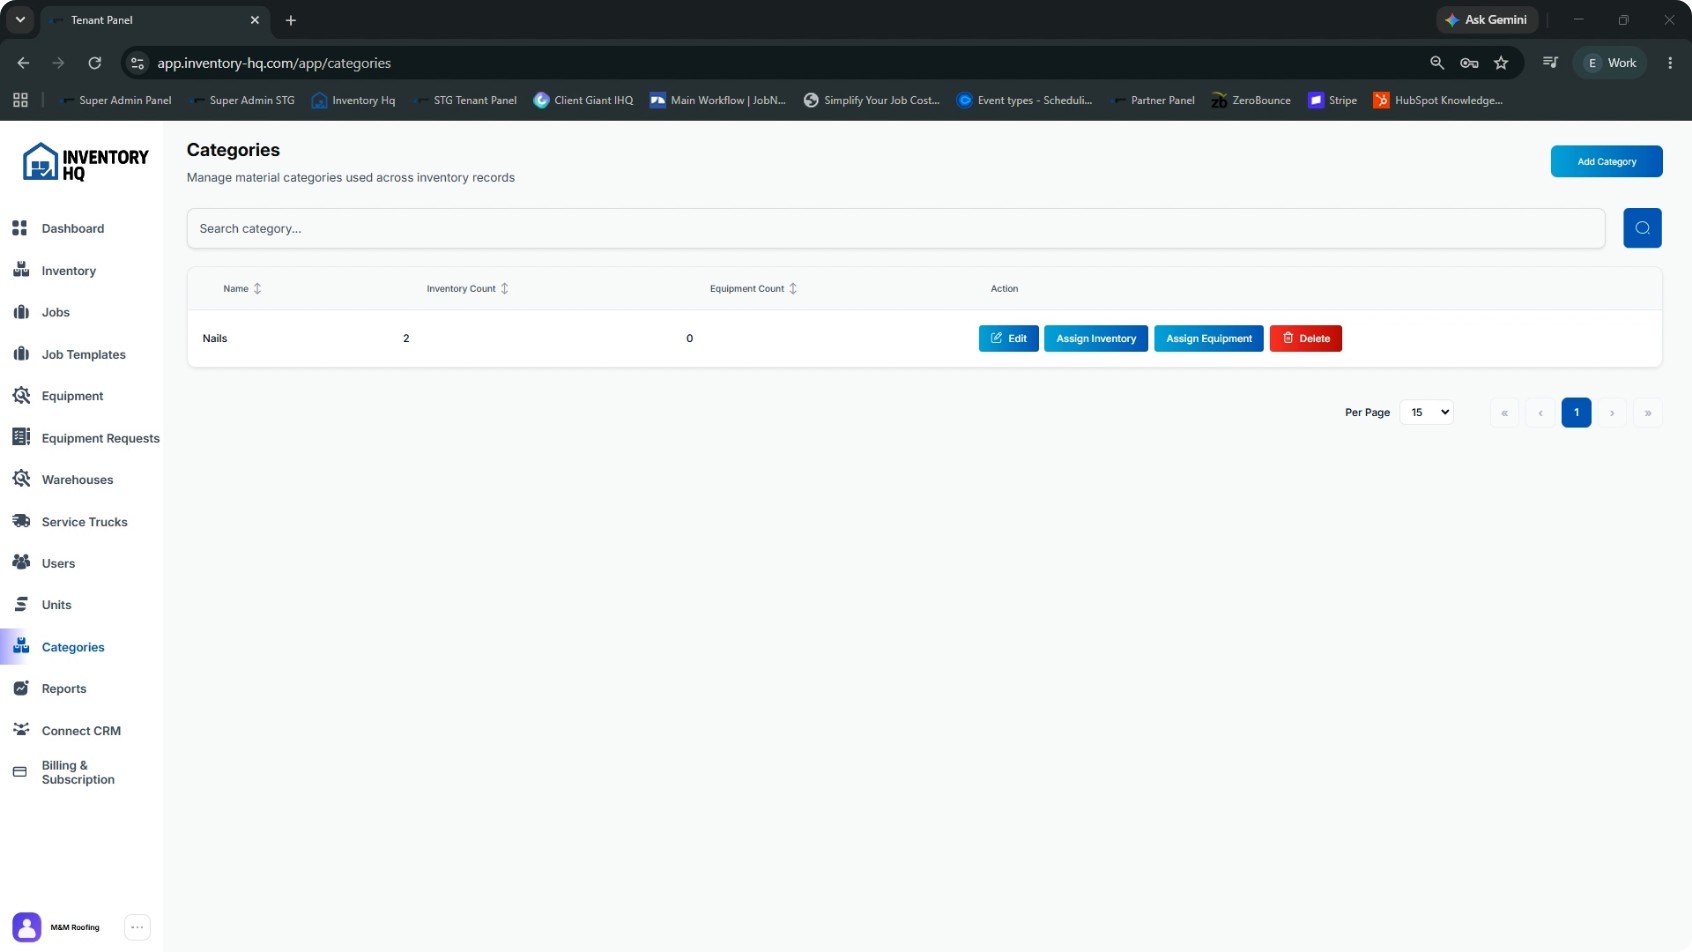
Next, configure Categories. Categories let you group materials and equipment so filtering stays quick even with a large catalog. For example, if you stock many types of nails, you can create a “Nails” category and assign all relevant inventory items to it.
- 10
Review Reports, CRM Connection, and Billing
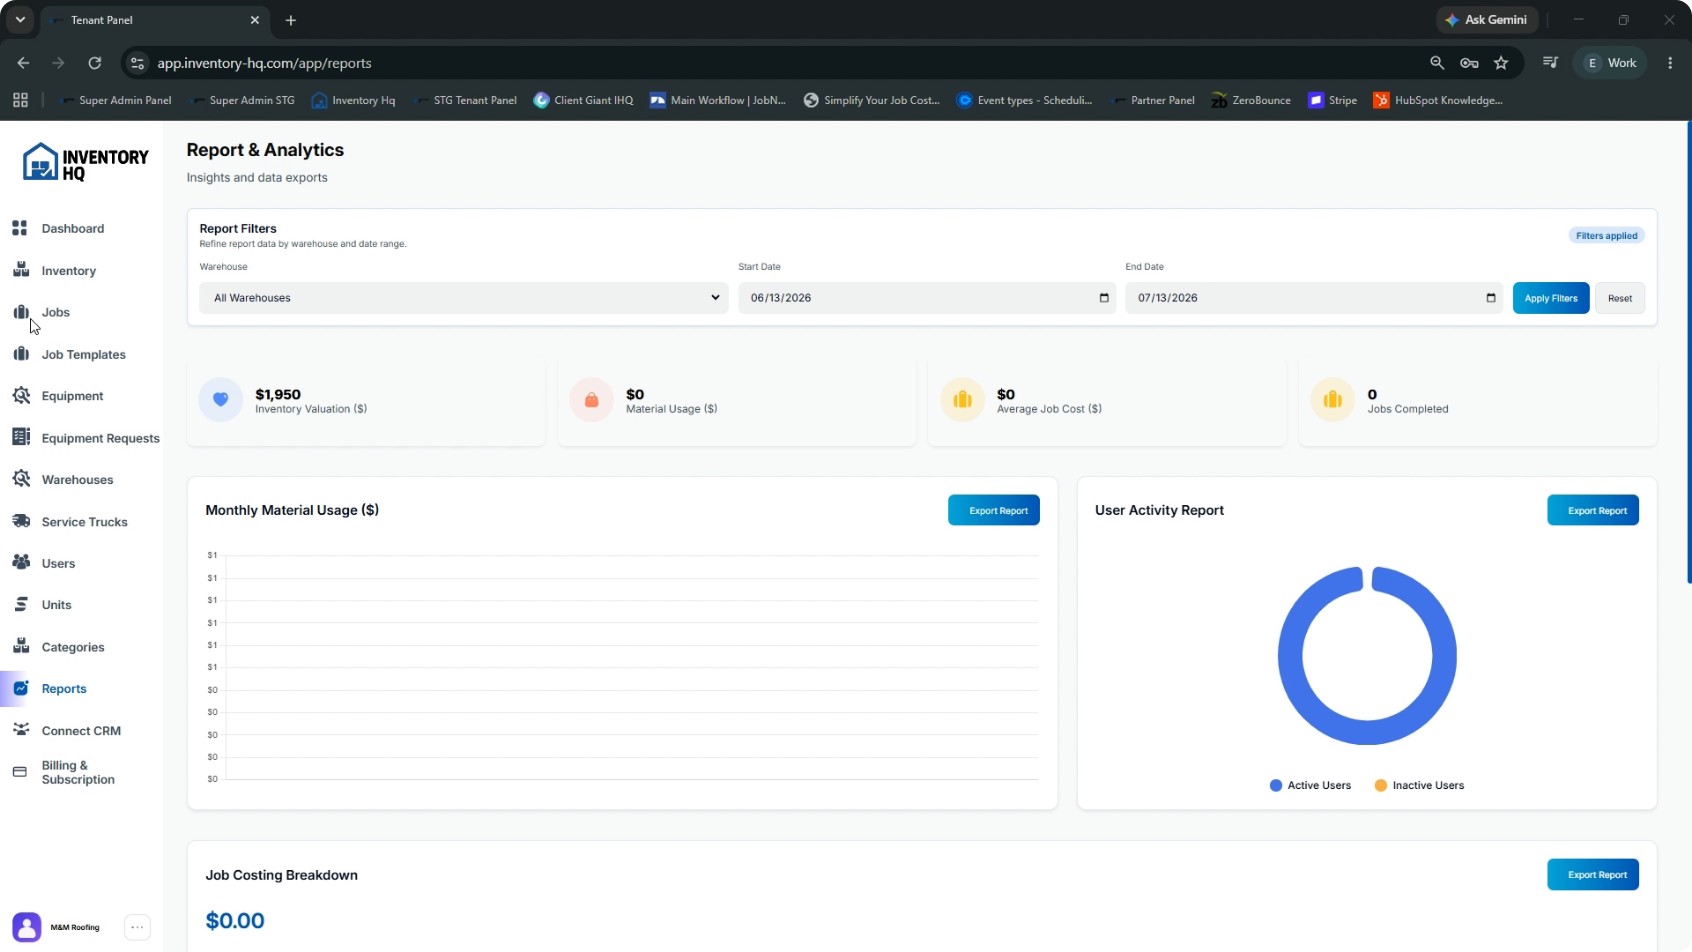
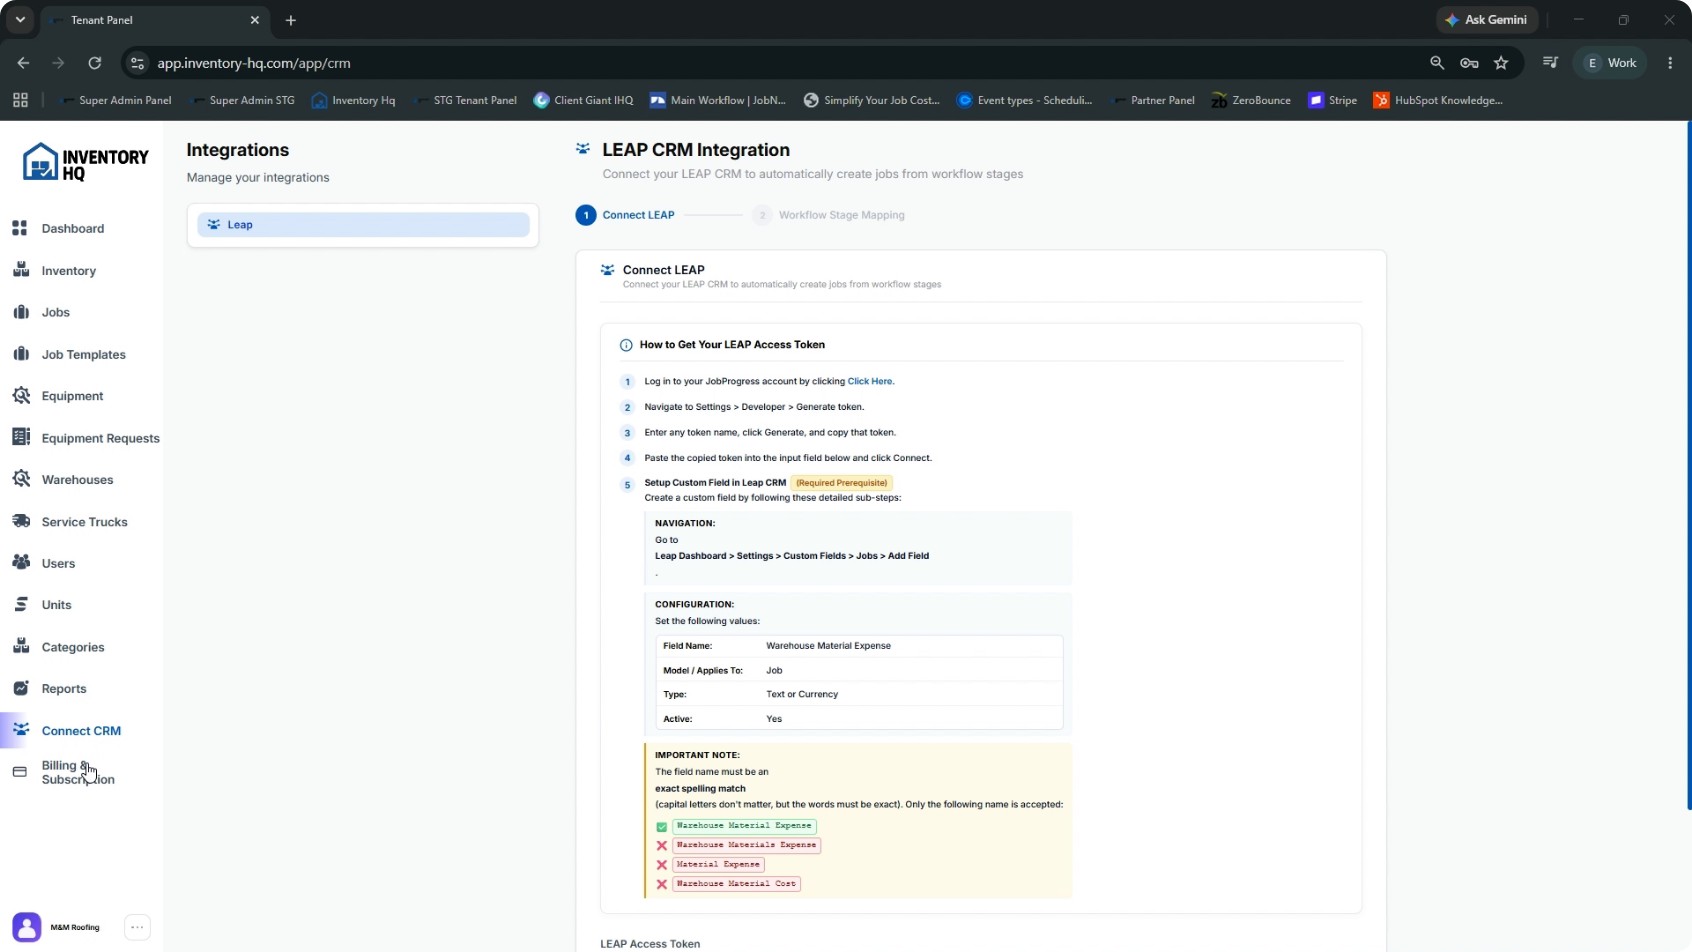
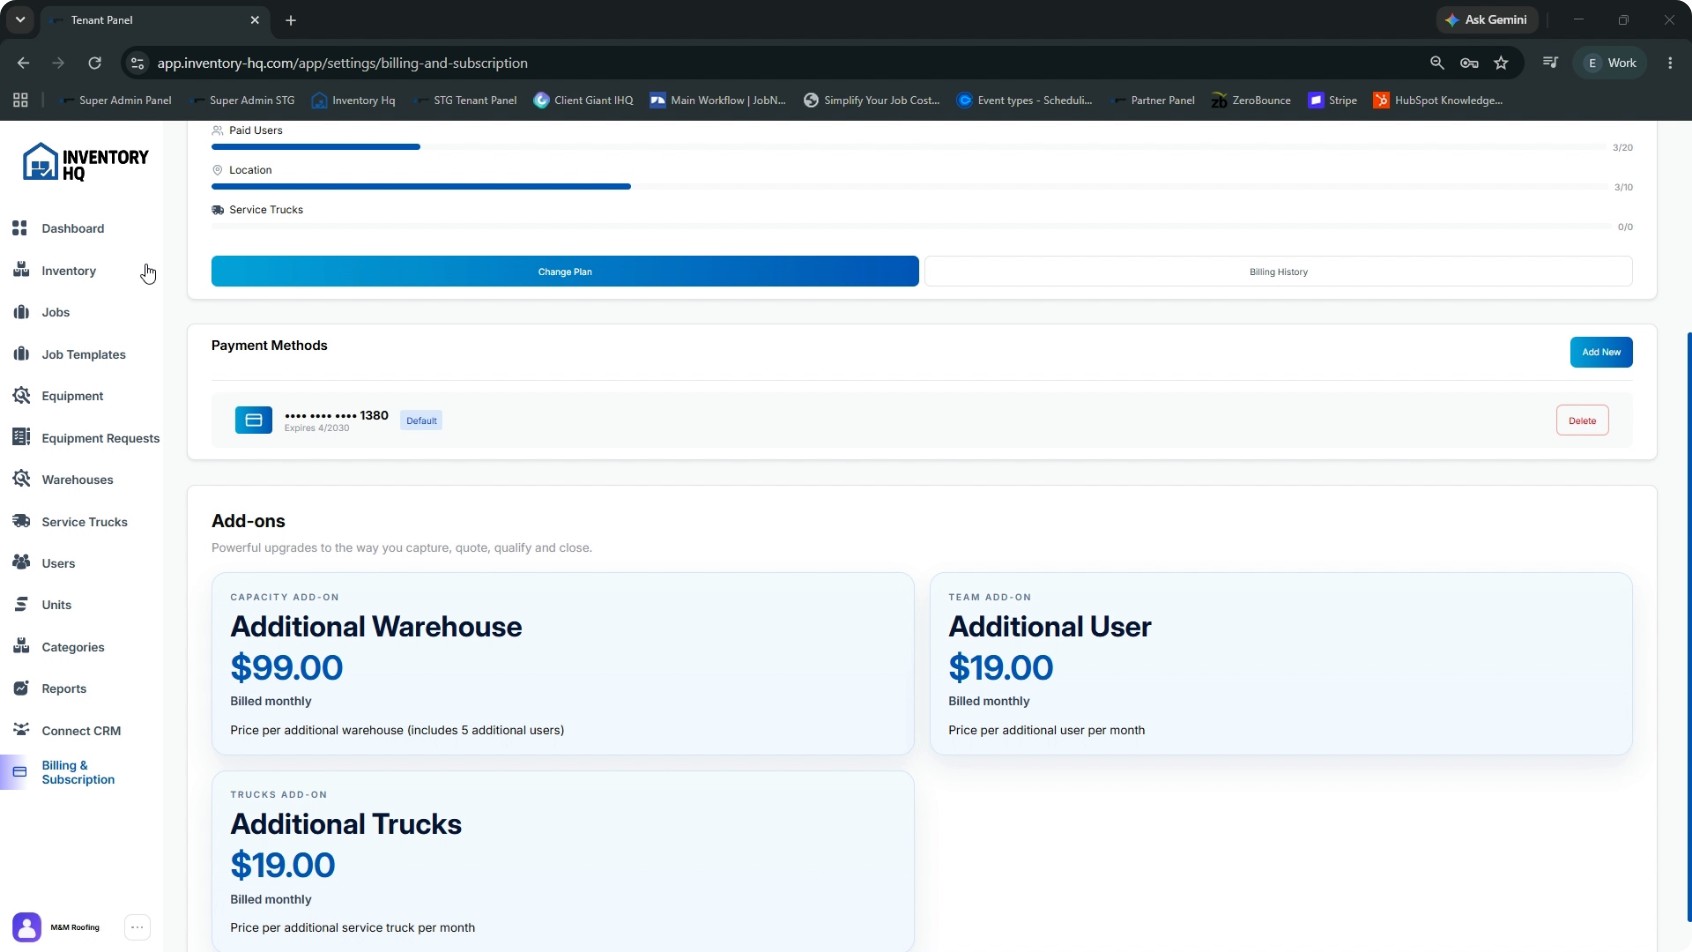
Open the Reports tab. Reports bring your numbers together, including inventory valuation, material usage, average job costs, and completed jobs. All reports can be filtered by warehouse and date range and exported as needed. Next, select Connect CRM. This tab links Inventory HQ with your CRM so job costs sync automatically. A separate video will cover setup and configuration in more detail. Finally, go to Billing and Subscription. Here you can:
- View and manage your plan, seats, and account settings
- Add add-ons (extra trucks, warehouses, users)
- Manage payment methods
From this overview, you can now jump into the specific videos that match what you’re working on—whether that’s setting up your account, loading inventory, or running your first job.
NEXT TUTORIAL
Initial InventoryHQ Account Configuration →