
Inventory HQ Mobile App Overview
This document explains how to sign in to the Inventory HQ mobile app and navigate the main home screen, tiles, notifications, and bottom navigation bar so you can quickly understand the state of the business and access key features.
Step by step
- 1
Sign In to the Mobile App
Enter the email address your admin used to set up your account. This is the same login you use on the website, so if you already have a web login, use that here. Type your password, and tap the eye icon if you want to verify what you have entered. Tick Remember Me if this is your own phone so you do not need to sign in every time.
If you have forgotten your password, tap Forgot Password on the right; a reset link will be emailed to you. If you do not have a login at all, you cannot create one in the app—ask your admin to set up an account for you so it is attached to the correct company. When ready, tap Sign In to continue. After signing in, check the name at the top of the screen and the company shown underneath it, especially if you work across more than one company.
- 2
Review Notifications from the Home Screen
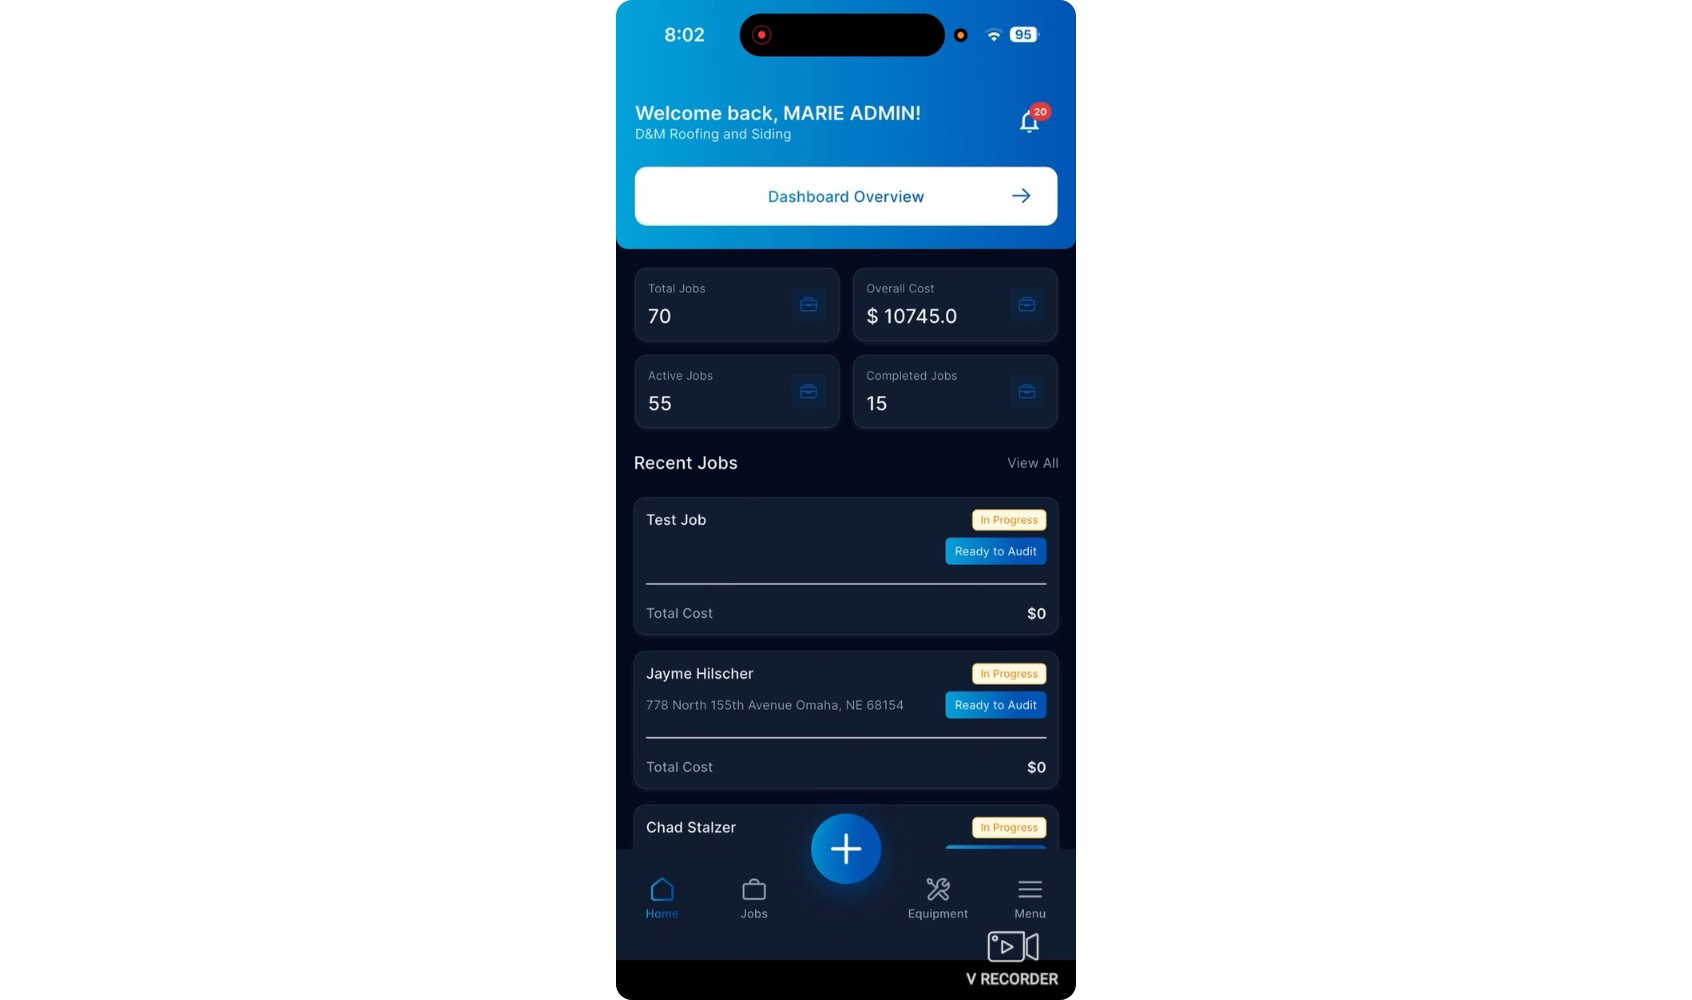
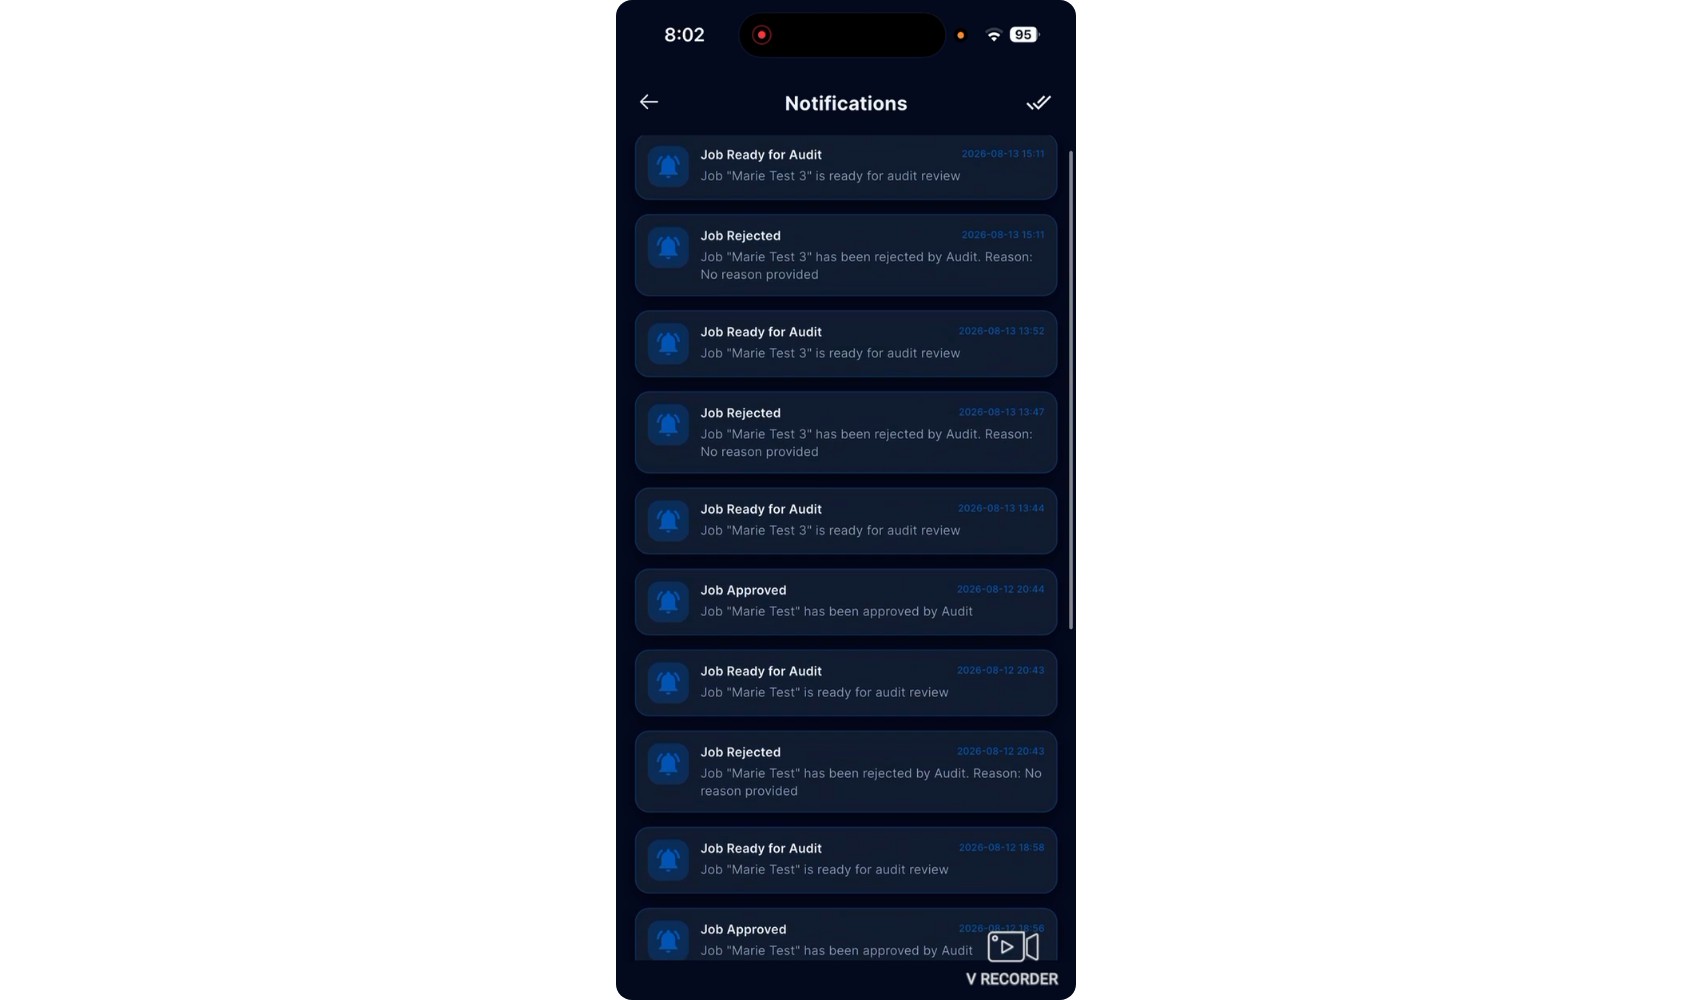
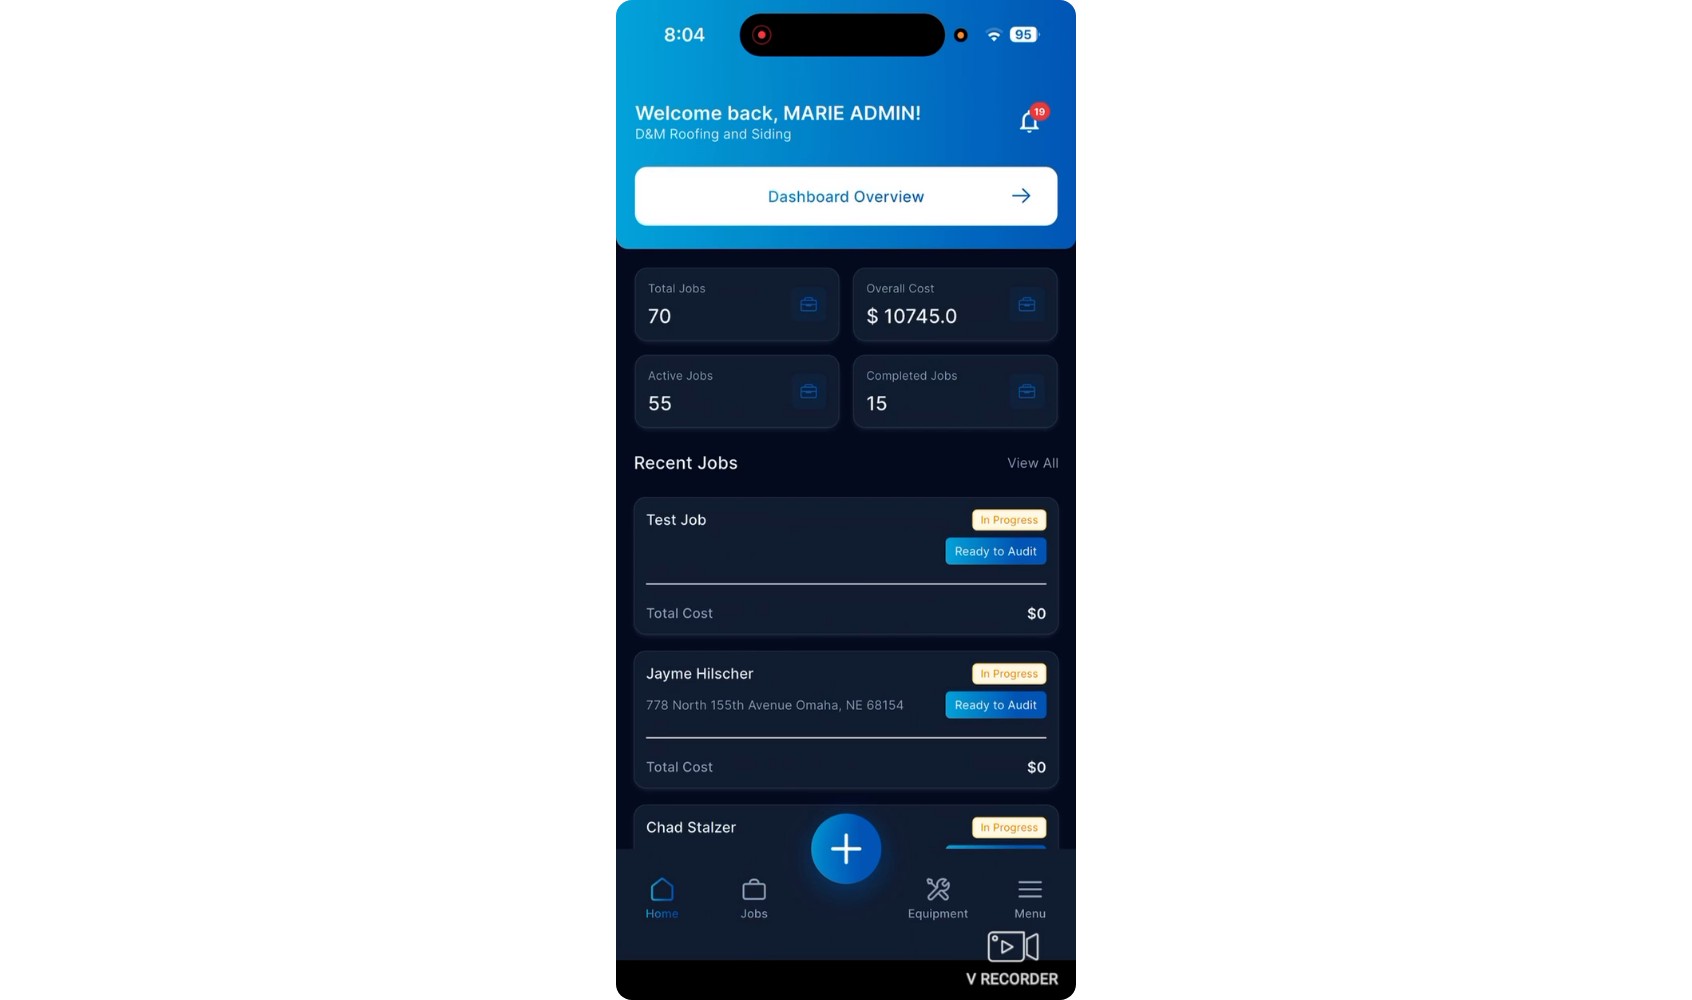
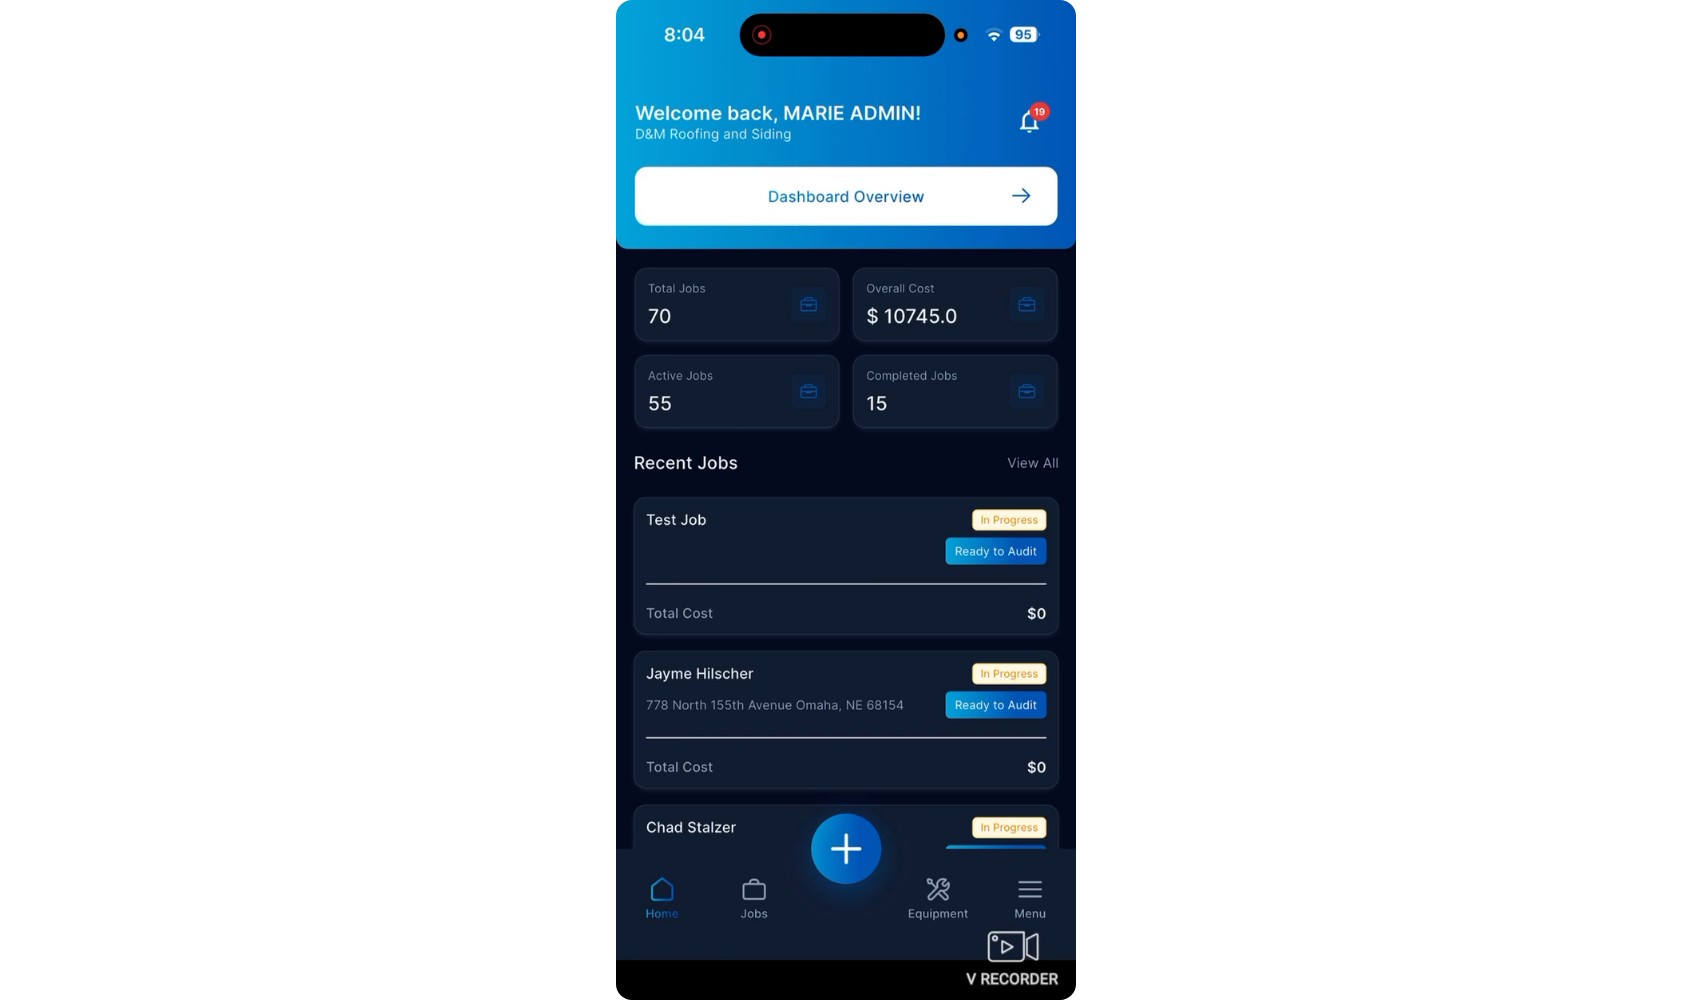
Once you are signed in, you land on the home screen, which is designed to show you the state of the business in a few seconds. Tap the bell icon to open your notifications.
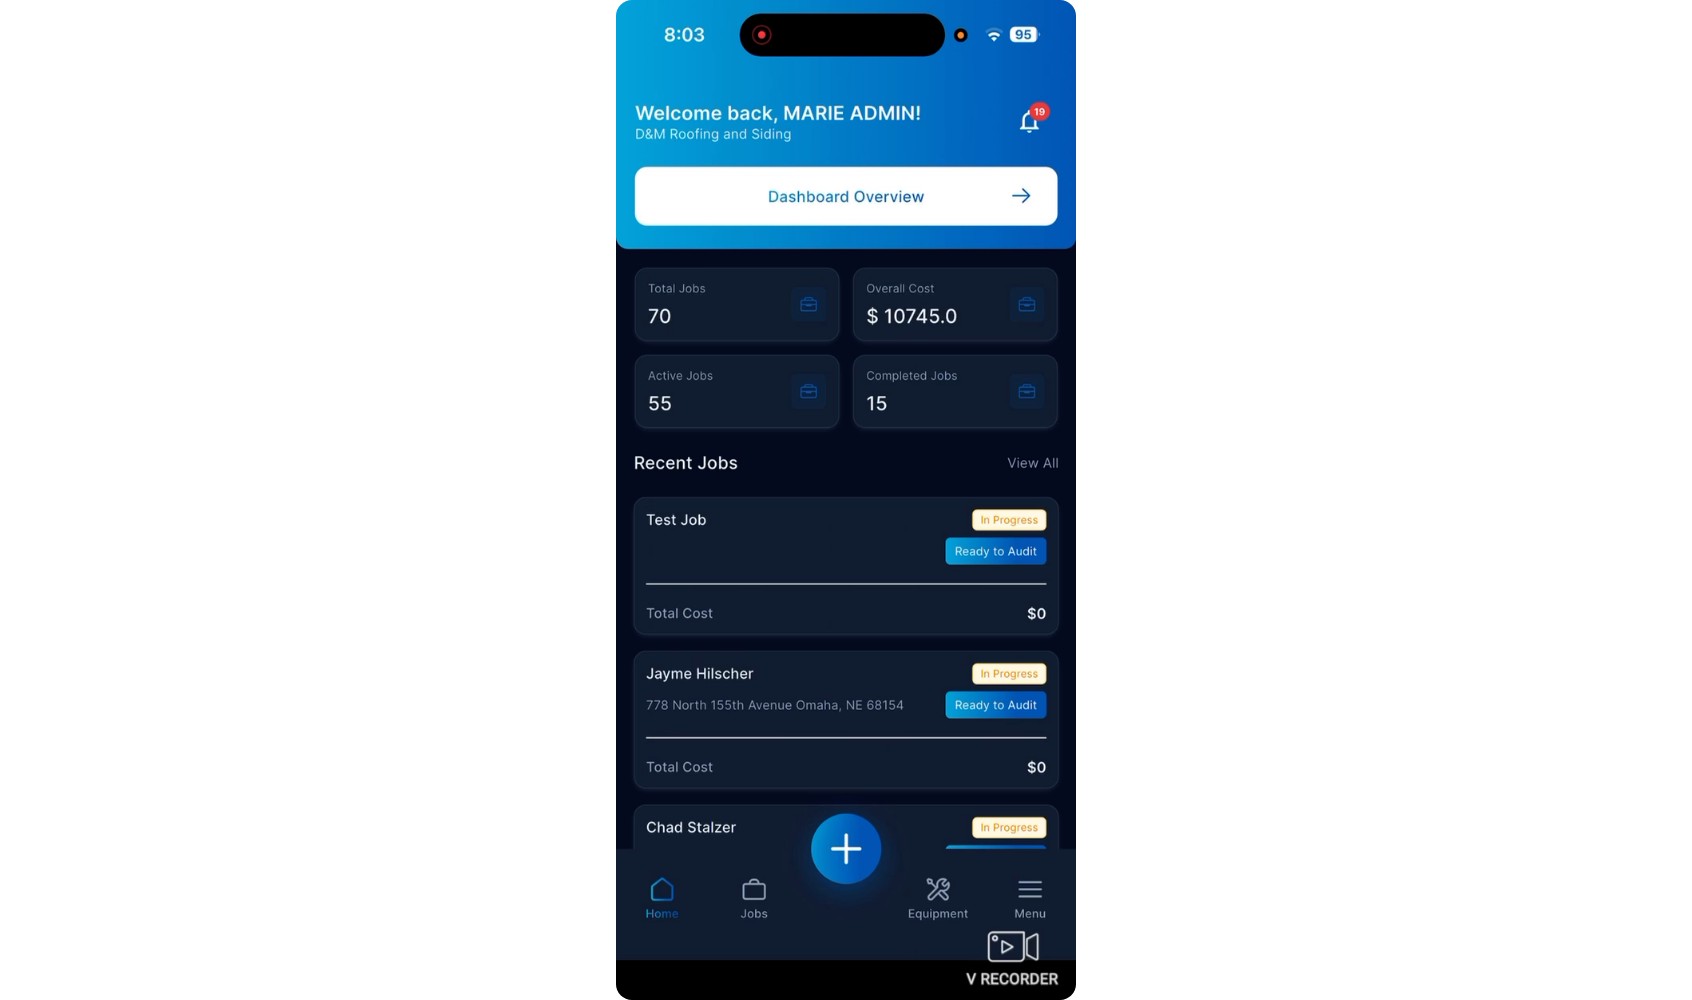
Here you will find items such as audit requests, low stock alerts, and job updates. The number on the bell icon indicates how many notifications you have not yet viewed.
- 3
Open the Dashboard Overview
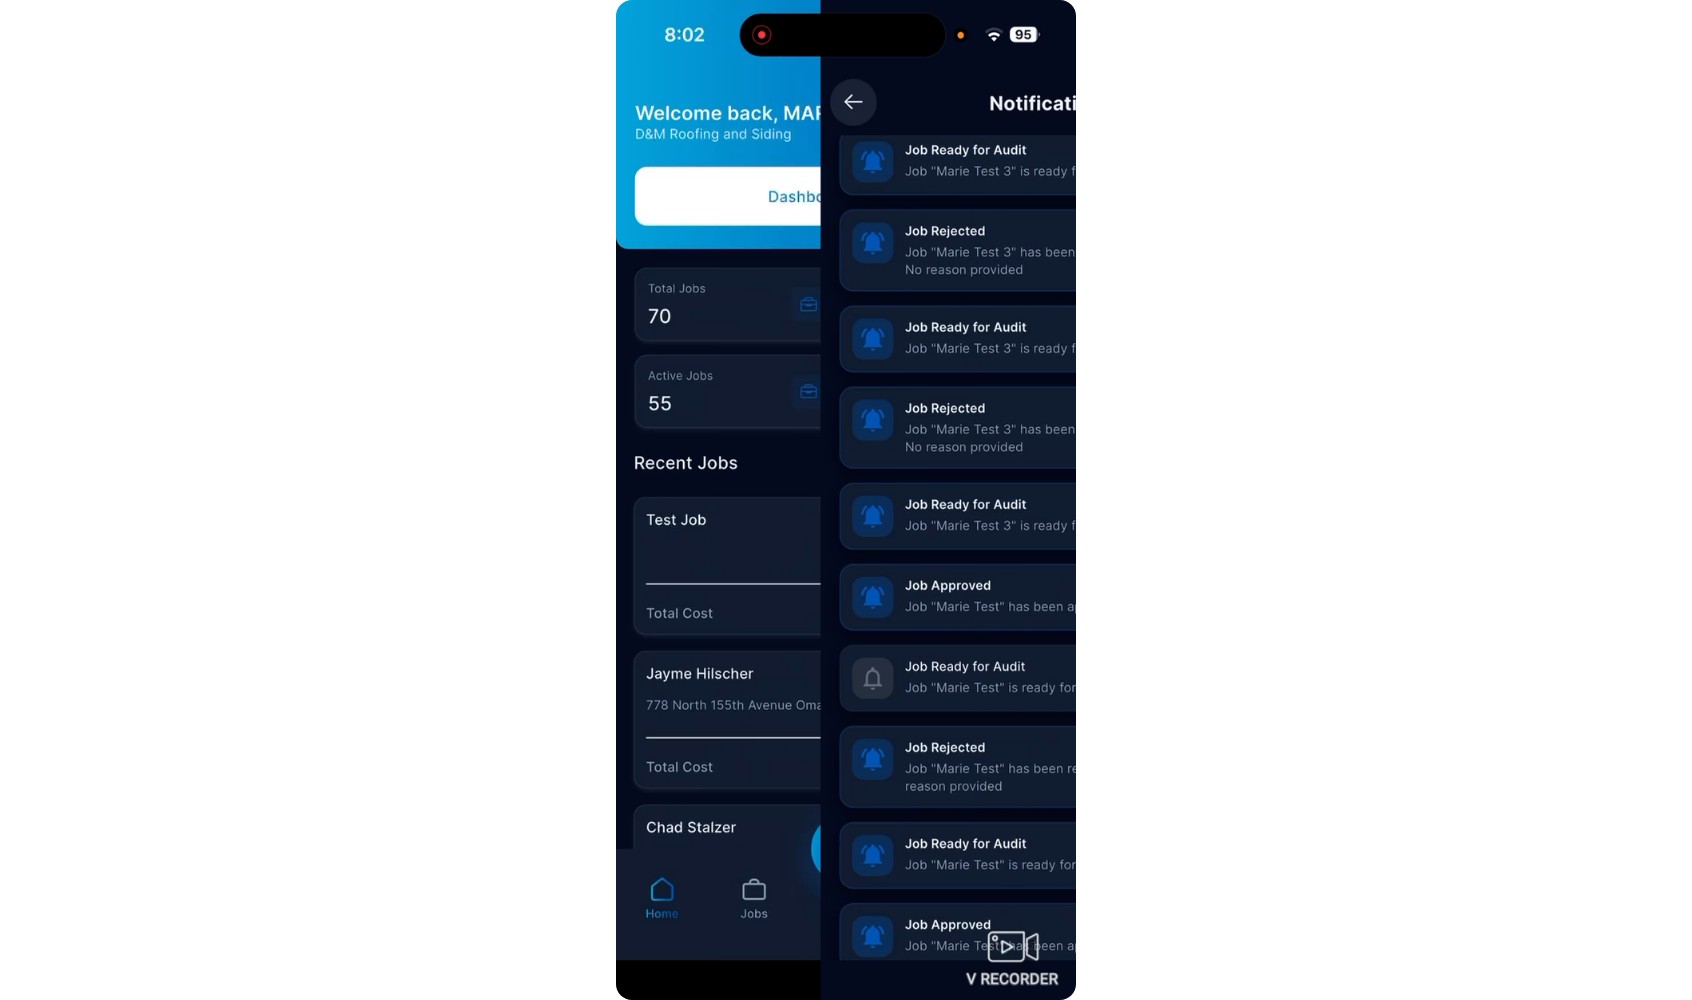
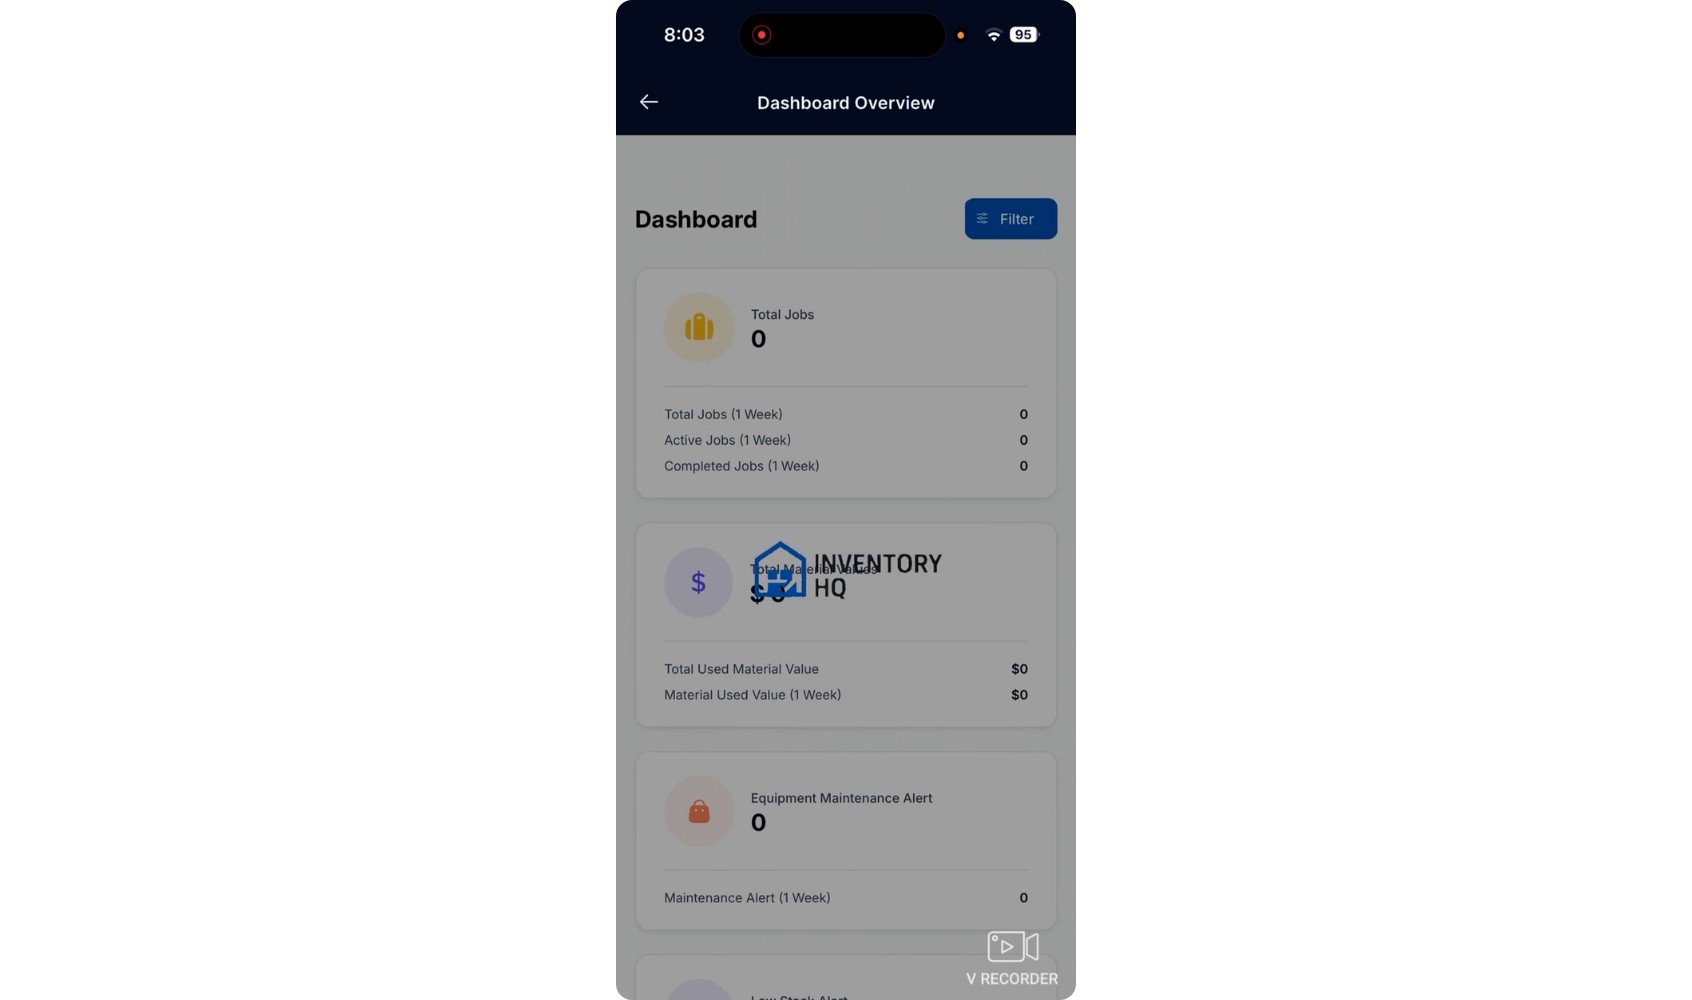
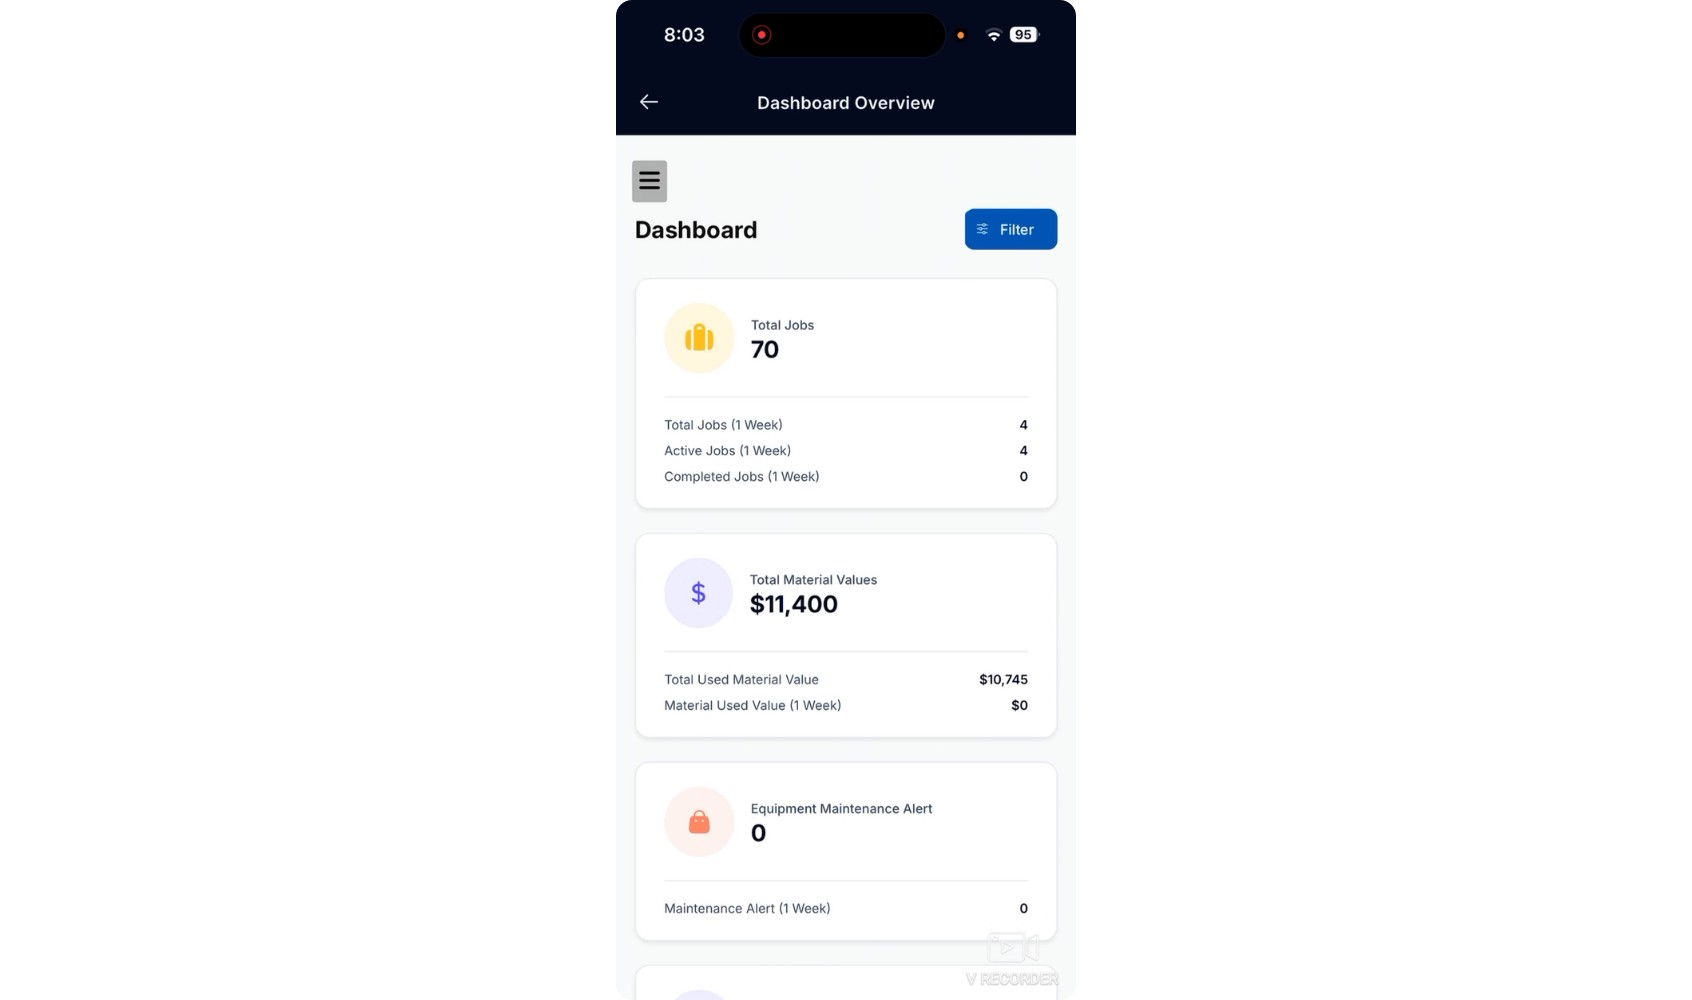
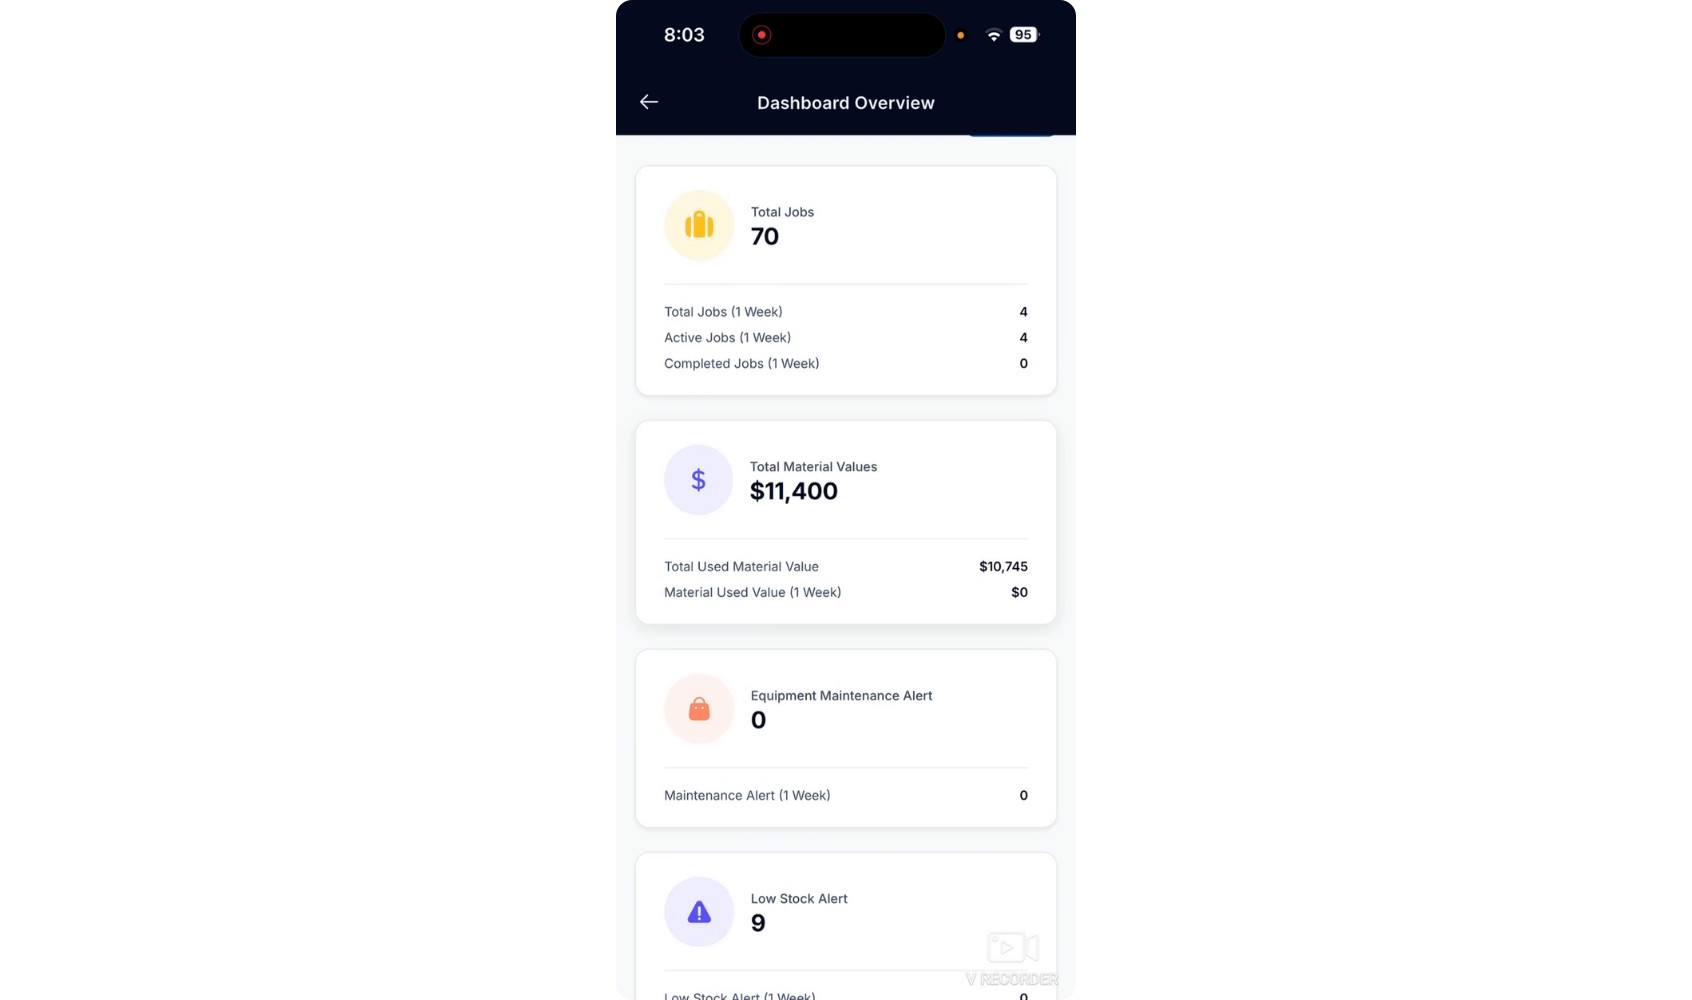
Under the welcome message, you will see a dashboard overview. Tap the arrow on this dashboard section to open a fuller breakdown. This view resembles the desktop (web) version of the Inventory HQ app. You can also see the side panel here to access and review all key sections. When finished, navigate back to the mobile app home screen.
- 4
Understand the Summary Tiles and Recent Jobs
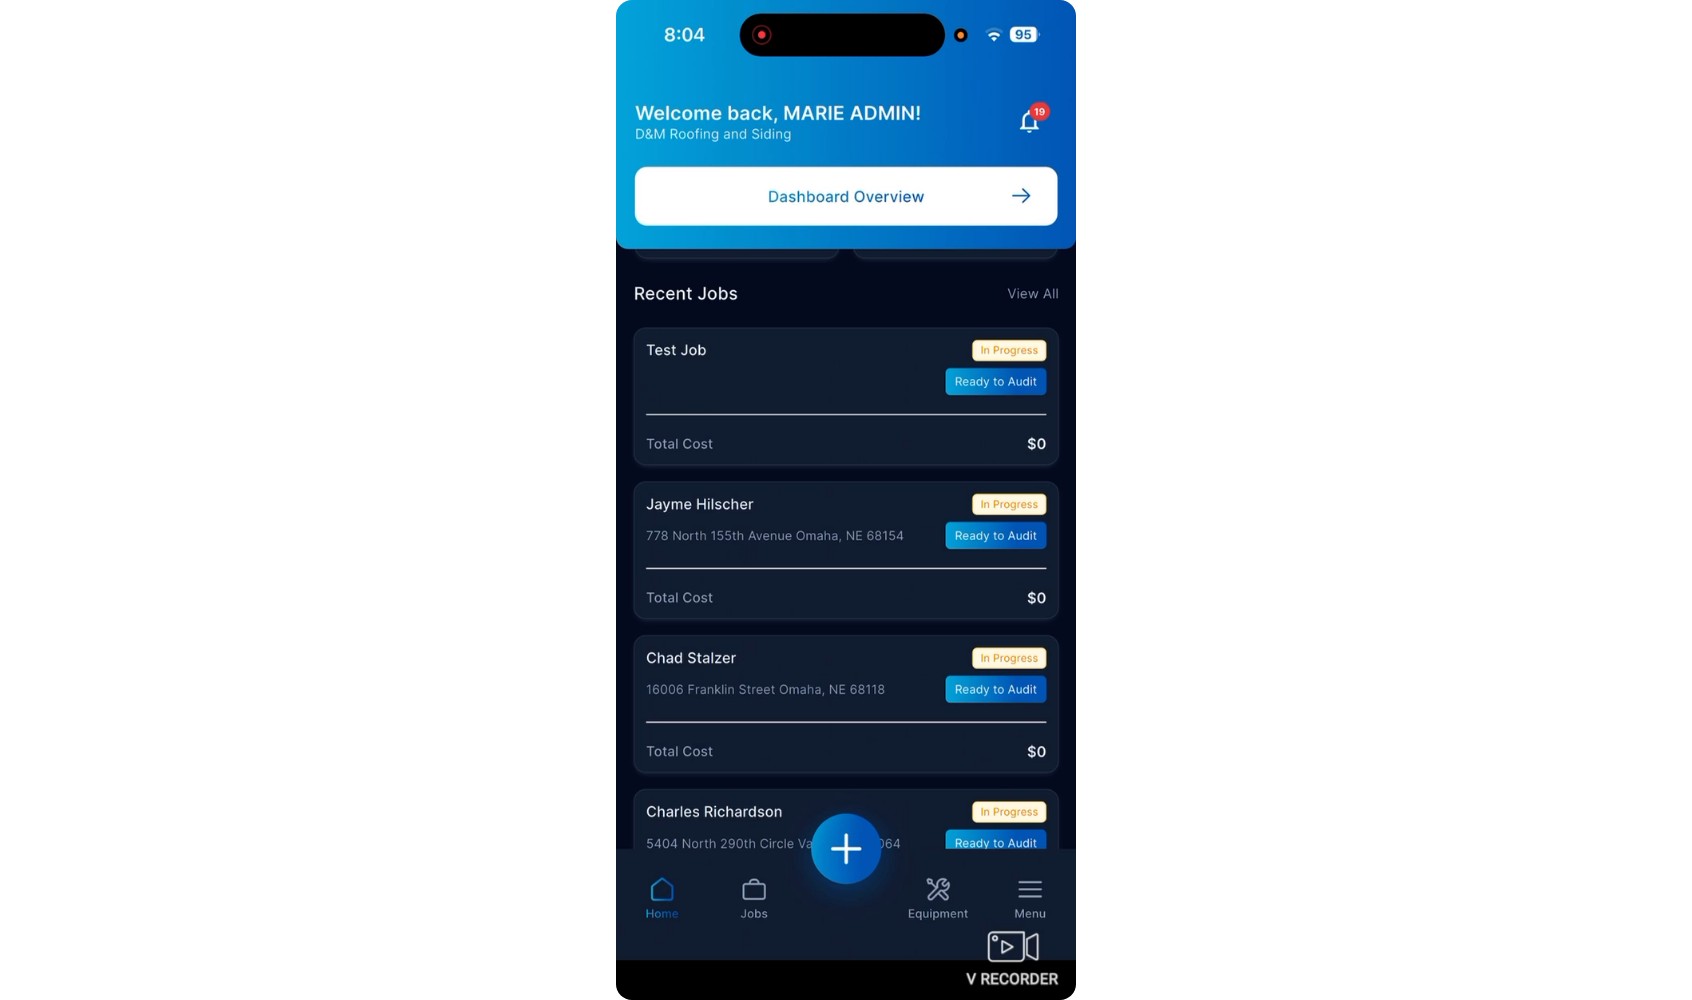
On the home screen, review the four tiles:
- Total Jobs – Every job you have ever created.
- Overall Cost – Total material cost across all jobs.
- Active Jobs – All jobs that are still in progress.
- Completed Jobs – Jobs that have been audited and closed.
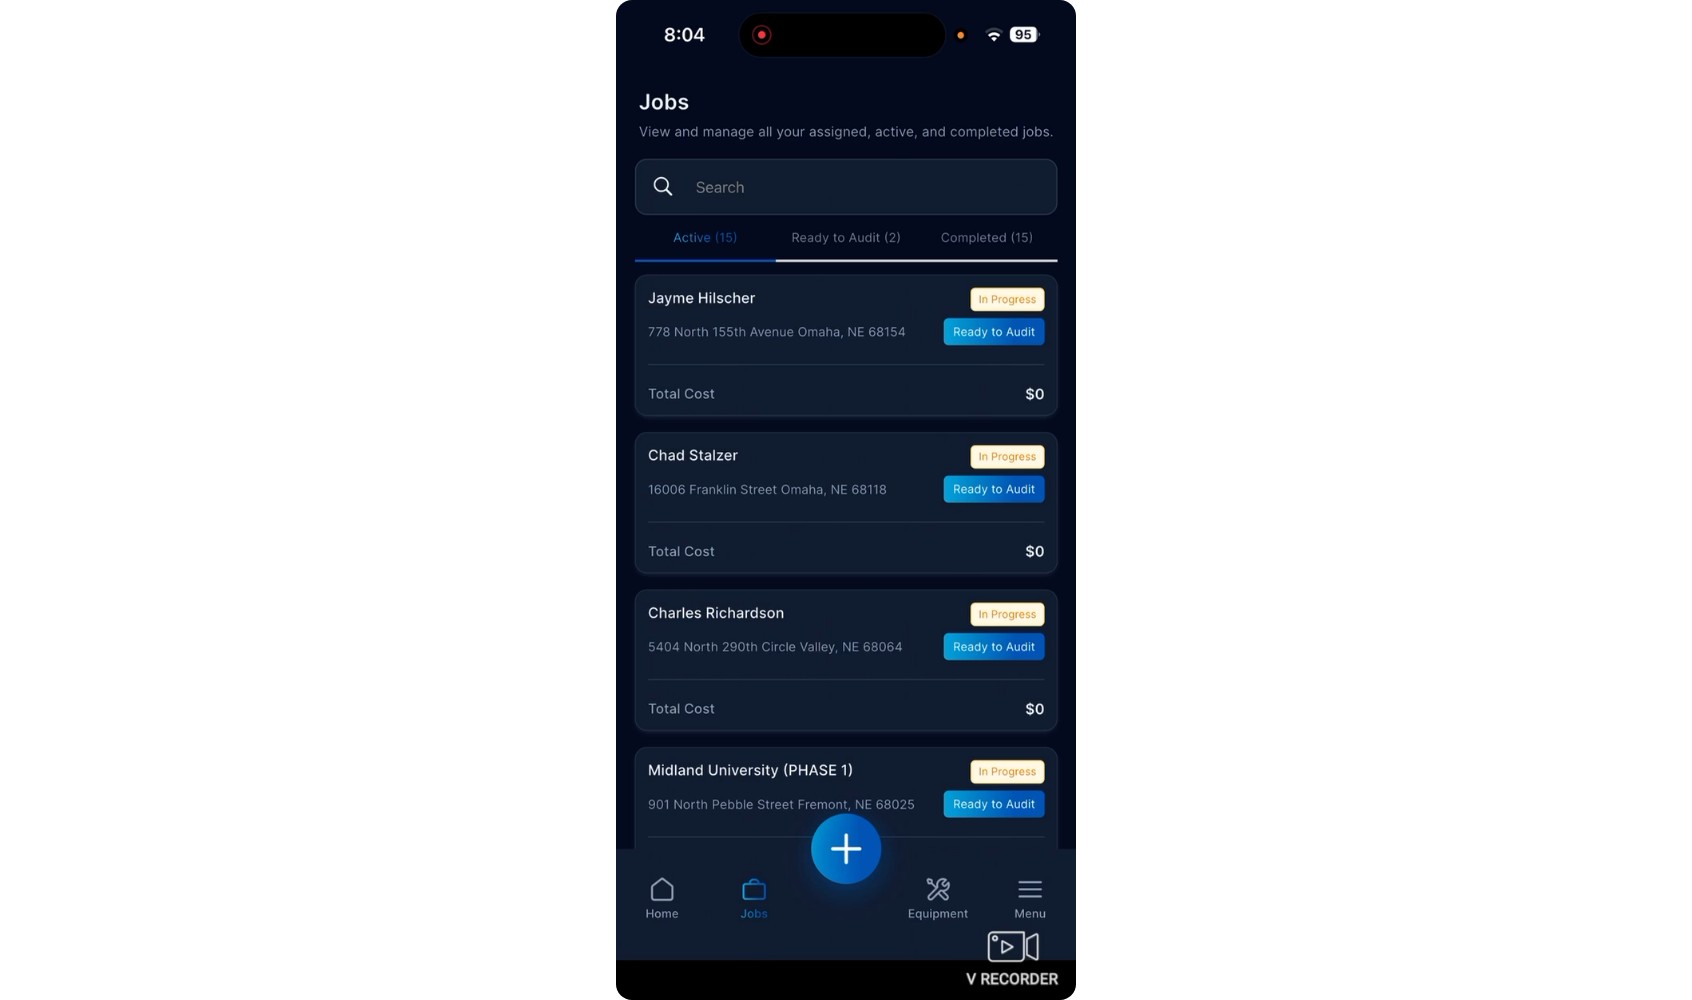
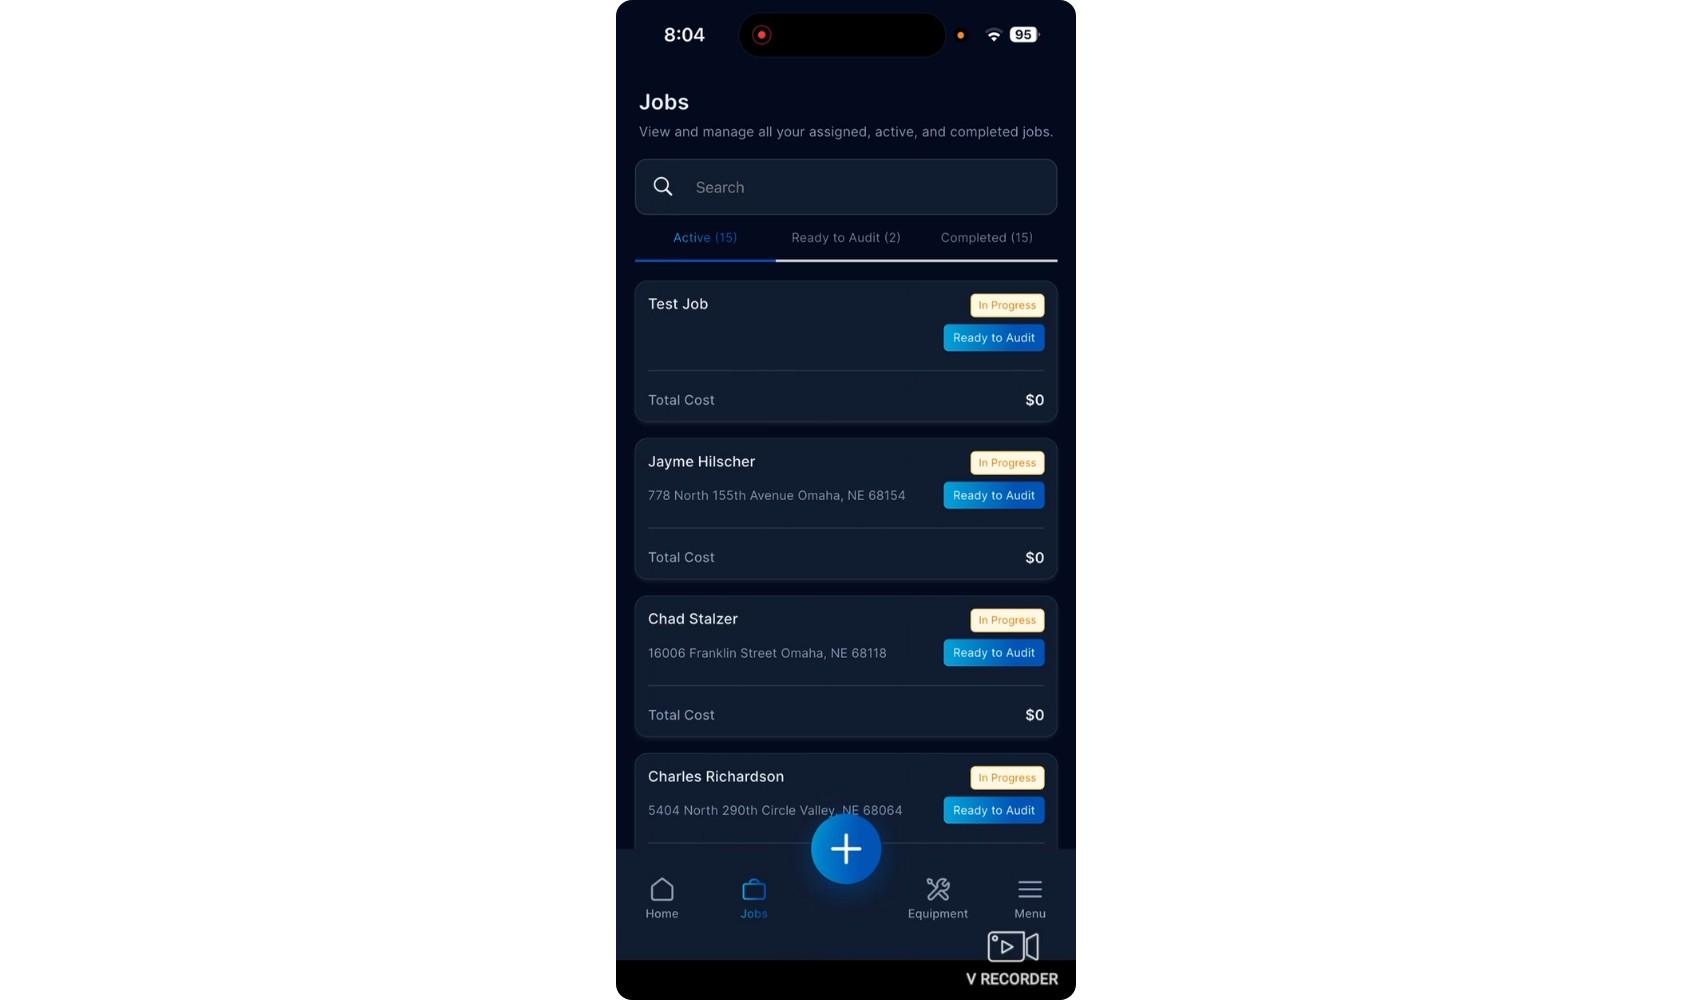
Scroll down to view your most recent jobs. Each job card displays the job name, address, status badge (shows the current state of the job), running total cost, and a Ready to Audit button (you will use this when a job is ready for auditing). If you want to see all jobs, tap View All to go to the full job list. This is the same list you access from the Jobs tab.
- 5
Use the Bottom Navigation Bar
Use the bar along the bottom of the screen to move around the app:
- Home – Tap this to return to the home screen at any time.
- Jobs – Opens your full job list.
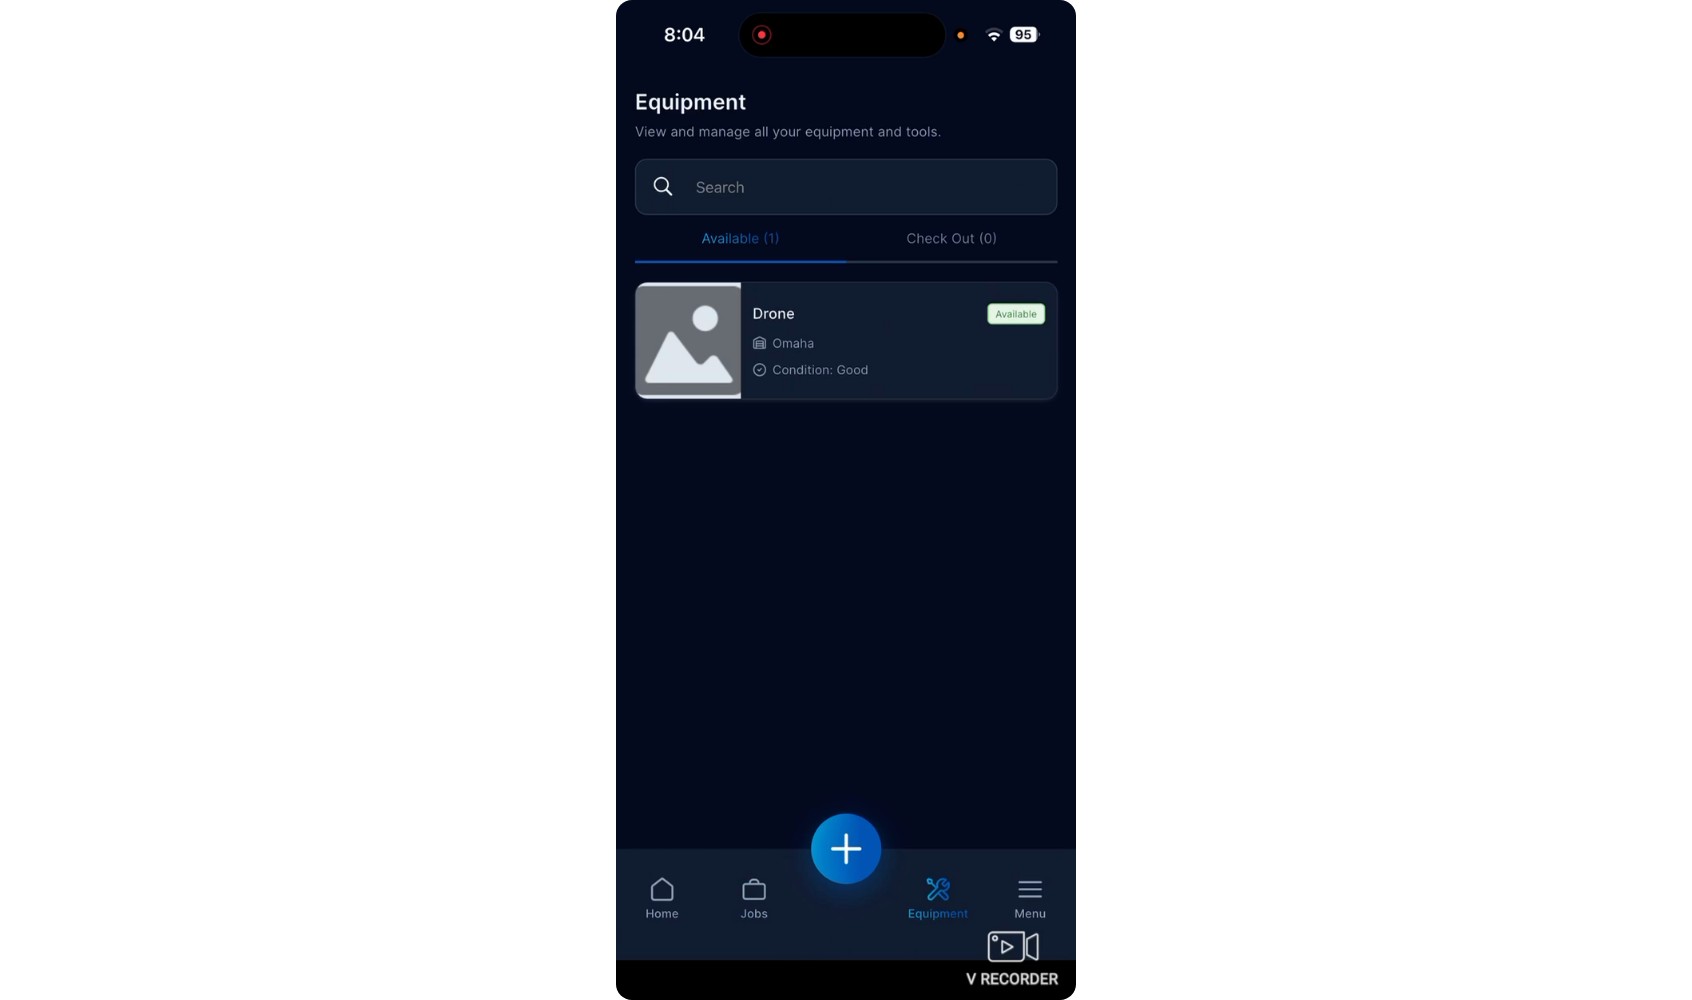
- Equipment – Shows your tools and equipment.
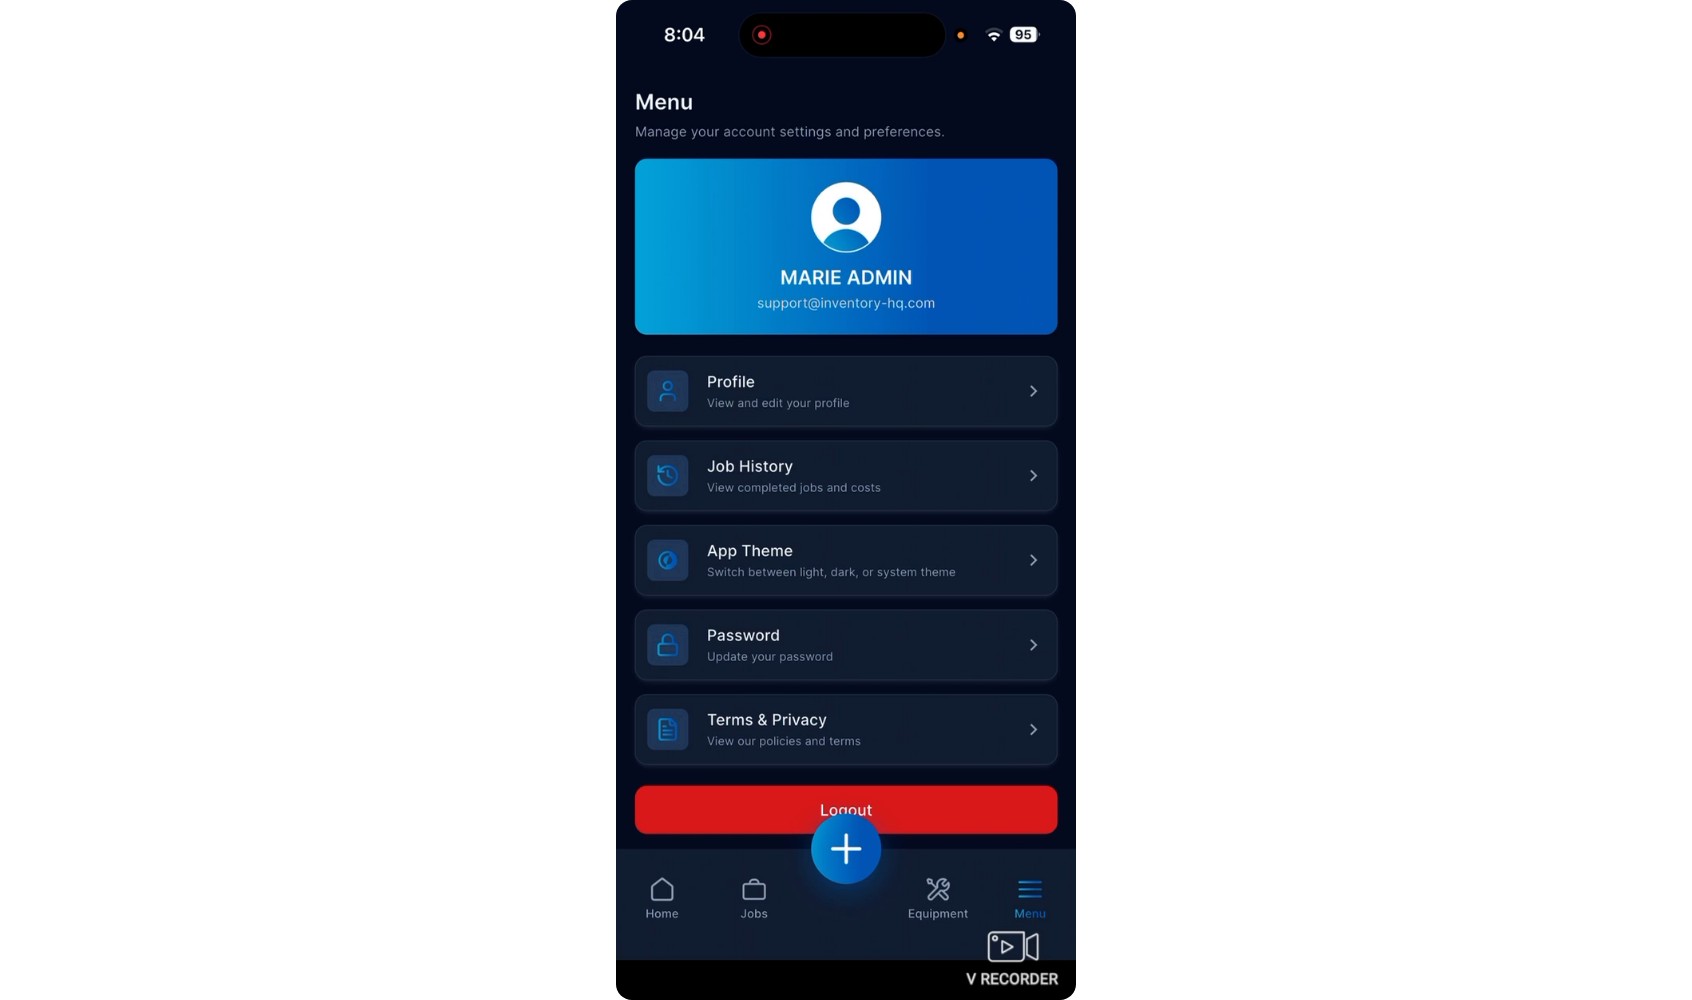
- Menu – Access your account profile, change your password, adjust the theme, and sign out.
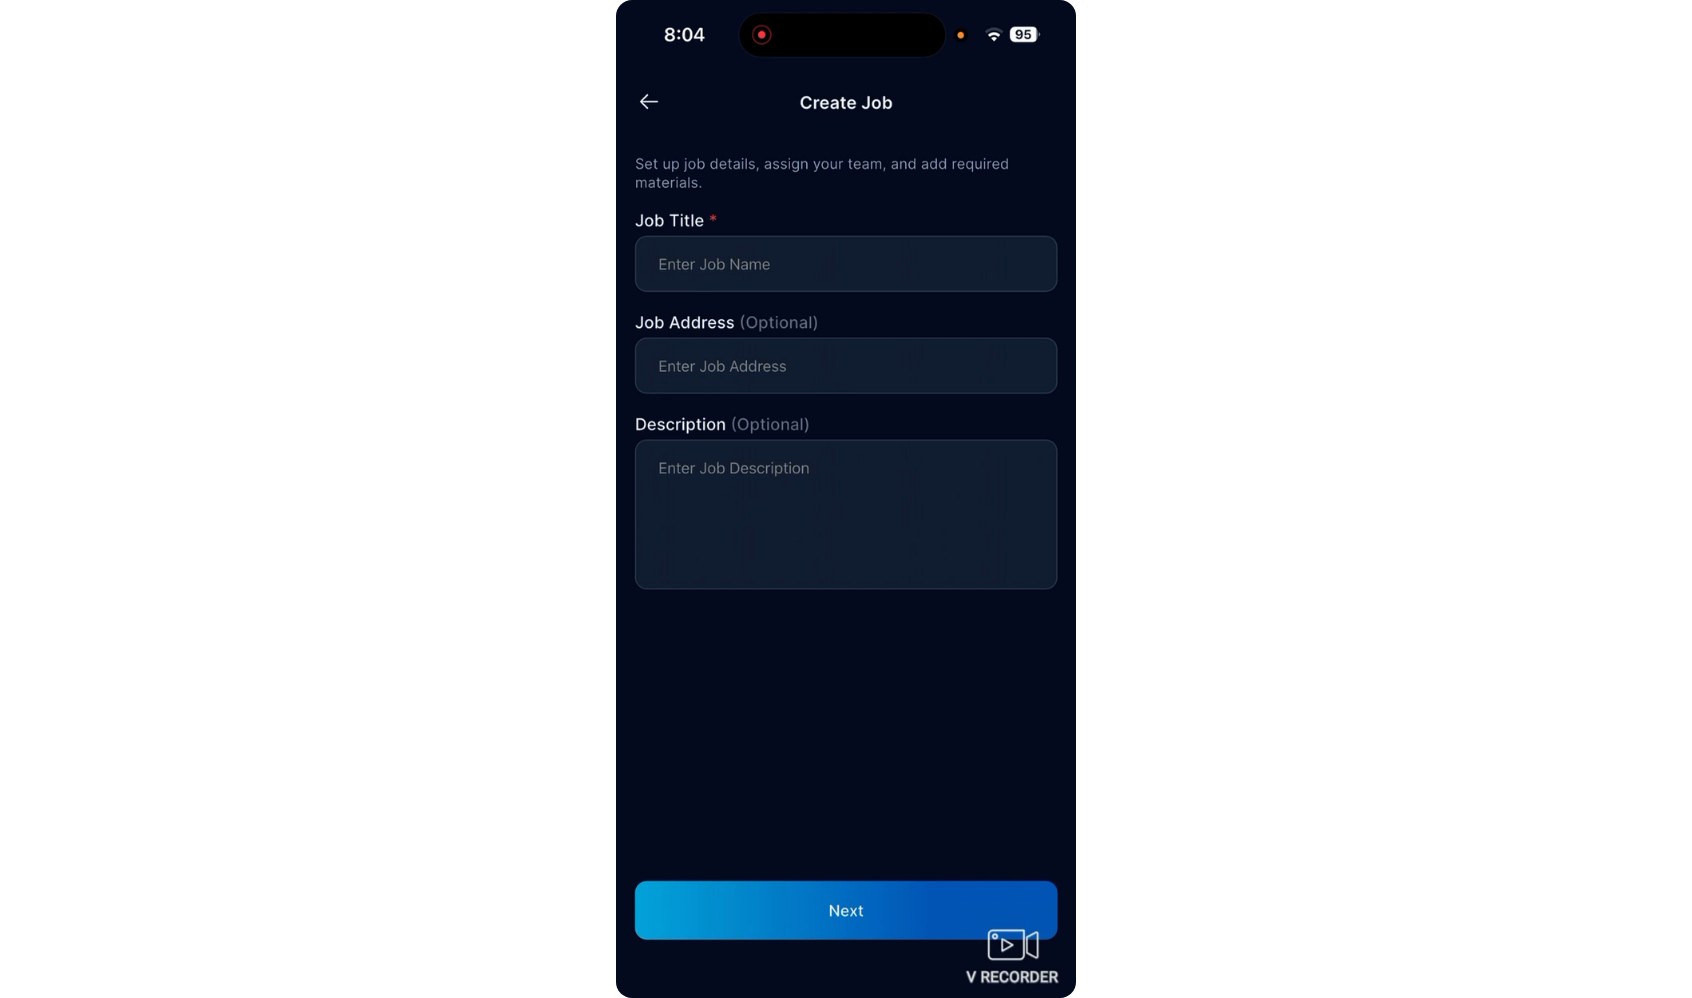
The large plus (+) button in the center of the bar starts a new job and is available from anywhere in the app.
NEXT TUTORIAL
Managing Materials and Inventory in InventoryHQ →