
JobNimbus Integration with InventoryHQ
This document explains how to connect JobNimbus to InventoryHQ, configure the automation that triggers job syncing, and verify that material costs flow back from InventoryHQ into JobNimbus automatically.
Step by step
- 1
Open the CRM Connection in InventoryHQ
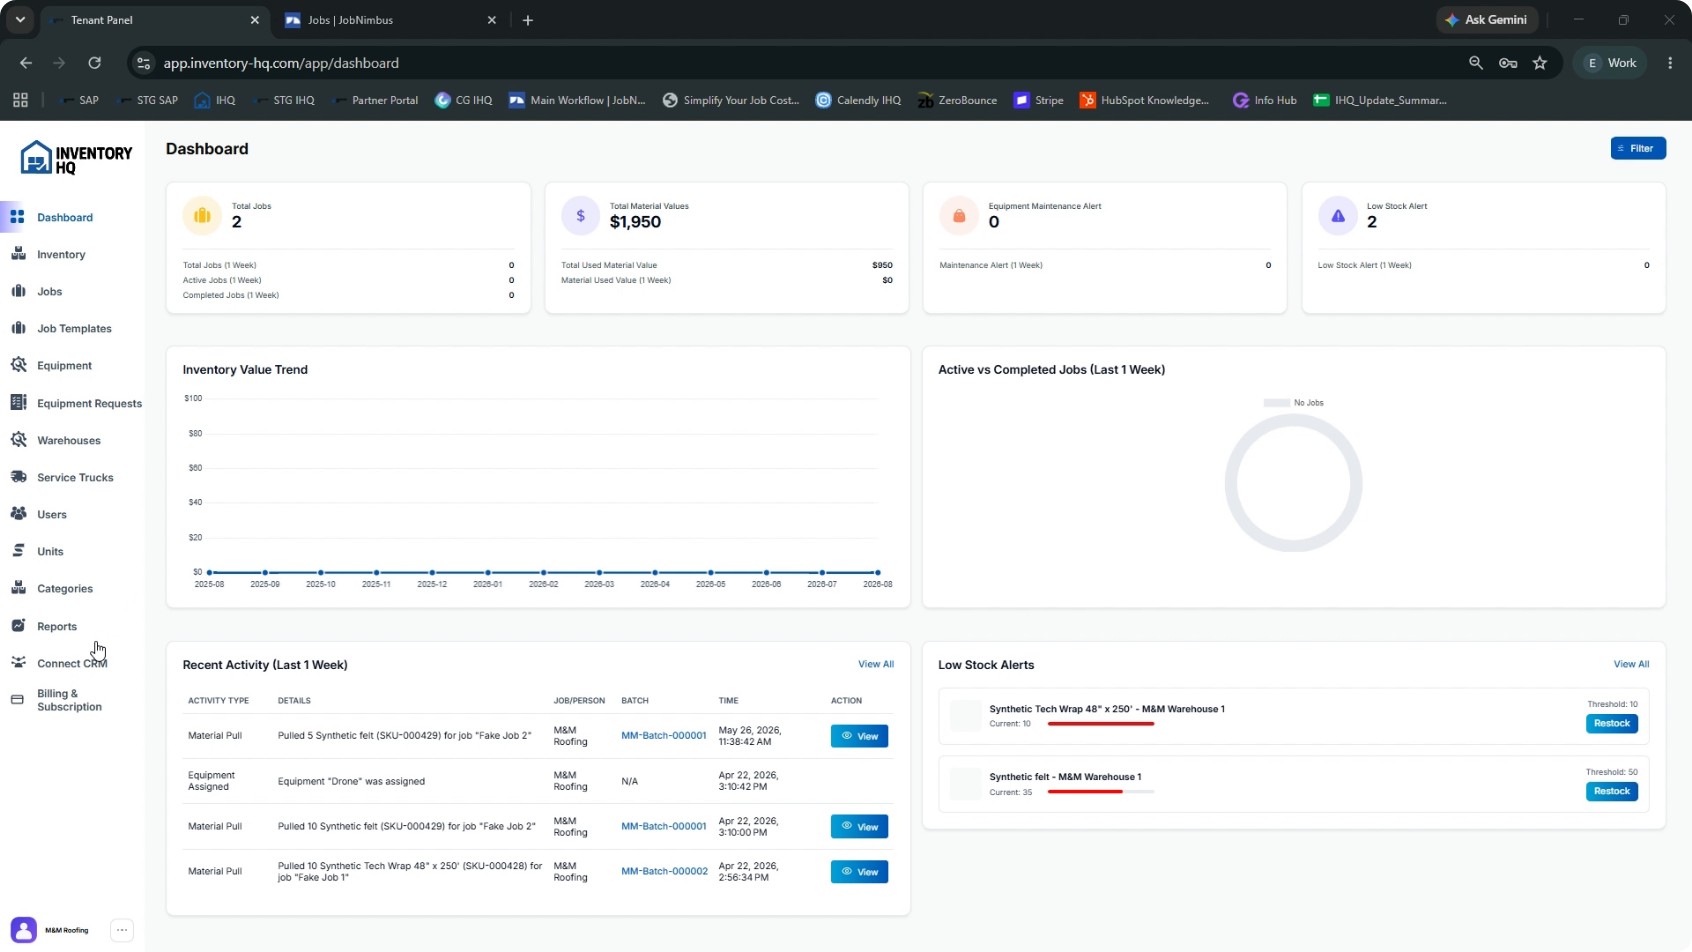
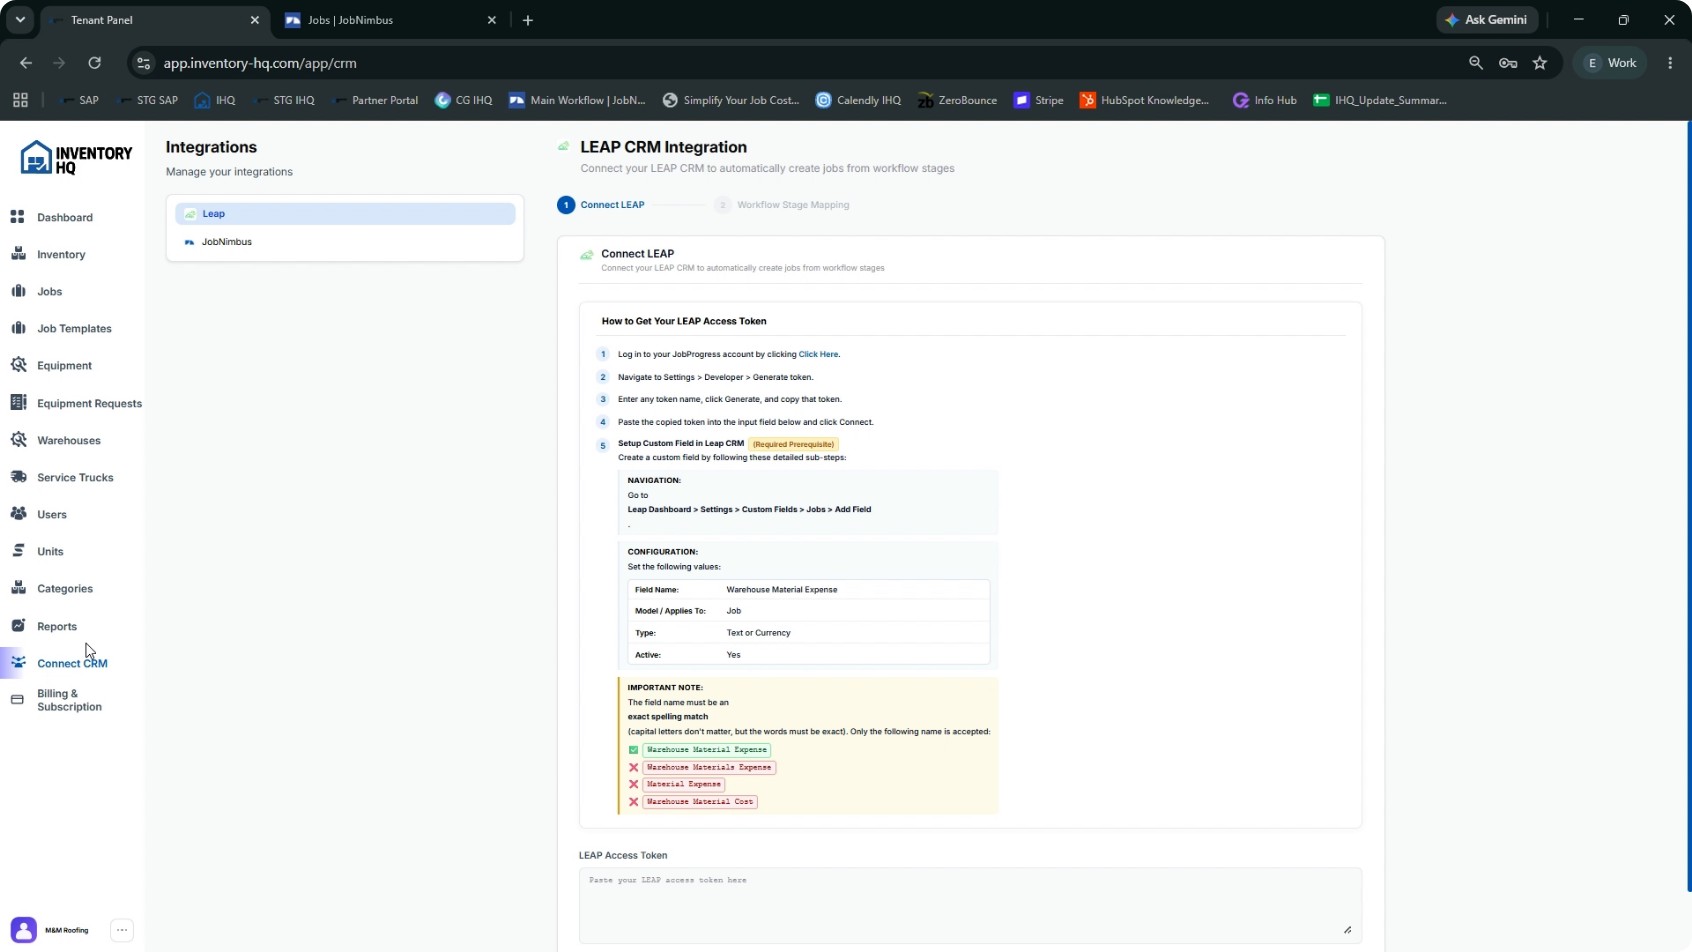
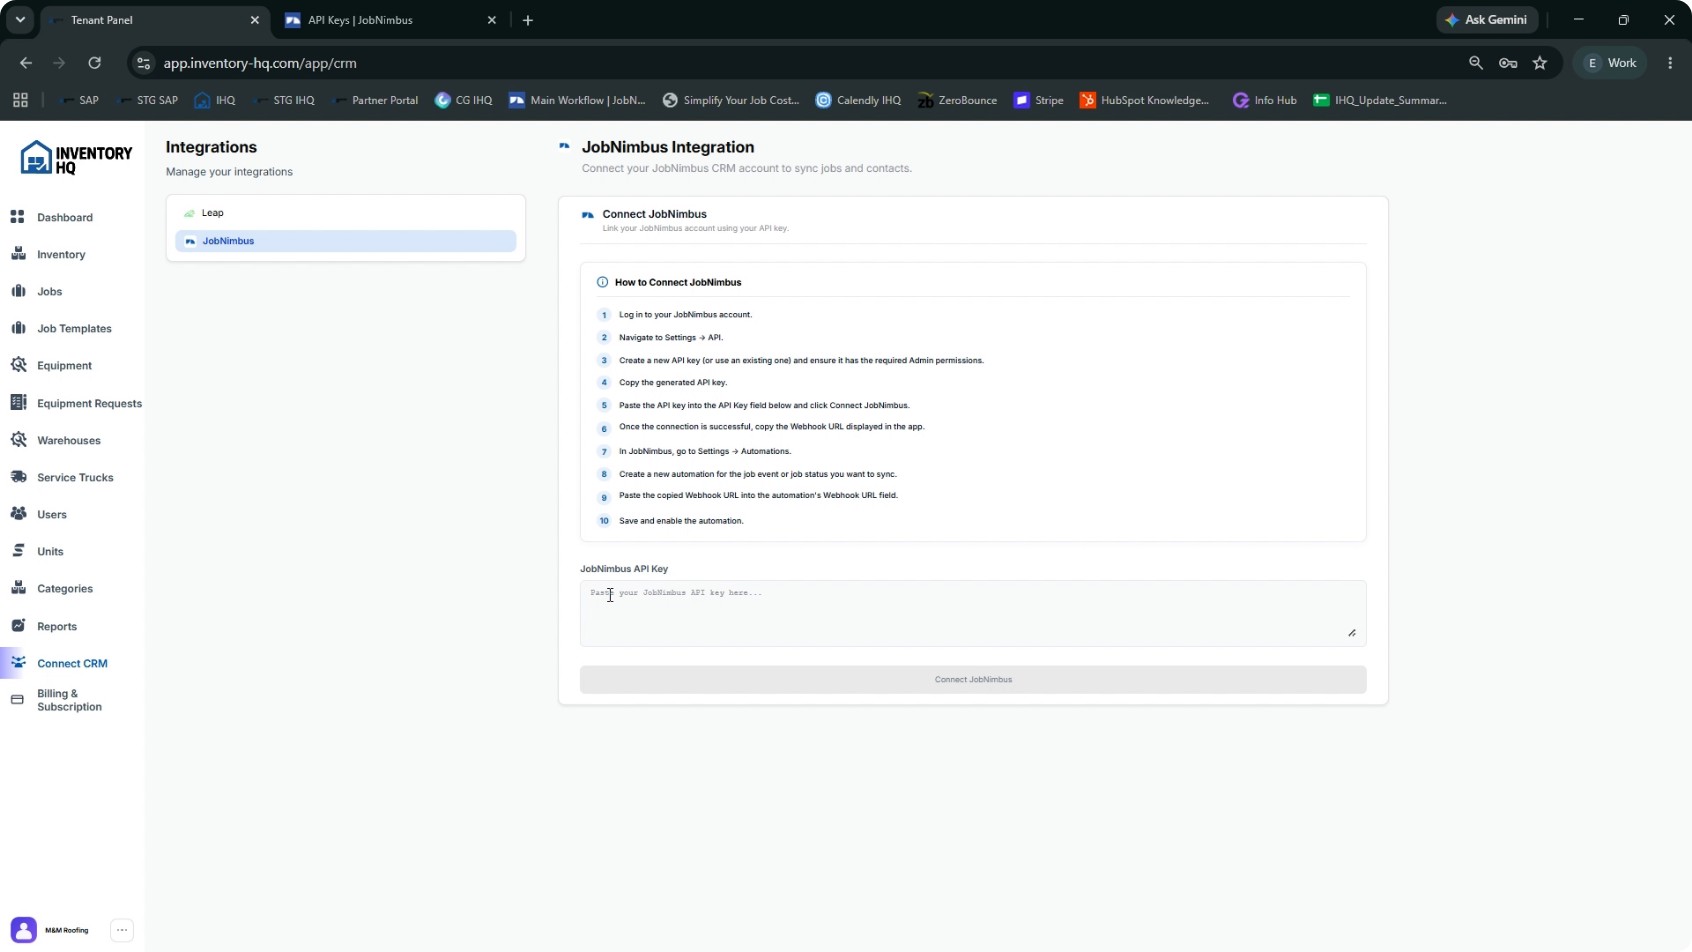
Once you are logged into InventoryHQ, go to the left sidebar and open the CRM connection screen. From the list of available CRMs, select JobNimbus.
- 2
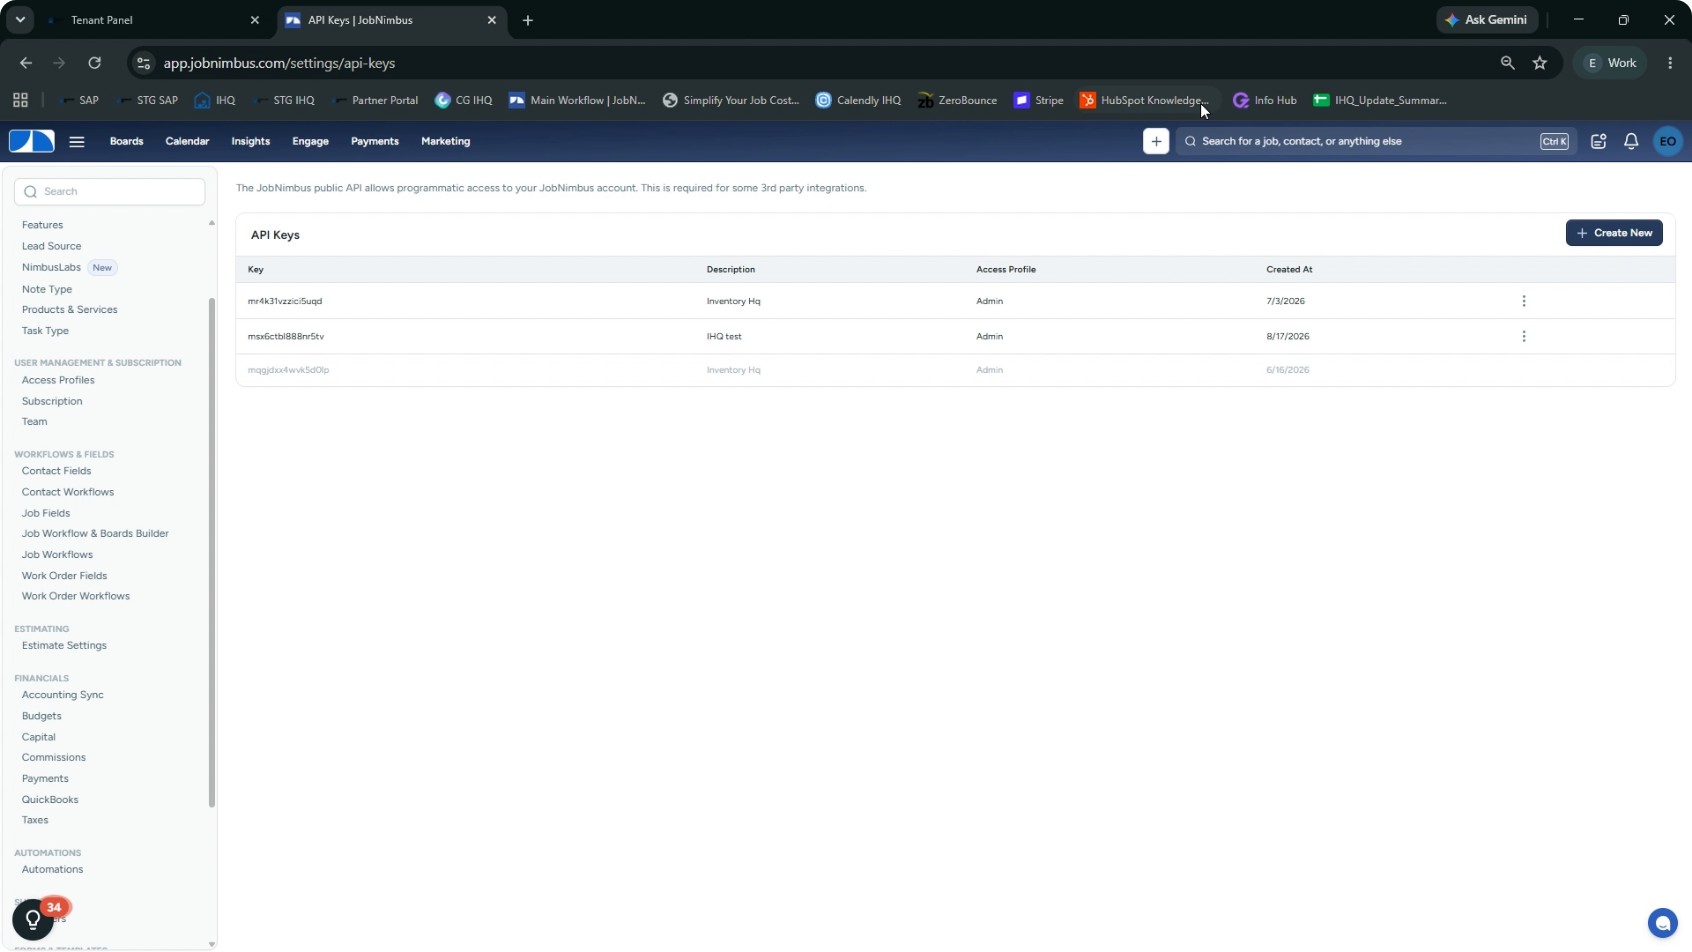
Open API Settings in JobNimbus
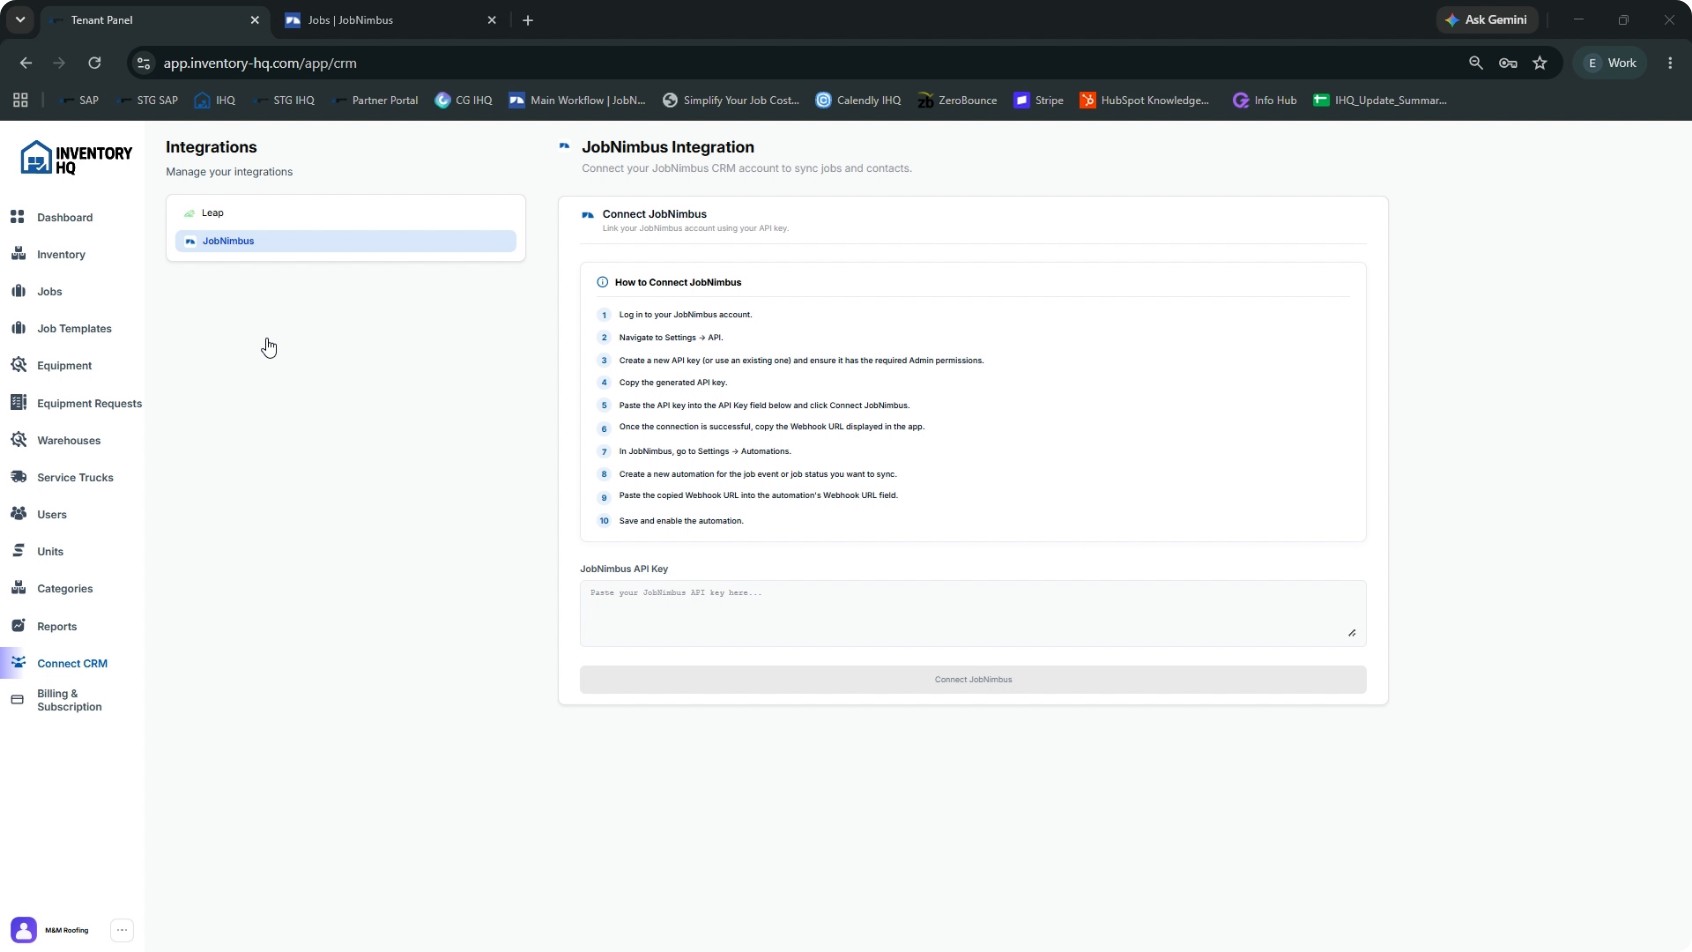
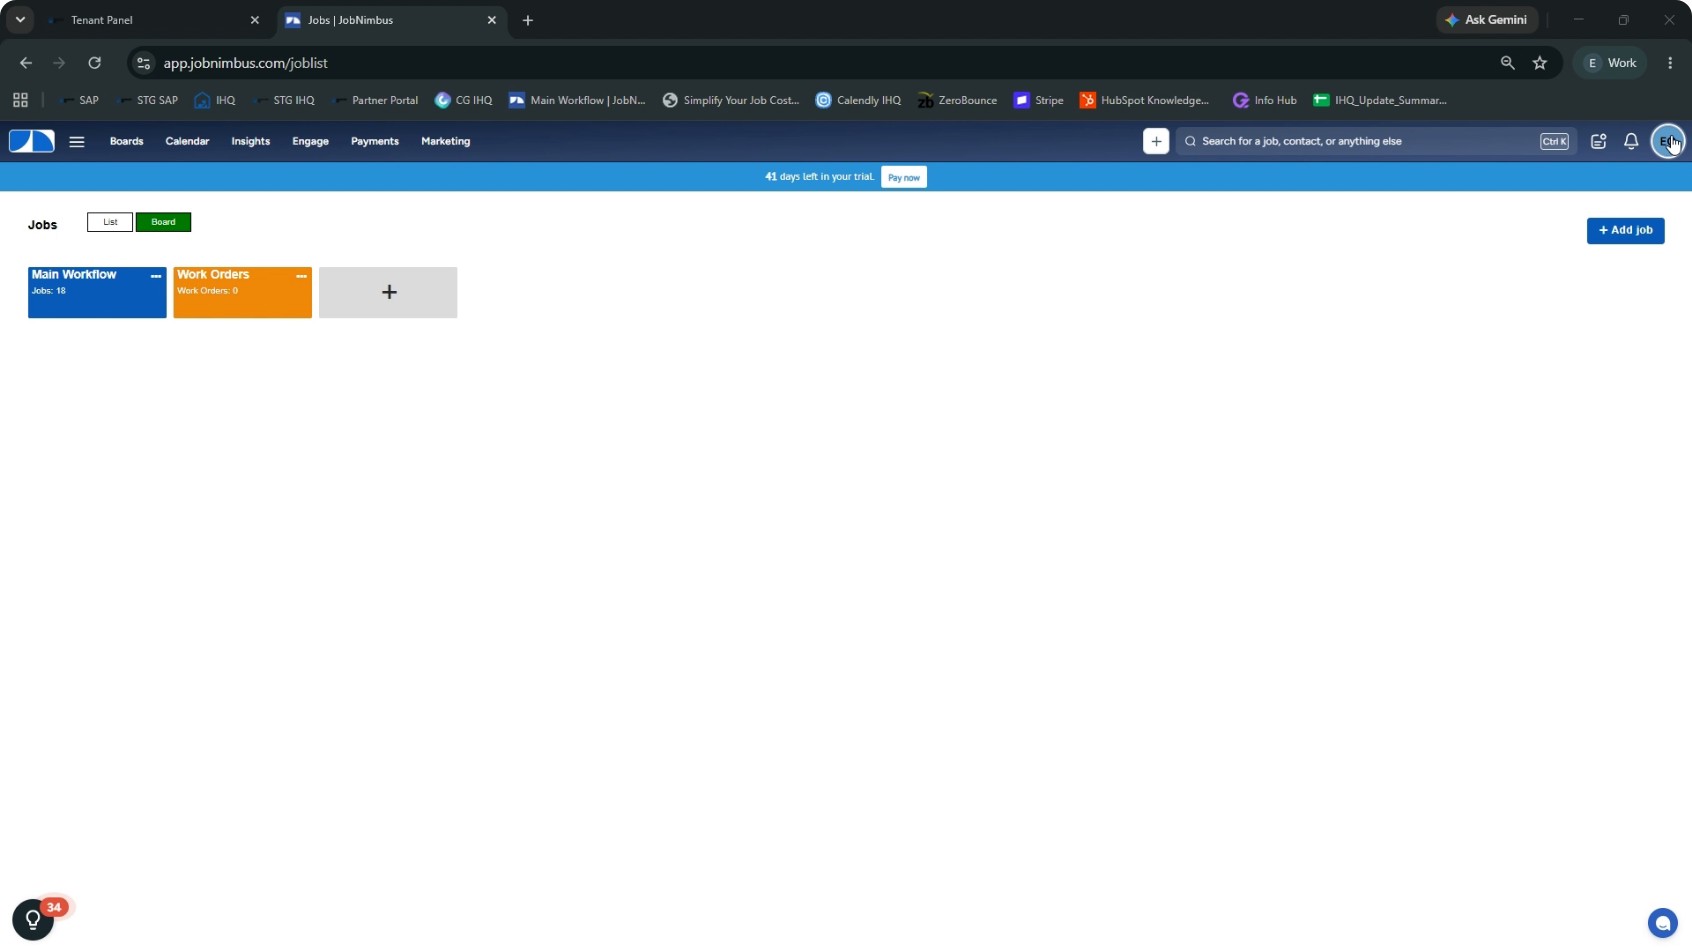
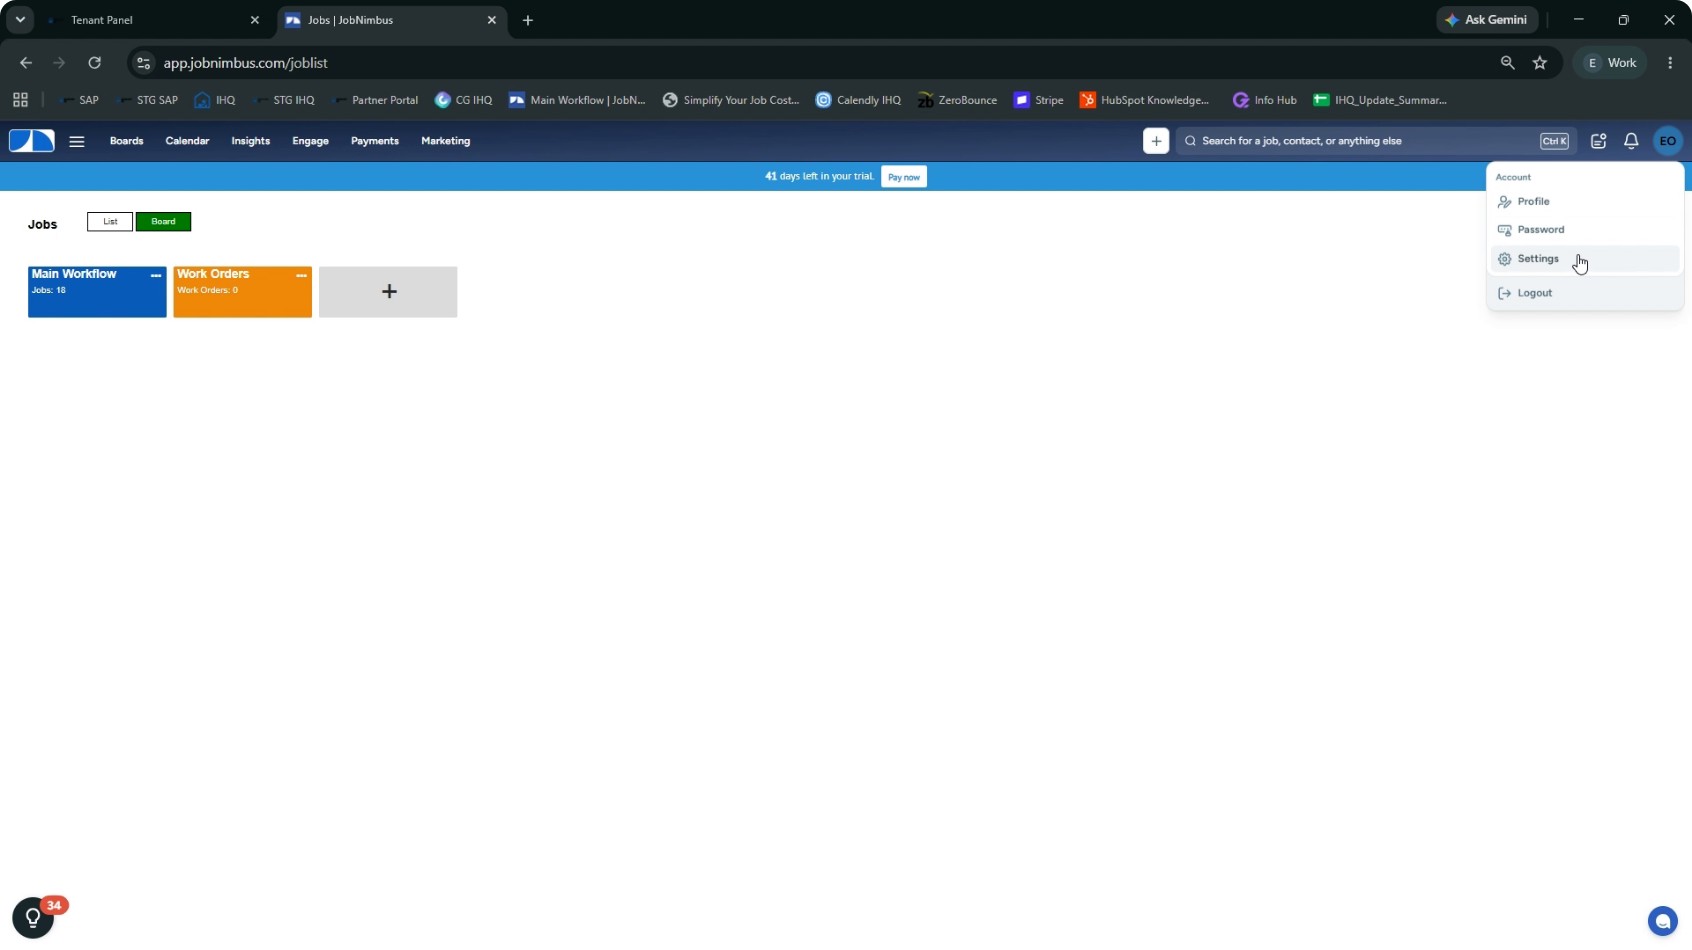
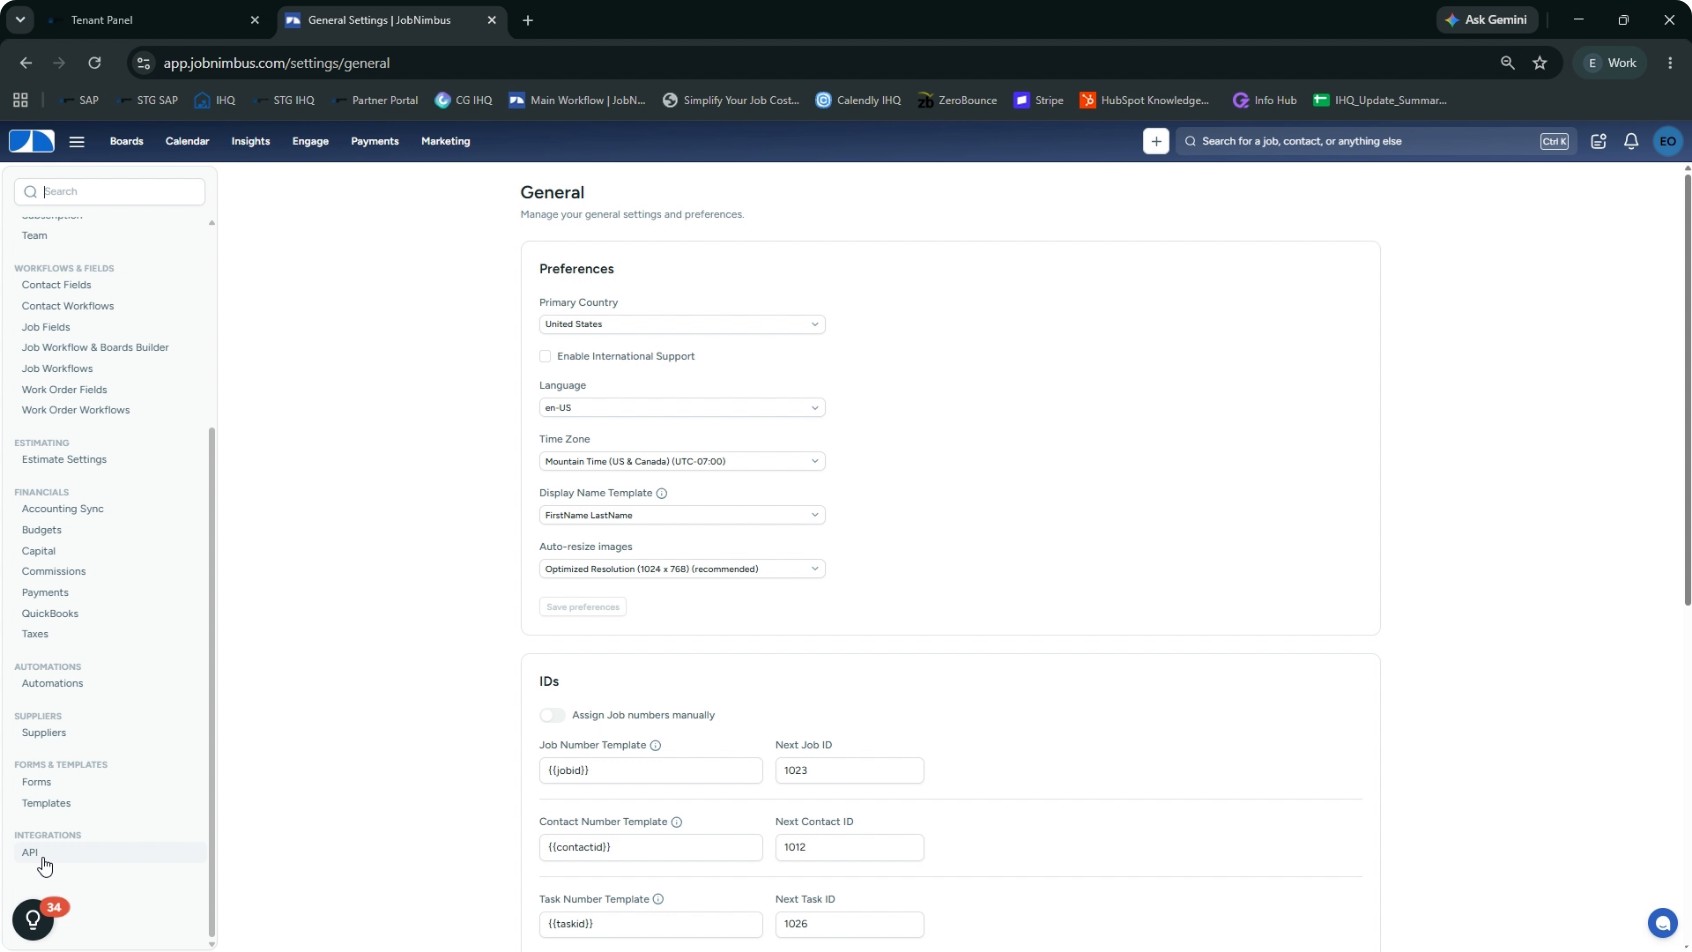
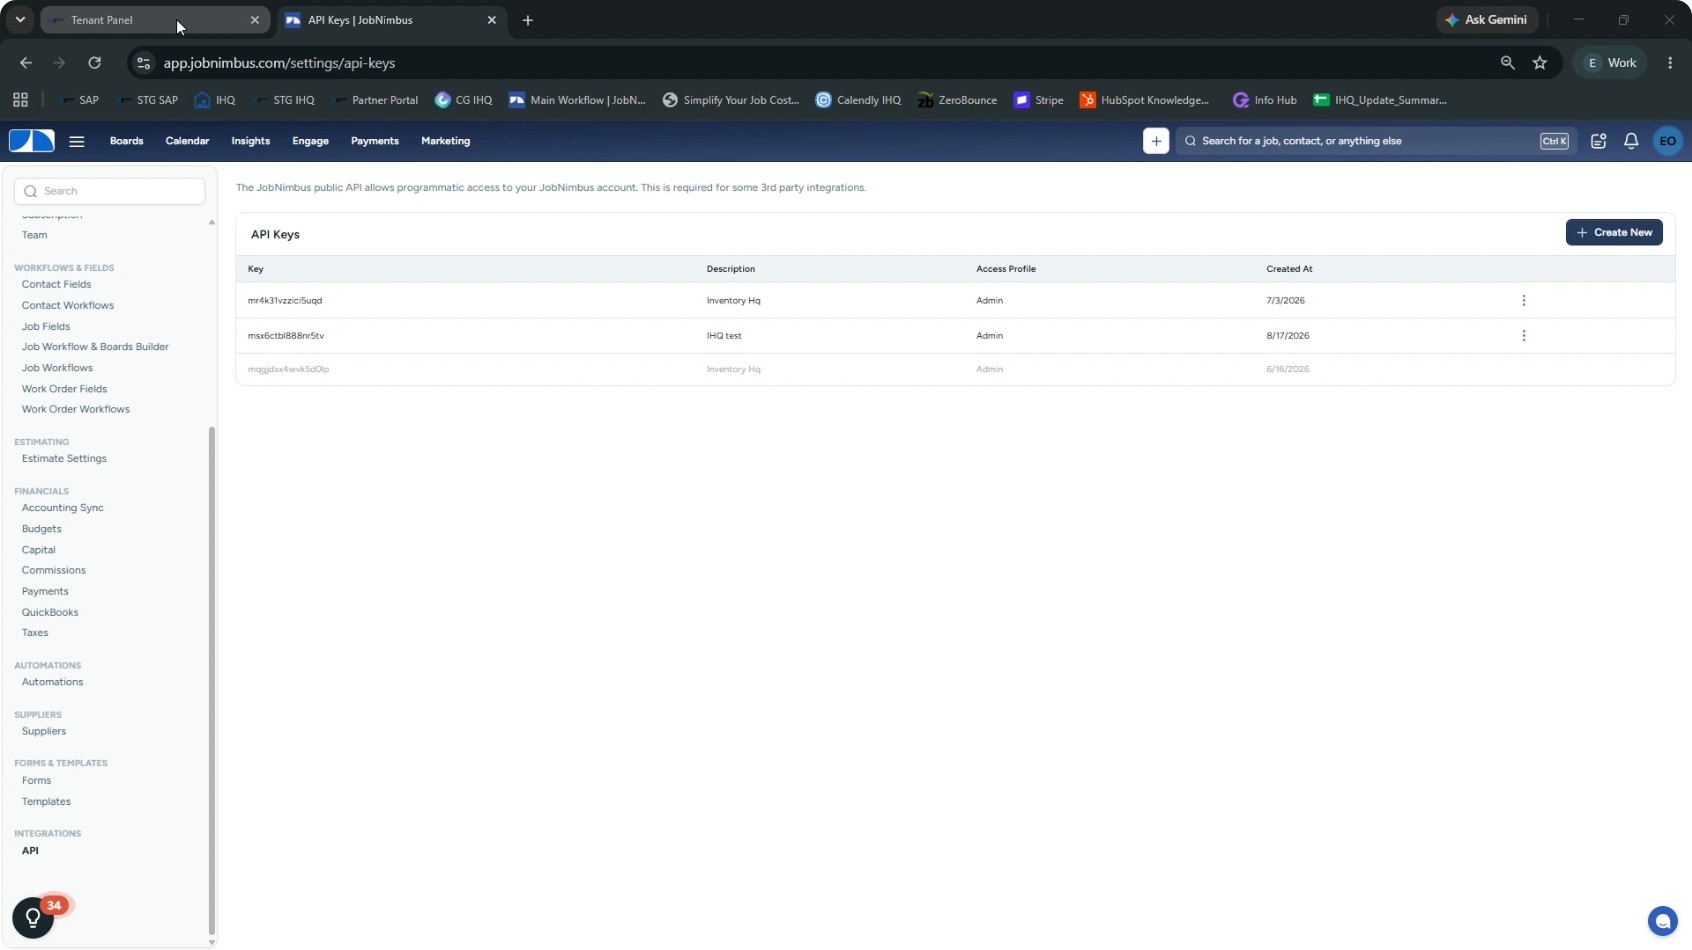
In a separate tab or window, log into your JobNimbus account. Go to Settings. In the Settings side panel, locate and select API.
- 3
Create an API Key in JobNimbus
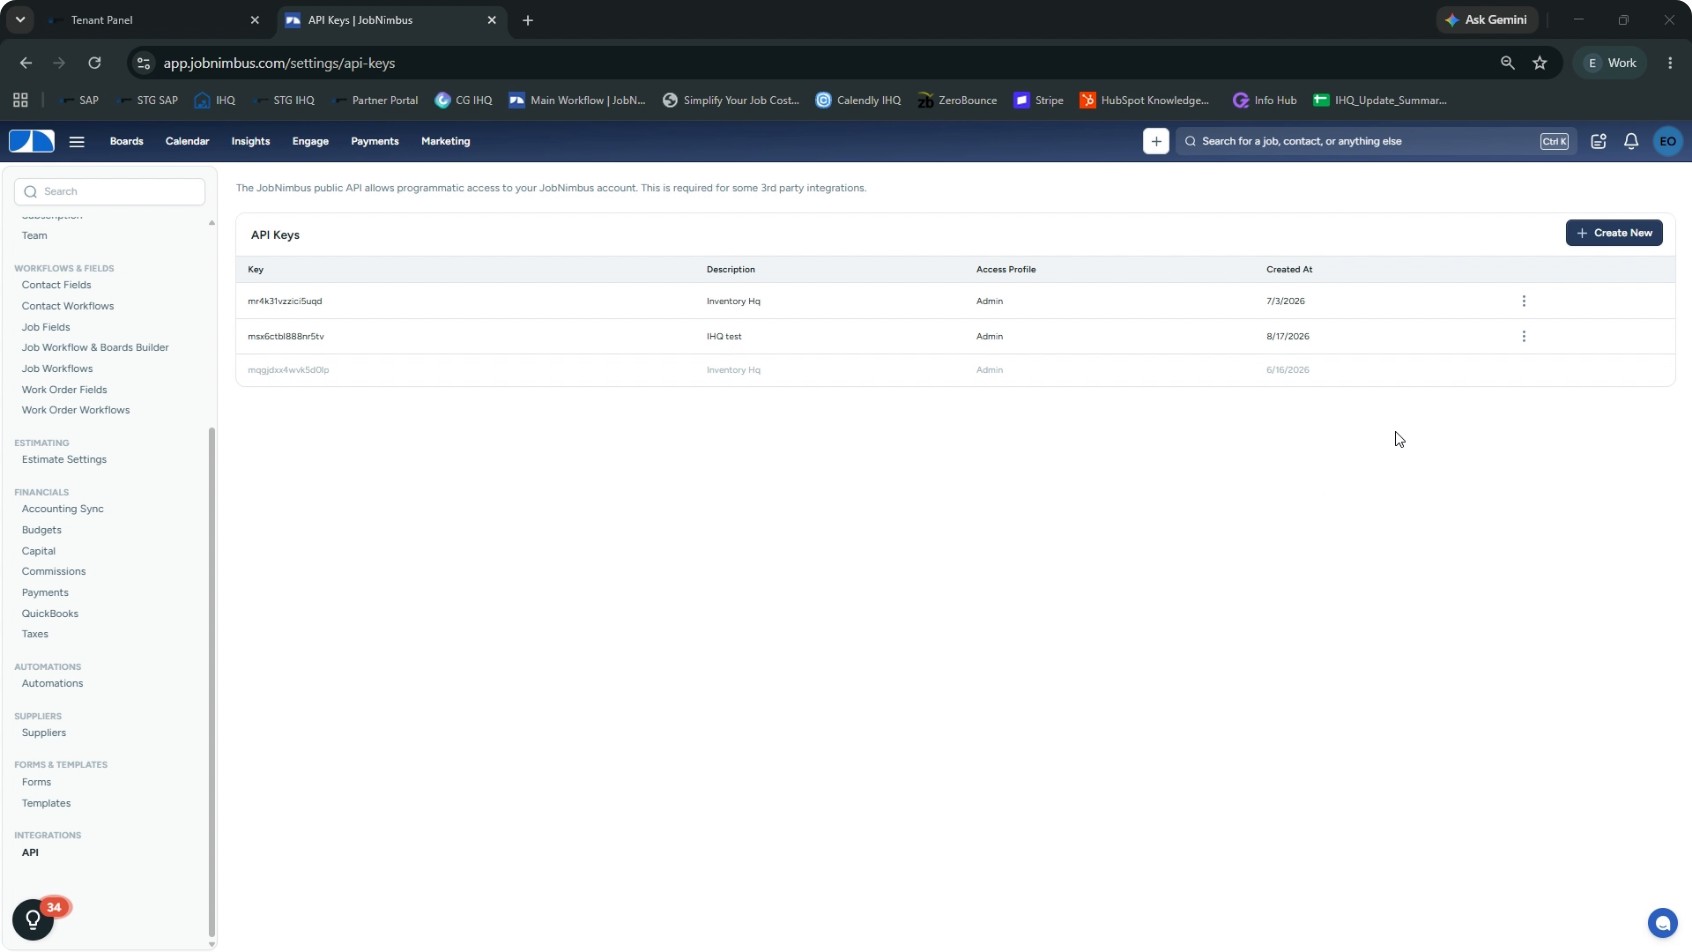
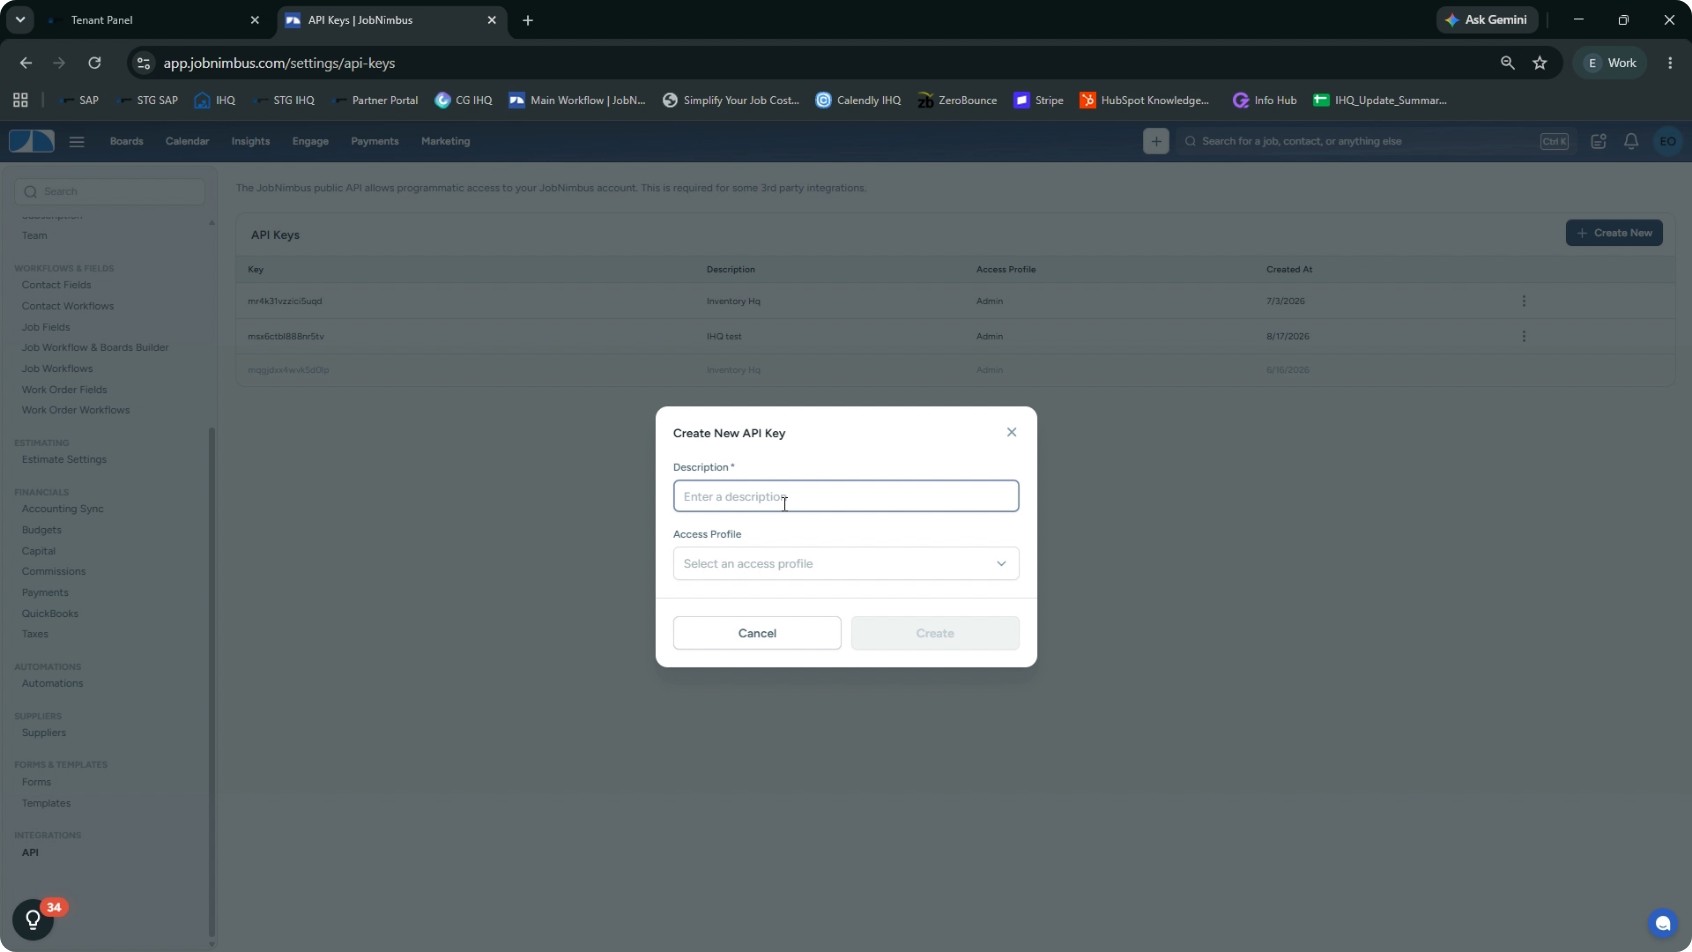
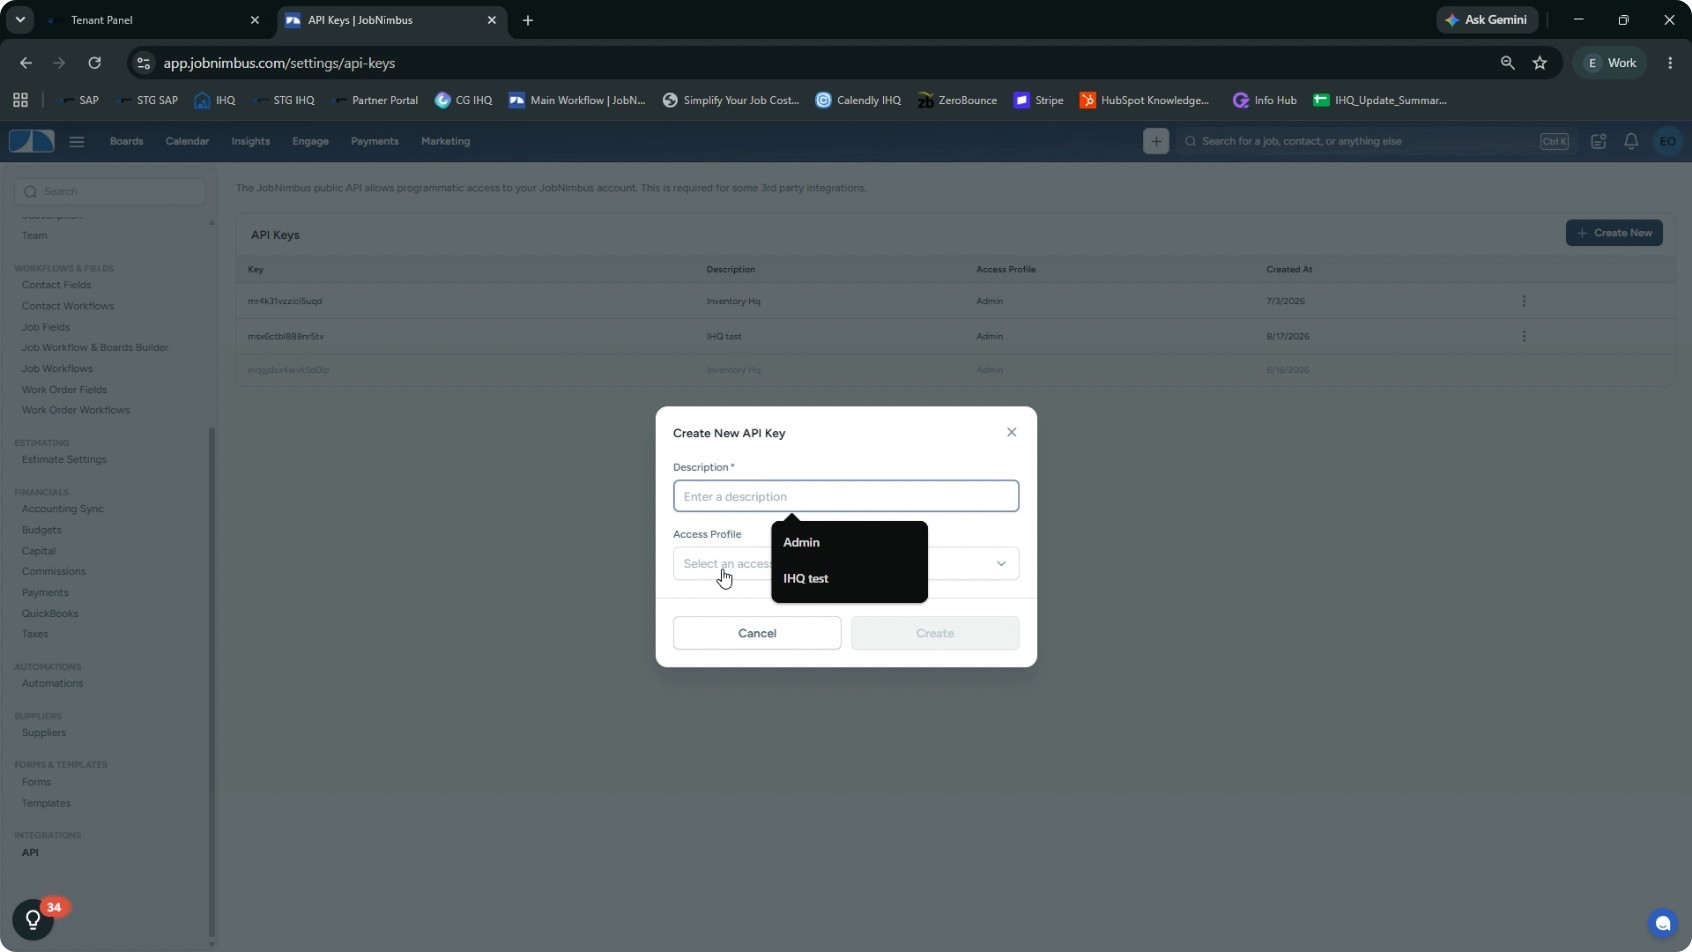
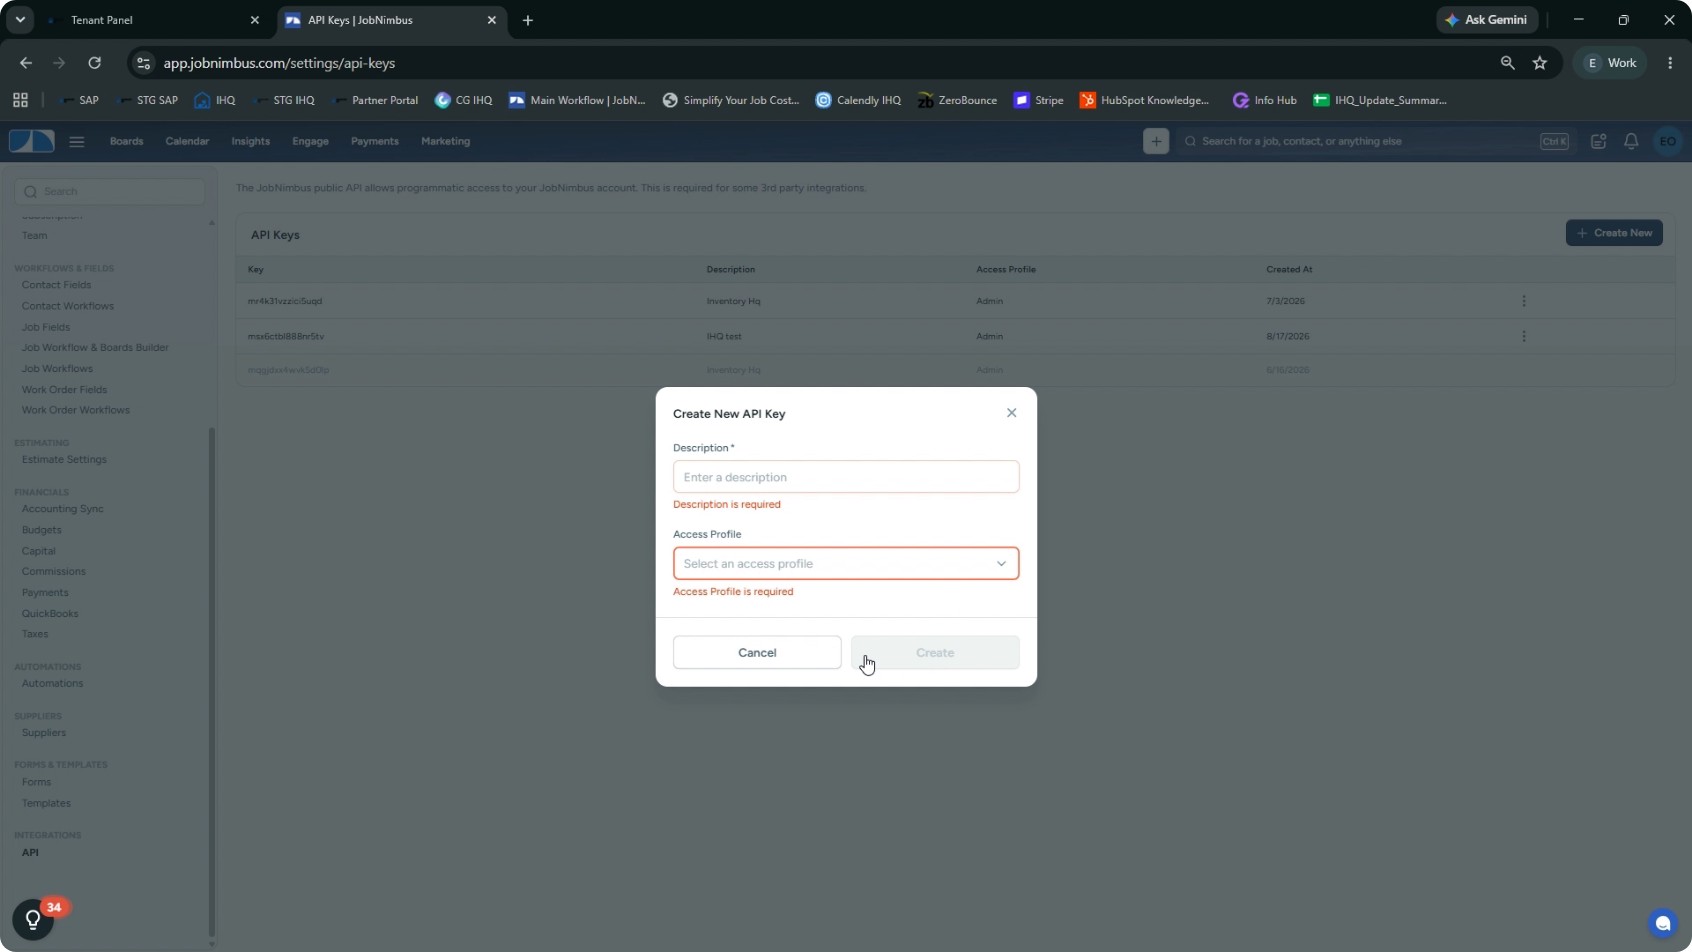
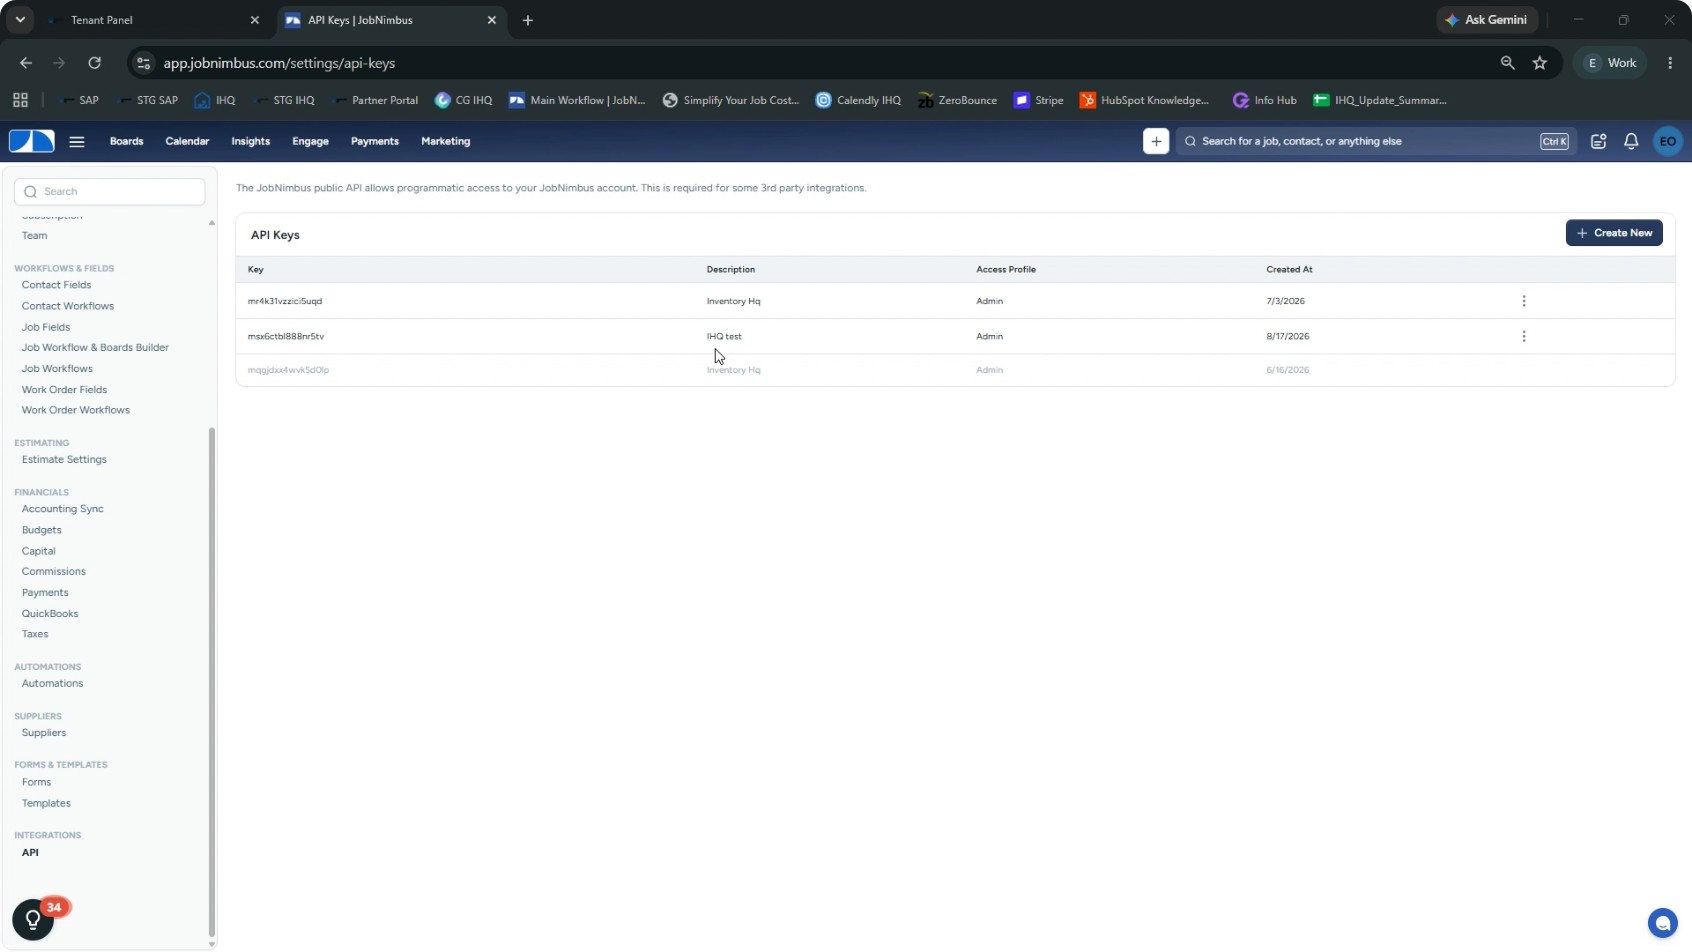
In the API section, create a new API key. Click Create new to add an API key. Enter a short description such as “InventoryHQ” or “InventoryHQ Test,” according to your preference. Set the Access Profile to Admin to ensure full access for the integration. Click Create to generate the new API key. You will now see the newly created API key for InventoryHQ.
- 4
Copy and Paste the API Key into InventoryHQ
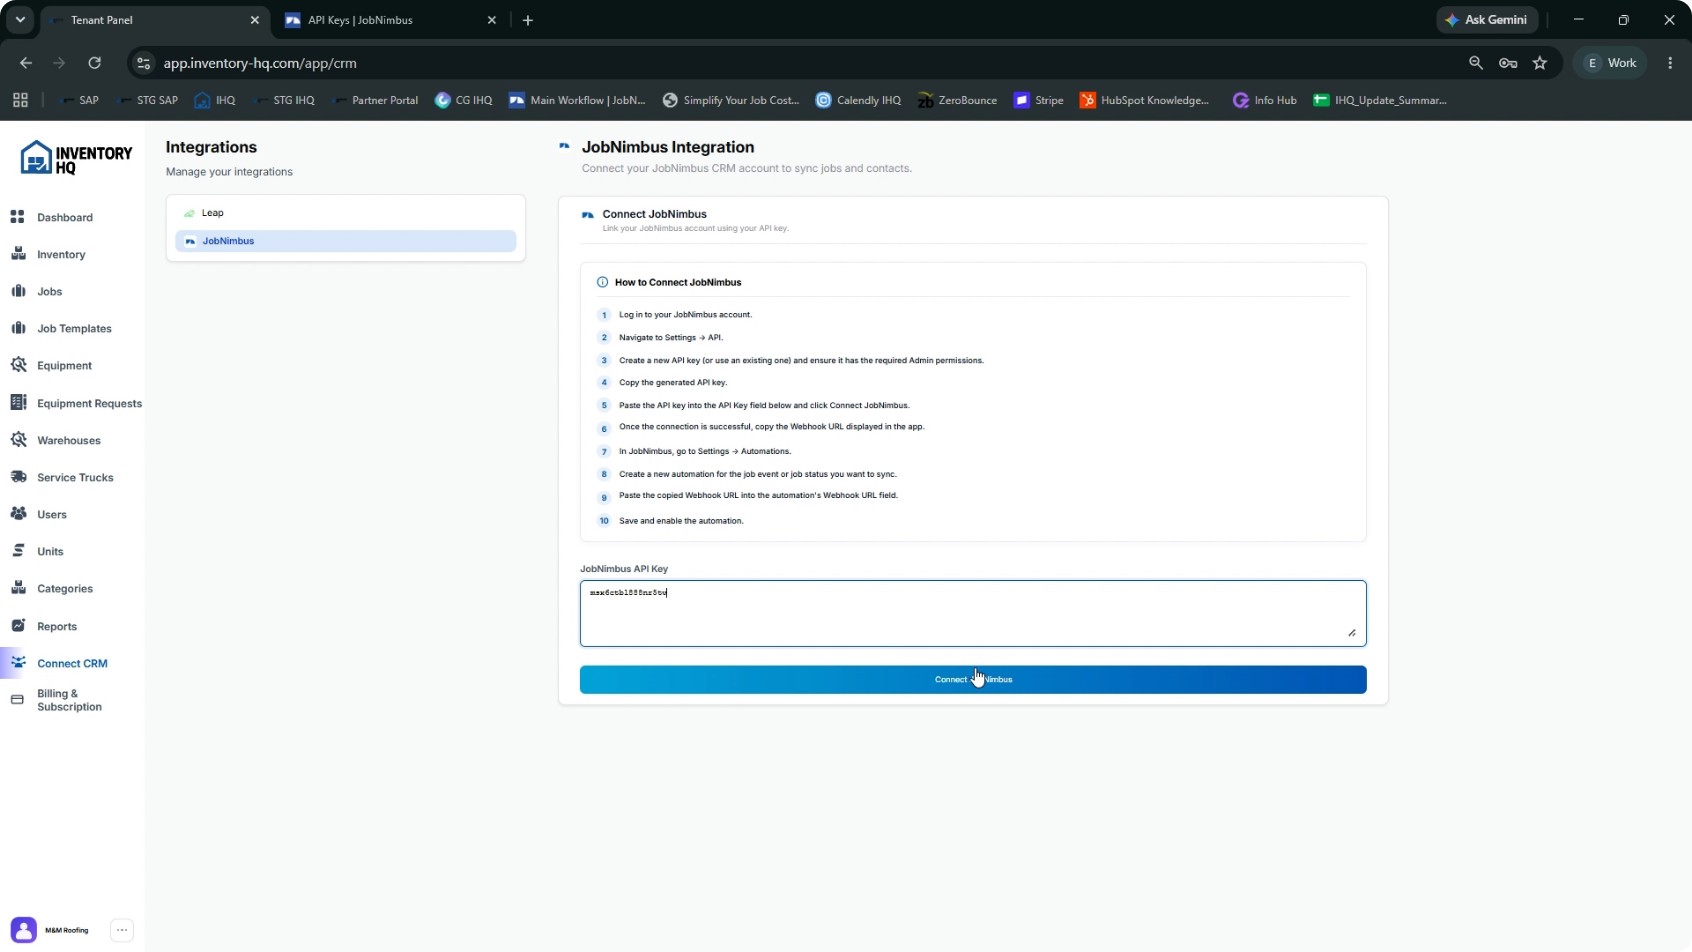
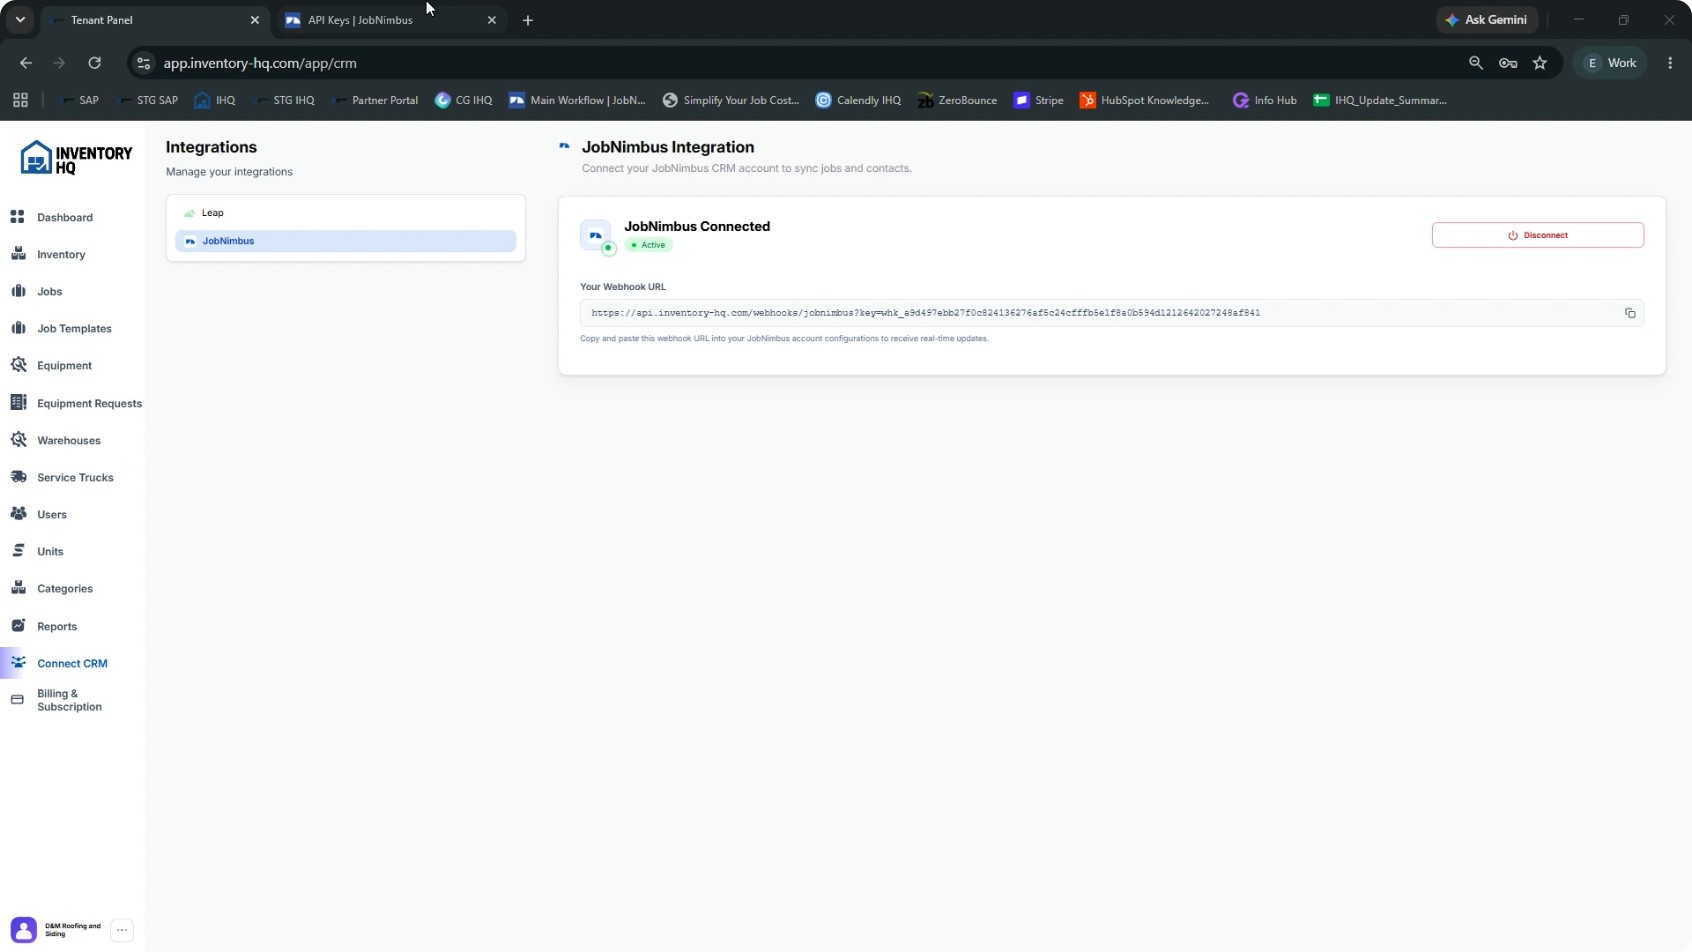
Copy the generated API key from JobNimbus. Return to InventoryHQ and open the JobNimbus connection screen. Paste the API key into the API key field in InventoryHQ. Click Connect JobNimbus to establish the connection. Once connected, InventoryHQ will show JobNimbus as successfully linked.
- 5
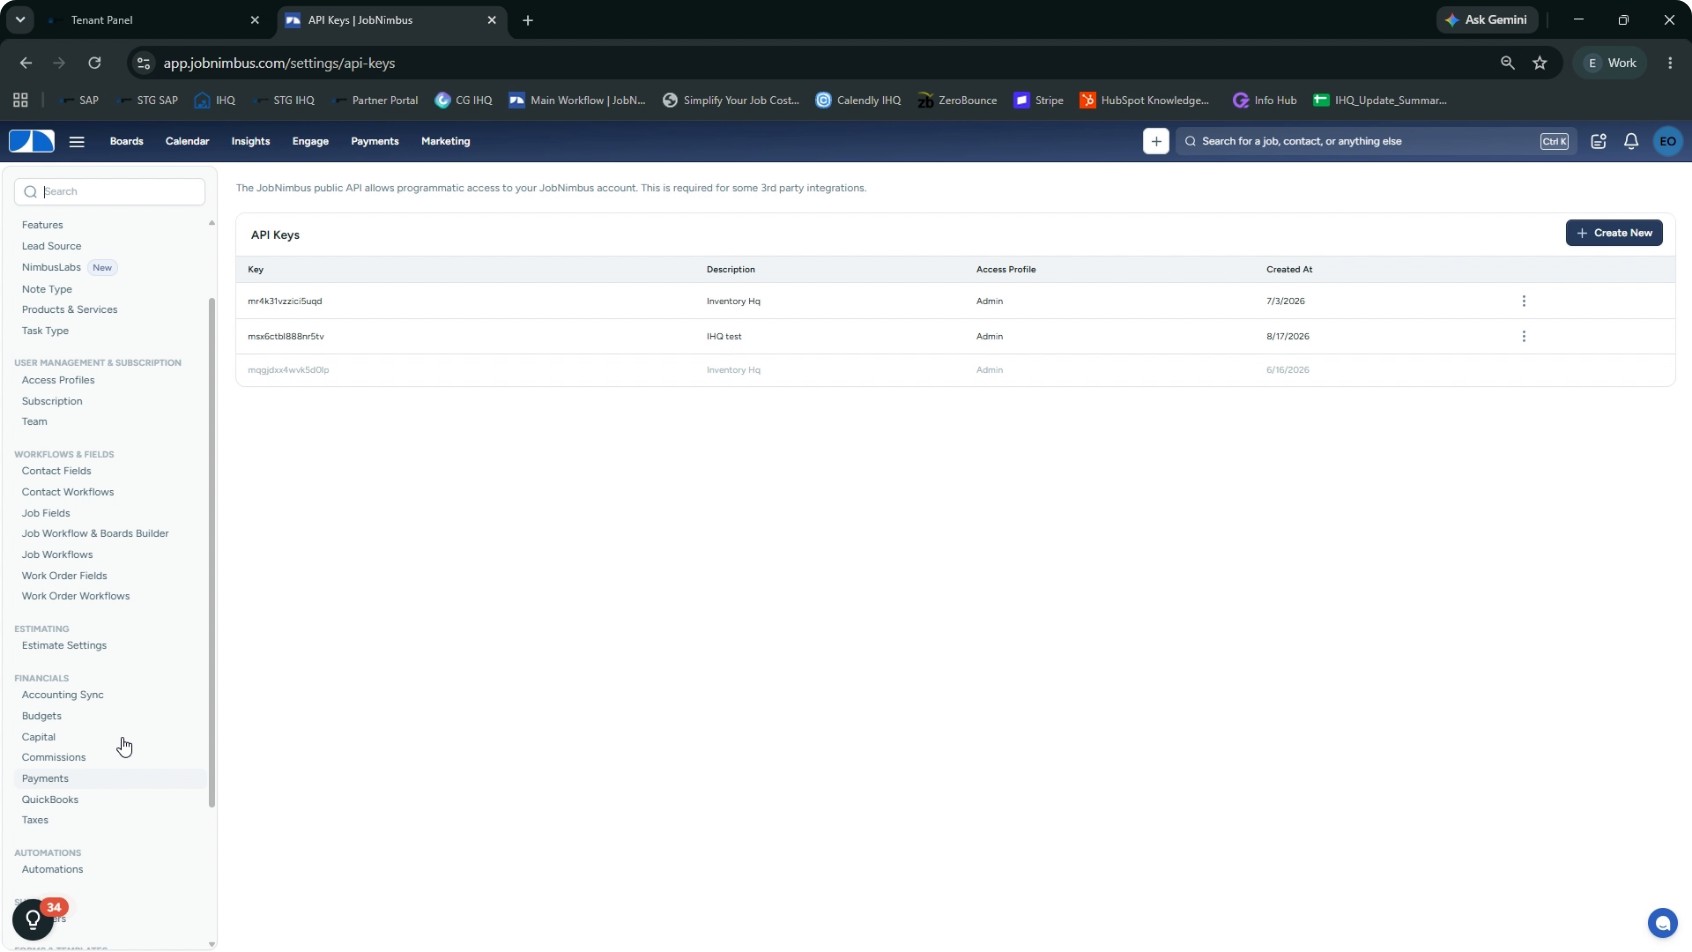
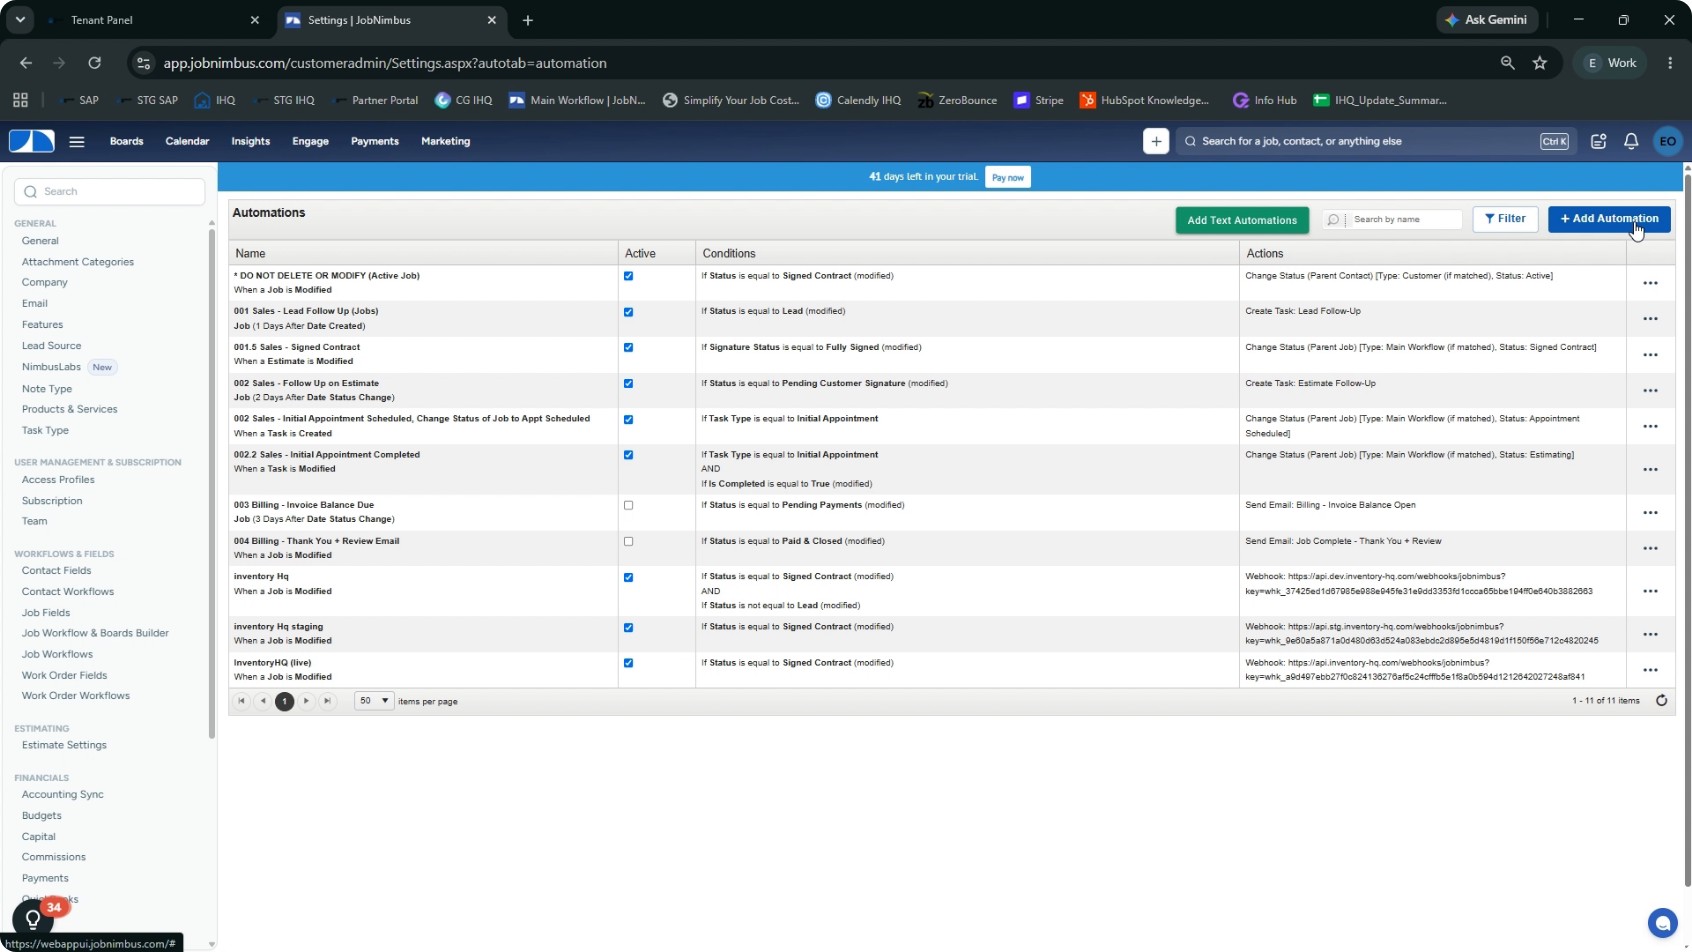
Open Automation Settings in JobNimbus
Next, configure the automation that sends new “awarded” jobs from JobNimbus into InventoryHQ. Go back to JobNimbus Settings. Open Settings if you are not already there. Go to Automation (or Automations) in the Settings area.
- 6
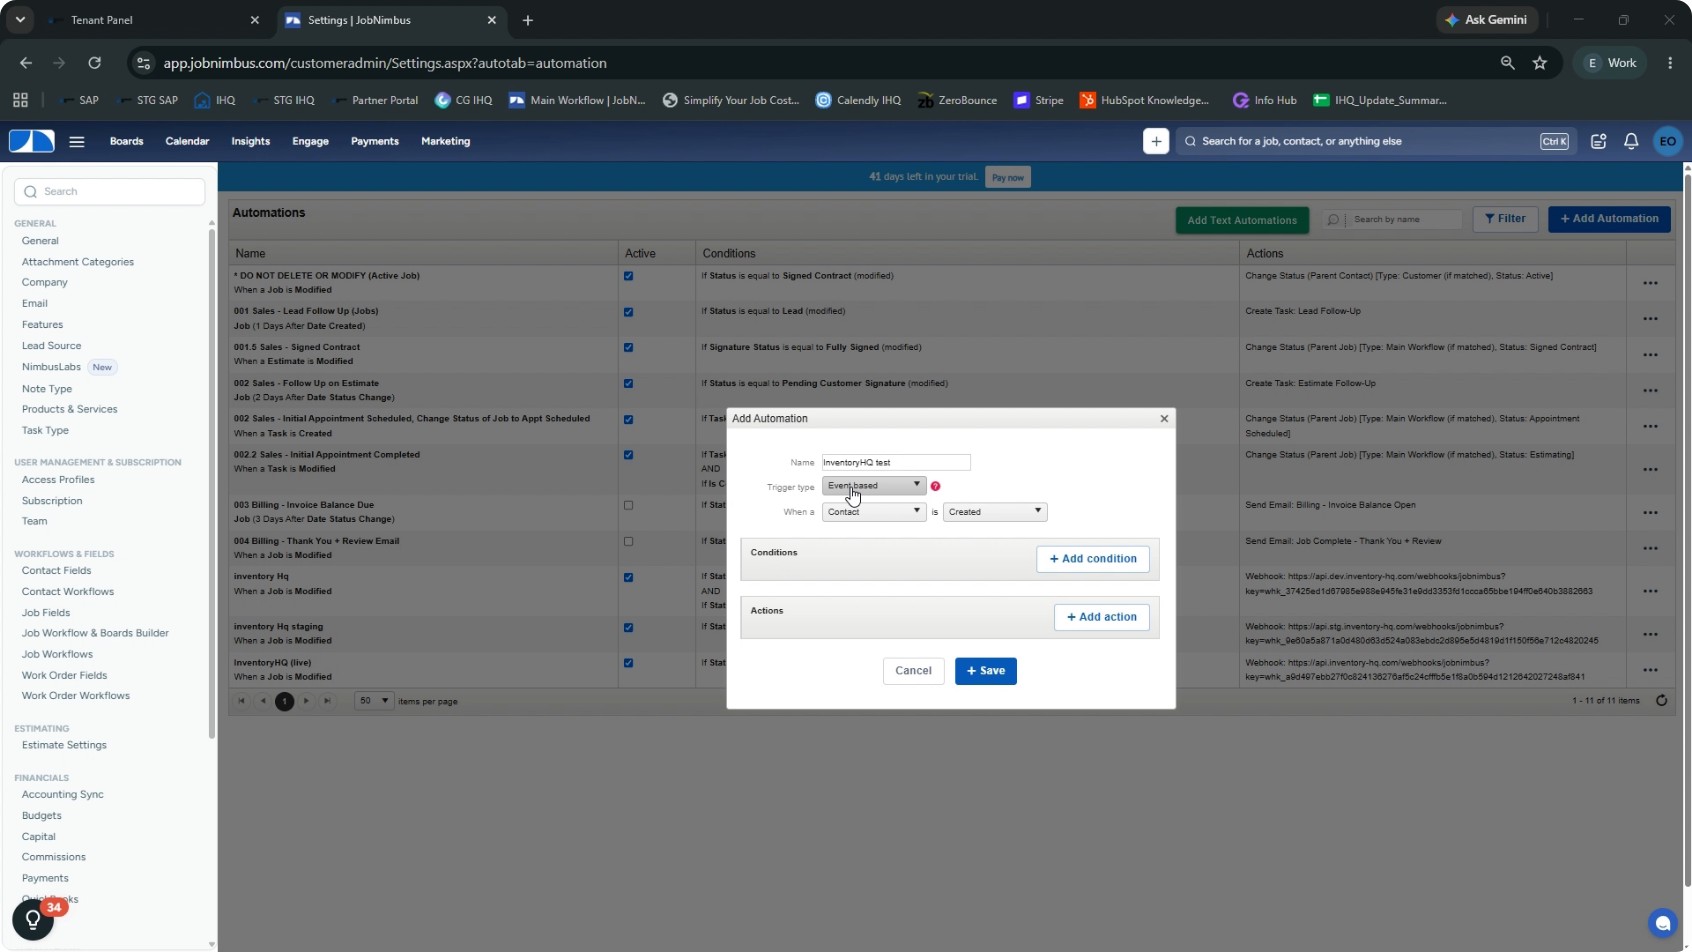
Create a New Automation Rule
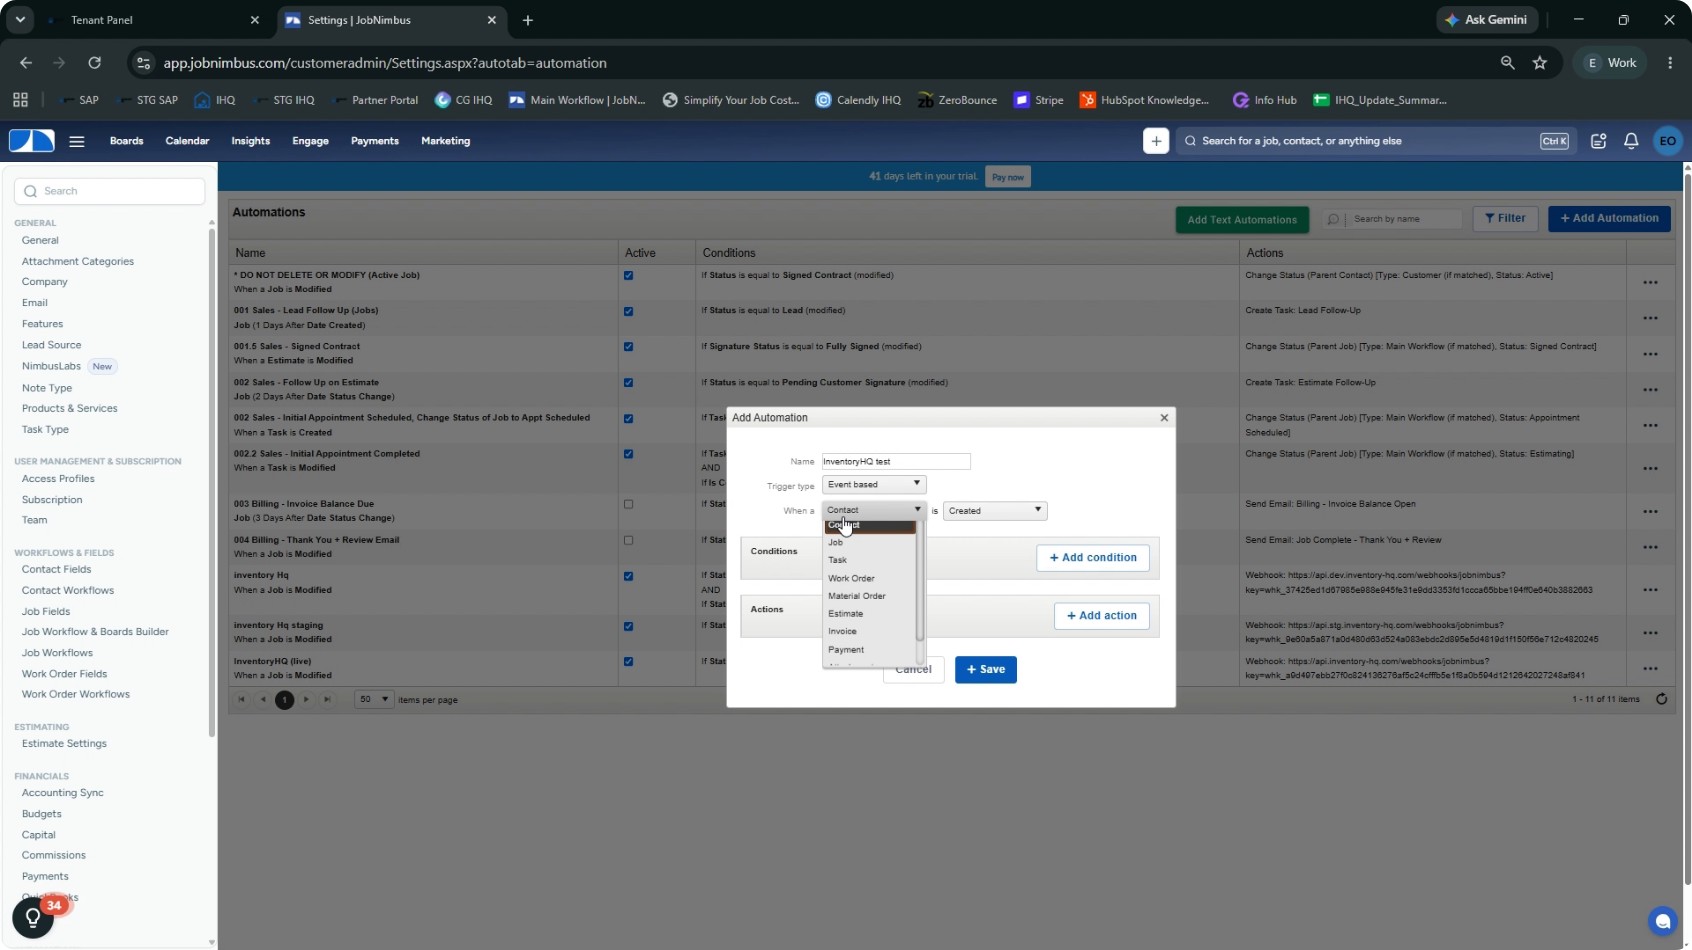
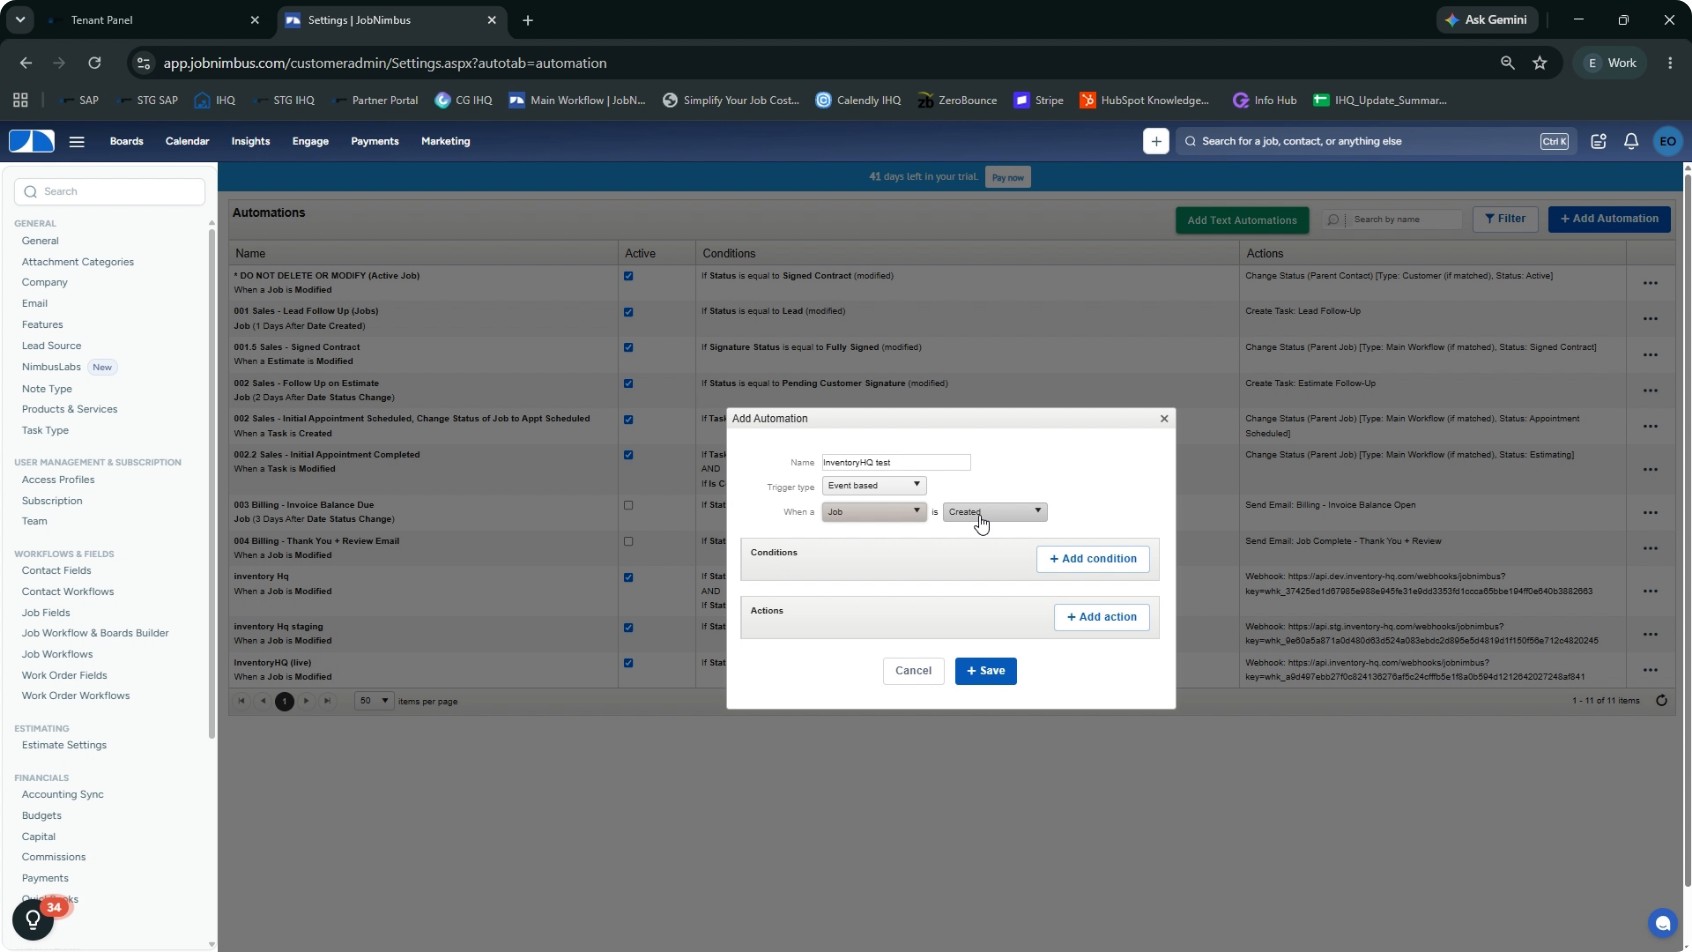
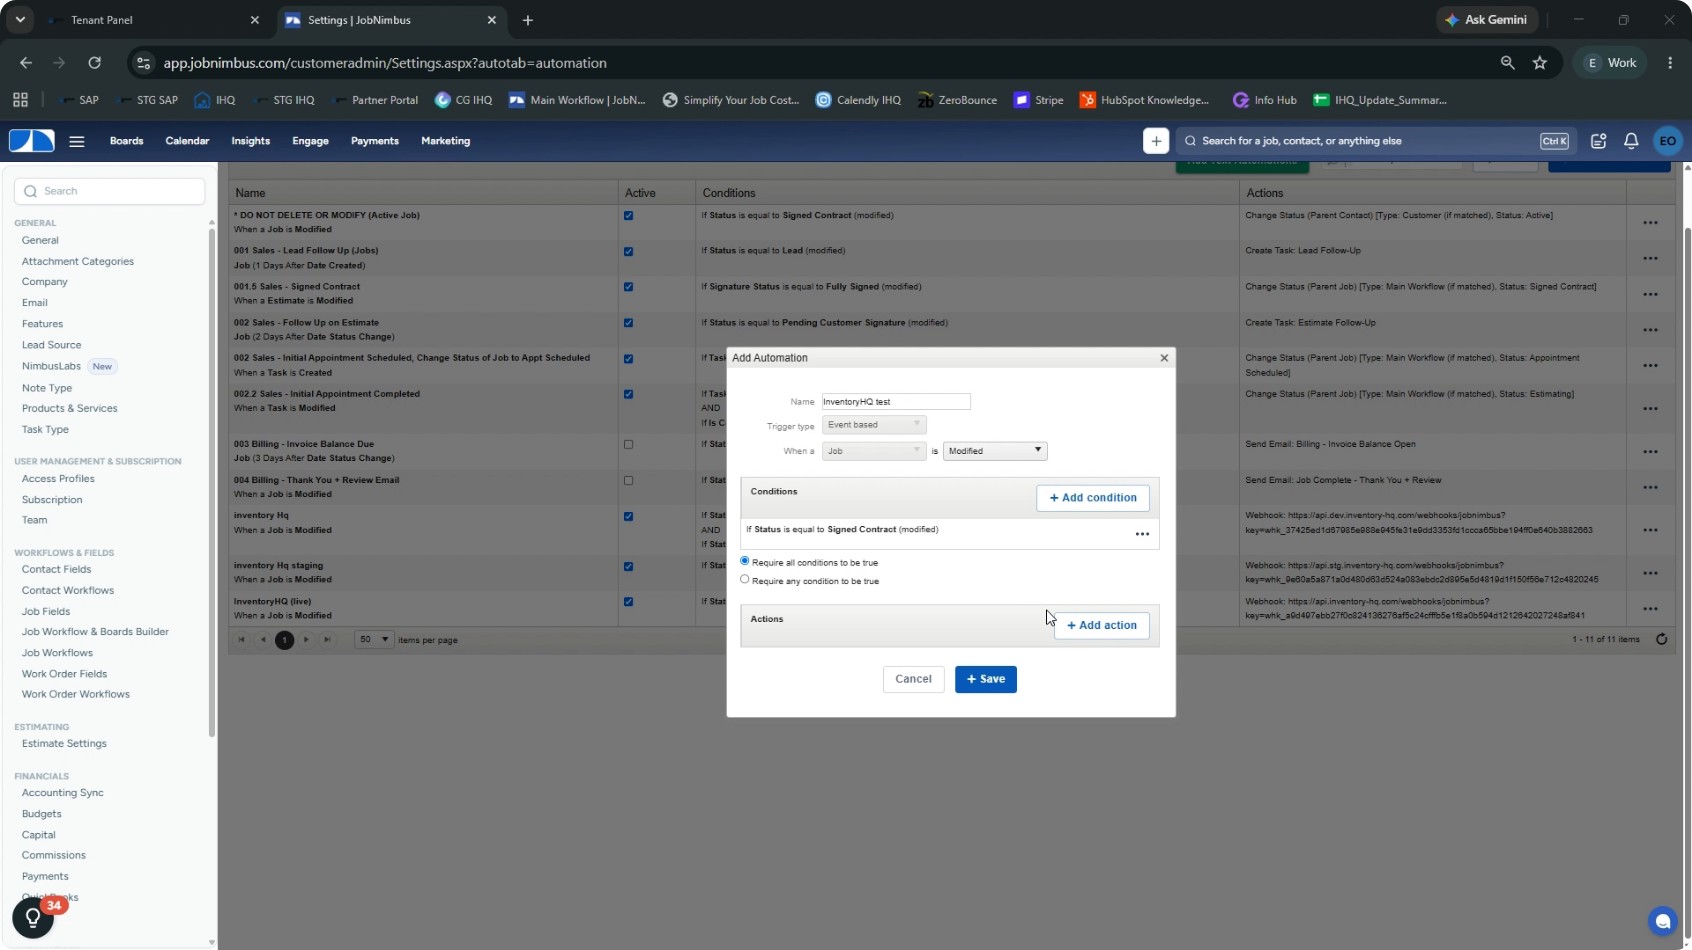
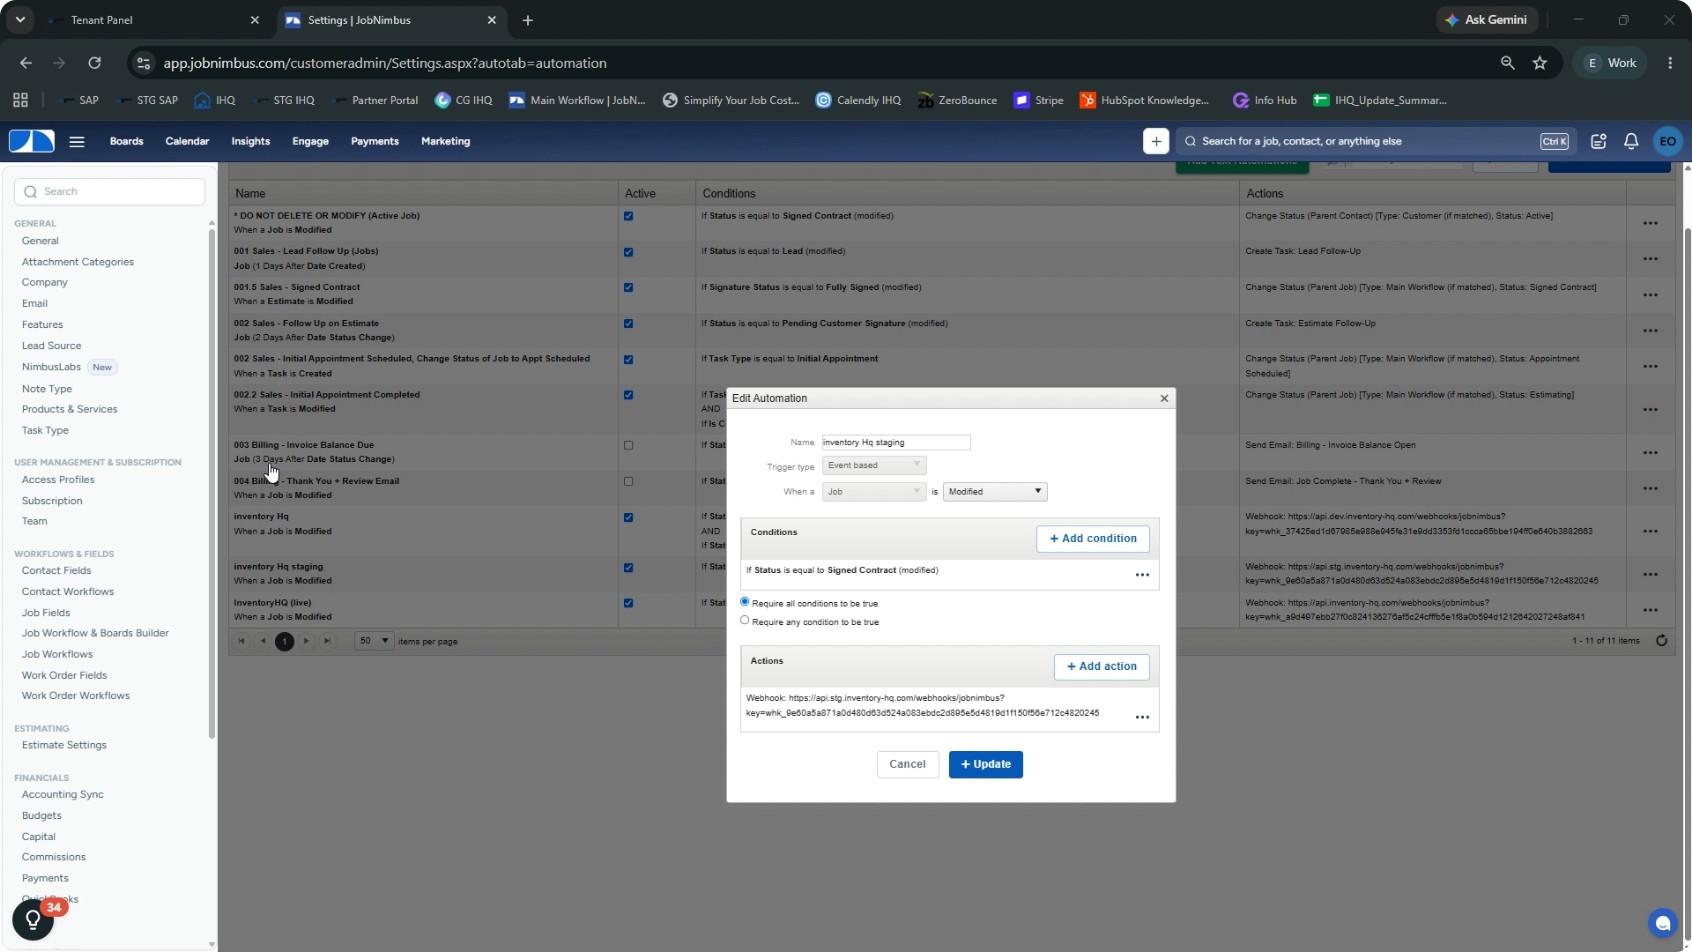
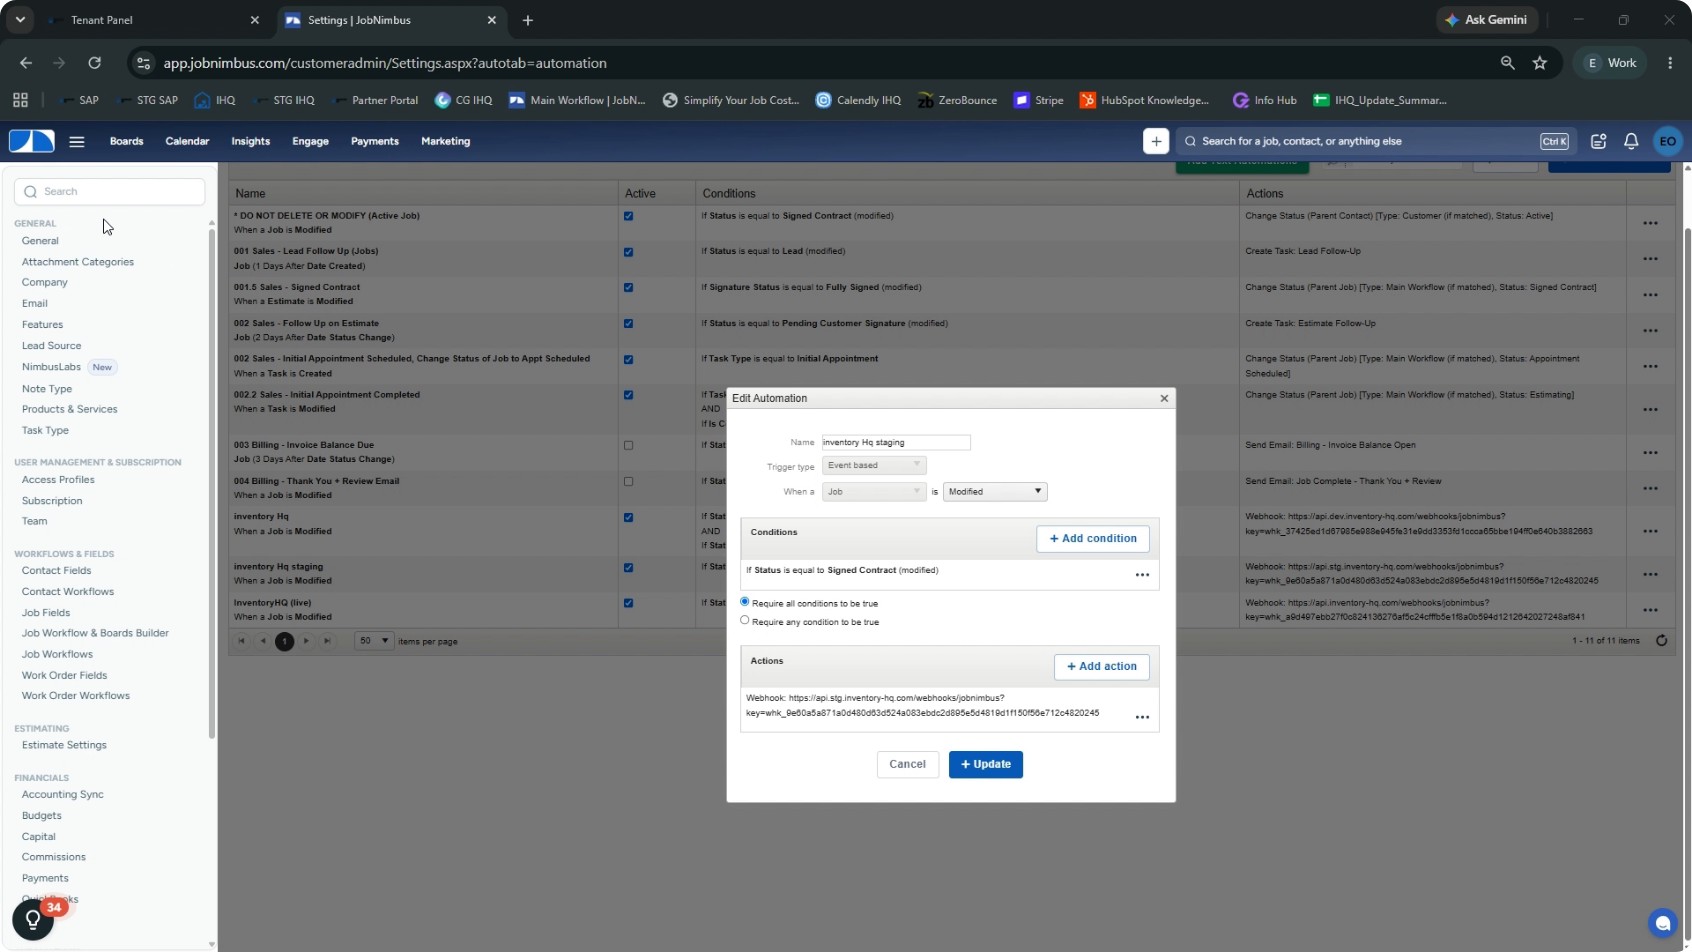
Create a new automation rule that triggers when a job reaches your “awarded” stage. Click Add automation. Enter a name for the automation, for example “InventoryHQ Test.” Set the Trigger Type to Event-based. Configure the event so that it runs when a job is modified.
- 7
Configure the Awarded-Stage Condition
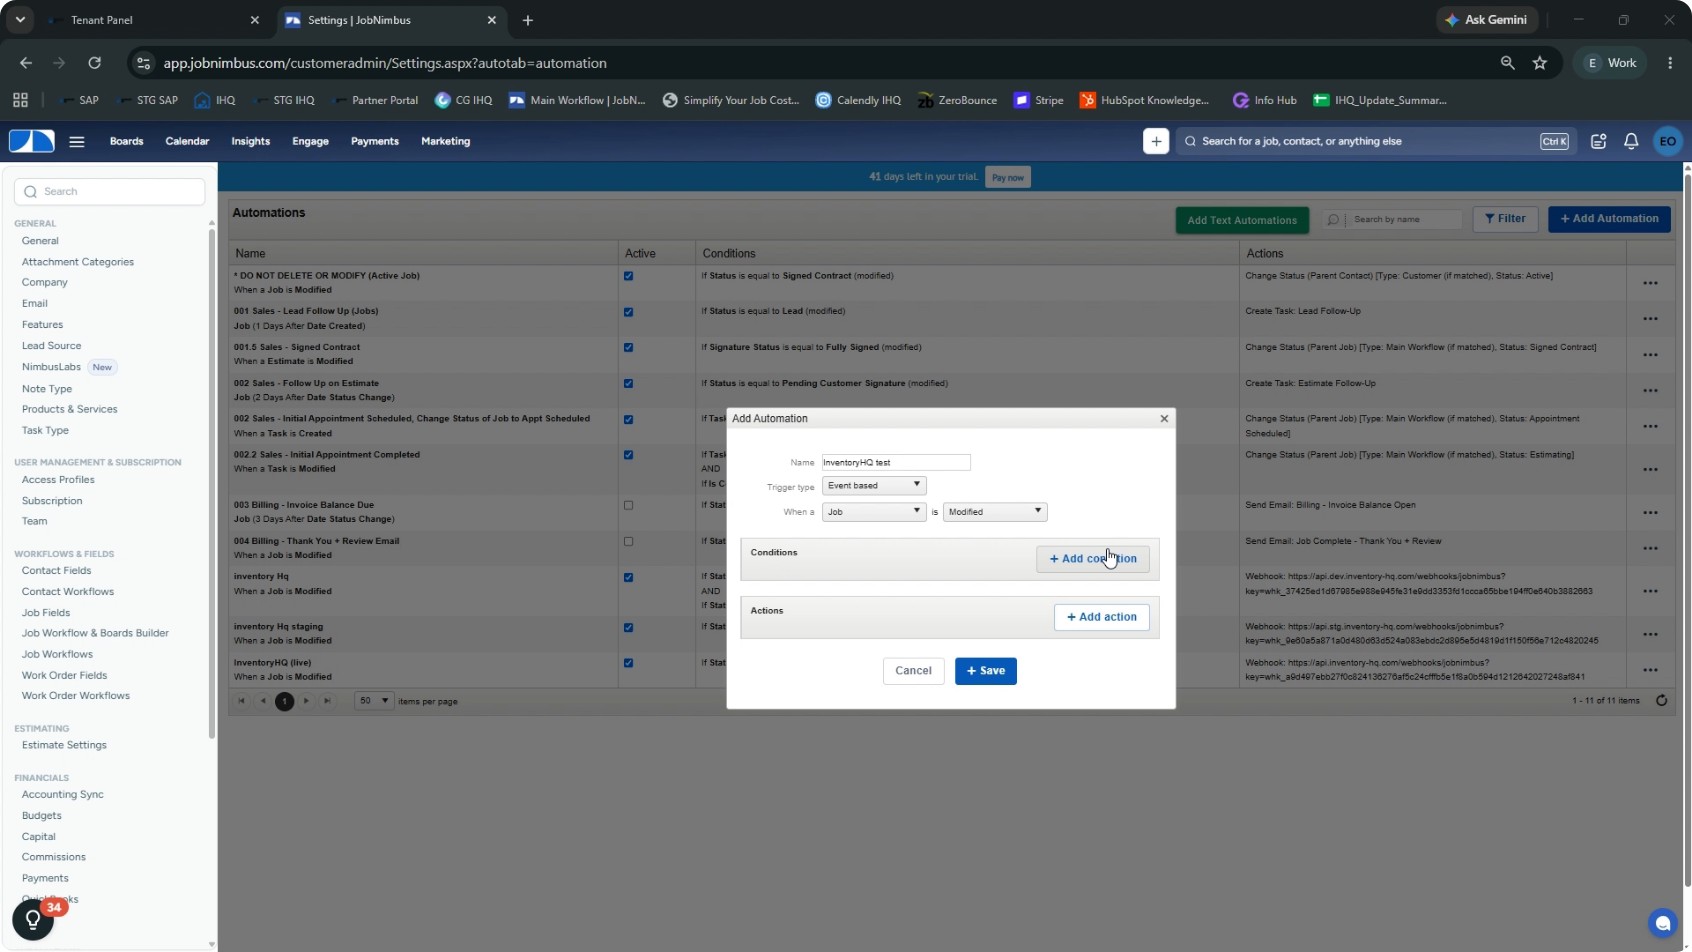
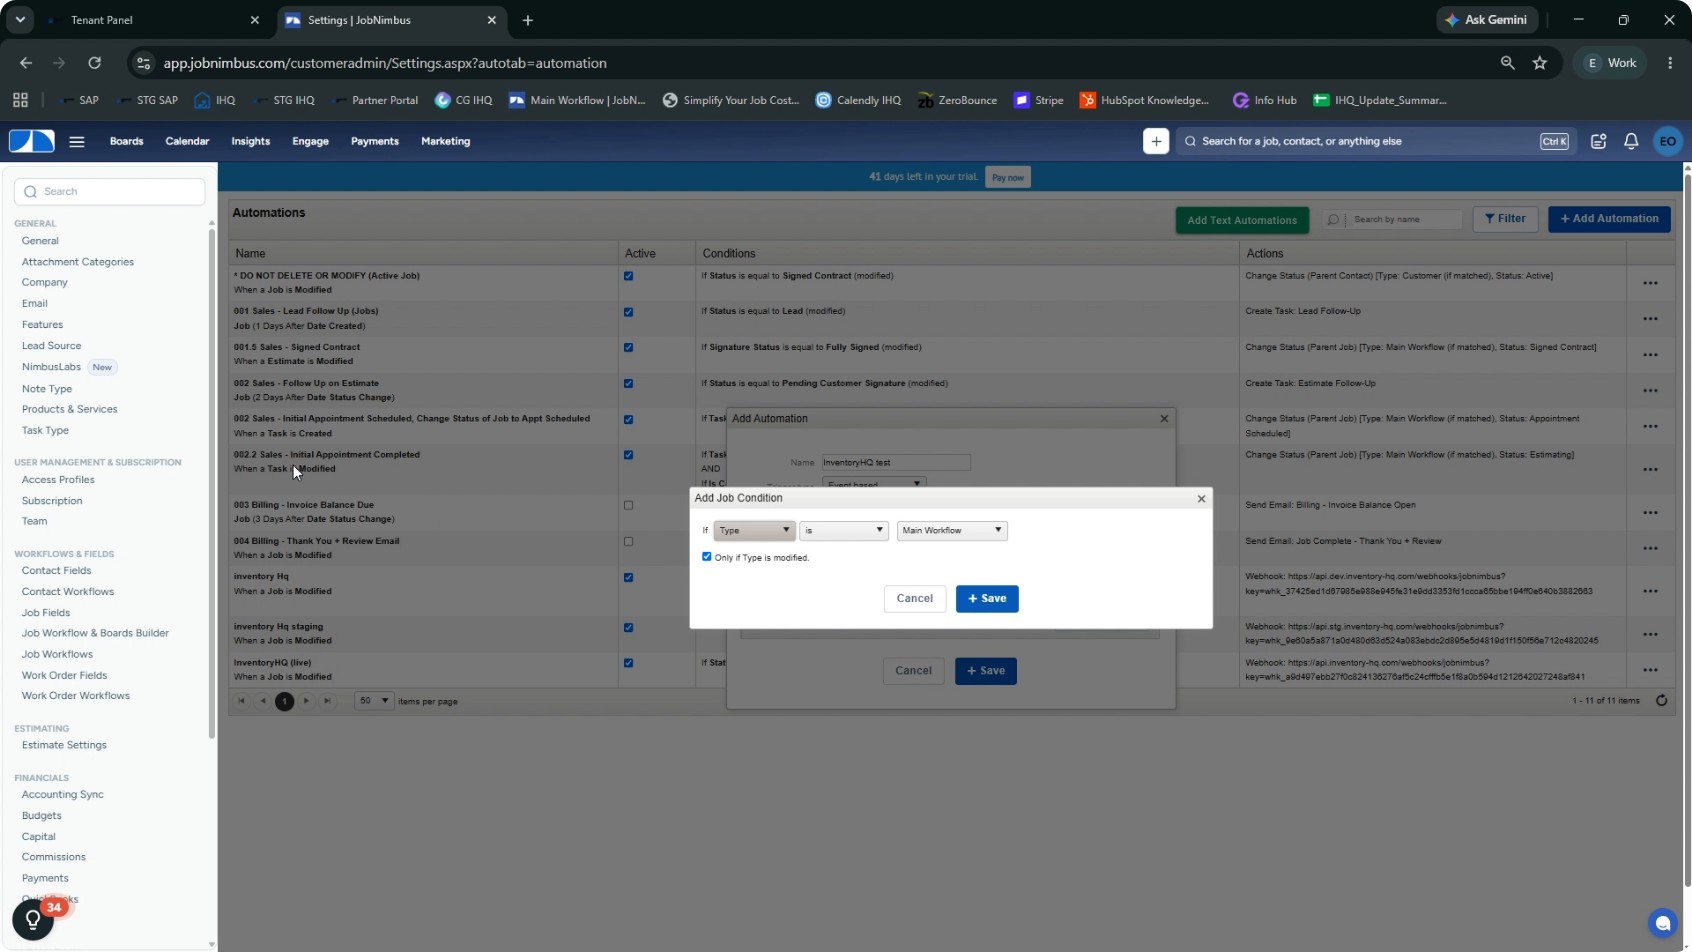
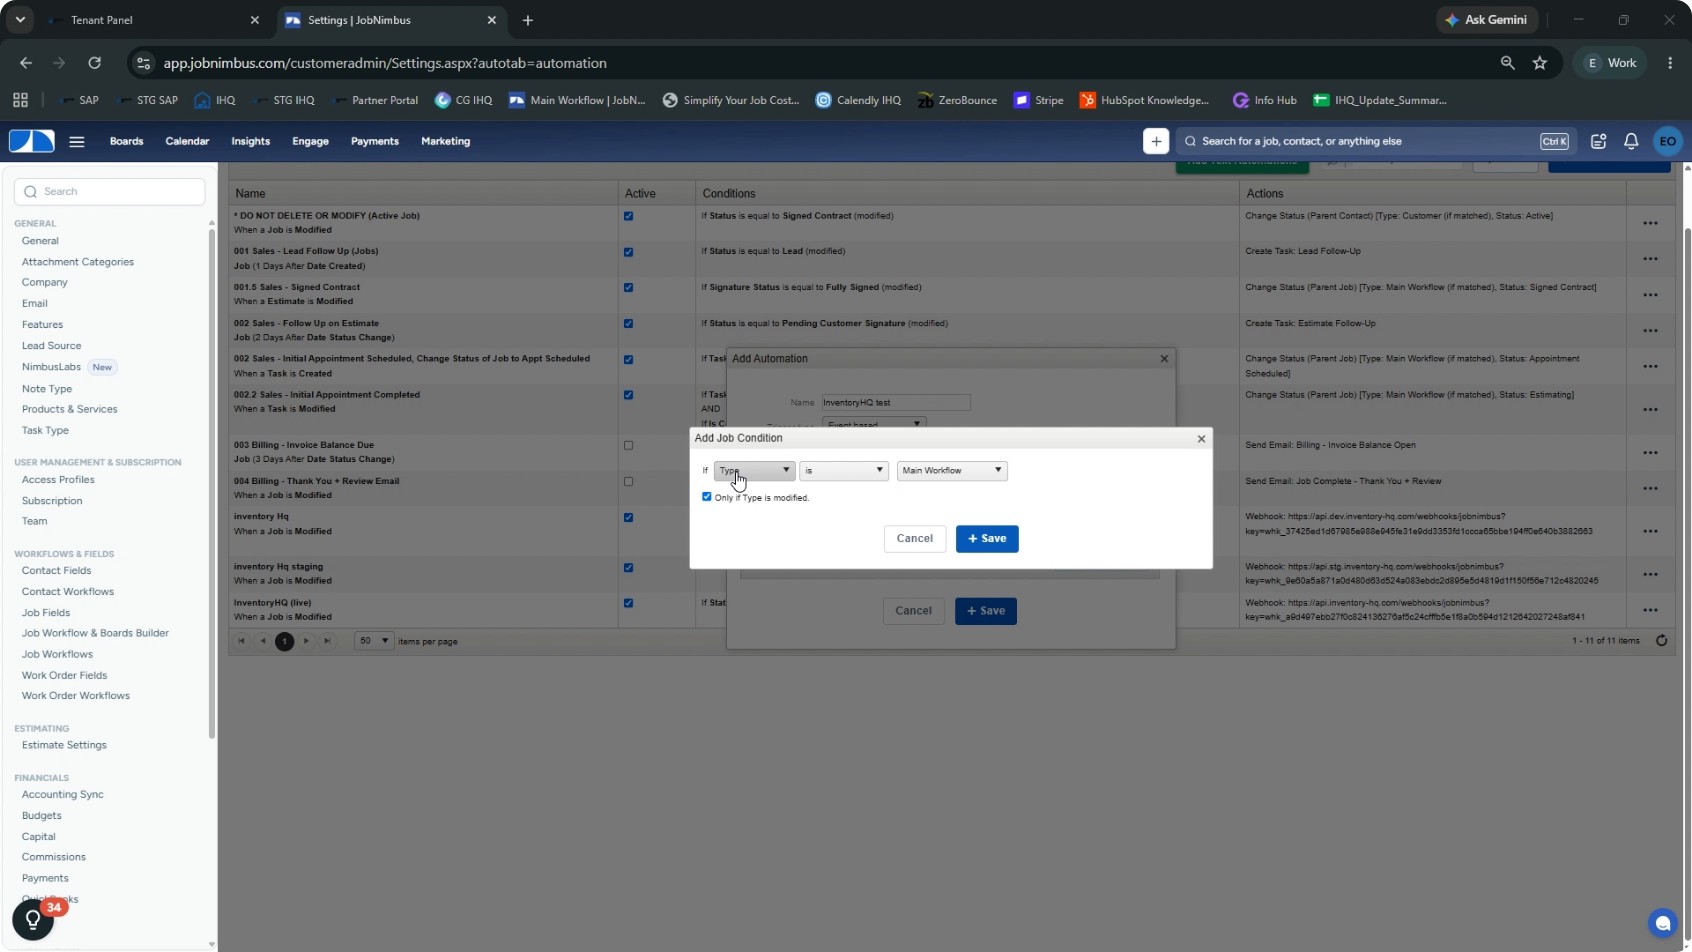
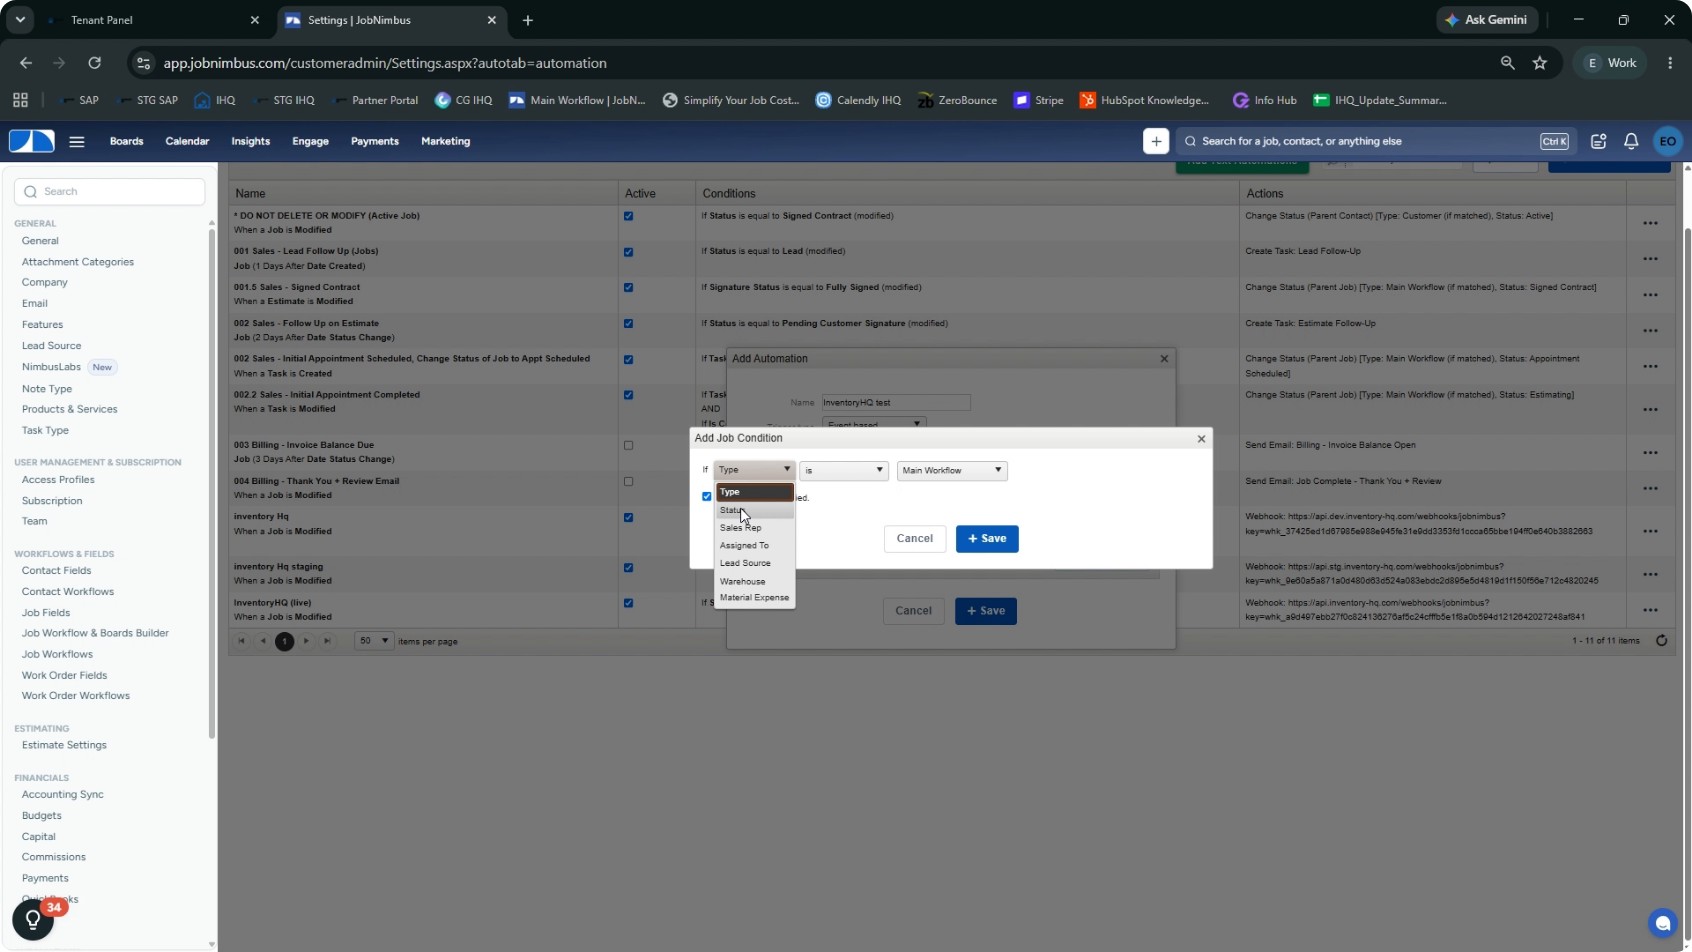
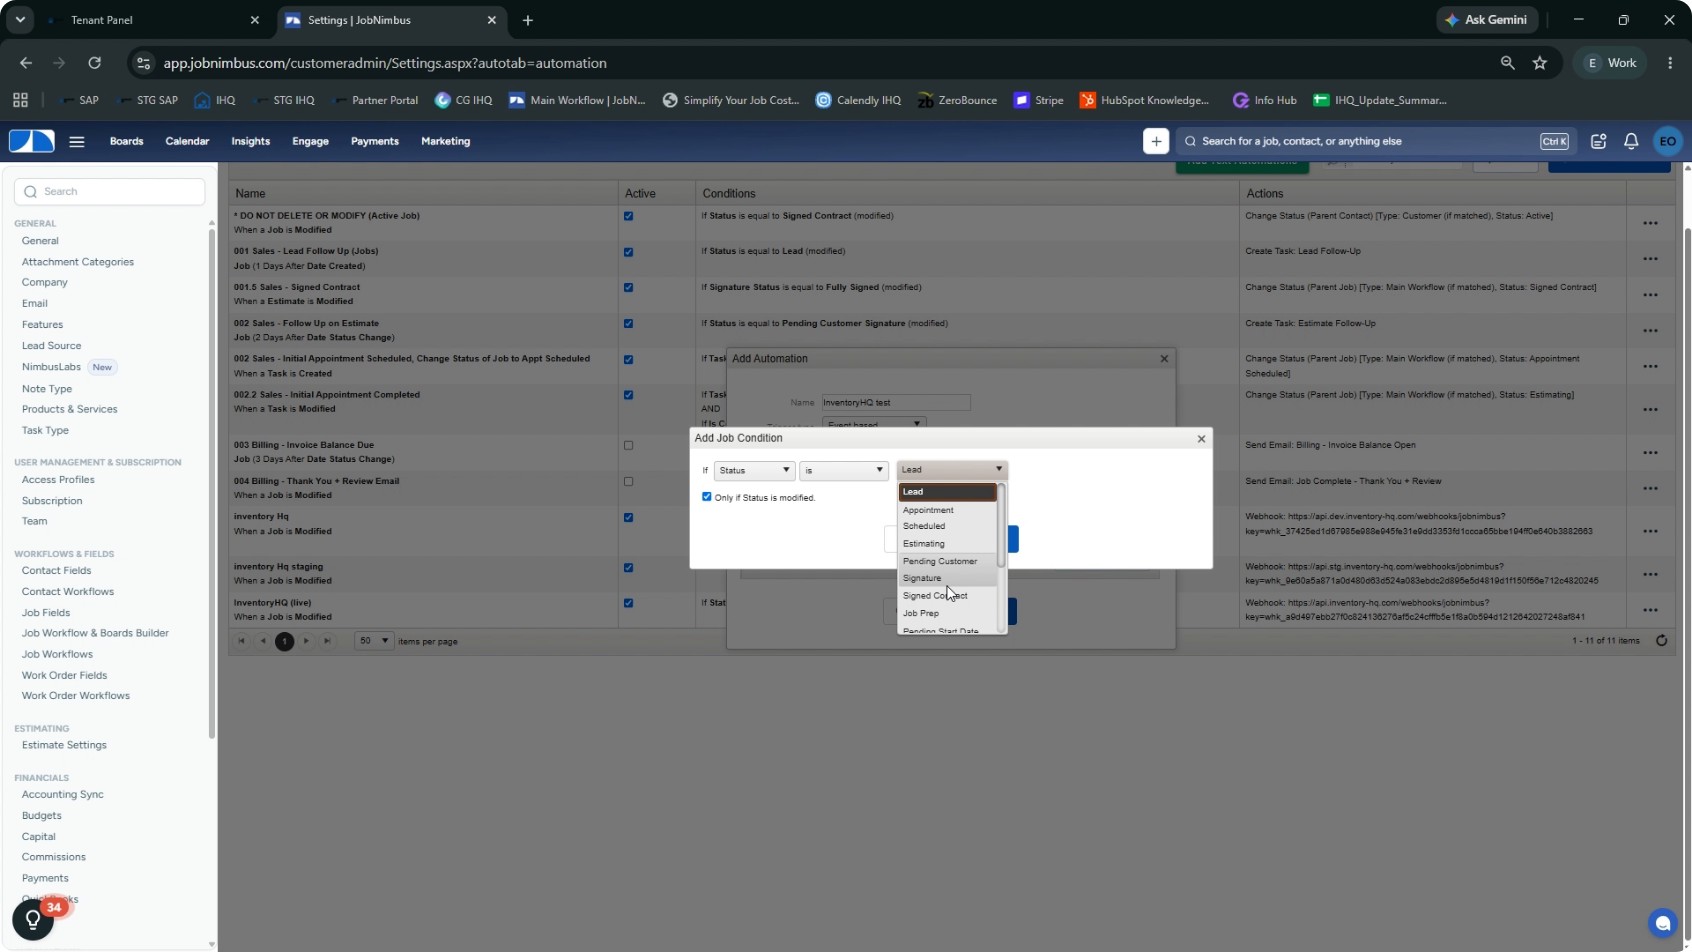
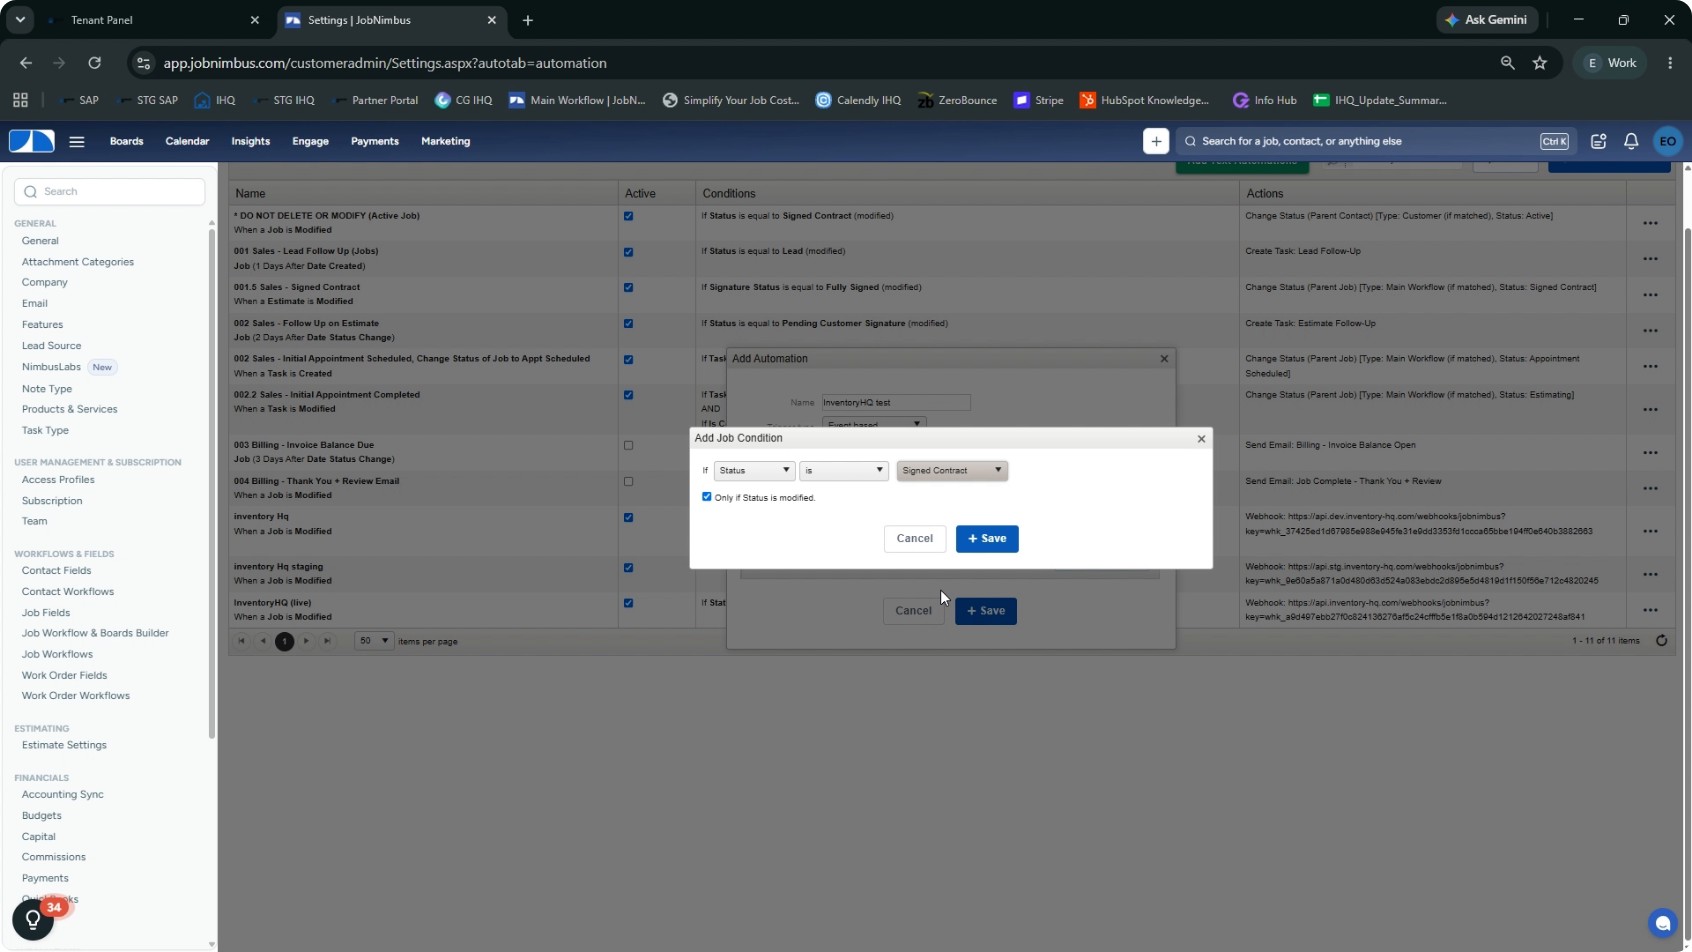
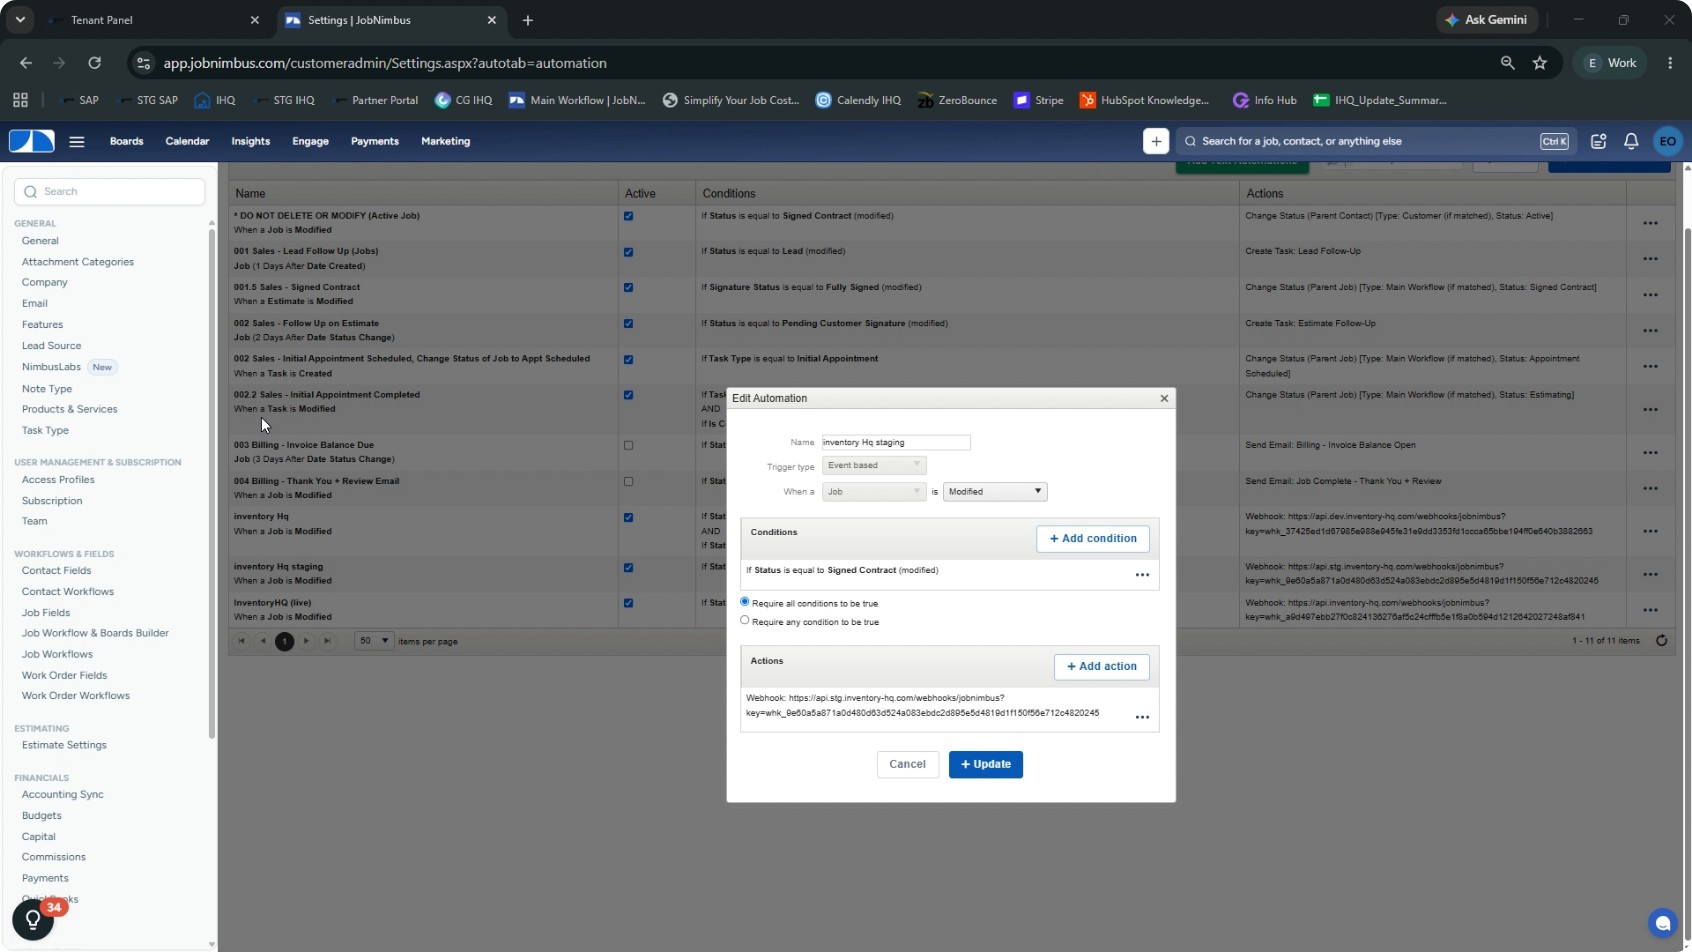
Add a condition to specify when the job is considered awarded. In the conditions section, ensure the trigger uses the modified event, which captures the job moving into a new stage. Click to add a condition where the status field is set to your awarded stage. Choose if status as the condition field. Select is as the operator. Choose your awarded stage (for example, Signed Contract). Save the condition.
Make sure the option Require all conditions to be true is toggled on, so the automation only fires when the job truly enters the awarded stage.
- 8
Add the Webhook Action
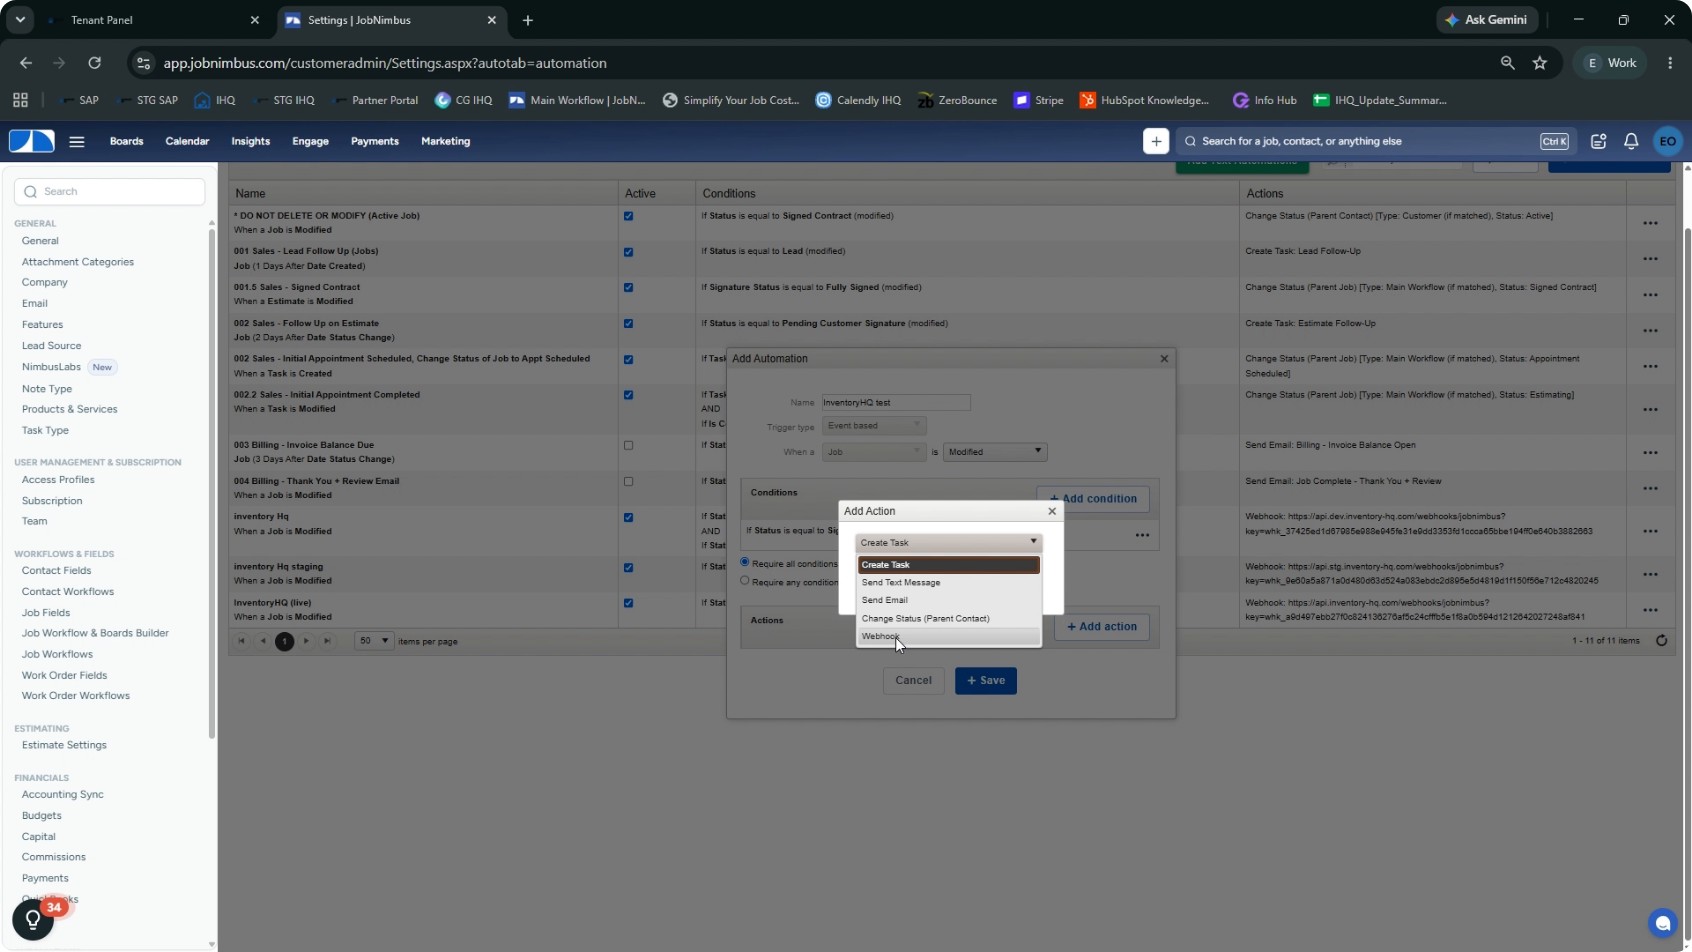
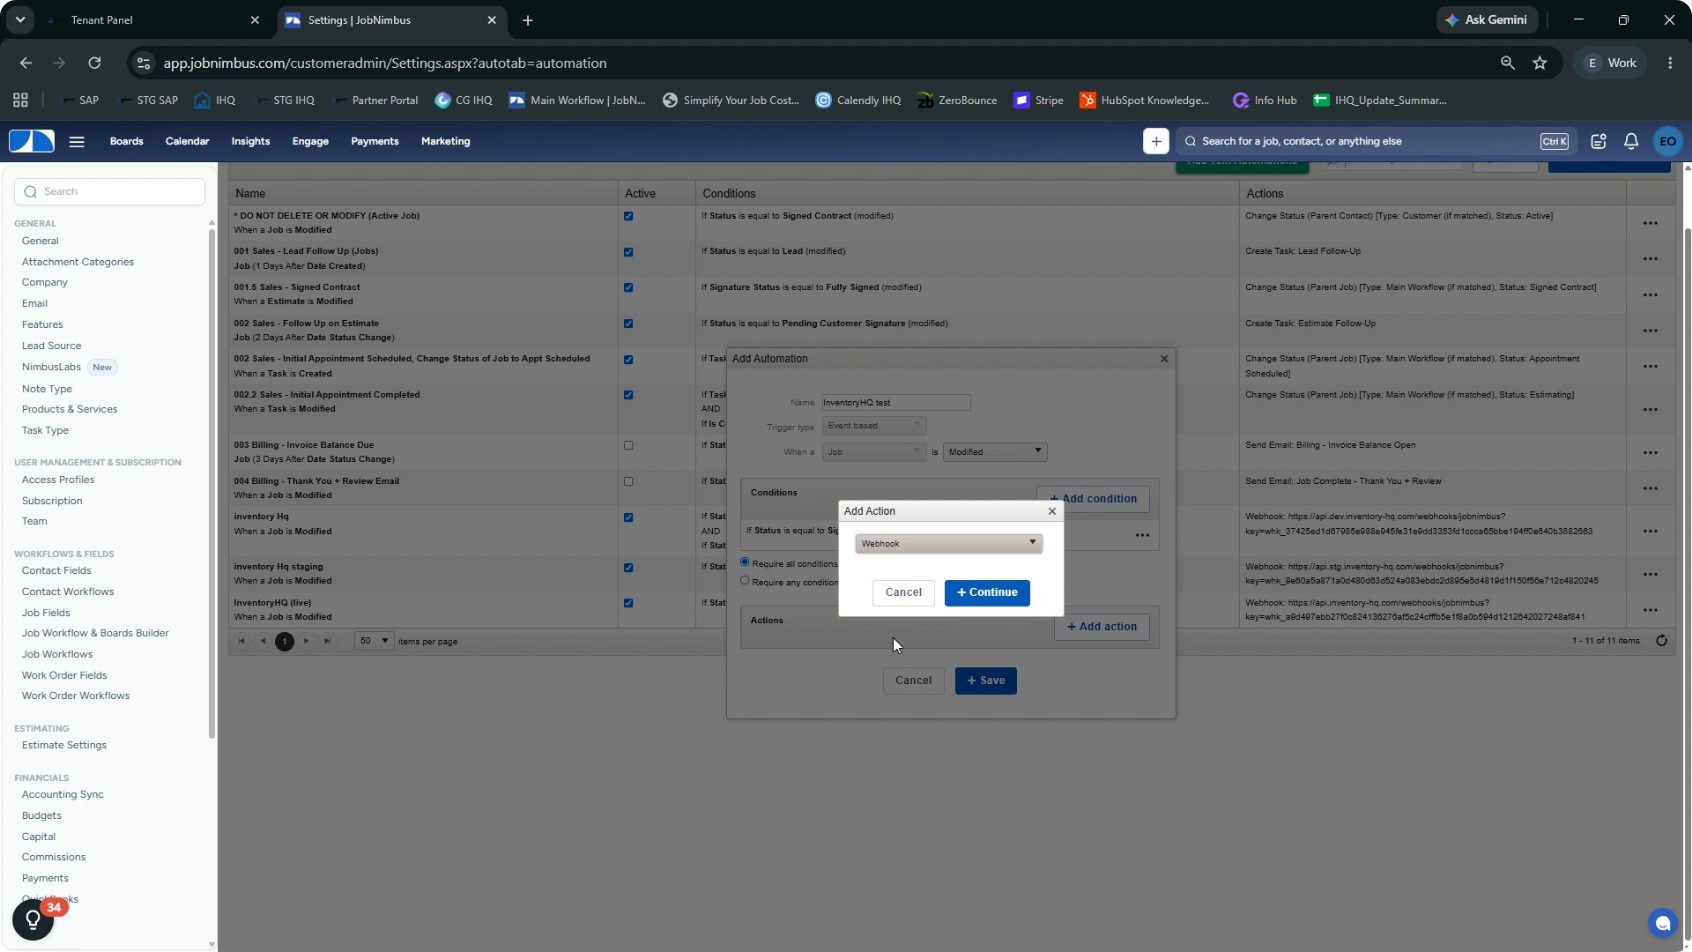
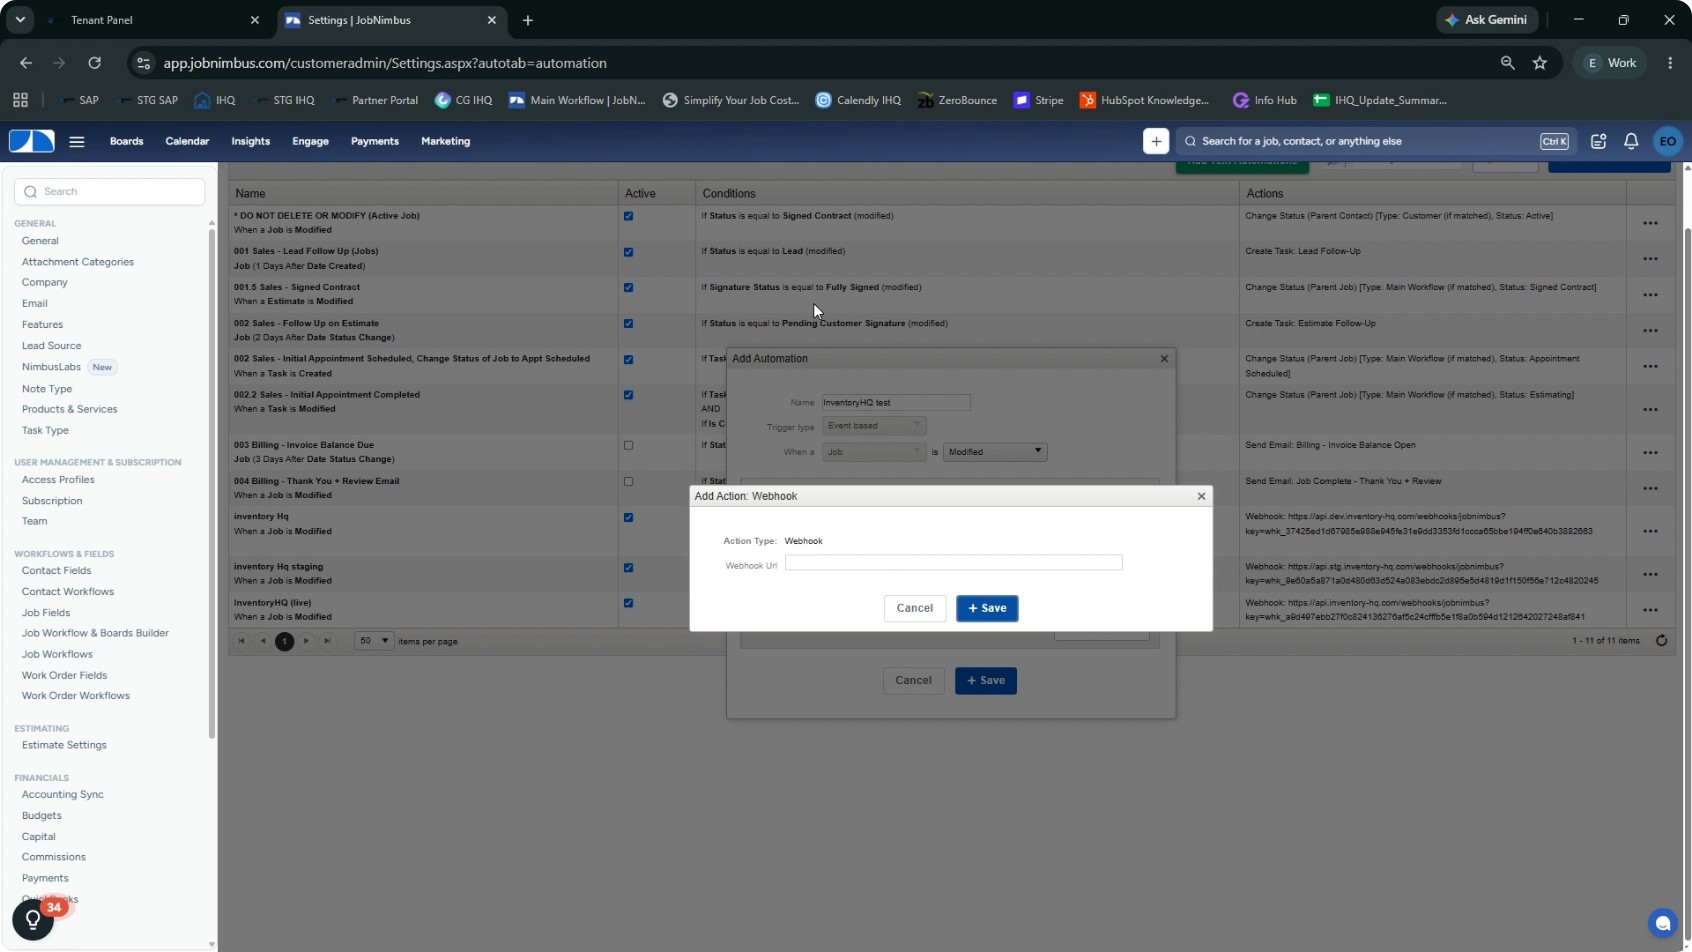
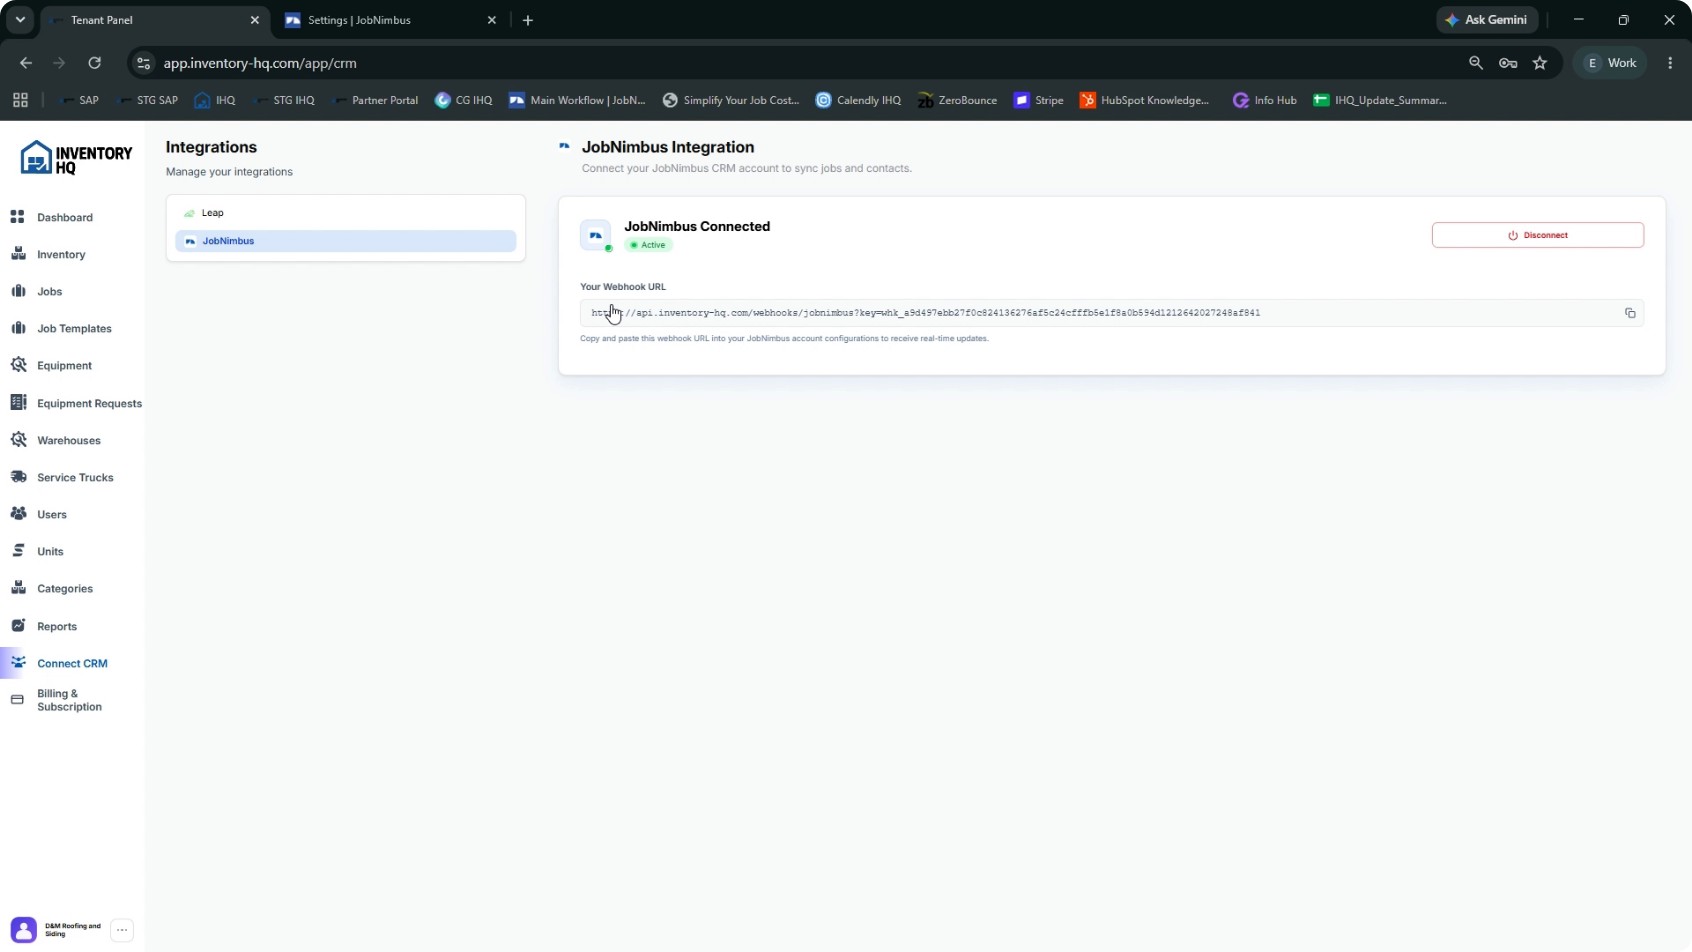
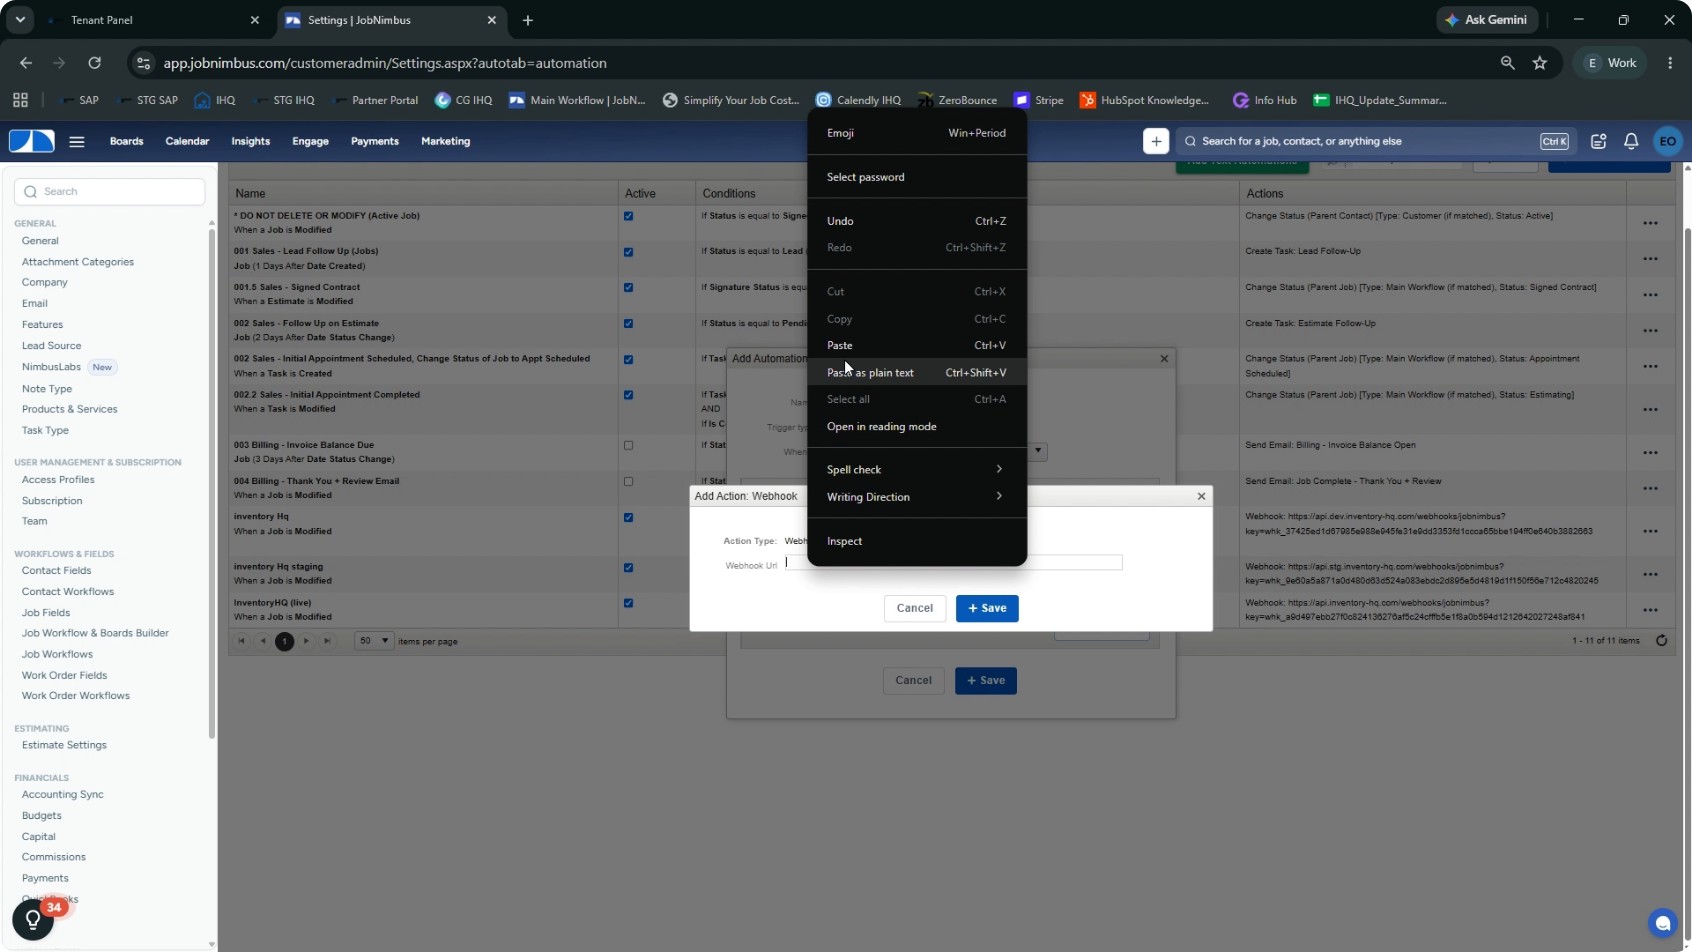
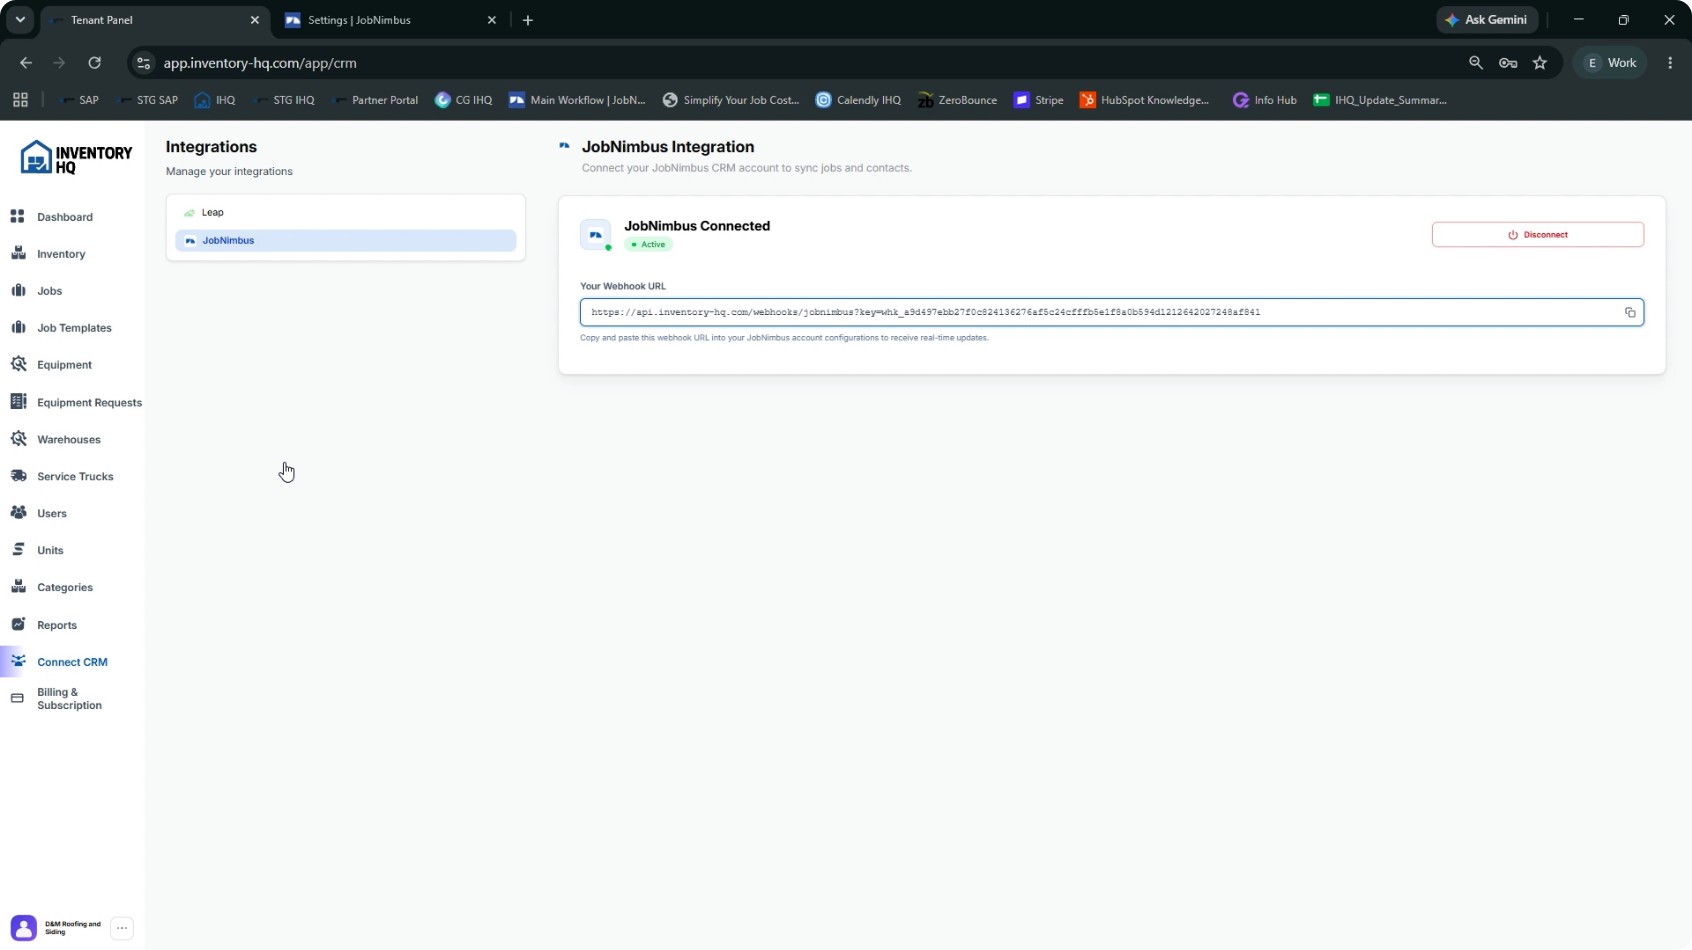
Now configure the action that sends the job data to InventoryHQ via webhook. Click Add action. From the action types, select Webhook. Go back to InventoryHQ to obtain the webhook URL provided by the InventoryHQ team. In InventoryHQ, copy the webhook URL shown for the JobNimbus integration. Return to JobNimbus and paste this webhook URL into the Webhook action’s URL field, then save the automation.
After saving, JobNimbus is now connected to InventoryHQ and the automation is active. This completes the connection between JobNimbus and InventoryHQ.
- 9
Create a Test Job in JobNimbus
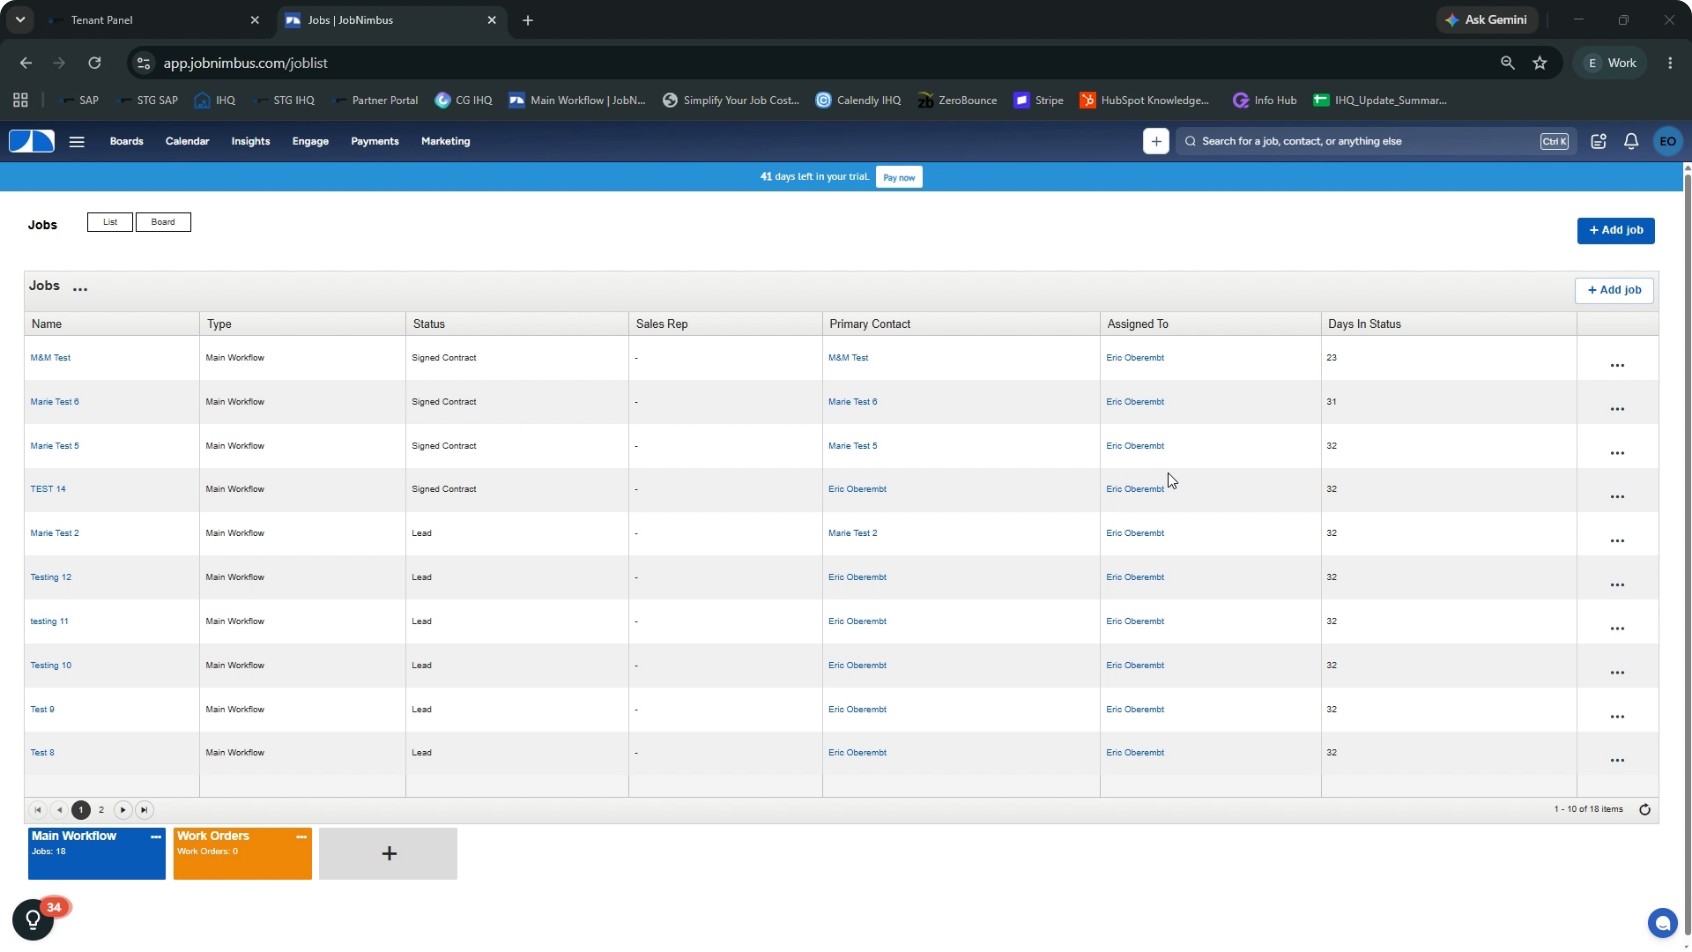
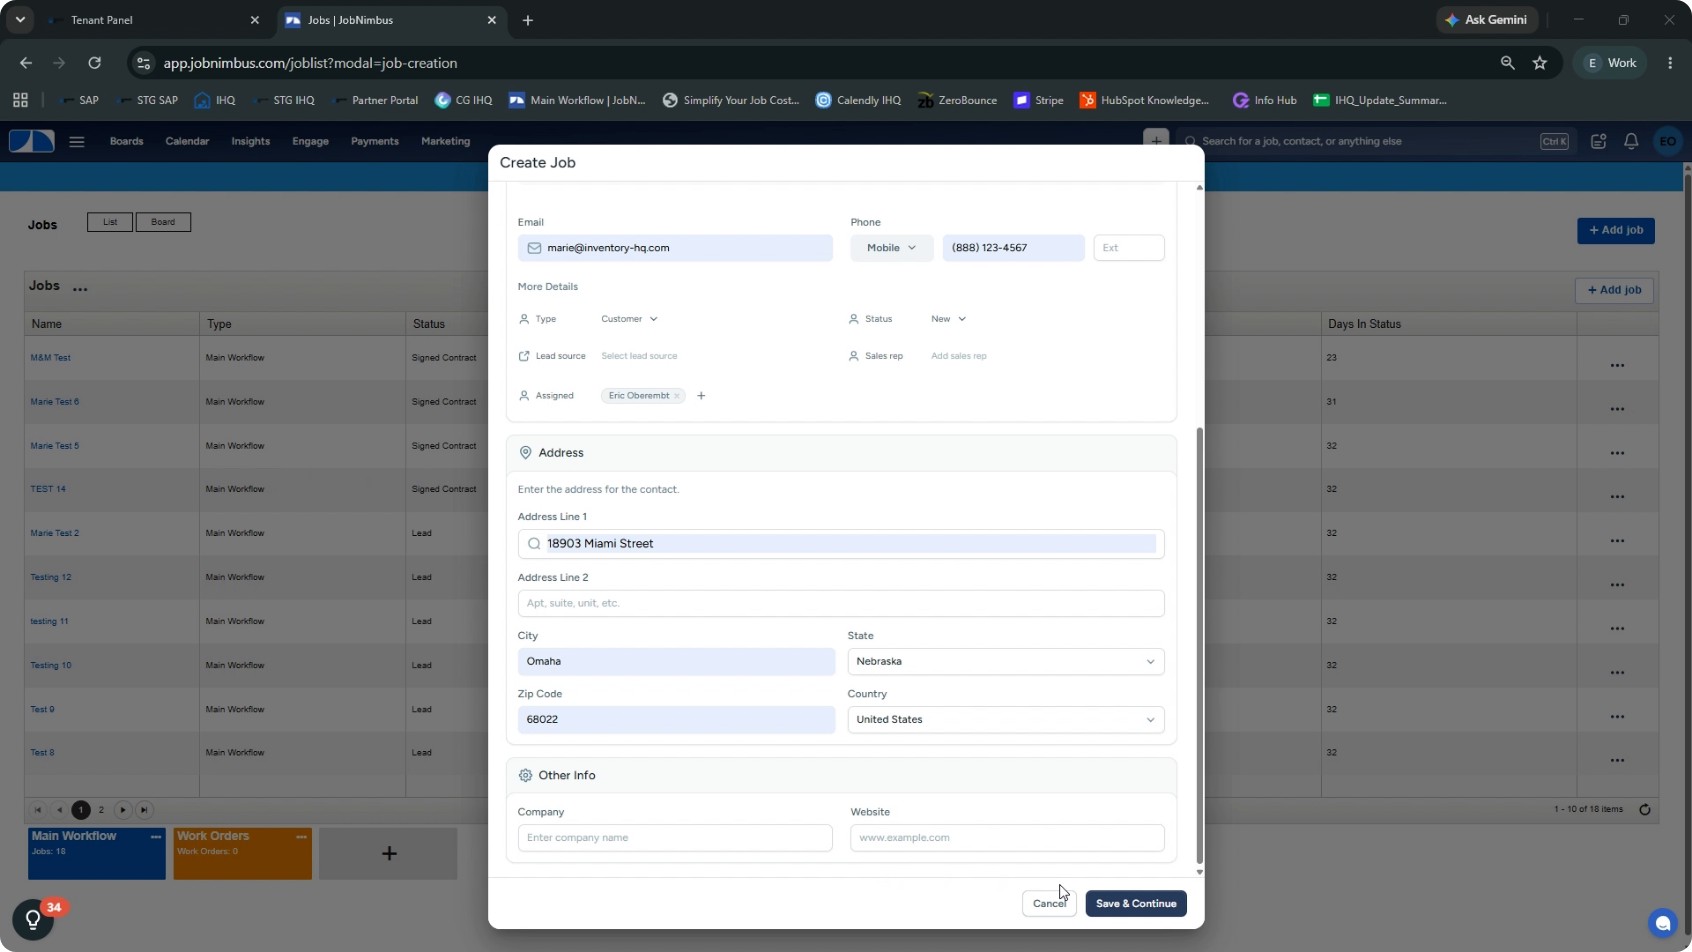
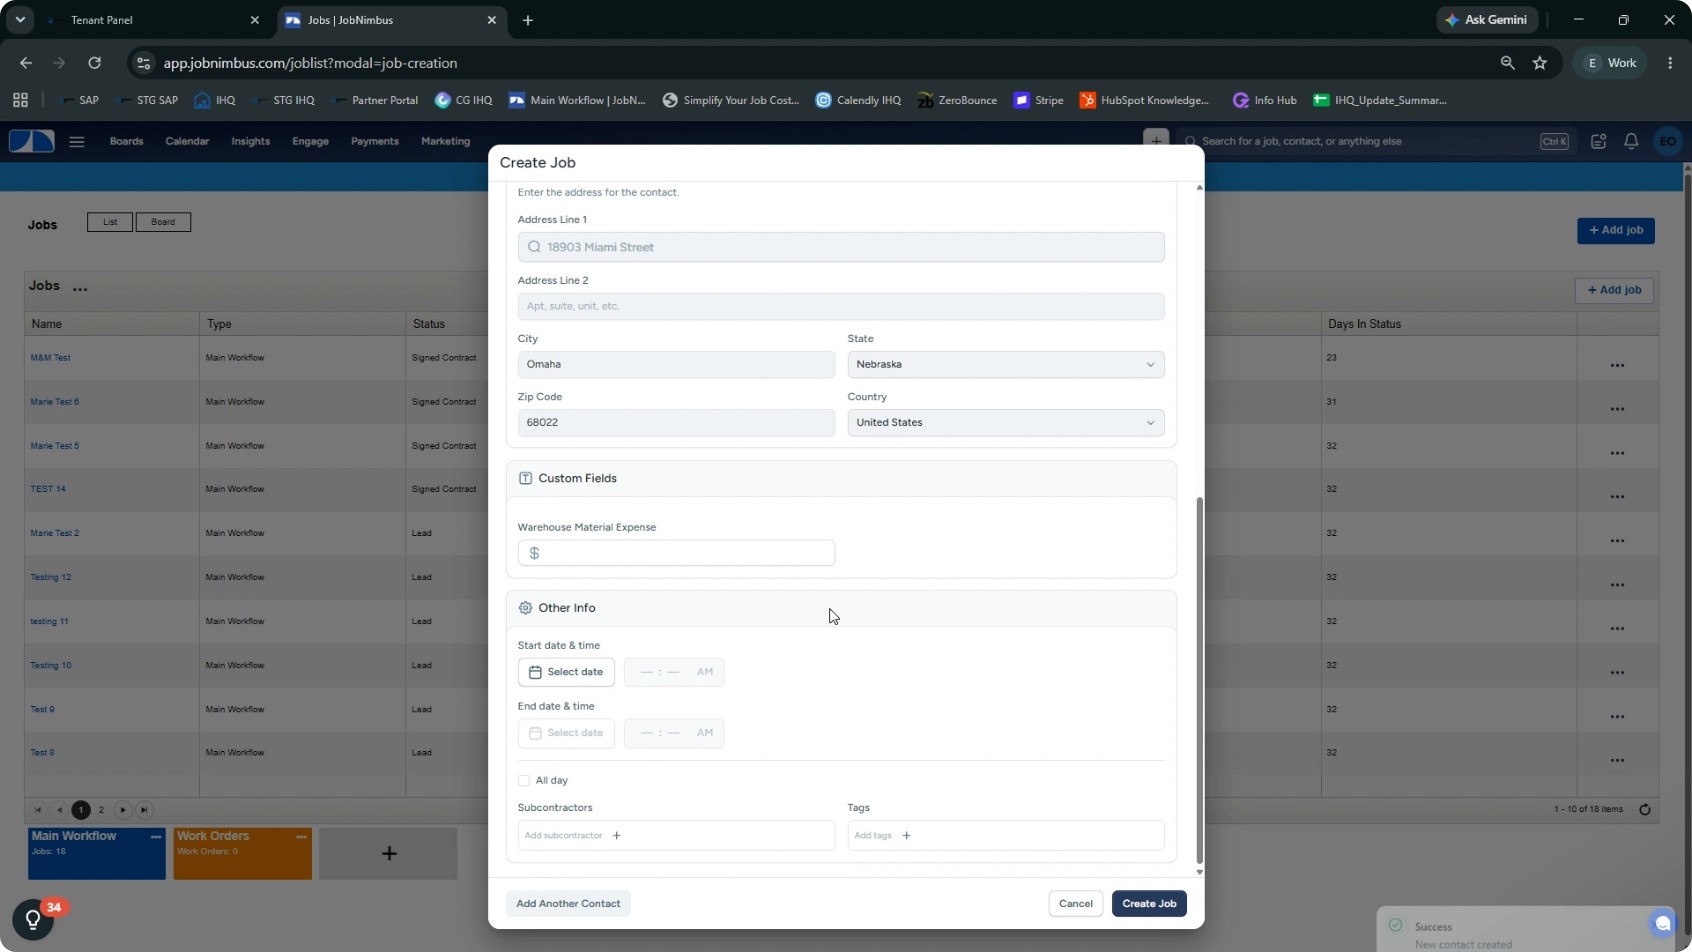
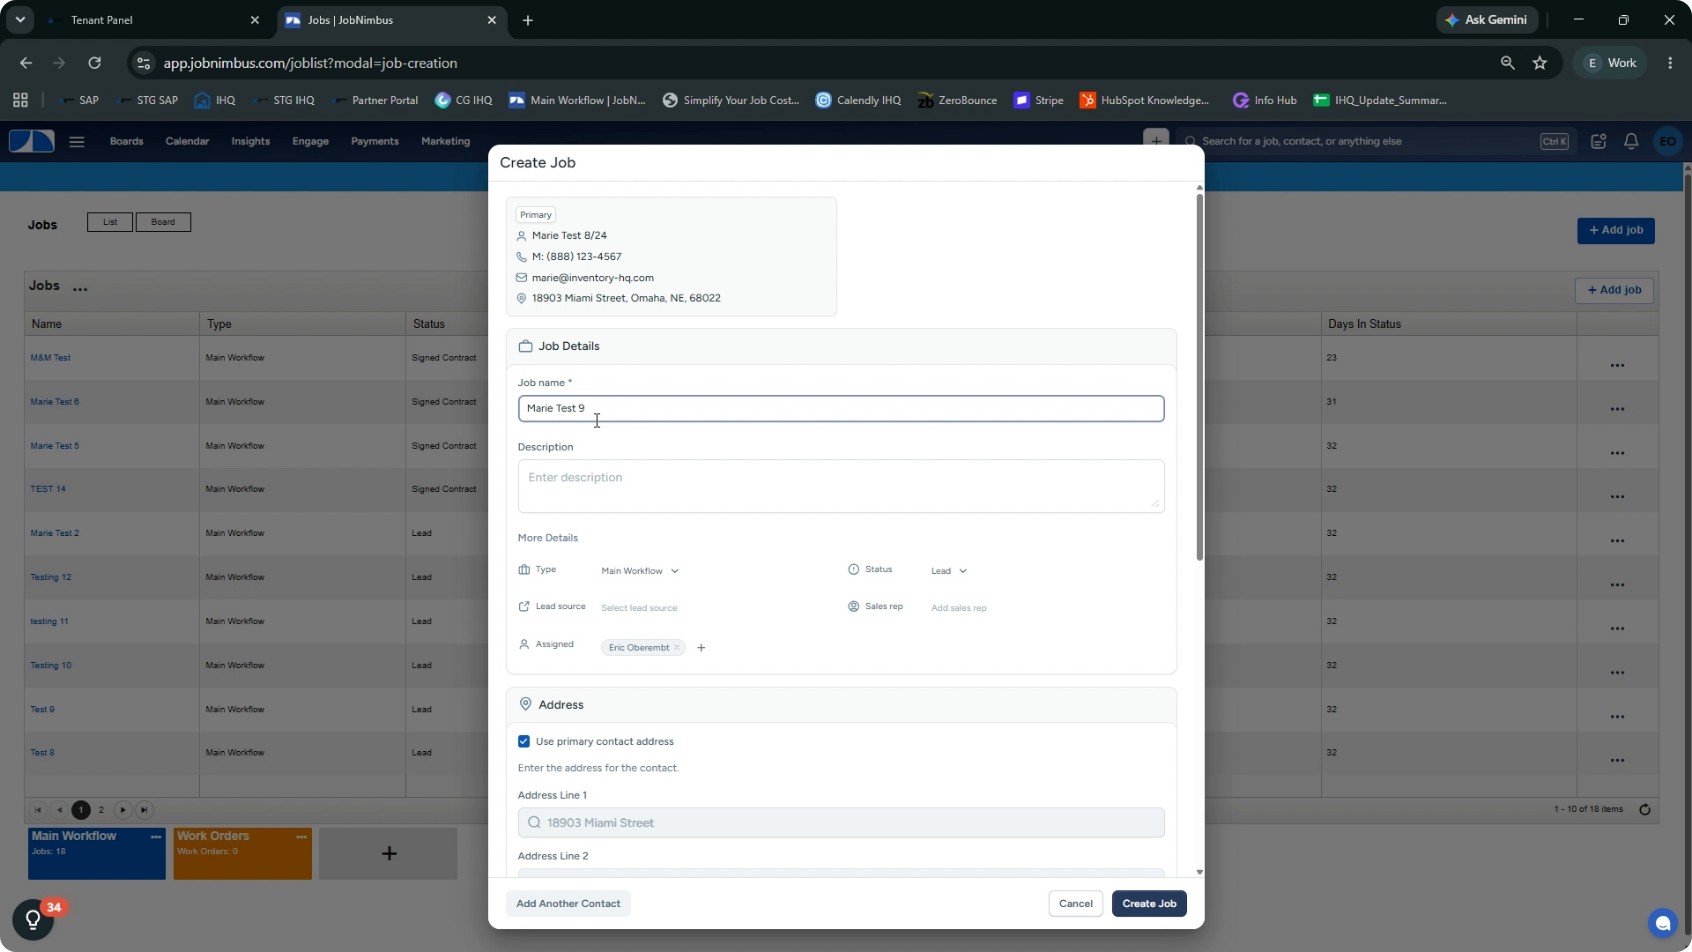
To verify that the integration works, create a test job in JobNimbus. Go to the Jobs section. Open Jobs. Create a new job record as a test job for InventoryHQ. Fill in the necessary job details and click Save and Continue. After the job is created, you are ready to move it to the awarded stage you configured earlier.
- 10
Move the Job to the Awarded Stage
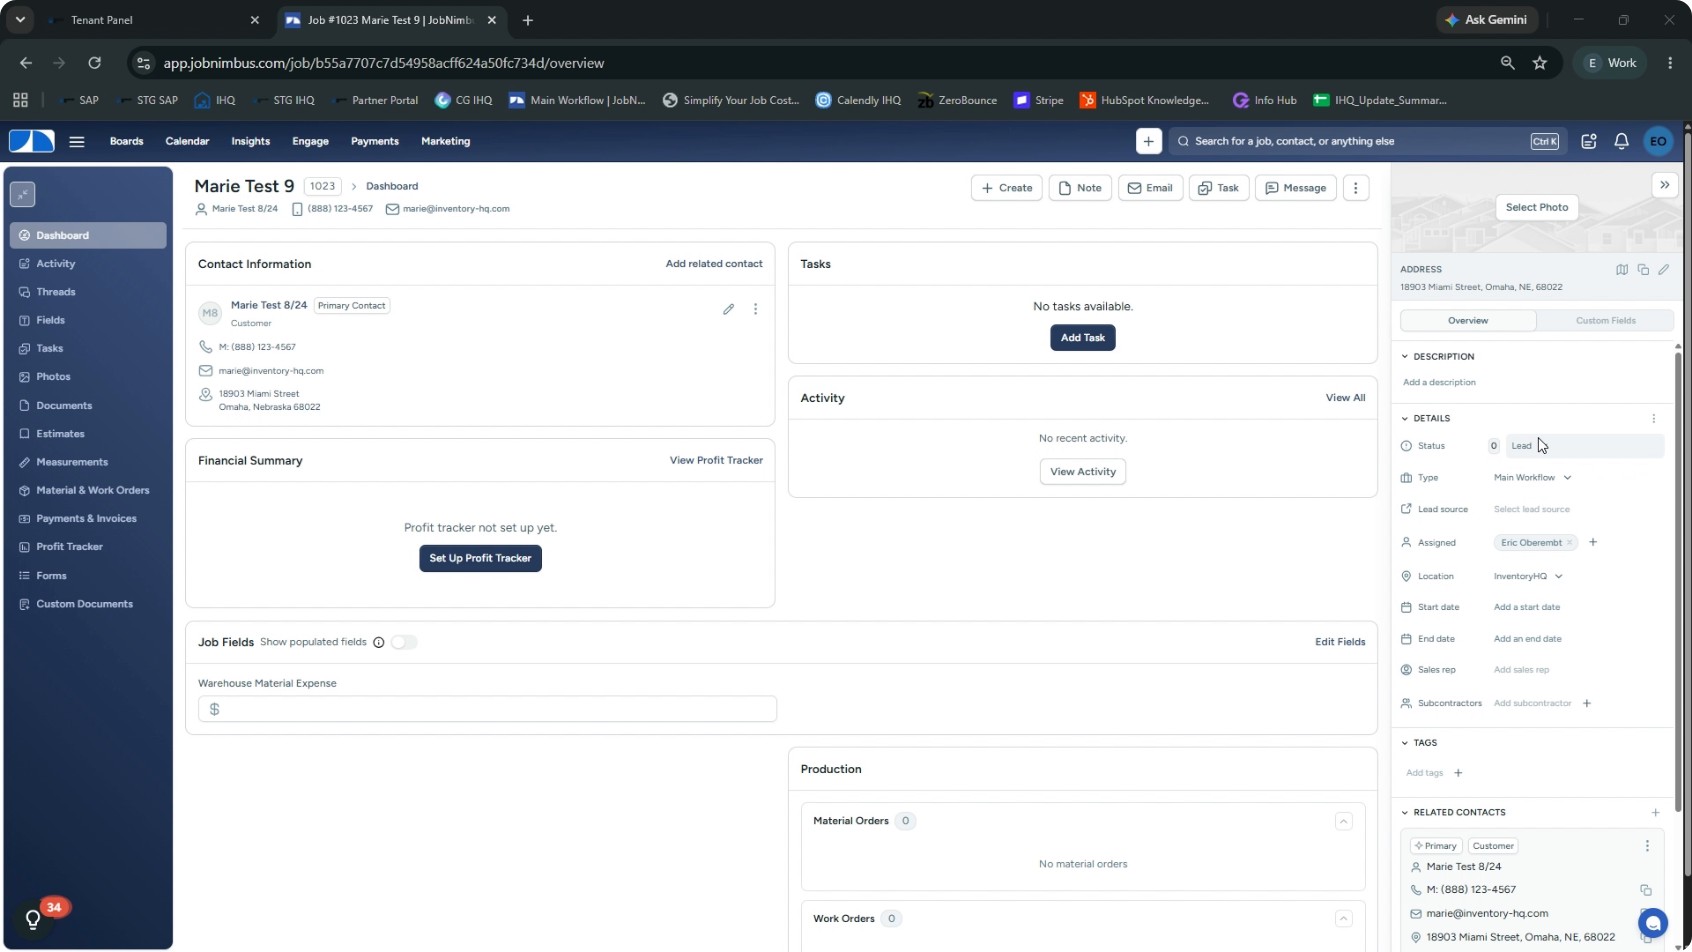
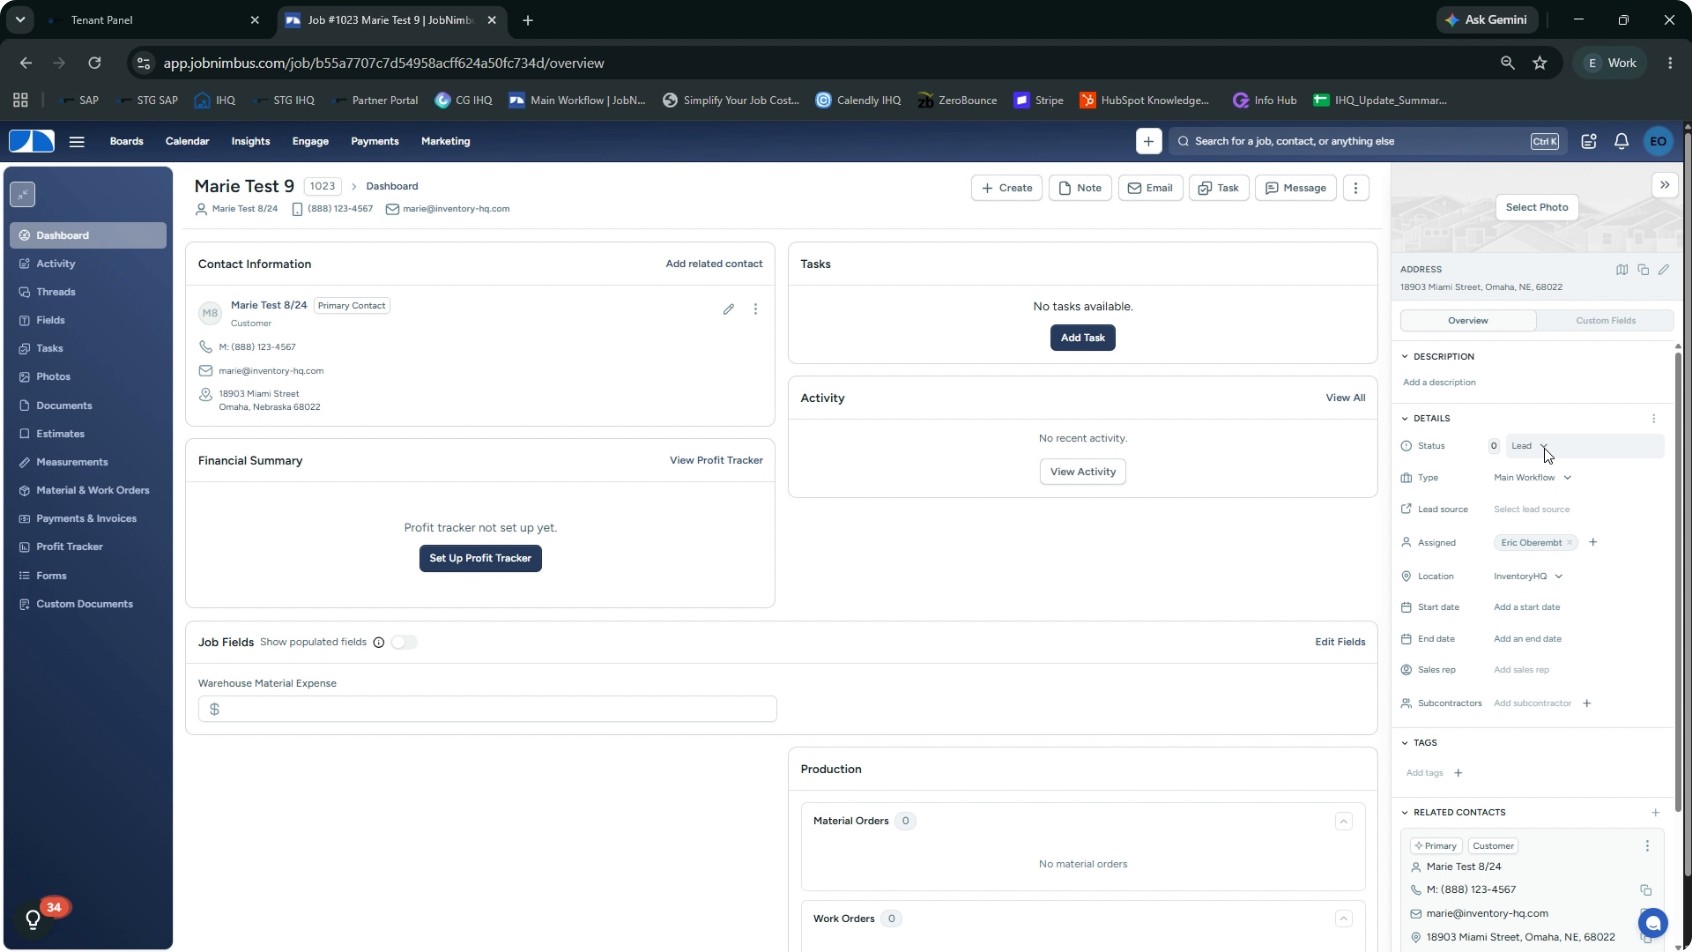
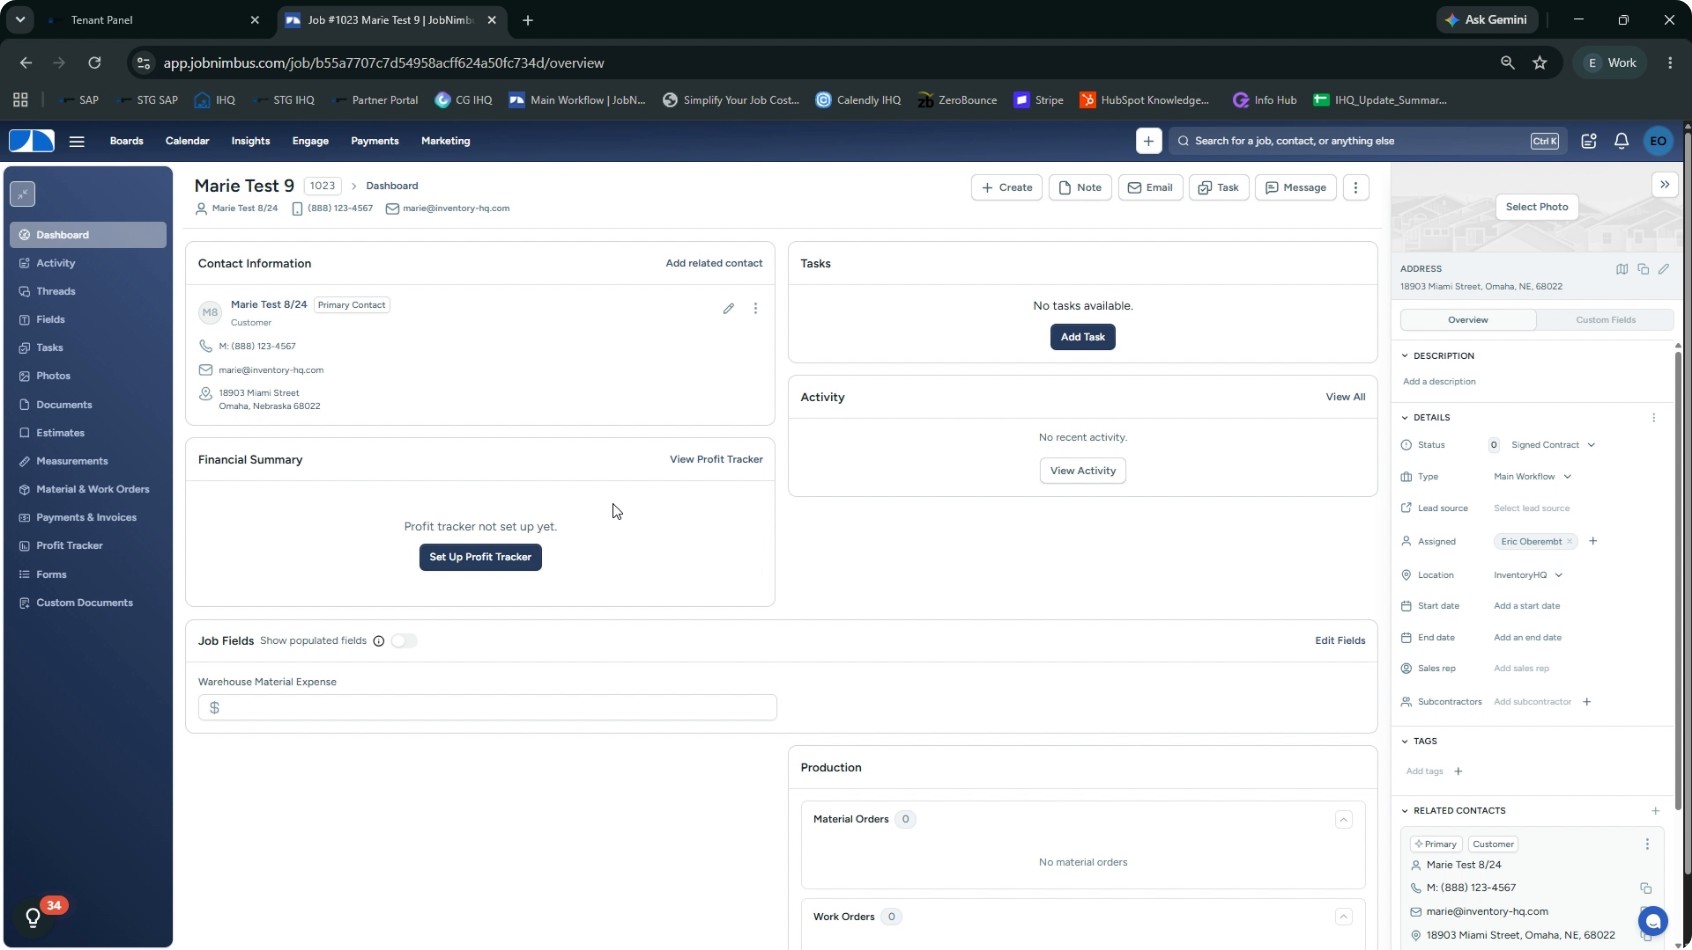
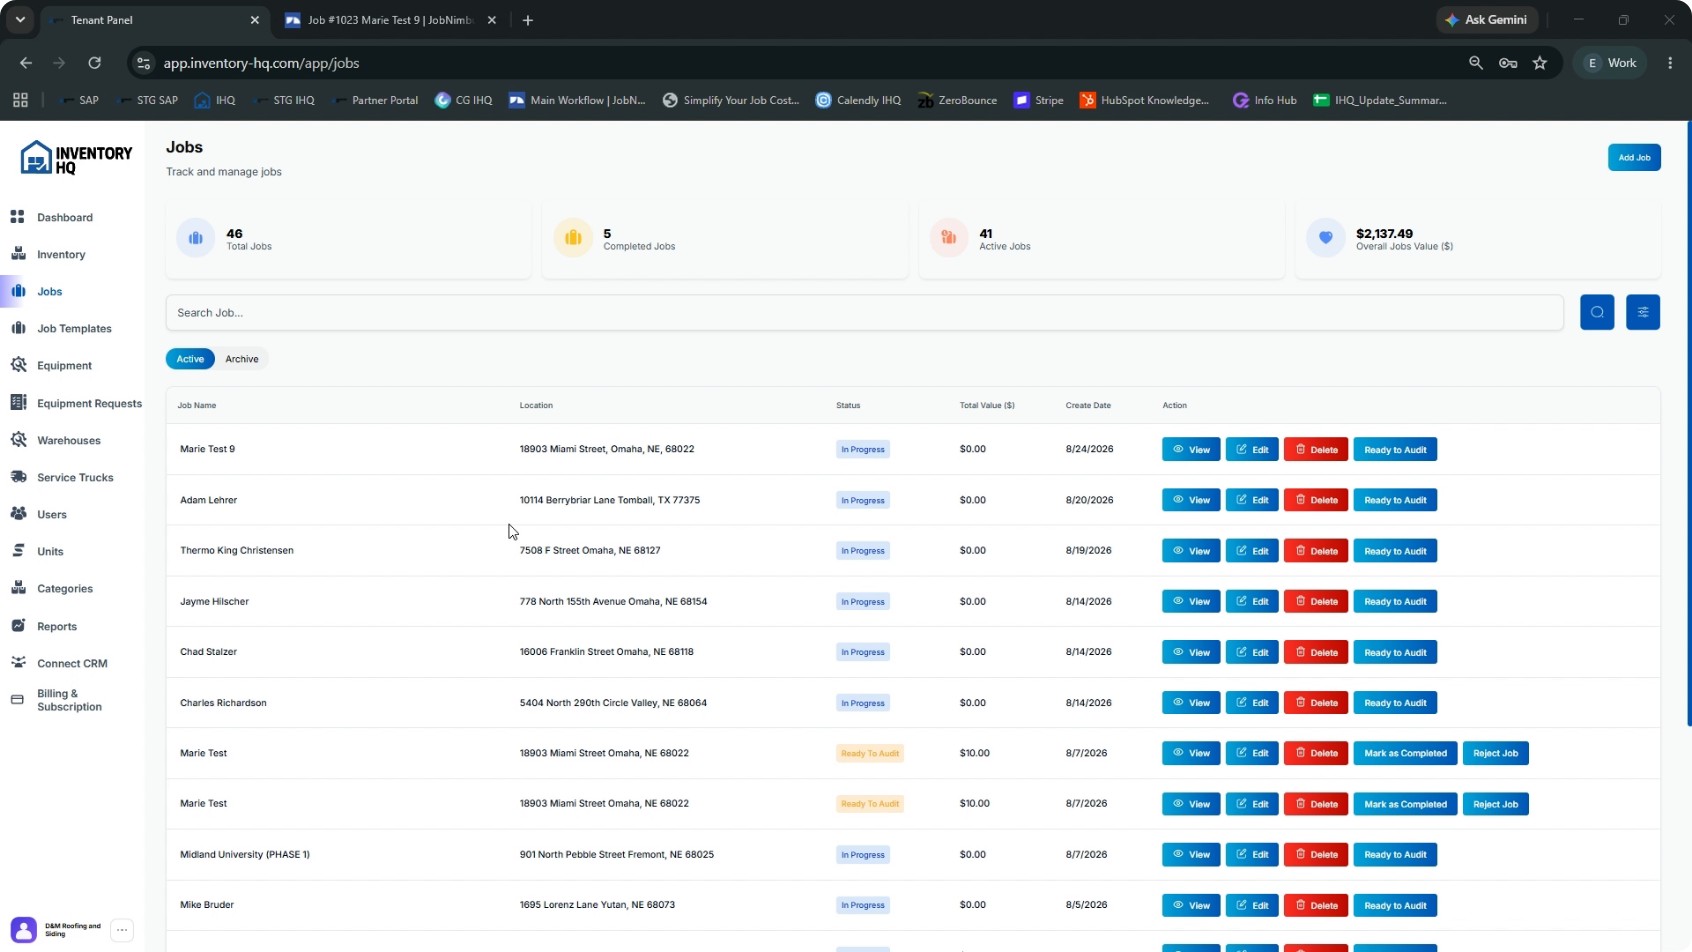
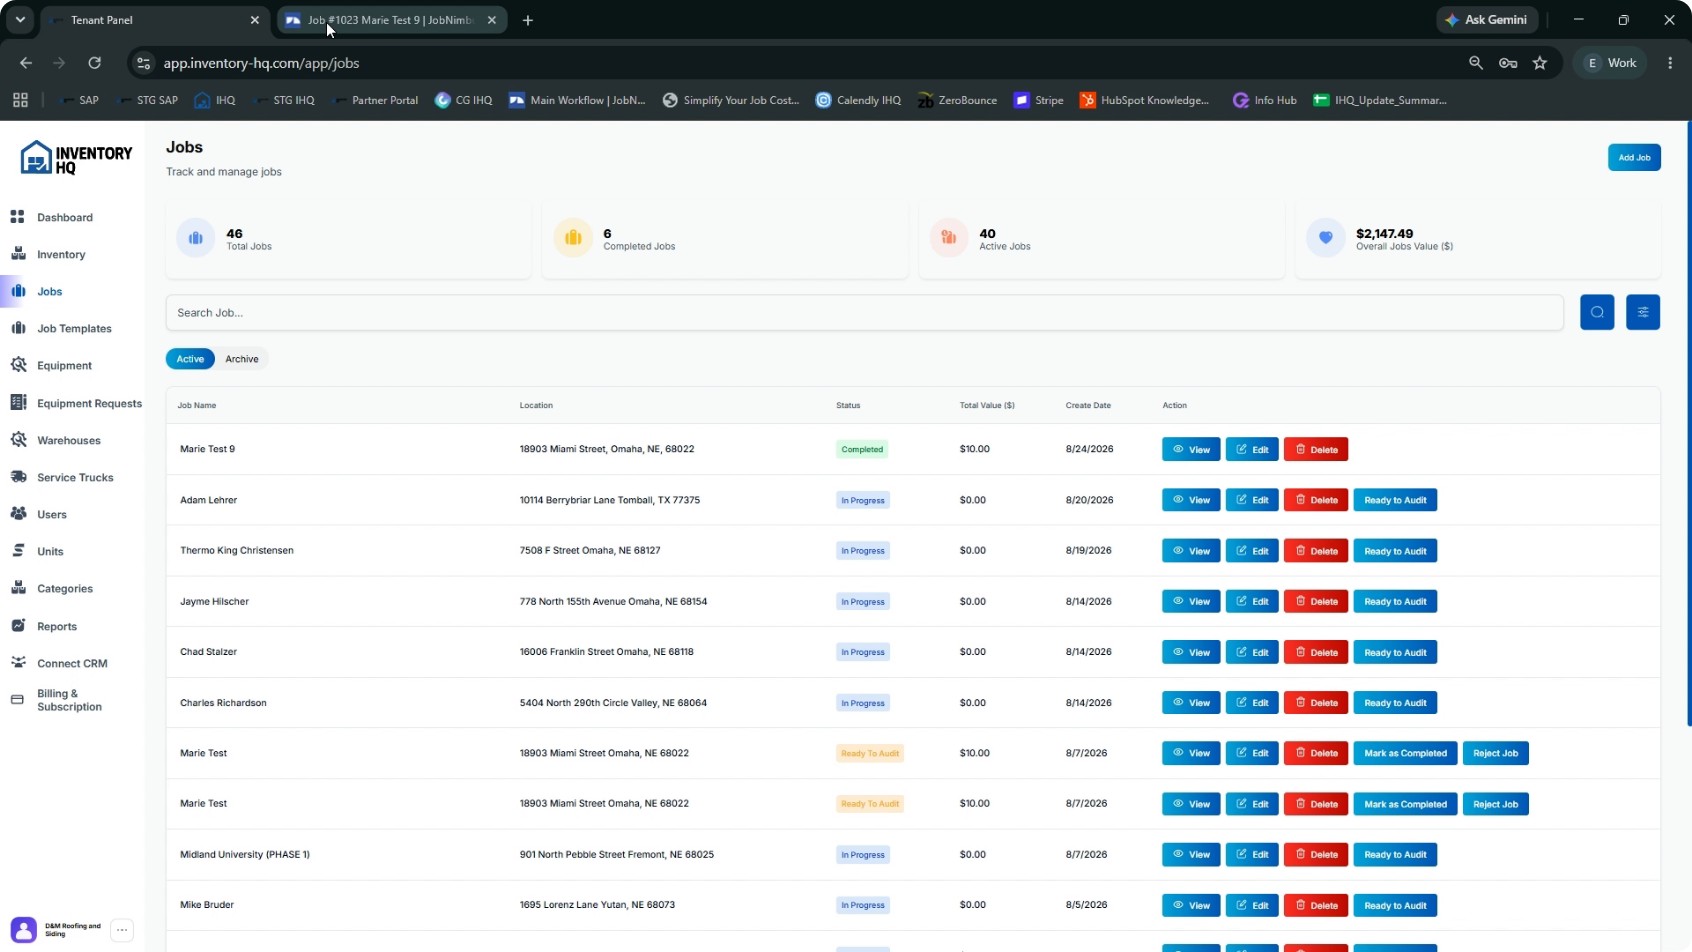
Move the test job into the awarded stage (for example, Signed Contract) so it will sync to InventoryHQ. Change the job’s status to the awarded stage you selected in the automation, such as Signed Contract. Allow a couple of minutes for the job to appear in InventoryHQ. After a short delay, you should see the test job created automatically in InventoryHQ.
- 11
Pull Materials for the Job in InventoryHQ
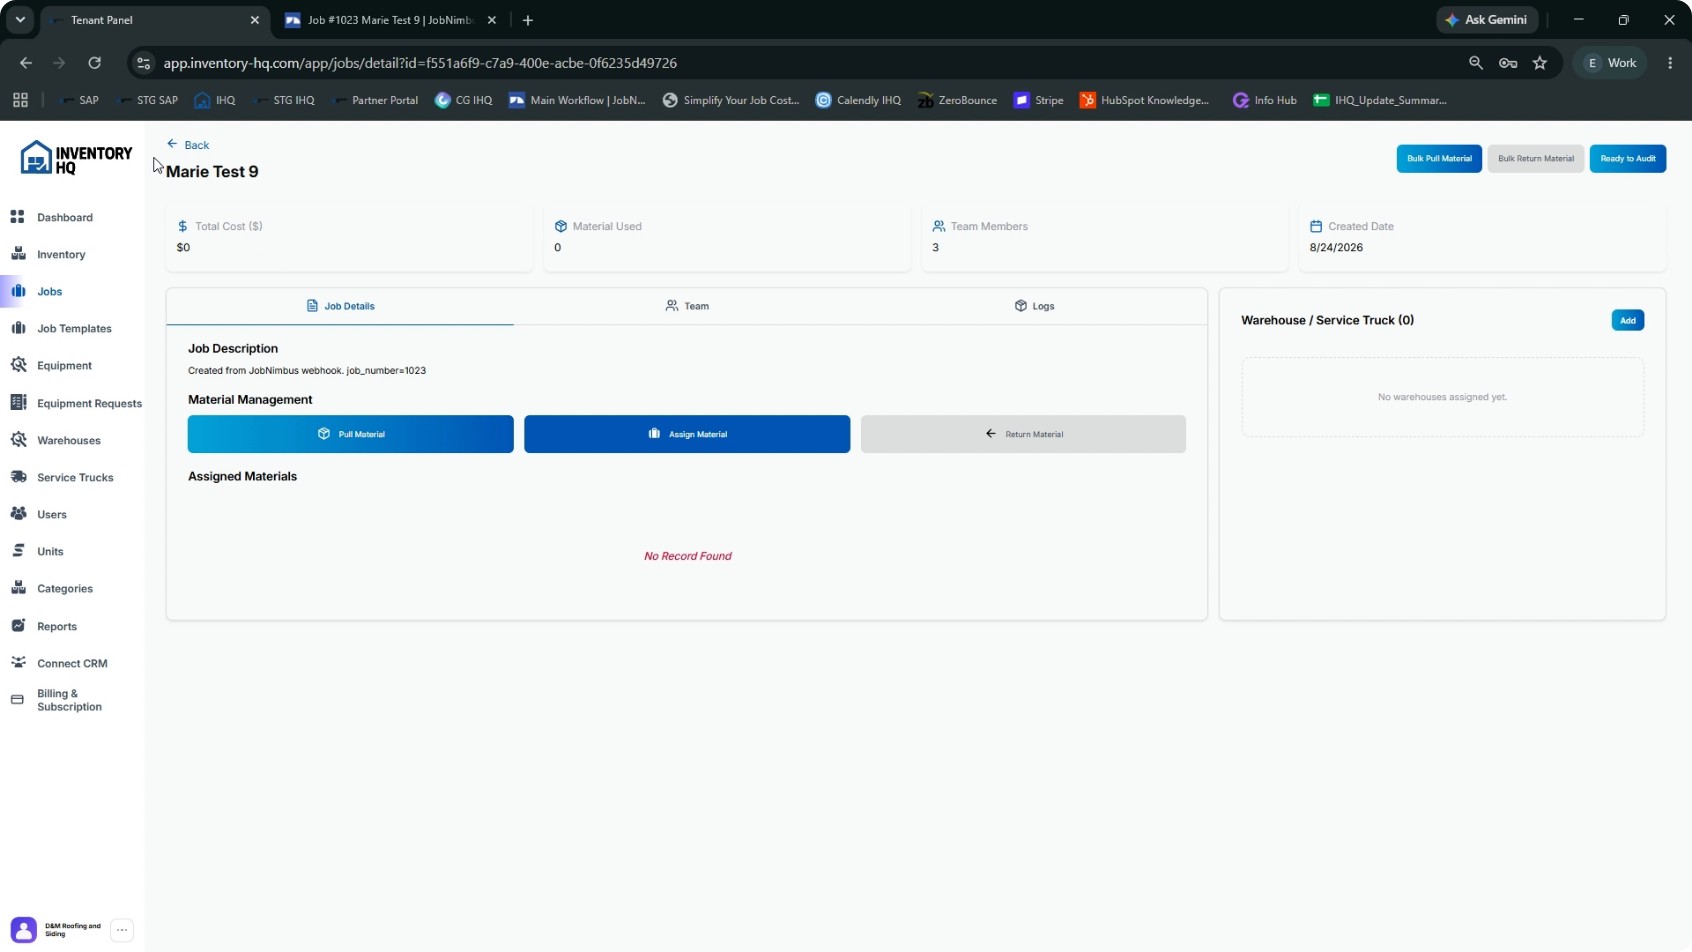
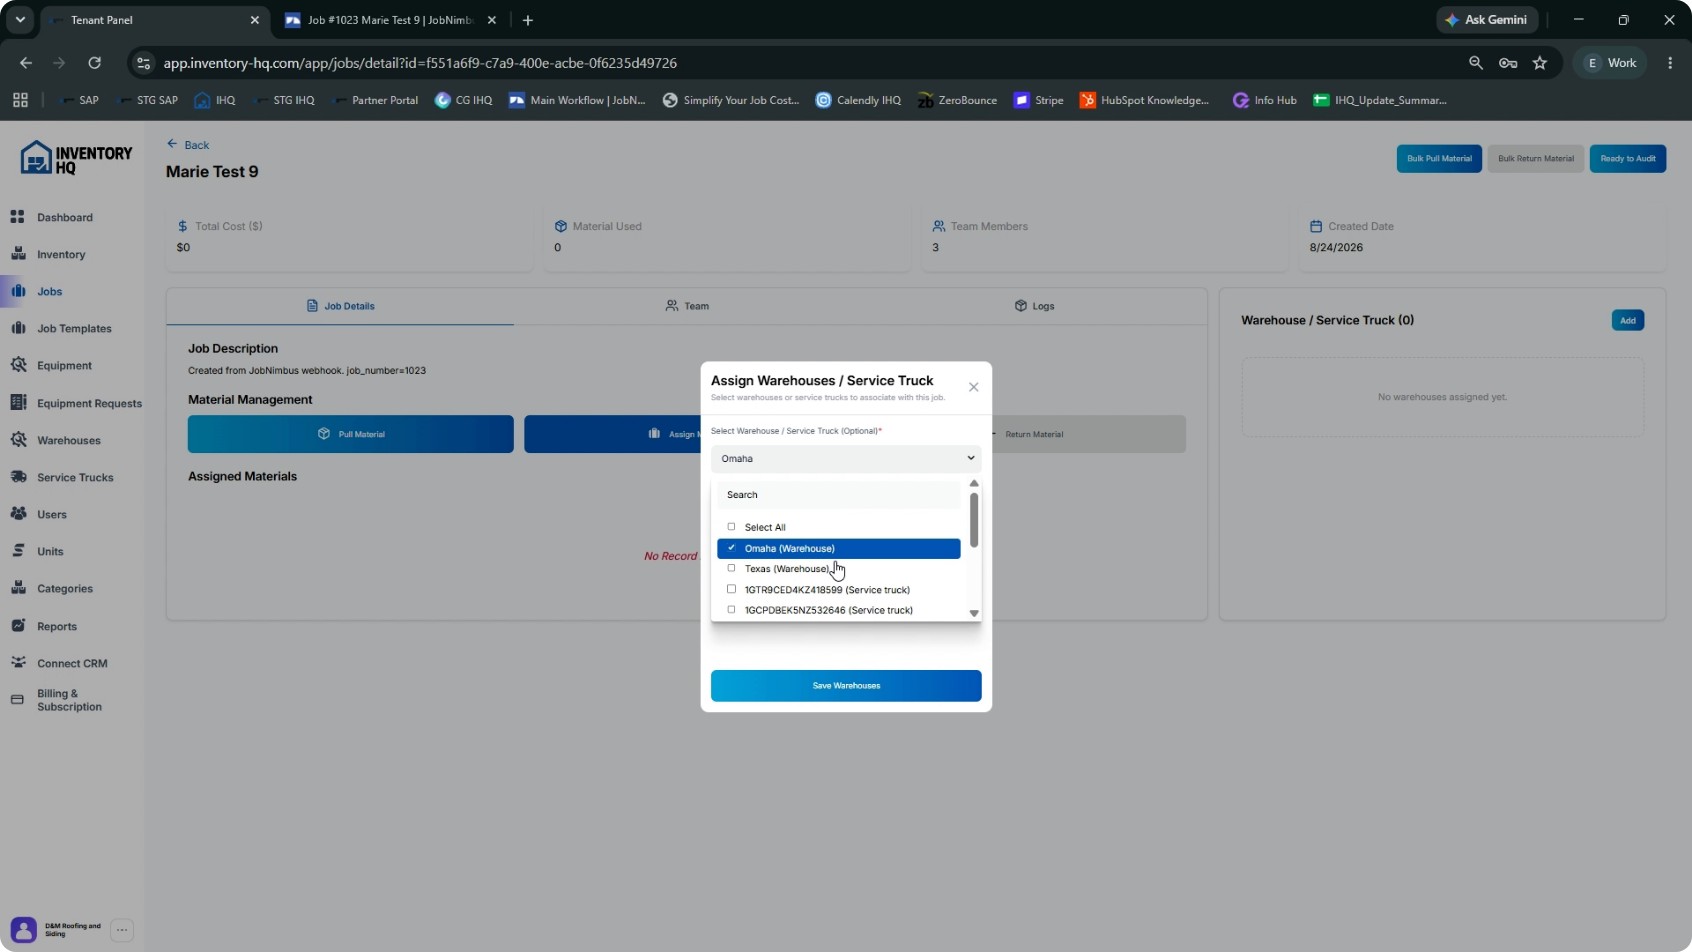
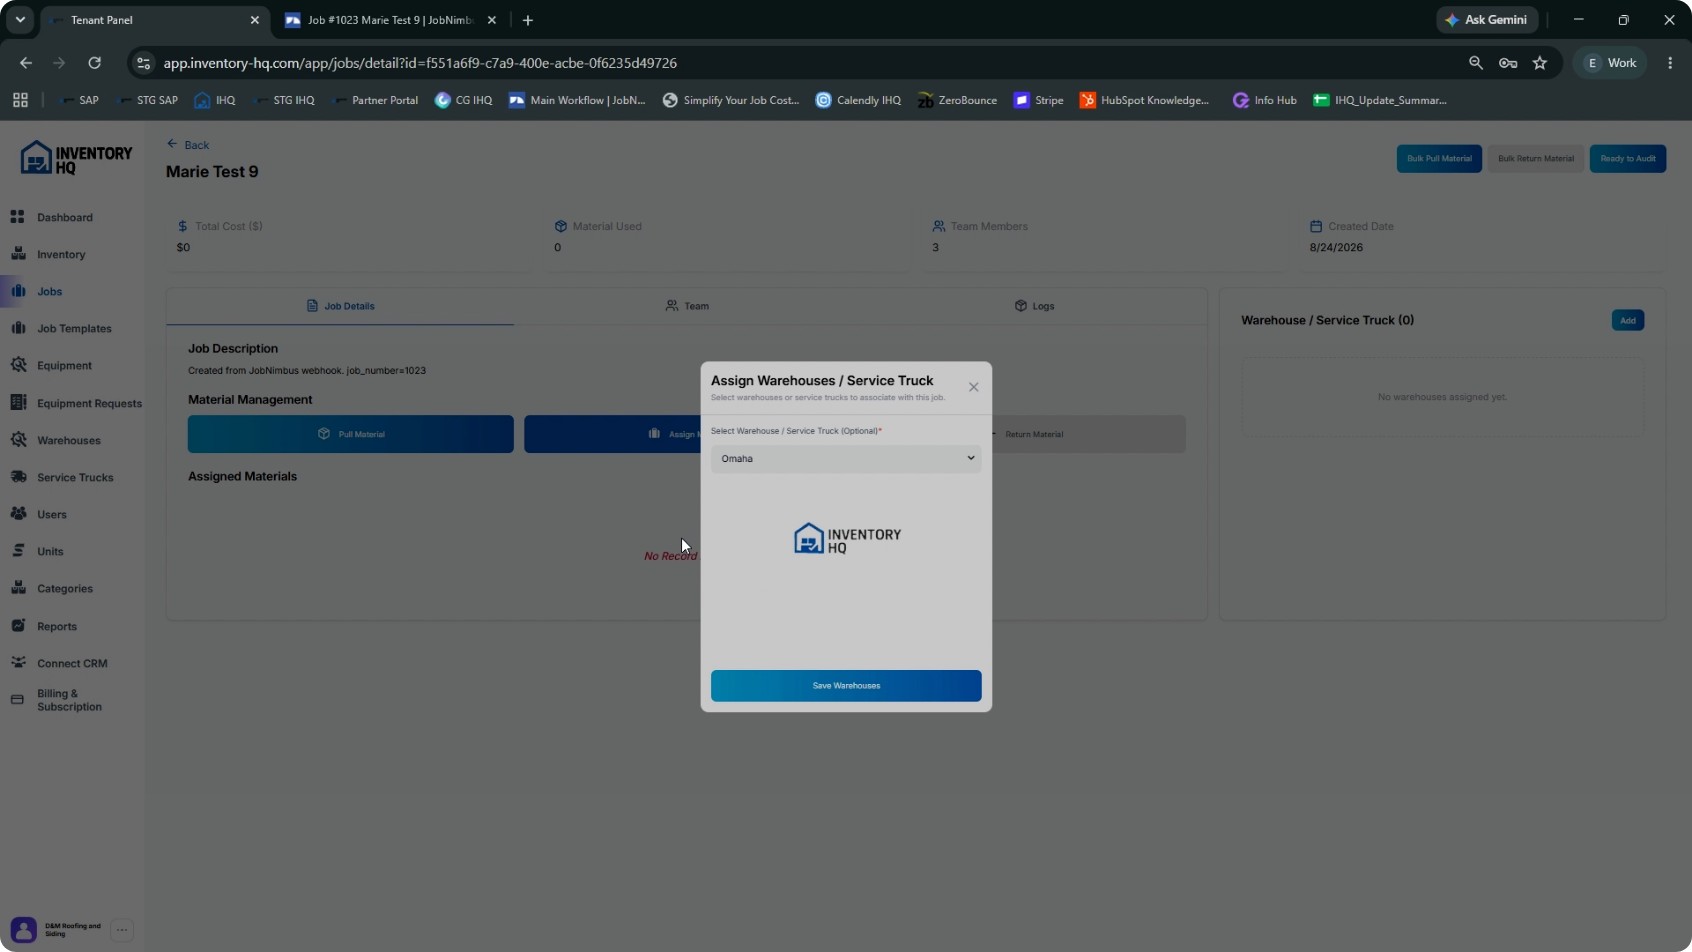
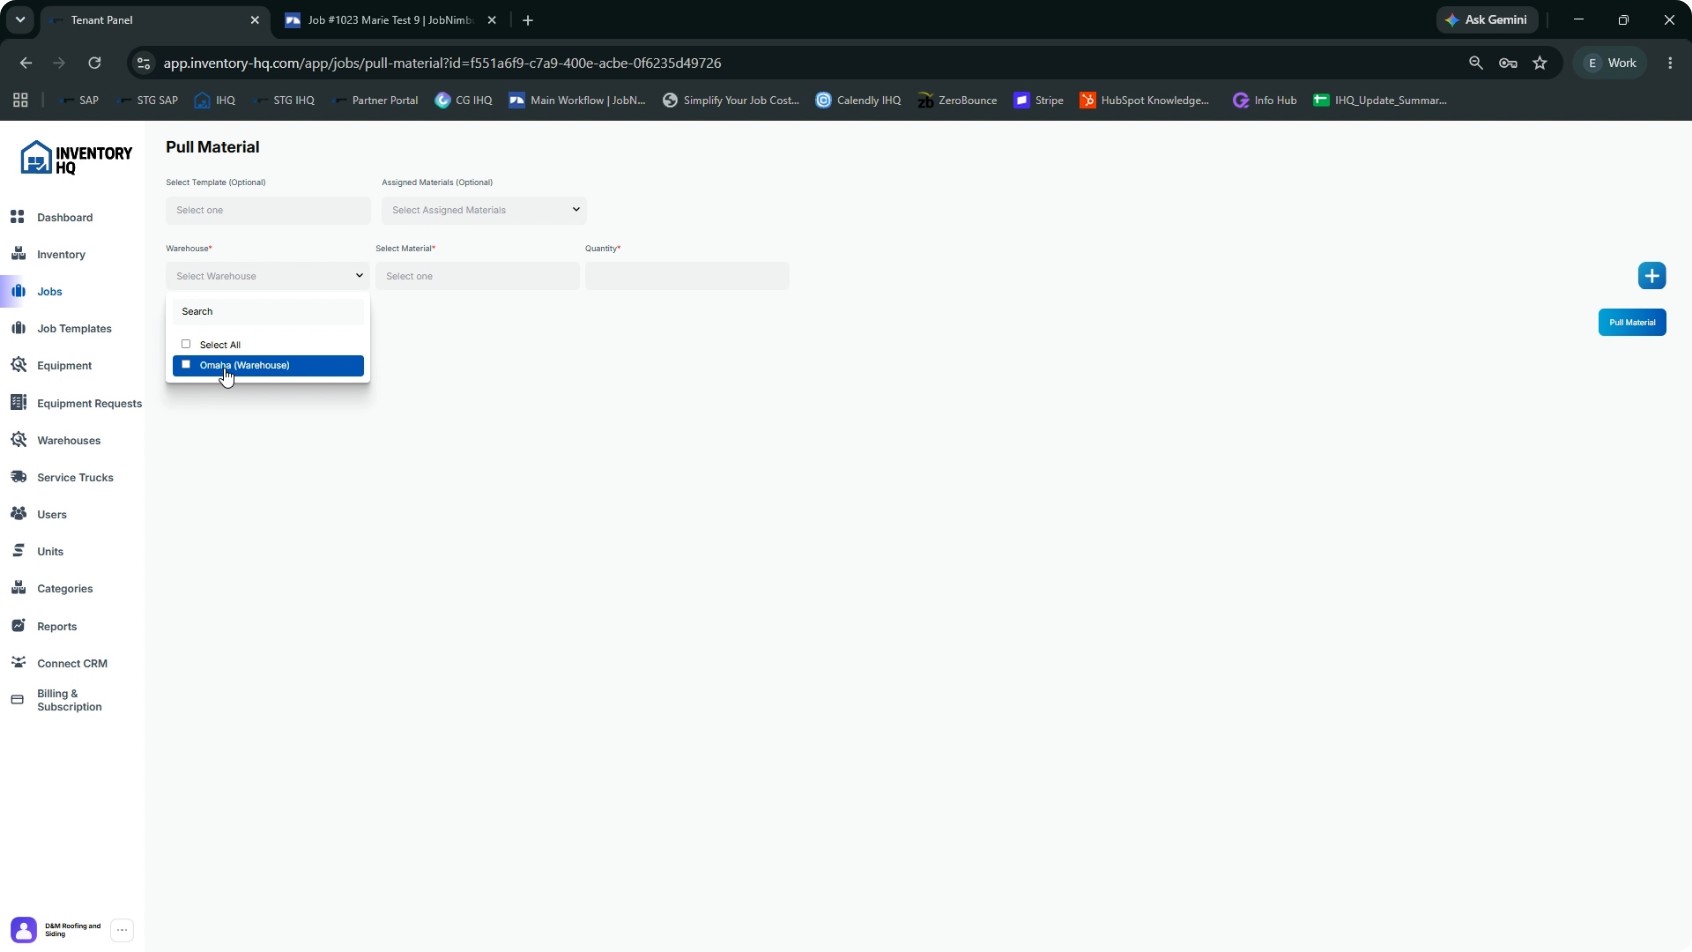
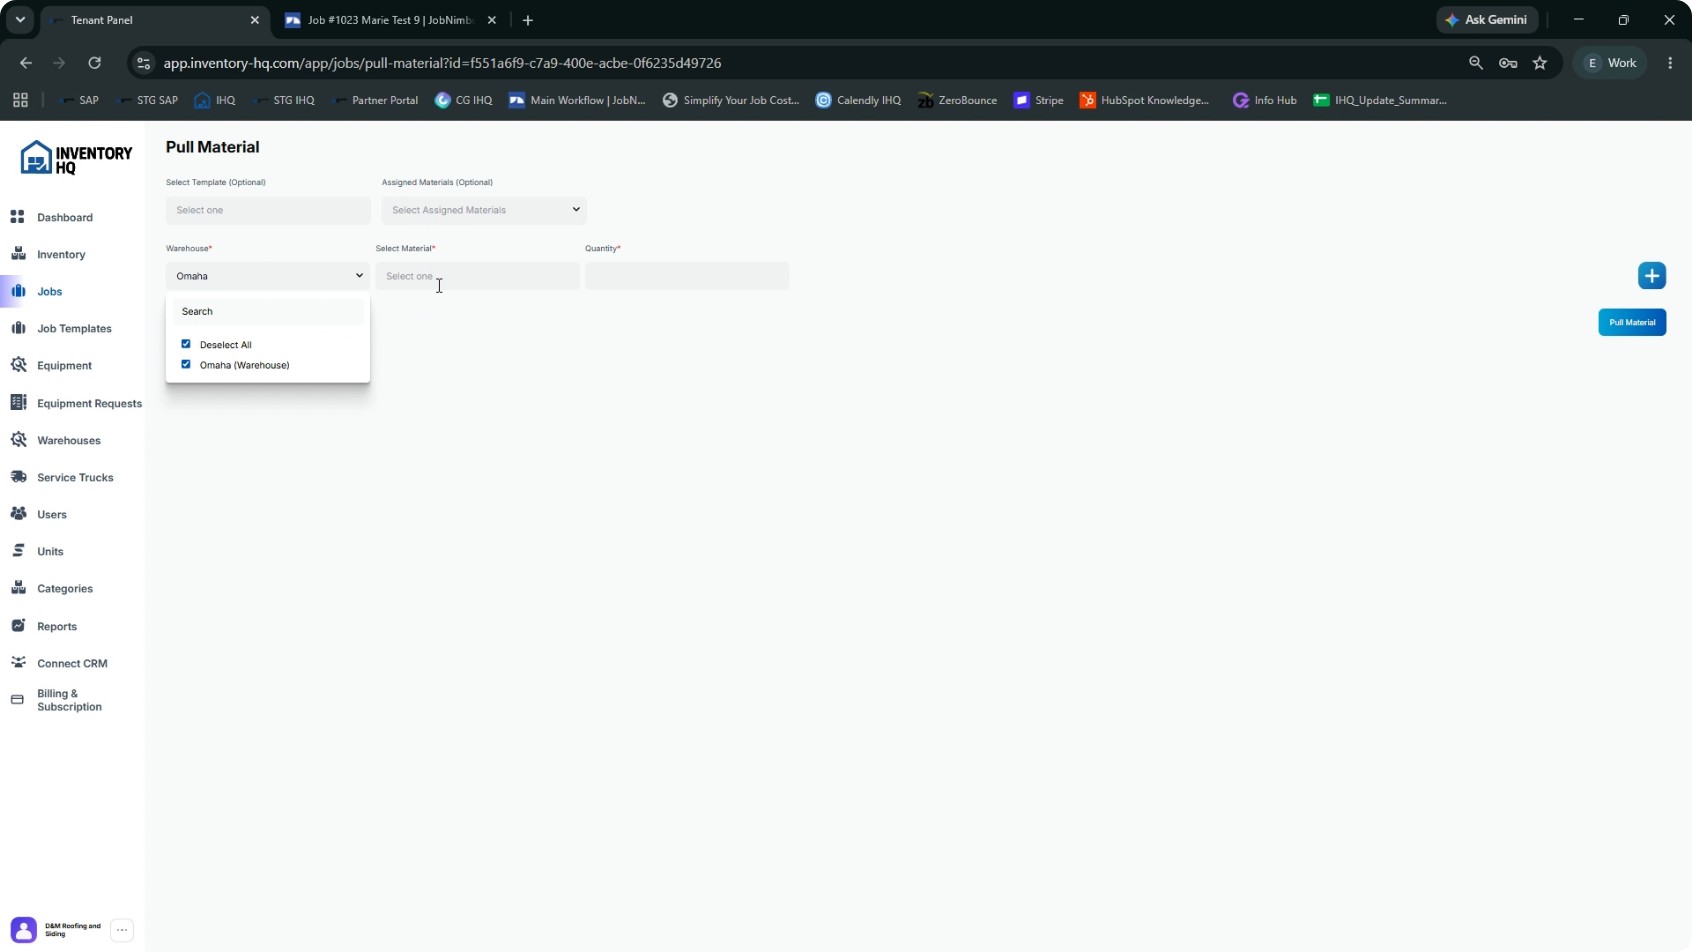
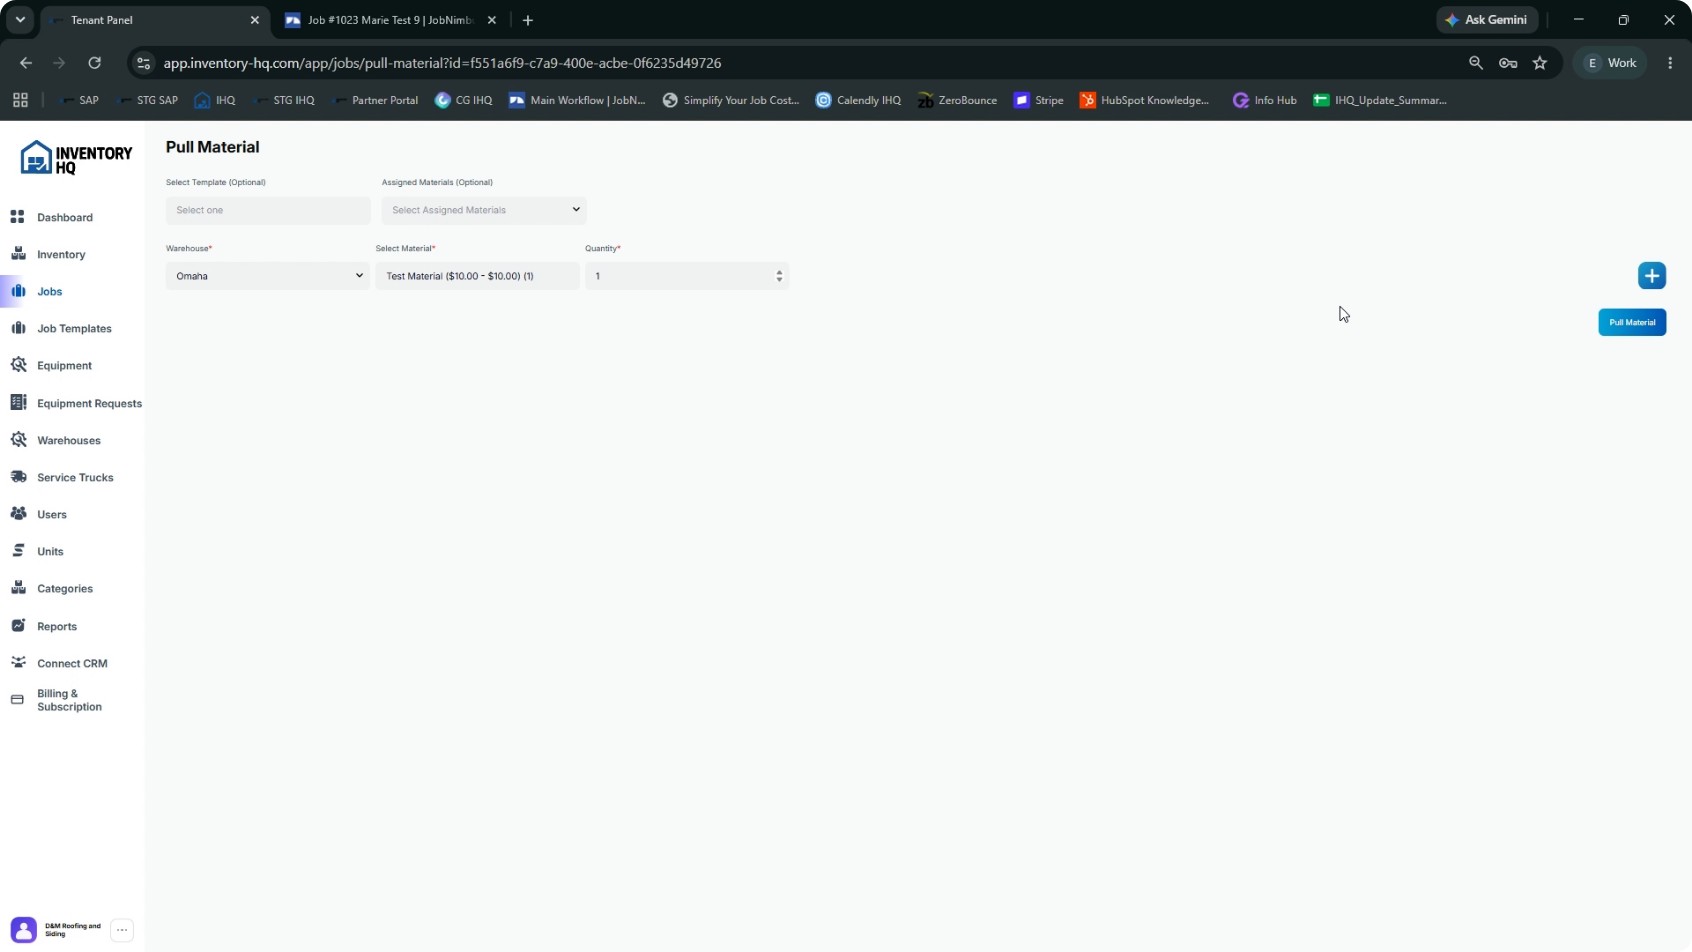
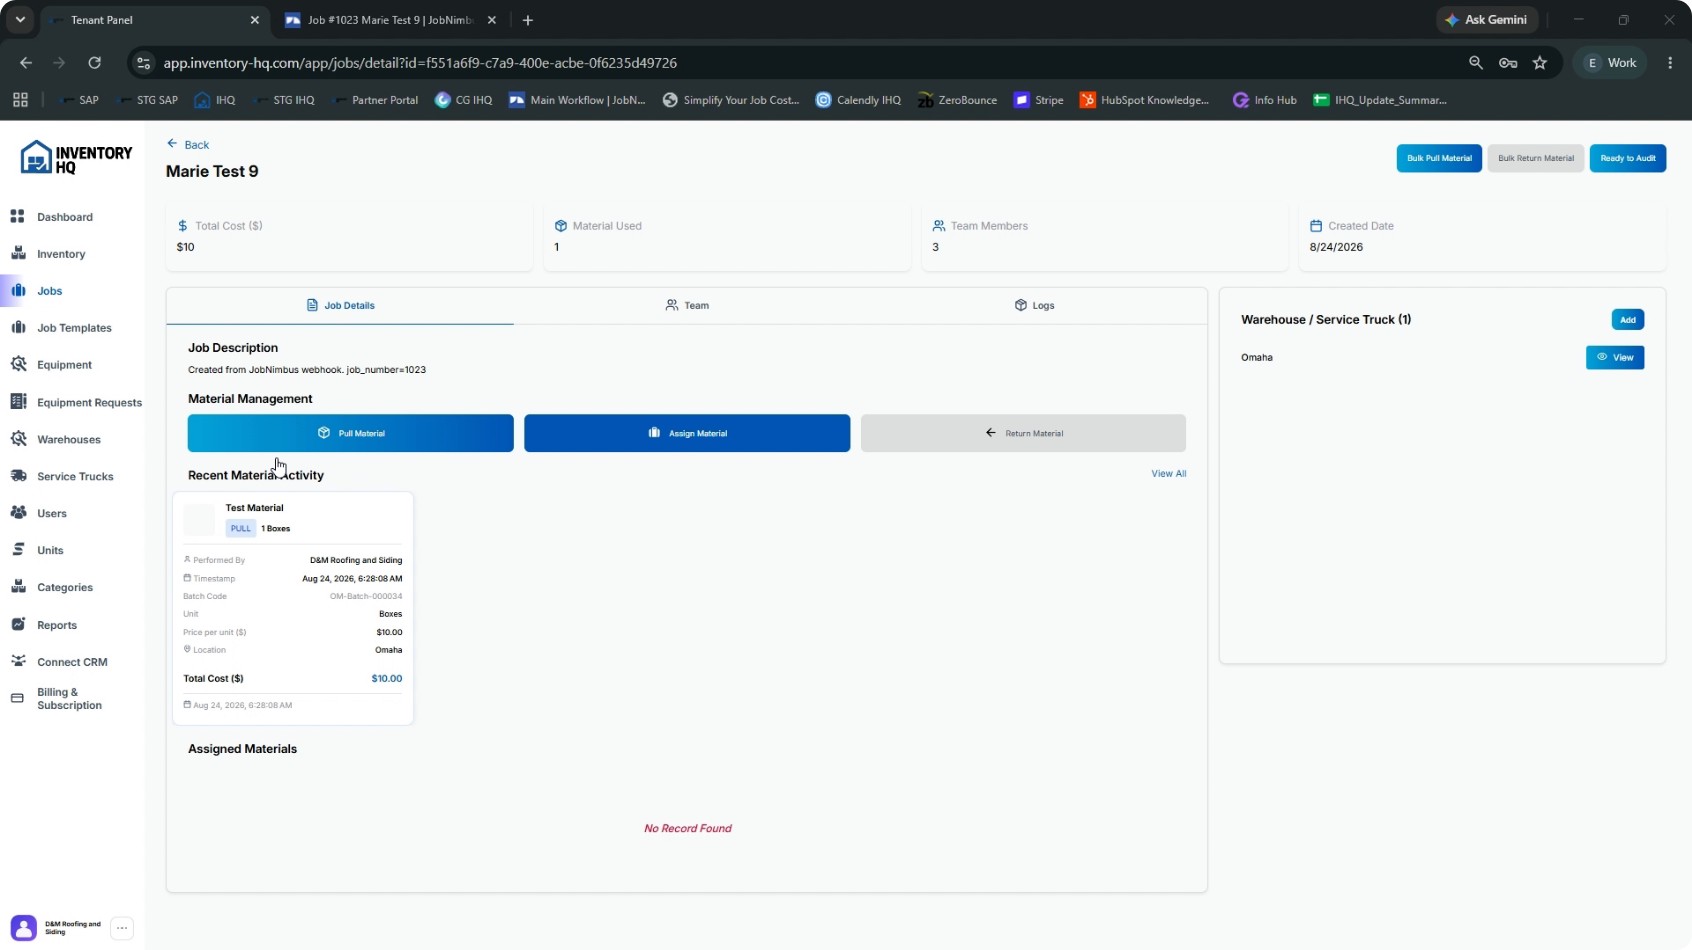
In InventoryHQ, open the synced test job and pull the required materials. First, assign the job or the material pull to a warehouse. Then proceed to pull materials for that job as needed. Select the material(s) you want to pull for the job. Confirm the material pull for that job. For this example, assume the total material cost for the job will be $10.
- 12
Mark the Job Ready to Audit and Completed
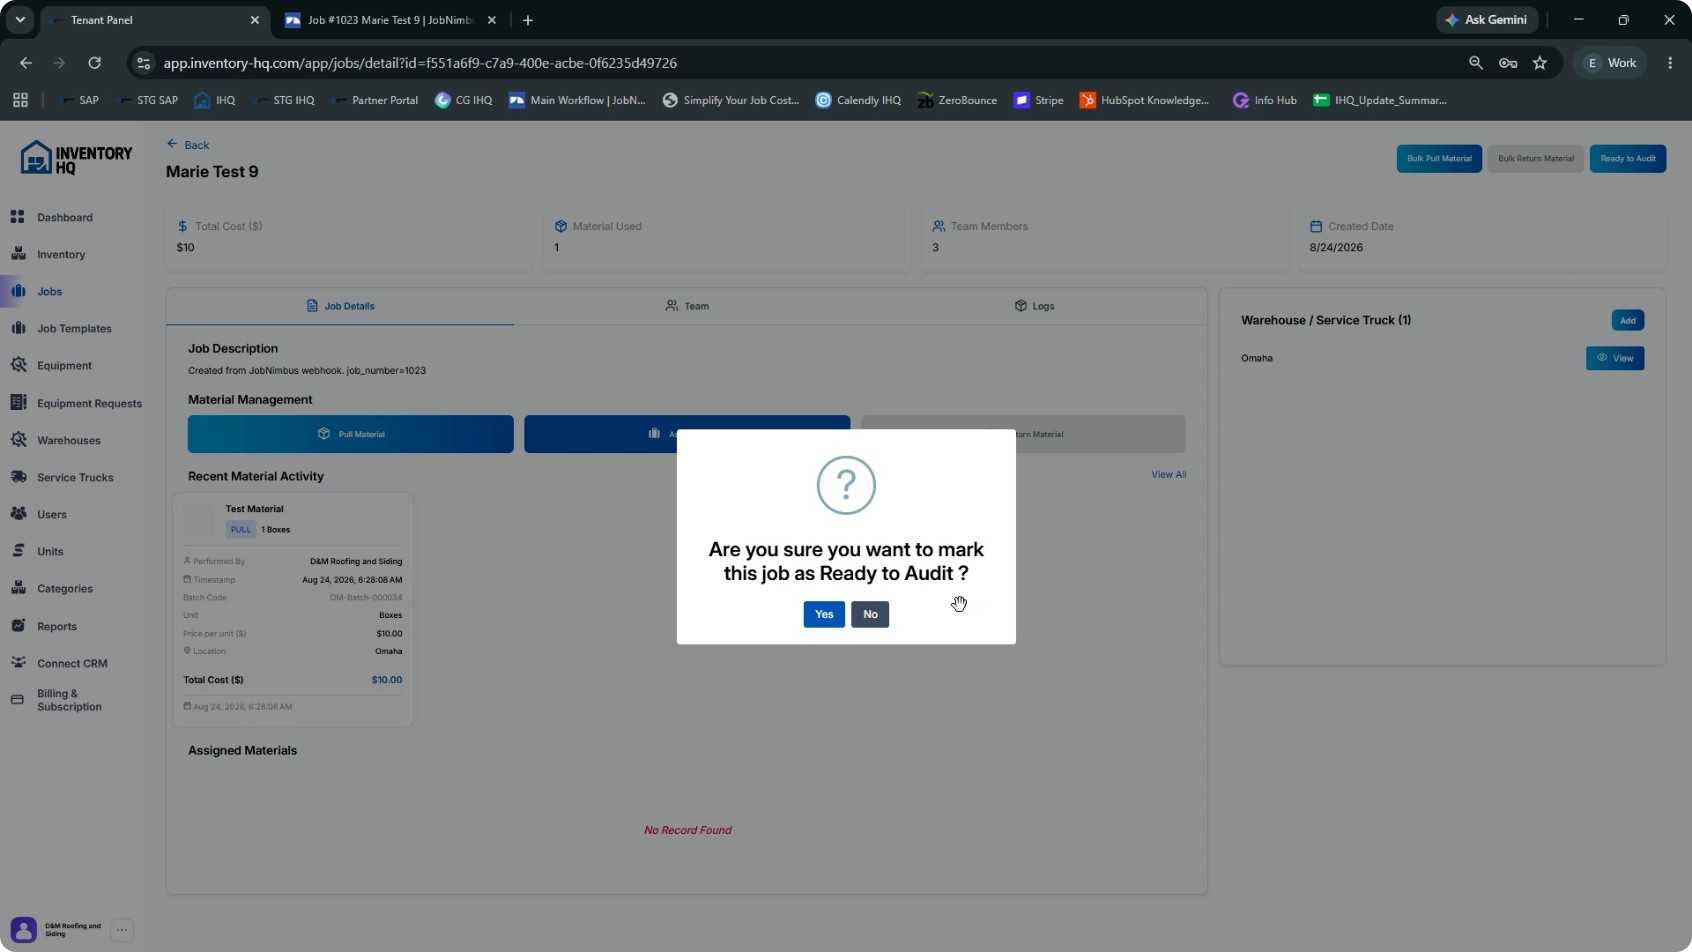
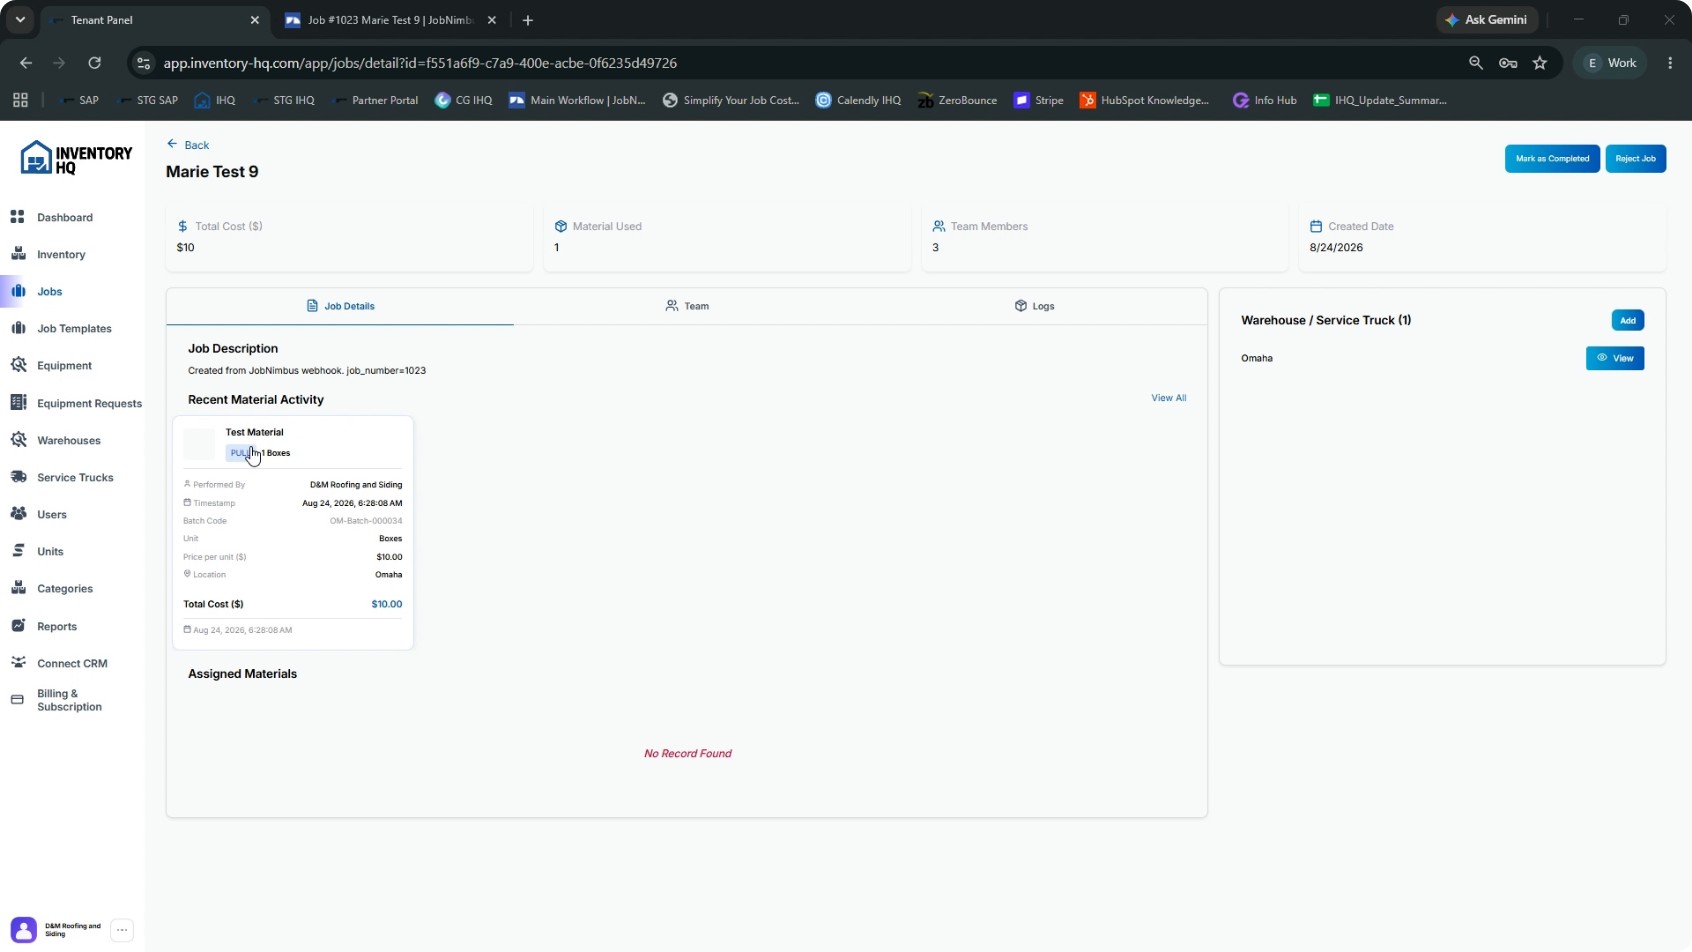
After pulling materials, mark the job as ready for audit in InventoryHQ. Mark the job or material pull as Ready to Audit. Confirm that the status is set to Ready to Audit. Your warehouse auditor or company admin (or whoever is responsible) will then review and mark the job as Completed in InventoryHQ. Remember: in this example, the total warehouse material expense is $10.
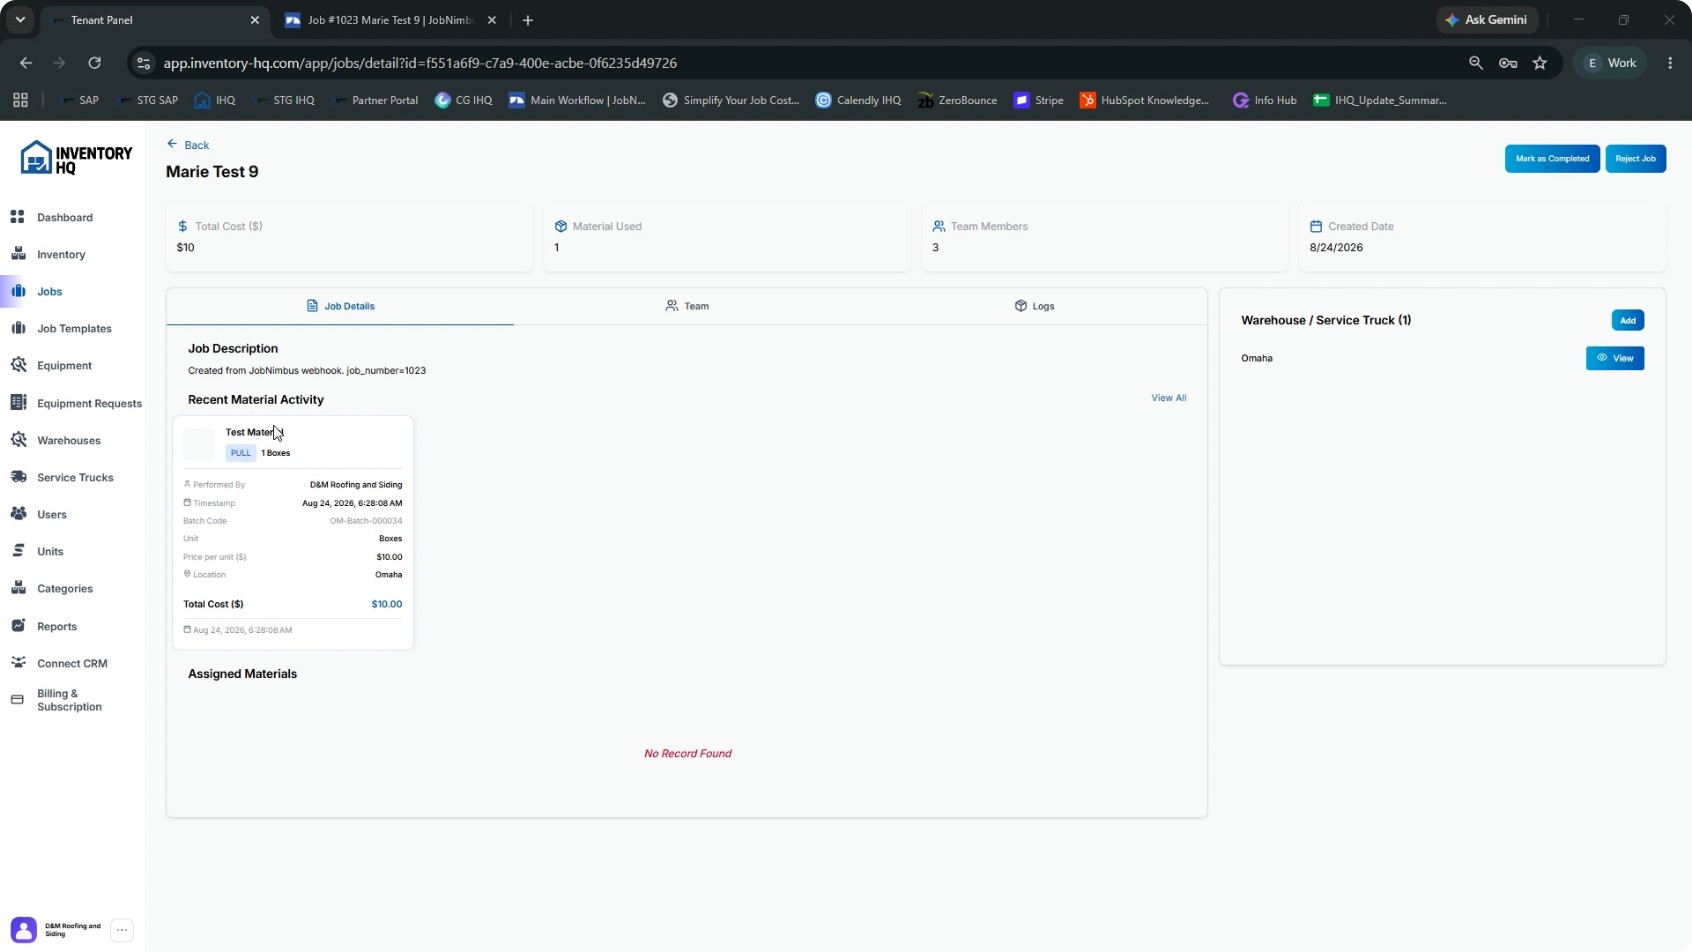
When the audit is finished, mark the job as Completed in InventoryHQ so the final material cost is pushed back to JobNimbus.
- 13
Verify Material Costs in JobNimbus
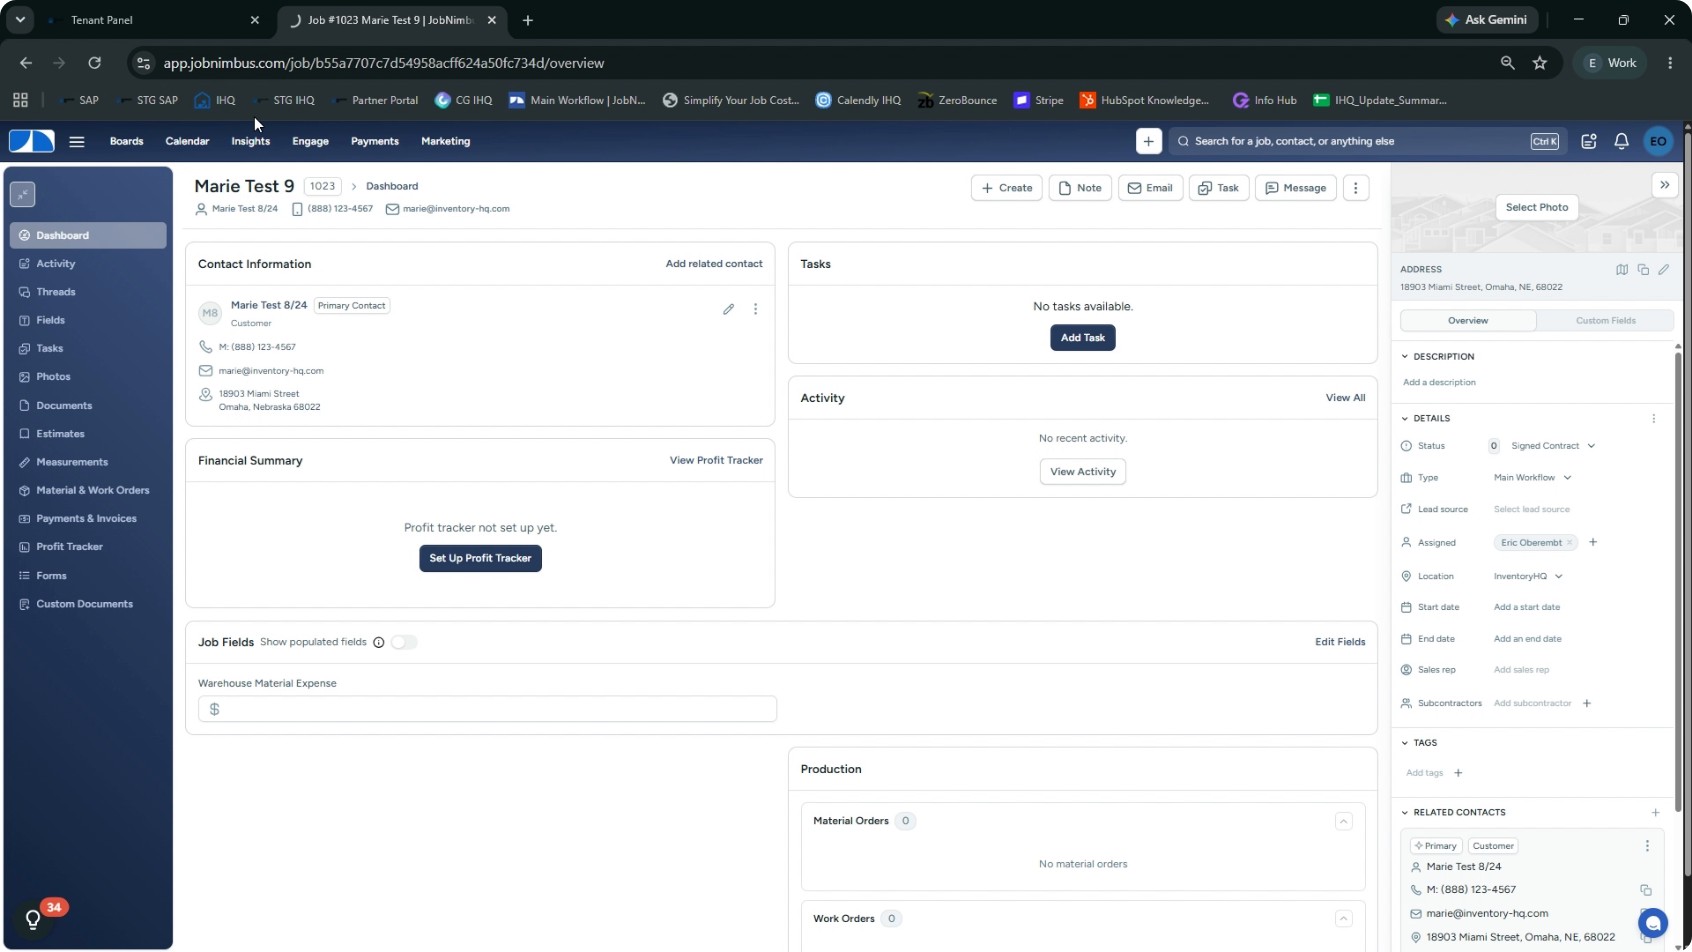
Return to JobNimbus to confirm that the material cost has synced back. Go back to the test job in JobNimbus and refresh the page. You should now see the Warehouse Material Expense job field populated with the total material cost from InventoryHQ (e.g., $10).
You can also review the activity log on the job, where an entry will show that the warehouse material expense was updated with the correct amount. This confirms that InventoryHQ has populated the field in JobNimbus, eliminating the need to manually check material expenses in InventoryHQ for that job and helping you job-cost accurately.
If a job does not appear in InventoryHQ, verify that it actually reached your configured awarded stage in JobNimbus; if needed, your onboarding team can assist with further troubleshooting.